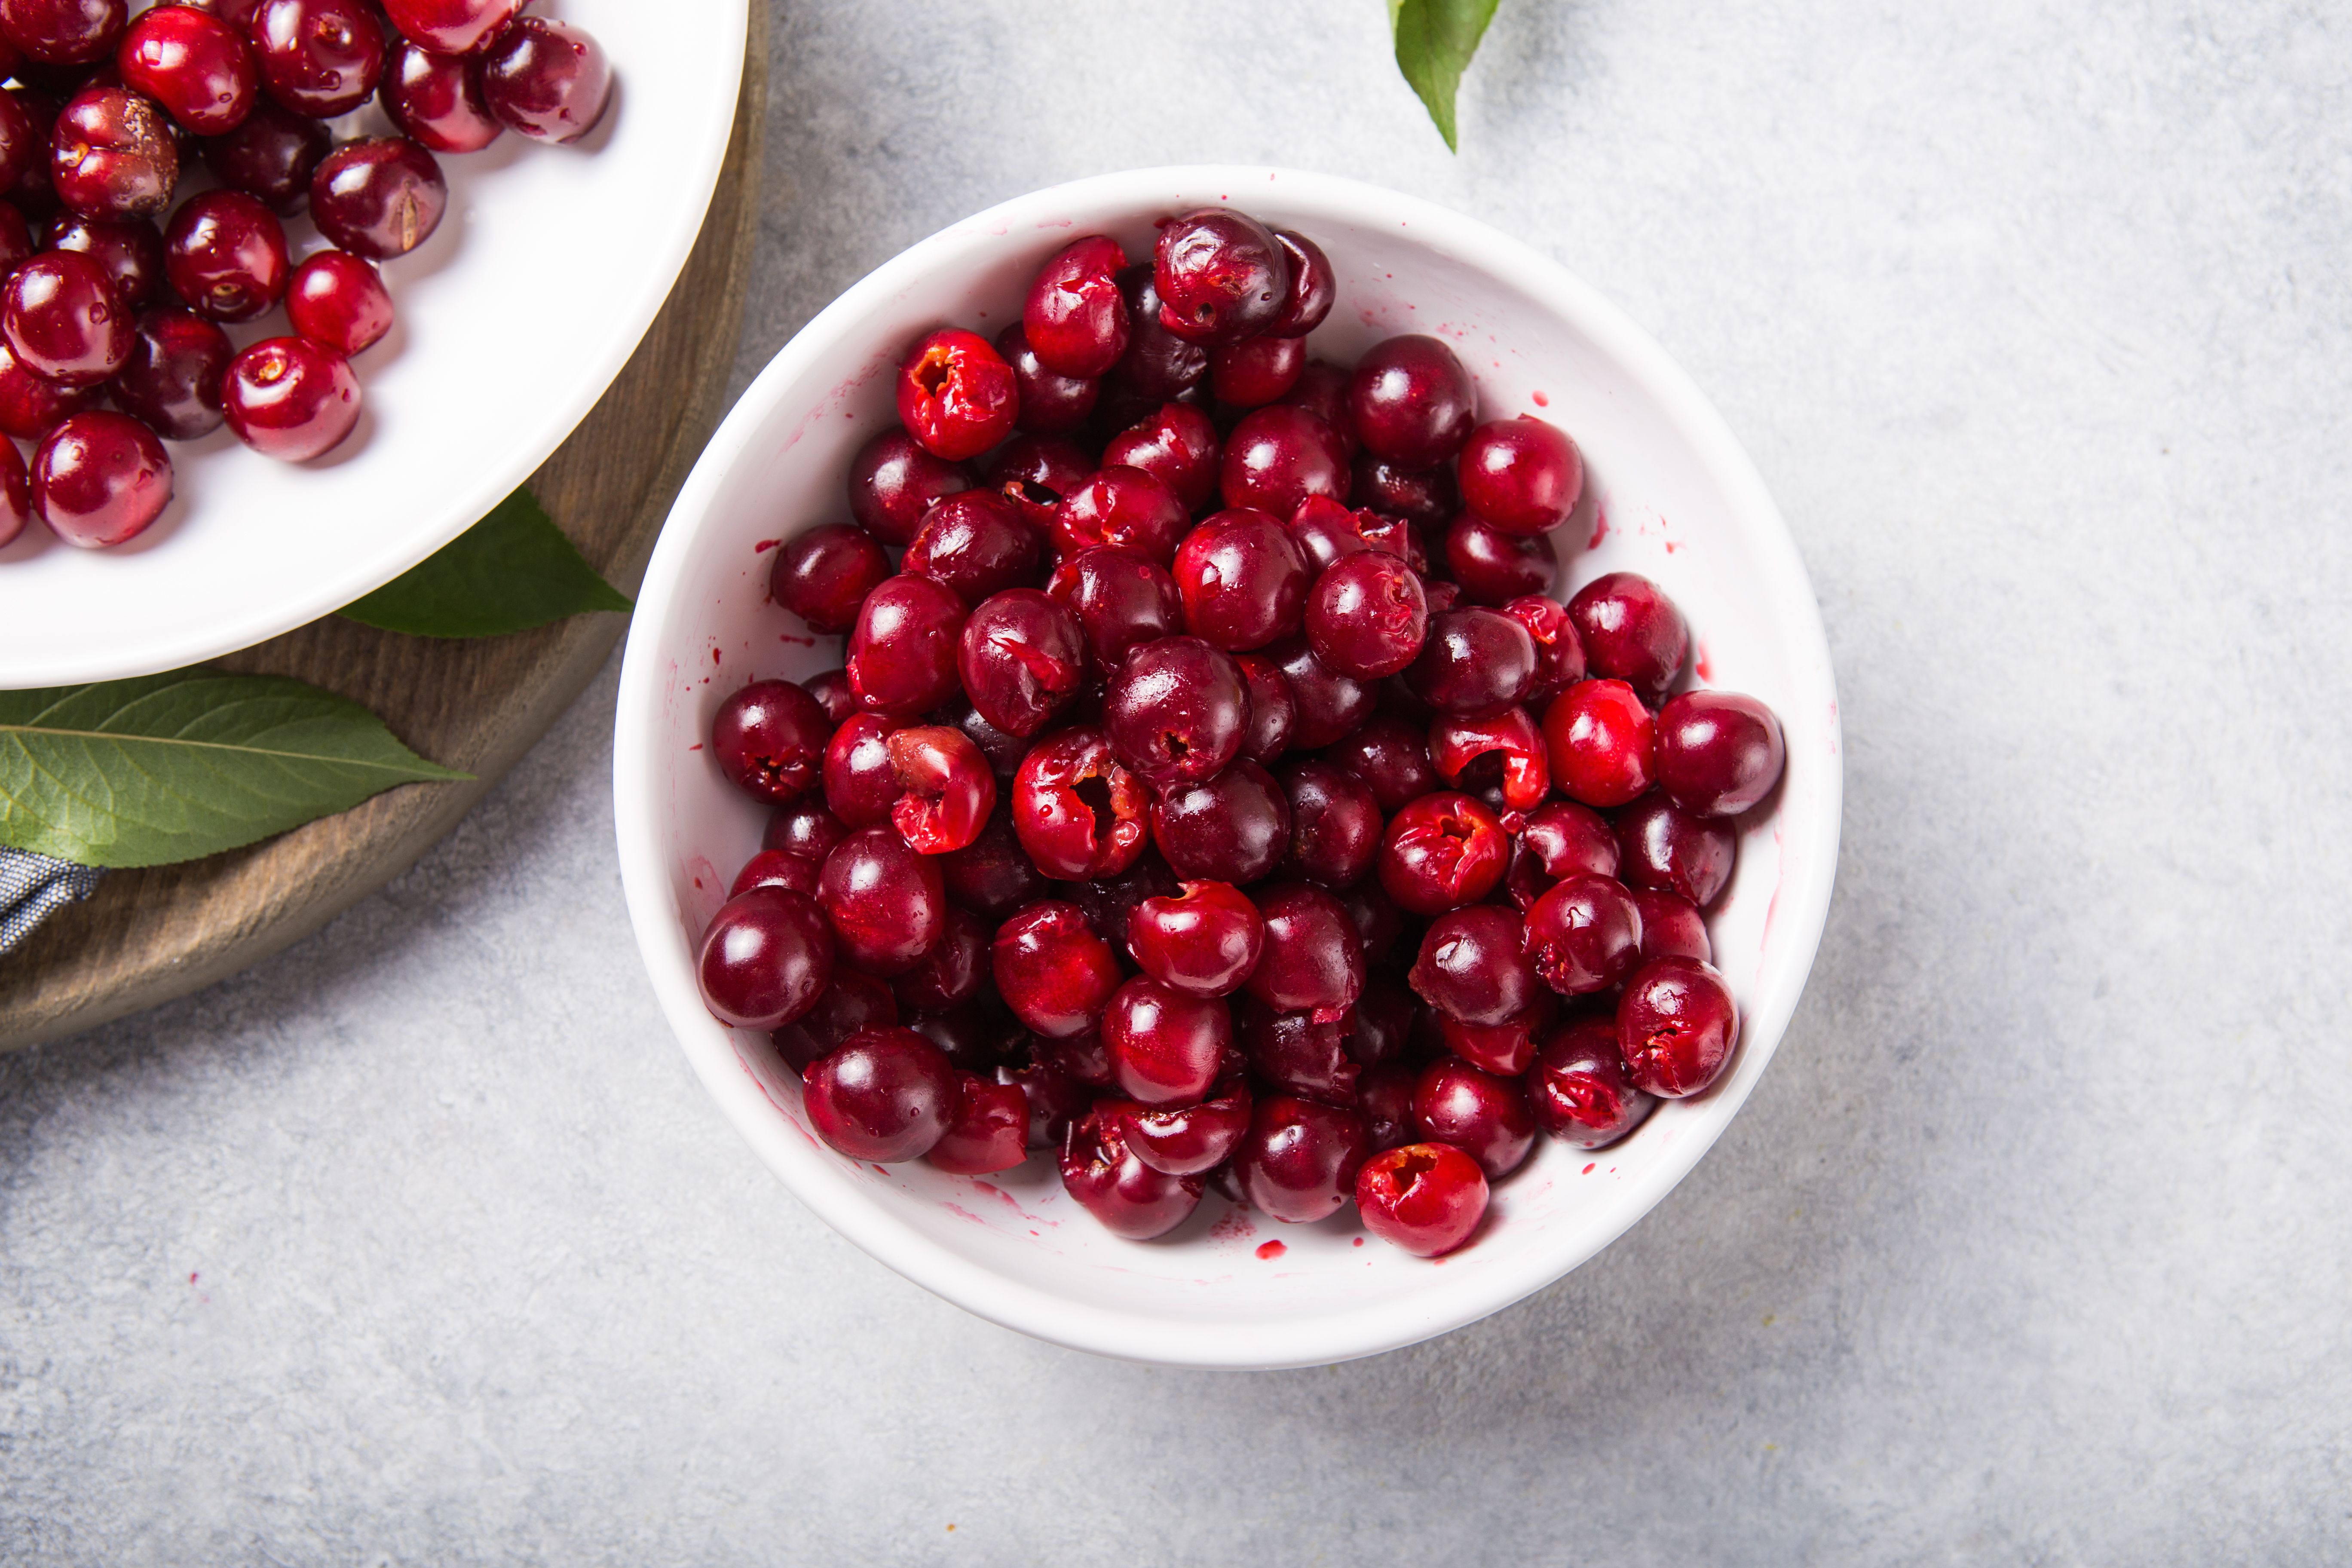
Cherries are basically summer’s way of saying, “I love you,” right before they add,
“Also, I’m going to stain your fingertips magenta.” The good news: once you know how to pit cherries
efficientlywhether you have a cherry pitter or you’re improvising with a straw and a bottleyou can
turn a messy chore into a quick prep step that unlocks pies, crisps, clafoutis, salads, salsa, and
snack bowls that feel downright fancy.
This guide walks you through the best cherry-pitting methods (with and without tools), helps you pick
the right approach for your recipe, and shares practical tips to keep your counters from looking like
a low-budget crime scene.
First: Do You Really Need to Pit Them?
If you’re eating cherries out of hand, you obviously don’t pit them first (unless you enjoy turning snacks
into administrative work). But for most recipes, pitting is worth it because:
- It’s safer: Biting down on a pit can crack a tooth, and pits are not meant to be eaten.
- It improves texture: Nobody wants “surprise rock” in a cherry cobbler.
- It helps your recipe cook evenly: Pitted cherries release juice and soften more predictably.
Set Yourself Up for Success (and Less Splatter)
A tiny bit of setup saves a lot of cleanup. Before you start pitting:
- Wear an apron or dark shirt. Cherry juice is bold. It does not do “subtle.”
- Work over a deep bowl. It catches juice and pits, and it keeps splashes contained.
- Line your station. A cutting board plus a damp cloth nearby is your best friend.
- Consider chilling soft cherries for 10 minutes. Slightly firmer fruit is easier to handle without squishing.
- Rinse and dry. Wash cherries under cool water, then dry well for better grip.
Method 1: How to Pit Cherries With a Cherry Pitter
If you pit cherries more than “once a year when optimism strikes,” a cherry pitter is the easiest,
fastest, and least messy method. Most pitters work by pushing a plunger through the stem end to pop the
pit out the bottom, while a guard helps control splatter.
Step-by-Step: Handheld Cherry Pitter
- Remove the stem (unless your recipe needs stems for garnish).
- Place a cherry in the pitter’s cradle with the stem end aligned under the plunger.
- Hold the pitter over a deep bowl to catch pit and juice.
- Squeeze firmly and smoothly. The pit should pop out in one motion.
- Check the cherry. If the pit didn’t fully eject, re-seat and press again.
Step-by-Step: Multi-Cherry (Hopper) Pitter
Planning a pie, jam, or a cherry “phase” that involves many pounds? Multi-cherry pitters process several
cherries at once and can save your hands.
- Load cherries into the hopper as directed (usually stem end positioned for the plunger).
- Press the mechanism to pit multiple cherries in one go.
- Empty pits and rinse parts promptly so sticky juice doesn’t harden like fruit glue.
Pro Tips for Better Results
- Aim for the stem end. Proper alignment keeps the cherry more intact.
- Expect some splatter. Even great pitters can fling juiceuse a bowl and keep a towel nearby.
- Rinse as you go. A quick rinse prevents buildup and makes final cleanup easier.
- Bonus: Many pitters can also handle olives, which is handy if you like dirty martinis or tapenade.
Method 2: How to Pit Cherries Without a Cherry Pitter
No pitter? No problem. There are several reliable DIY methods. The trick is choosing the method that matches
your goal: perfect-looking cherries for garnish, clean halves for baking, or “good enough” cherries for sauce.
Option A: Chopstick (or Sturdy Straw) + Bottle Method
This is the classic “look, Mom, I’m a kitchen magician” method. The bottle catches pits, and your hands stay
less stained.
- Find an empty bottle with a narrow opening (wine, soda, or beer bottle works well).
- Remove the stem.
- Place the cherry on the bottle opening with the stem end facing up.
- Push a chopstick or sturdy reusable straw through the stem end until the pit drops into the bottle.
- Repeat. (Put on music. You’re basically in a tiny cherry factory now.)
Best for: Whole cherries for fruit salad, snacking bowls, or recipes where you want the cherry mostly intact.
Option B: Pastry Tip Method (Surprisingly Clean for DIY)
If you have a metal pastry tip (like you’d use for piping frosting), you have an underrated cherry tool.
- Place the pastry tip upright on a cutting board (the narrow end up).
- Remove the stem.
- Press the cherry down onto the tip through the stem end.
- Lift the cherry off. Ideally, the pit stays in or near the tip opening.
- Pop the pit out of the tip and continue.
Best for: Medium batches, especially when you want a decent shape without buying a single-use gadget.
Option C: Paper Clip or Bobby Pin “Scoop” Method
This method removes the pit by hooking or scooping it out. It’s slower, but it can be useful if you want
to keep the cherry more intact (or if you’re pitting a small batch and refuse to buy another tool on principle).
- Straighten a paper clip into an “S” or hook shape (or open a bobby pin slightly).
- Remove the stem.
- Insert the hook into the stem opening and feel around for the pit.
- Scoop and pull the pit out.
Best for: Small batches, “I just need a handful,” or when your kitchen tools are mostly vibes and improvisation.
Option D: Paring Knife “Twist and Pop” Method
This is the method you use when you want halved cherries for baking, topping yogurt, or quick sautéing.
It’s also the method most likely to turn into a slippery mess if you rush.
- Place a cherry on a cutting board.
- Slice around the pit (like you would an avocado), keeping the blade in contact with the pit as a guide.
- Twist the halves gently.
- Remove the pit with your fingers or the tip of the knife.
Best for: Baking recipes that call for halved cherries (cakes, muffins, clafoutis, or toppings).
Option E: “Crush for Sauce” Method (Fast, Not Pretty, Very Effective)
If you’re making a cherry sauce, compote, barbecue glaze, or anything where cherries will be cooked down, you don’t
need perfect fruit. You need pits gone quickly.
- Place cherries in a sturdy zip-top bag in a single layer.
- Gently smash with a rolling pin or the bottom of a pan until cherries split.
- Pick out pits by hand as you transfer fruit to your pot.
Best for: Sauces and jams where “uniform cherry shape” is not on the guest list.
Which Method Should You Use? A Quick Decision Guide
- For lots of cherries (pie, jam, freezing): Multi-cherry pitter, or chopstick + bottle if you’re committed.
- For neat, whole cherries (salads, snacking, garnish): Handheld cherry pitter, pastry tip, or straw method.
- For halved cherries (baking and toppings): Paring knife method (and accept that your cutting board will judge you).
- For cooked sauces: Any method is finechoose speed over beauty.
How to Avoid a Cherry Juice Disaster
Cherry juice is delicious. It’s also determined to live forever on your hands, clothes, and cutting board.
Here’s how to keep mess under control:
Prevent Splatter
- Pit over a deep bowl and keep cherries close to the bowl’s rim.
- Use the bottle method when pitting by handpits drop inside and juice stays contained.
- Work in small batches. Rushing is how you paint your backsplash “cherry noir.”
Remove Stains from Hands and Surfaces
- Wash hands quickly with soap and warm water.
- Try lemon for stubborn stains (then rinse and moisturize so your hands don’t feel like sandpaper).
- For cutting boards: clean promptly; for lingering stains, common approaches include mild abrasives (like salt)
and stain-lifting options used in household cleaning routines.
How to Store and Freeze Pitted Cherries
Cherries are happiest when stored cold and dry. If you can, store them unwashed until you’re ready to use them,
then pit right before cooking or serving. Once pitted, they release juices more easily and can soften faster.
Refrigerator Storage
- Whole cherries: Keep in a breathable container or a bowl loosely covered in the fridge.
- Pitted cherries: Store in an airtight container and use within a few days for best texture.
Freezing (The “Future You Will Be Thrilled” Method)
- Pit the cherries and pat dry.
- Spread in a single layer on a parchment-lined baking sheet.
- Freeze until firm, then transfer to freezer bags or containers.
- Label (because “mystery red fruit” is not a great cooking plan).
Frozen cherries are excellent for smoothies, sauces, crisps, and baking. They may be a little softer after thawing,
but in a warm dessert, nobody complains.
Common Cherry-Pitting Mistakes (and How to Fix Them)
- Mistake: Cherries squish into sad pancakes.
Fix: Chill briefly, work gently, and avoid overripe fruit for pitting-heavy recipes. - Mistake: Pits won’t pop out cleanly.
Fix: Re-align with the stem end centered under the plunger or tool. - Mistake: Juice everywhere.
Fix: Switch to a deep bowl or the bottle method; keep cherries close to the catch container. - Mistake: Knife slipping.
Fix: Slow down, keep fingertips tucked, and use a stable cutting board.
FAQ: Quick Answers
Are cherry pits toxic?
Cherry pits contain compounds that are not meant to be eaten. Accidentally swallowing one whole is usually not the same
as chewing them, but the safest advice is simple: don’t eat the pits, and keep them away from kids and pets.
Should I pit cherries before baking?
Yes, unless the recipe explicitly tells you otherwise. Leaving pits in can be a choking hazard and a tooth hazard.
Pitting also helps cherries cook down evenly in pies, crisps, and sauces.
Can I pit cherries ahead of time?
You can, but for best texture, pit them closer to when you’ll use them. If you need to prep ahead, store pitted cherries
cold in an airtight container and expect some juice pooling (which you can often use in the recipe).
Cherry-Pitting “Experiences” From Real Kitchens (What People Usually Learn the Fun Way)
If you ask a group of home cooks about pitting cherries, you’ll get two things: a strong opinion about the “best” method,
and at least one story involving a shirt that is now permanently “berry-toned.” Cherry pitting is one of those kitchen tasks
that seems simpleuntil you’re fifteen cherries in and suddenly your hands look like you just finished fingerprinting evidence.
One common experience: people start with the paring knife method because it feels intuitive. Slice around the pit, twist, remove,
repeat. It works beautifullyright up until the cherries get extra juicy and start sliding around. That’s when most cooks discover a
universal truth: traction matters. Drying cherries well, using a non-slip cutting board, and slowing down turns the knife method from
“dangerously athletic” into “calmly productive.” It’s also when many people decide they prefer this method specifically for recipes that
want cherry halves, because it’s efficient to combine pitting and halving in one step.
Another classic: the chopstick-and-bottle method. The first time someone tries it, they usually expect a gentle push and a polite pit exit.
Instead, the pit sometimes launches with the enthusiasm of a tiny cannonball. That’s why the bottle is so belovedwhen it works, it’s clean,
fast, and kind of satisfying in a “mini assembly line” way. People who pit large batches this way tend to develop a rhythm: set cherry, push,
listen for the pit drop, move on. It becomes oddly relaxing, like popping bubble wrap, but fruitier.
The pastry tip method often shows up as a pleasant surprise. Home bakers already have piping tips, so discovering one can double as a cherry
pitter feels like winning a small kitchen lottery. The experience many describe is “less splatter than expected” plus “why did I ever buy a
single-use gadget?” It’s also popular for kids-helping-in-the-kitchen situations (with supervision), because it’s a simple press motion that can
feel safer than a knifethough you still want to keep fingers clear and go slowly.
And then there’s the paper clip or bobby pin methodthe scrappy, minimalist approach. People usually try it once out of necessity, then keep it
as a backup plan forever. It’s not the fastest option, but it’s strangely effective for small bowls of cherries when you don’t want to drag out
tools. The “experience” here is less about speed and more about control: you’re scooping the pit rather than punching it out, so you can sometimes
keep cherries fairly intact for topping oatmeal or yogurt. The trade-off is sticky fingers, which leads to the next universal lesson…
Cherry stains are part of the deal. The most practical cooks accept it and plan around it: apron on, towel nearby, soap ready. Some keep lemon on
standby for hands. Others just embrace the temporary pink fingertips as the official badge of “I made something good.” The best “experienced cook”
move is pitting over a bowl, not over a cutting board, because bowls don’t let juice wander across your counter with tiny red footprints.
Finally, the biggest experience-based takeaway is this: match the method to the recipe. If you’re making a pie or freezing pounds of cherries,
speed mattersuse a pitter or bottle method and don’t obsess over perfect fruit. If you’re garnishing a cake or building a salad where cherries
need to look beautiful, a handheld pitter (or a careful pastry tip approach) gives you the nicest results. And if you’re cooking everything down
into sauce, you can choose the method that feels easiest in the moment, because once it simmers, nobody can tell how elegant your pitting technique was.
In other words: there’s no single “right” wayjust the way that gets pits out, keeps fingers safe, and leaves you with cherries ready to become
the best part of whatever you’re making.
Conclusion
Pitting cherries doesn’t have to be a sticky, time-consuming chore. With a cherry pitter, you’ll get speed and tidy resultsespecially for large batches.
Without one, you can still pit cherries efficiently using smart DIY options like the chopstick-and-bottle method, a metal pastry tip, or even a paper clip.
Pick the technique that matches your recipe, set up your station to reduce splatter, and you’ll spend less time cleaning and more time enjoying peak-season
cherry goodness.