If you’ve ever launched PCSX2, loaded up a classic PS2 game, and watched your character spin in circles like they just discovered espresso… congrats. You’ve met the “controls aren’t configured yet” gremlin. The good news: PCSX2 control setup is usually a two-minute job. The better news: once you dial it in (dead zones, rumble, hotkeys, multi-controller chaos), it feels shockingly close to real hardwareminus the memory card you lost in 2004.
This guide walks you through configuring gamepads, keyboards, and hotkeys on PCSX2step-by-step, with practical troubleshooting and some “learned it the hard way” tips. We’ll focus on modern PCSX2 builds first (the ones with the newer interface), then cover legacy plugin-based setup (because the internet never forgets, and neither do old tutorials).
First, Identify Your PCSX2 “Era” (Because Menus Change)
PCSX2 has lived multiple lives. And like any good reboot, the UI labels differ depending on your version. Before following any instructions, do a quick check in PCSX2’s About or main window for the version number.
- Modern builds (common today): You’ll typically see a Settings menu and a dedicated Controllers screen with Input Sources and Automatic Mapping. This is where you want to be if you’re using a recent PCSX2 build. (Many guides reference “Qt” builds or modern nightlies.)
- Legacy/stable builds (older tutorials): You may see something like Config > Controllers (PAD) > Plugin Settings, where you configure an input plugin such as LilyPad. That approach still works on those older builds, but it’s not how the newest interface is designed.
Either way, the goal is the same: tell PCSX2 which physical device (controller/keyboard) should act like a DualShock 2and make sure nothing else is “helpfully” hijacking your buttons in the background.
Quick Start: Configure a Controller in Modern PCSX2 (Automatic Mapping)
Step 1: Plug in (or pair) your controller first
Yes, this sounds obvious. No, we don’t always do it. For Windows, confirm the controller is detected (Bluetooth paired or USB connected) before launching PCSX2. For Steam Deck or other Linux setups, confirm the controller is recognized at the system level, especially if you’re using Steam Input.
Step 2: Open the Controllers settings
In modern PCSX2 builds, you’ll usually go to Settings > Controllers. You’ll see two key areas:
- Global Settings / Input Sources (where PCSX2 listens for controller input)
- Controller Port 1 / Port 2 (where you map Player 1 and Player 2 buttons)
Step 3: Choose the right Input Source (SDL vs XInput vs friends)
Think of Input Sources as the “ears” PCSX2 uses to hear your controller. If the right ear isn’t enabled, PCSX2 can’t hear youno matter how loudly you mash X.
- SDL Input Source: The most flexible and cross-platform option; commonly recommended for many controllers and used heavily in modern builds for automatic mappings and advanced features. (It’s also the path frequently referenced in modern help threads.)
- XInput: Great for Xbox controllers on Windows; usually the simplest “it just works” path for Xbox-style pads.
- DInput / Raw Input (names vary): Useful when a controller is misdetected, double-mapped, or weirdly labeled. Some adapters and older devices behave better here.
Important gotcha: for some Xbox controllers, enabling both SDL and XInput at the same time can cause problems (bindings show up, but gameplay input goes sideways). If you’re troubleshooting an Xbox pad, try using one source at a time, not a buffet.
Step 4: Use Automatic Mapping (your new best friend)
Go to Controller Port 1 (Player 1). Click Automatic Mapping and choose your controller entry (often listed as an SDL device like SDL-0 or as an XInput device depending on the source you enabled).
If PCSX2 recognizes your controller properly, it will fill in the DualShock 2 layout automatically. At this point, you can often jump into a game and play immediately.
Step 5: Test input (before blaming the emulator)
After auto-mapping, press a few buttons and wiggle both sticks in the controller configuration screen. Many modern builds show real-time input feedback. If you see inputs registering there but not in-game, jump to the troubleshooting section (it’s usually an input source, a hotkey collision, or a Steam Input layer issuenot black magic).
Manual Mapping: When You Want It Exactly Your Way
Automatic mapping is greatuntil you have preferences. Maybe you want: face buttons swapped to match Nintendo muscle memory, triggers to behave like analog, or D-pad on the left stick because you’re playing a rhythm game and you enjoy suffering (I respect it).
How manual binding usually works
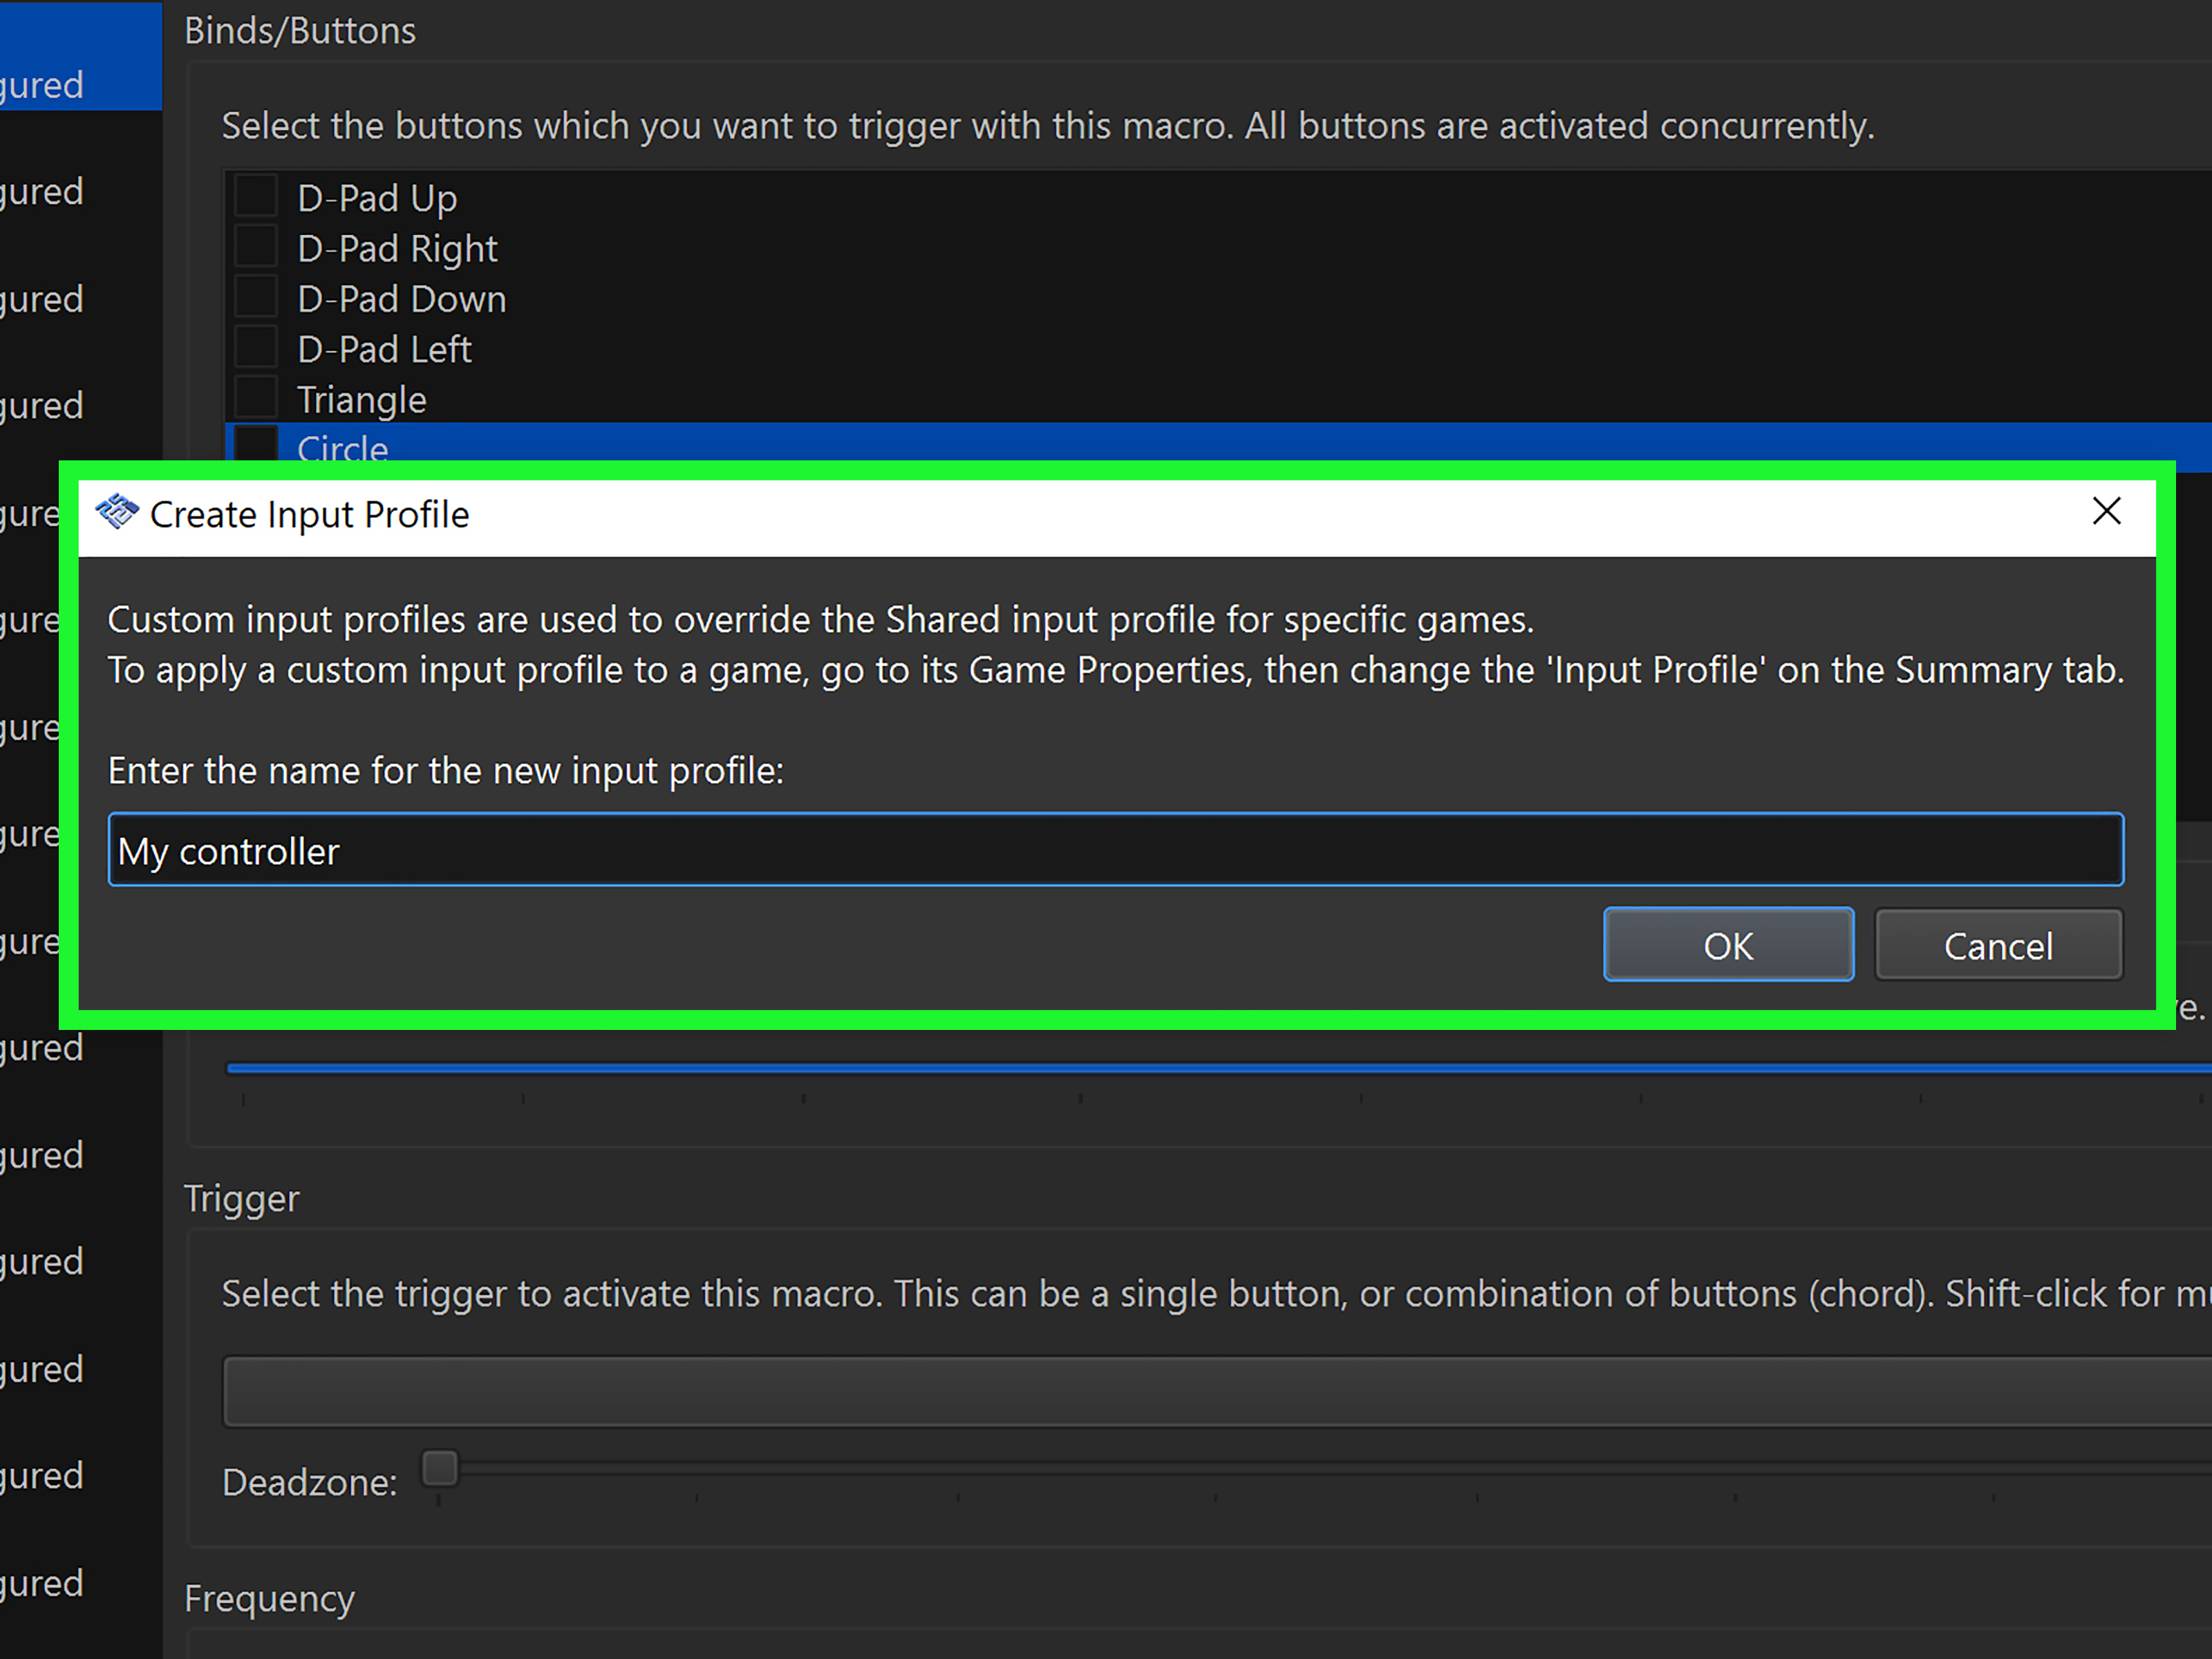
- Click the PS2 button you want to configure (e.g., Triangle).
- Press the controller button you want to assign.
- Repeat until everything important is mapped.
- If you assign something wrong: look for a clear or right-click to remove style option (wording varies by build).
A practical “Xbox controller to DualShock 2” example mapping
This isn’t the only correct mappingthis is the “my hands don’t hate me” mapping many people start with:
| DualShock 2 | Xbox Controller | Why it works |
|---|---|---|
| Cross (X) | A | Primary confirm/action button in many games |
| Circle | B | Secondary action/cancel in lots of PS2 layouts |
| Square | X | Often “attack” or “use” depending on the game |
| Triangle | Y | Common “menu / context” role |
| L1 / R1 | LB / RB | Shoulder-to-shoulder is the least surprising |
| L2 / R2 | LT / RT | Triggers map naturally; watch for analog behavior settings |
| Left Stick / Right Stick | LS / RS | Matches camera/movement defaults for most 3D games |
| L3 / R3 | Stick clicks | Used for sprint/crouch/camera reset in many games |
| Start / Select | Menu / View (or Start/Back) | Depends on the controller generation |
Tip: If your game expects a “pressure-sensitive” feel (common on PS2 for some actions), don’t panic. Most games play fine with normal digital buttons. But if you’re chasing authenticity, see the advanced section below.
Advanced Control Tweaks That Actually Matter
1) Dead zones and sensitivity (a.k.a. stop drifting into walls)
If your character slowly creeps forward when you’re not touching the stick, that’s stick driftor more accurately, “your controller’s center isn’t perfectly centered.” Dead zones fix this by ignoring tiny inputs near the middle.
- Start low: a small dead zone preserves precision.
- Increase only if needed: too high makes aiming feel like steering a shopping cart with one wheel missing.
2) Diagonals not reaching full range? Adjust axis scale
Some users report diagonal stick directions not hitting 100% (result: “why am I walking diagonally like I’m in slow motion?”). A commonly suggested fix is tweaking Axis Scale slightly above 1.0 (for example, around 1.10–1.30) in controller settings, depending on your device.
3) Rumble (because your hands deserve nostalgia)
Rumble support depends on controller type and settings. For DualShock 4 / DualSense users, modern builds often include an Enhanced Mode option that can unlock better vibration behavior and extras like LED control, especially over Bluetooth. If vibration isn’t working, double-check that the vibration motors (often labeled Large and Small) are actually assigned/enabled in your controller port configuration.
4) Multiple controllers (Port 2, multitap, and couch co-op dreams)
For two players, configure Controller Port 2 the same way you did Port 1. Make sure each player is mapped to the correct physical controller. If inputs get “mixed,” it’s often because:
- Both pads are being listened to by multiple input sources at once
- Steam Input is injecting a second virtual controller
- Controller IDs changed between launches (more common with some SDL setups)
If your controller seems to “change identity” after reboot, you’re not imagining itdevice ID persistence has been discussed in the community, particularly for SDL-managed controllers. When it happens, the practical fix is usually to re-select the correct controller entry and save a profile (or keep your controllers plugged into the same ports).
Hotkeys: Save States Without Keyboard Yoga
PCSX2 hotkeys are how you do emulator magic: save/load states, toggle fast-forward, pause, fullscreen, open the quick menu, and more. The tricky part is that PS2 games already use basically every button on the controllerso you can run out of “free” inputs fast.
Where to set hotkeys
In many modern PCSX2 builds, hotkeys are configured under a dedicated Settings > Hotkeys menu, where you can scroll to sections like save/load state and assign keys or buttons. If you’re using a build where a controller button triggers emulator actions unexpectedly, that’s often a hotkey collision (your game’s Circle button is also mapped to “Pause,” for example).
Pro workaround: use a “modifier” layer (Steam Input / DS4Windows)
If PCSX2 doesn’t support the exact “R3 + button” combos you want in a clean way, you can create them outside PCSX2:
- Steam Input: set a back paddle or stick click as a modifier, then make combinations output keyboard shortcuts PCSX2 understands.
- DS4Windows (Windows): map a controller combo to a keyboard key, then bind that key in PCSX2.
This keeps in-game controls intact while still giving you emulator shortcutswithout requiring a third hand to reach the keyboard.
Troubleshooting: The Fixes That Solve 90% of “My Controller Doesn’t Work”
Problem: Controller works in the binding screen, but not in-game
- Try one input source at a time. If you enabled SDL and XInput together on an Xbox controller, disable one and retest.
- Restart PCSX2 after changing input sources. Some changes behave better after a restart.
- Check Steam Input. Steam can create virtual controllers that confuse mappingsespecially on Steam Deck or Big Picture setups.
Problem: Button presses open emulator menus or pause the game
- Hotkey collision. Go to Hotkeys and clear or rebind the conflicting action.
- Steam Deck/system controls mode. If you’re on a handheld setup, you may be switching between “system controls” and “game controls.” When this happens, inputs can feel inconsistent until you return to the right mode.
Problem: Random ghost inputs / stuck directions
- Increase dead zone slightly. Drift can look like “ghost input.”
- Don’t cross-map D-pad and sticks in strange ways unless necessary. Some users have reported odd behavior when mapping D-pad/shoulders/triggers to stick axes, depending on build and platform.
- Try a different handler (SDL vs Raw/DInput). Adapters and niche controllers sometimes behave better with a different source.
Problem: Automatic mapping doesn’t recognize your controller correctly
- Update PCSX2. Controller databases and auto-mapping logic can improve over time.
- Use manual mapping. It’s annoying, but it’s reliable.
- Try a wired connection. Bluetooth can add weirdness for some devices, especially when multiple controller layers are involved.
Legacy Setup (Older PCSX2 Builds): LilyPad Plugin Basics
If your PCSX2 build uses plugin configuration menus (common in older guides), you’ll typically set controls via something like: Config > Controllers (PAD) > Plugin Settings, then configure the plugin (often LilyPad on Windows). The LilyPad workflow includes choosing input APIs (XInput/DirectInput), binding buttons on a PAD 1 tab, and optionally adjusting dead zones and sensitivities.
The legacy approach still works where applicable, but if you’re installing PCSX2 fresh today, you’ll usually have an easier time with the modern controller screen and automatic mapping.
FAQ: Quick Answers for Common Control Questions
Can PCSX2 use my controller without any setup?
Often, yesespecially with modern builds and common controllers. But even if it auto-detects, it’s worth confirming dead zones, rumble, and hotkeys so you don’t discover problems mid-boss fight.
Is SDL or XInput better?
On Windows with Xbox controllers, XInput is usually the smoothest baseline. If you want more flexibility or you’re on Linux/macOS, SDL is commonly the go-to. If things act weird, avoid enabling multiple overlapping sources at the same time.
How do I set up two controllers for local multiplayer?
Configure Controller Port 1 for Player 1, then Controller Port 2 for Player 2. Make sure each port is mapped to the correct physical device and test in the controller screen before launching a game.
Wrap-Up: The “Set It Once, Enjoy Forever” Checklist
Here’s your final control-setup checklistthe stuff that prevents 95% of frustration:
- Connect controller first, then open PCSX2.
- Enable the correct input source (SDL or XInput, not “everything everywhere all at once”).
- Use Automatic Mapping, then manually fix any weird buttons.
- Set dead zones and sensitivity so drift doesn’t ruin your day.
- Verify rumble/motor assignments (especially on DualShock 4 / DualSense).
- Check Hotkeys so your Circle button doesn’t pause the emulator mid-combo.
- Save a profile once it feels right (future-you will thank present-you).
Once your controls are configured, PCSX2 becomes the kind of emulator that makes you forget you’re emulatinguntil you hit fast-forward and realize real PS2s never had that luxury.
of Real-World Experience: What I’d Tell a Friend Before Their First PCSX2 Session
The first time I configured PCSX2 controls, I assumed it would be like plugging in a controller on a console: connect it, press Start, done. And sometimes it isespecially with an Xbox controller on Windows. But “sometimes” is where the story gets entertaining. The biggest lesson: don’t try to solve three input layers at the same time. When people get stuck, it’s rarely because PCSX2 can’t map a button. It’s because something else is also mapping that same button, just differently enough to cause chaos.
For example, Steam Input is incredibly powerful, but it’s also like a well-meaning friend who insists on “improving” your recipe while you’re cooking. You press Circle, and instead of rolling in-game, PCSX2 pauses. You press Start, and a Steam overlay appears, followed by existential dread. When that happens, the fix usually isn’t “rebind everything from scratch.” The fix is: decide who is in charge. If Steam Input is handling your controller, either let Steam translate your controller into keyboard keys (and bind those in PCSX2), or disable Steam Input for that shortcut so PCSX2 can see the controller directly. Mixing both without a plan is how you end up mapping “Up” to “Up, but also maybe Menu.”
Another lesson: dead zones are not optionalthey’re a quality-of-life setting. A controller can feel perfect in modern games with built-in drift compensation, then feel haunted in an emulator where raw stick input is more exposed. If your character inches forward while you’re hands-off, bump the dead zone slightly and move on with your life. Don’t spend an hour convincing yourself your room is tilted.
I also learned to treat automatic mapping like a starting point, not a sacred text. Auto-mapping gets you playing fast, but manual mapping is where you make it feel “right.” Want L1/R1 to be camera reset and lock-on because that’s how you played in 2002? Do it. Want the D-pad to be ultra-snappy for a fighting game? Map it carefully, test it in-game, and adjust sensitivity until your inputs feel intentional rather than “close enough.”
Finally: hotkeys are the secret sauce, but they’re also the easiest way to accidentally sabotage your controller. The PS2 used nearly every button for something, so if you bind fast-forward to Triangle, you’re going to fast-forward at the exact moment you meant to jump. My favorite workaround is using a modifier button through Steam Input (or a controller utility) so you get “R3 + D-pad” style combos for save/load states without sacrificing gameplay controls. Once you’ve done that, PCSX2 stops being “an emulator you launch” and starts being “your PS2 library, but with better conveniences.”
If you take nothing else away: pick one input source, map cleanly, set dead zones, and audit hotkeys. That’s the difference between “PCSX2 is amazing” and “why is my character doing interpretive dance.”