Tree sap on a car is one of those tiny problems that quickly becomes a full-blown driveway drama. One day your vehicle is sitting peacefully under a leafy tree, enjoying the shade like it booked a spa appointment. The next day, the hood is dotted with sticky amber blobs that refuse to leave. Soap laughs at them. Water slides around them. Your fingernail is tempted to join the fight, which is exactly when your car’s clear coat quietly whispers, “Please don’t.”
The good news? You can remove tree sap from your car without damaging the paint if you use the right method, the right materials, and a little patience. The bad news? Scrubbing like you are sanding a deck is not one of those methods. Tree sap hardens as it sits, especially in heat and sunlight, and it can bond to the surface of your paint, glass, trim, or windshield. Left alone, it may stain the finish, dull the shine, or make future cleaning harder.
This guide breaks down three safe, practical ways to remove tree sap from car paint: a warm wash and soak method for fresh sap, a rubbing alcohol or automotive sap remover method for stubborn spots, and a clay bar method for leftover residue. You will also learn what not to use, how to protect the paint afterward, and how to avoid turning a small sap spot into a professional paint correction bill.
Why Tree Sap Is So Hard to Remove
Tree sap is sticky by design. It helps trees seal wounds, defend against insects, and move nutrients. Unfortunately, the same clingy chemistry that helps a tree protect itself also helps sap grab onto your vehicle’s clear coat like it signed a long-term lease.
Fresh sap may feel soft or syrupy. At that stage, it is much easier to lift. But as it dries, it can harden into a raised, glossy lump. Heat from the sun bakes it further, and dust or pollen can mix into the blob, making it even more stubborn. Pine sap is especially notorious because it can be thick, resinous, and impressively committed to ruining your Saturday.
Can Tree Sap Damage Car Paint?
Yes, tree sap can damage car paint if it stays on the surface too long. The biggest concern is not always instant damage; it is the slow bonding, staining, and possible clear coat irritation that happens when sap sits through hot days, rain, dust, and repeated sun exposure. Sap can also trap grit, which increases the chance of fine scratches when you wipe it away incorrectly.
That is why the safest approach is simple: remove sap as soon as you notice it, use the least aggressive method first, and protect the area afterward with wax, sealant, or ceramic spray. Think of it as skincare for your car, minus the cucumber slices.
Before You Start: Gather the Right Supplies
You do not need a professional detailing garage to clean tree sap off a car, but you do need the right tools. Using rough towels, dirty rags, kitchen scrub pads, or mystery chemicals from the back of the cabinet can create more problems than the sap itself.
Recommended Supplies
- Car wash soap or pH-balanced automotive shampoo
- Warm water
- Clean microfiber towels
- Microfiber wash mitt
- Rubbing alcohol, preferably isopropyl alcohol, used carefully
- Automotive bug, tar, and sap remover
- Clay bar or synthetic clay mitt
- Clay lubricant or quick detailer
- Car wax, paint sealant, or ceramic spray
- Nitrile gloves, optional but helpful
Important Safety Rule: Test First
Before applying rubbing alcohol, sap remover, or any cleaner to a visible area, test it on a small, hidden section of painted surface. Wait a minute, wipe it off, and check whether the finish looks normal. Modern clear coats are durable, but they are not invincible. Older paint, repainted panels, oxidized finishes, and neglected clear coats need extra caution.
Also, avoid working in direct sun. Heat makes cleaners evaporate too quickly and can make sap even tackier. A cool surface in shade is your best friend here. Your second-best friend is patience. Your worst enemy is a dry paper towel and reckless enthusiasm.
Method 1: Warm Water, Car Soap, and a Microfiber Soak
This is the gentlest way to remove tree sap from your car, and it should usually be your first move. It works best on fresh sap, light spots, and sap that has not baked onto the paint for days or weeks.
Best For
- Fresh tree sap
- Light sticky residue
- Cars with delicate, older, or recently polished paint
- Drivers who want the safest first attempt
Step-by-Step Instructions
Step 1: Rinse the area thoroughly. Use clean water to rinse away loose dirt, dust, pollen, and grit. This step matters because wiping sap over dirty paint can create swirl marks. If the car is very dirty, wash the whole panel first instead of spot-cleaning.
Step 2: Wash with car shampoo. Mix car wash soap with warm water according to the product instructions. Use a microfiber wash mitt to gently clean the panel. Work from the top down and rinse often.
Step 3: Soften the sap with a warm microfiber towel. Soak a clean microfiber towel in warm, soapy water, wring it slightly, and lay it directly over the sap for several minutes. The warmth helps soften the sap so you do not have to attack it like a raccoon opening a snack container.
Step 4: Wipe gently. After the sap softens, wipe with light pressure. Use small motions and turn the towel frequently so you are always using a clean section. If the sap moves but does not fully disappear, repeat the warm towel soak.
Step 5: Rinse and dry. Rinse away soap residue and dry the area with a fresh microfiber towel. Check the surface with your fingertips. If it feels smooth and clean, you are done. If it still feels sticky or raised, move to Method 2.
Why This Method Works
Warm water and automotive soap help loosen fresh sap without stripping too much protection from the paint. The key is contact time. Instead of scrubbing harder, let the warm towel sit longer. Sap removal is less “muscle contest” and more “convince the blob to give up peacefully.”
Common Mistakes to Avoid
- Do not use boiling water, which can shock glass or damage sensitive surfaces.
- Do not scrape sap from paint with a razor blade, knife, credit card, or fingernail.
- Do not use a dirty towel that may drag grit across the clear coat.
- Do not let soap dry on the paint.
Method 2: Rubbing Alcohol or Automotive Sap Remover
If warm water and soap cannot finish the job, step up to a targeted cleaner. Rubbing alcohol can soften and dissolve many sap spots, while dedicated bug, tar, and sap removers are designed for automotive surfaces. This method is ideal for sap that has dried, thickened, or survived a normal wash.
Best For
- Dried tree sap
- Pine sap on car paint
- Sticky residue after washing
- Small to medium sap spots
Option A: Use Rubbing Alcohol Carefully
Rubbing alcohol, often labeled isopropyl alcohol, can work well on tree sap because it helps break down sticky residue. However, it can also remove wax or weaken existing protection, so it should be used sparingly and followed by washing and reapplying protection.
Step 1: Wash and dry the area first. Never apply alcohol over dirt. Clean the panel using car soap and water, then dry it.
Step 2: Apply alcohol to a microfiber towel, not directly to the car. Dampen a small section of a clean microfiber towel. You do not need to soak the panel. More chemical does not mean more skill.
Step 3: Hold the towel on the sap. Press the damp towel gently against the sap for 30 to 60 seconds. This gives the alcohol time to soften the residue.
Step 4: Wipe gently. Use light pressure and short motions. If the sap begins to dissolve, continue wiping with a clean part of the towel. For stubborn spots, repeat the hold-and-wipe process rather than rubbing aggressively.
Step 5: Wash, rinse, and protect. After the sap is gone, wash the area with car soap, rinse well, and dry. Then apply wax, sealant, or ceramic spray to restore protection.
Option B: Use a Bug, Tar, and Sap Remover
Automotive sap removers are often the better choice for drivers who want a product formulated for paint, glass, chrome, plastic trim, and clear coat safety. Read the label carefully because dwell time and surface compatibility can vary.
Step 1: Start with a clean surface. Wash and dry the vehicle or at least the affected panel.
Step 2: Apply the product to the sap spot. Some removers are sprayed directly onto the surface; others work best when applied to a towel. Follow the label directions.
Step 3: Let it dwell. Give the remover time to soften the sap. Do not let it dry on the surface. If the product says to wait one minute, wait one minutenot twenty, not overnight, not “until I remember after dinner.”
Step 4: Wipe with microfiber. Use a clean towel and gentle pressure. Reapply if needed.
Step 5: Rinse and re-wax. Even paint-safe cleaners can reduce wax protection. Once the sap is gone, rinse the area and apply a protective layer.
What About Hand Sanitizer?
Alcohol-based hand sanitizer is popular online because it clings to vertical surfaces and can soften sap. It may work in a pinch, but it is not ideal because formulas vary and may contain fragrances, moisturizers, dyes, or other additives. If you use it, test first, use a small amount, do not let it dry, and wash the area afterward.
What Not to Use on Car Paint
Avoid gasoline, acetone, nail polish remover, harsh degreasers, abrasive cleaners, metal scrapers, magic erasers, and rough kitchen pads on painted surfaces. Some of these can dissolve sap, but they can also haze, stain, or strip the finish. Winning the battle against sap while damaging your clear coat is like fixing a squeaky door by removing the door.
Method 3: Clay Bar Treatment for Leftover Sap Residue
If the sap is gone but the paint still feels rough, sticky, or contaminated, a clay bar can help. Clay bars and synthetic clay mitts remove bonded contaminants from the surface of the paint, including sap mist, tar, industrial fallout, and stubborn residue that washing cannot fully remove.
Best For
- Fine sap mist
- Leftover residue after cleaning
- Rough-feeling paint
- Preparing the car for wax or polish
Step-by-Step Instructions
Step 1: Wash and dry the car. A clay bar should never be used on dirty paint. Wash the affected panel thoroughly and dry it with microfiber towels.
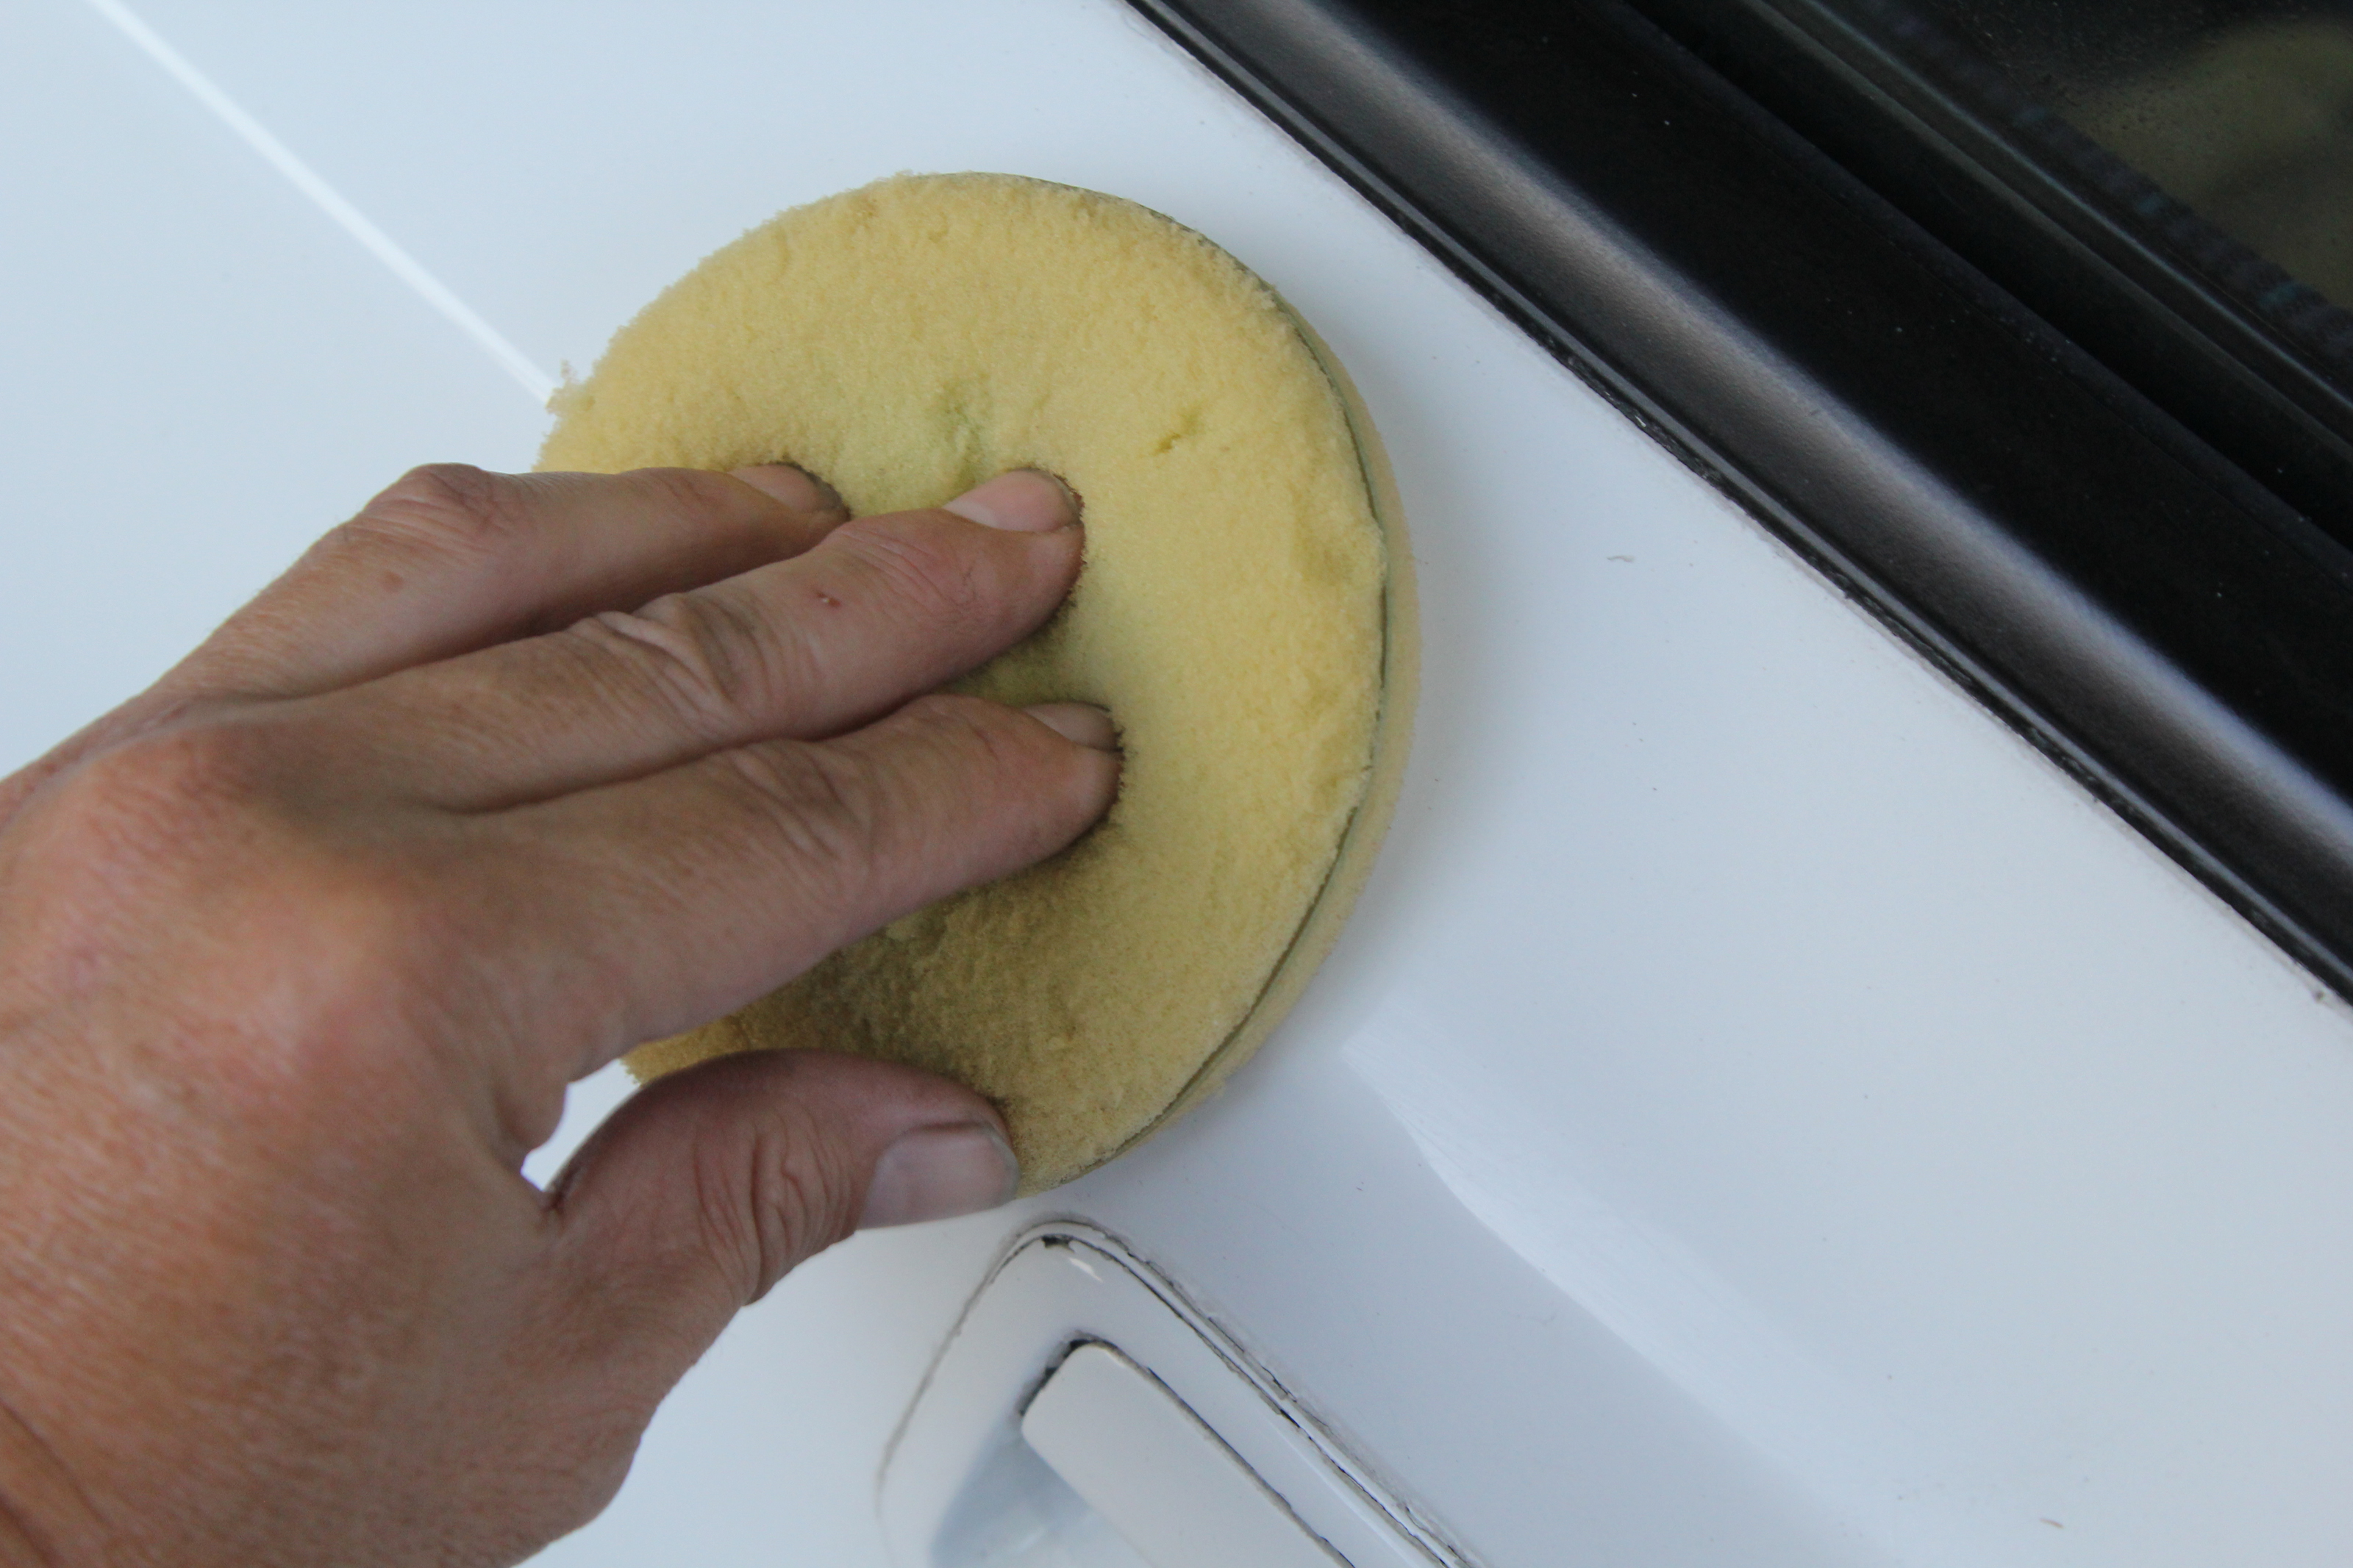
Step 2: Knead the clay. Flatten a small piece of detailing clay into a soft patty. If you are using a synthetic clay mitt or pad, make sure it is clean and properly lubricated.
Step 3: Lubricate the surface generously. Spray clay lubricant or quick detailer onto a small section of paint. Lubrication is not optional. Without it, clay can drag and mar the finish.
Step 4: Glide the clay gently. Move the clay back and forth in straight lines. Do not press hard. You may feel light resistance at first, then the surface should become smoother as contaminants lift away.
Step 5: Inspect the clay often. Fold and knead the clay to expose a clean surface. If you drop clay on the ground, throw it away. Ground clay collects grit, and grit plus paint equals sadness.
Step 6: Wipe and protect. After claying, wipe away lubricant, inspect the paint, and apply wax or sealant. Clay removes contaminants but also leaves the surface ready for protection, not magically protected.
When You May Need Polishing
If the sap has left a dull outline, stain, or light etching after removal, the surface may need polishing. A mild polish can restore clarity by refining the top layer of the clear coat. For deep etching, heavy staining, or expensive paint finishes, consider a professional detailer. It is better to pay for expert correction than to learn paint repair through panic.
How to Remove Tree Sap From Car Windows
Glass is tougher than paint, but it still deserves care. For sap on the windshield or windows, start with warm soapy water and a microfiber towel. If needed, use rubbing alcohol on a towel to soften the sap. A clay bar can also work well on glass when used with proper lubricant.
A razor blade may be used on glass by experienced hands, but it should never be used on paint, plastic trim, headlights, or mirrors. If you use a blade on glass, keep it flat, lubricate the surface, and avoid damaged or tinted glass. When in doubt, skip the blade and use a safer chemical method.
How to Protect Your Car After Removing Sap
After you remove tree sap, the job is not finished until the surface is protected. Alcohol, sap removers, and clay bars can reduce or remove wax. That leaves the clear coat more exposed to sun, water spots, bird droppings, road grime, and yes, the next tree that decides your hood is a serving tray.
Apply Wax, Sealant, or Ceramic Spray
A traditional car wax adds gloss and a sacrificial layer. A paint sealant usually lasts longer. A ceramic spray can provide slickness and water beading with quick application. Any of these options is better than leaving the cleaned spot bare.
Wash Regularly
Regular washing helps remove light sap, pollen, and environmental grime before they bond. Use car wash soap, not household detergent. Dish soap can strip protection and may dry out trim over time.
Avoid Long-Term Parking Under Sap-Producing Trees
Shade is wonderful, but parking under pine, maple, birch, or other sap-heavy trees can create recurring problems. If you must park under trees, inspect the car often and clean sap quickly.
Use a Quality Car Cover When Appropriate
A breathable, properly fitted car cover can help protect a parked vehicle from sap, bird droppings, UV exposure, and dust. Avoid loose tarps that flap in the wind or trap moisture. A bad cover can scratch paint, which is a very dramatic way to solve a sap problem.
Quick Comparison: Which Sap Removal Method Should You Use?
| Situation | Best Method | Why It Works |
|---|---|---|
| Fresh sap | Warm water and car soap | Softens sap gently with low risk to paint |
| Dried sap spots | Rubbing alcohol or sap remover | Breaks down sticky residue more effectively |
| Rough residue or sap mist | Clay bar treatment | Lifts bonded contaminants from the clear coat |
| Stain or dull mark after sap removal | Mild polish or professional detail | Restores gloss if the clear coat is lightly etched |
Extra Experience: Real-World Lessons From Removing Tree Sap From Cars
If there is one thing years of car cleaning teaches you, it is that tree sap has a personality. Fresh sap is annoying but reasonable. Old sap is stubborn. Sun-baked pine sap is basically automotive chewing gum with legal representation. The biggest lesson is that timing matters more than strength. Drivers who catch sap the same day can often remove it with warm water, car shampoo, and a patient microfiber soak. Drivers who wait two weeks in summer may need alcohol, sap remover, clay, polish, and a short motivational speech.
One common experience is the “I washed it twice and it is still there” moment. That does not mean the soap failed. It means the sap has bonded beyond normal dirt removal. Car shampoo is made to lift grime safely, not dissolve resin instantly. In that situation, moving to a targeted sap remover is smarter than washing the same spot again and again. Repeated rubbing with a wash mitt can drag contaminants across the paint and create tiny scratches.
Another practical lesson: microfiber quality matters. A soft, clean microfiber towel can make sap removal feel controlled and safe. A cheap, rough, or dirty towel can make the paint look hazy under sunlight. Keep a few towels dedicated only to paint. Use separate towels for wheels, door jambs, and engine bay areas. Mixing them up is how brake dust ends up being invited to your clear coat party.
Many car owners also learn that sap removal often strips wax in the exact area being cleaned. After using rubbing alcohol or a bug and tar remover, the spot may look clean but feel less slick than the surrounding paint. That is your reminder to reapply protection. A quick layer of spray wax or sealant takes only a few minutes and helps prevent the next mess from bonding as aggressively. Think of wax as the car’s nonstick pan coating. Without it, everything wants to cling.
For black cars and dark-colored vehicles, patience is even more important. Dark paint shows swirl marks, towel trails, and dull spots more easily than silver or white paint. Always work in shade, keep the towel damp, and use light pressure. If the sap does not move, add more dwell time instead of more force. The cleaner should do the heavy lifting. Your hand should simply guide the towel.
Glass is usually easier, but it has its own traps. Sap on a windshield can smear when wipers pass over it, reducing visibility and making the glass look greasy. Clean the sap before using the wipers repeatedly. If the wiper blades have dragged sap across the windshield, clean the rubber edges too. Otherwise, the blades can re-smear the residue the next time it rains.
The final experience-based tip is simple: check the roof. Many people clean the hood and windshield, then forget the roof until sap bakes there for a month. The roof often gets the worst of falling sap, especially when parked under trees. Inspect the roof, trunk lid, mirrors, door handles, and the area around windshield trim. Sap loves hiding in edges and seams like it is trying to avoid rent.
In short, the best way to remove tree sap from your car is to stay calm, start gently, increase cleaning strength only when needed, and protect the finish afterward. You do not need to panic. You do not need to scrub like a cartoon character. And you definitely do not need to experiment with gasoline, acetone, or a kitchen sponge. With warm water, microfiber towels, a safe sap remover, clay when needed, and fresh wax at the end, your car can escape the tree sap incident looking clean, glossy, and slightly wiser.
Conclusion
Tree sap may be sticky, stubborn, and deeply committed to ruining a clean car, but it is not unbeatable. The safest approach is to begin with warm water, car soap, and a microfiber soak. If the sap has dried, use rubbing alcohol carefully or choose an automotive bug, tar, and sap remover. For remaining roughness or bonded residue, follow up with a clay bar and plenty of lubricant.
Most importantly, avoid harsh scraping and aggressive chemicals on paint. Your clear coat is the layer standing between a glossy finish and expensive regret. Once the sap is removed, wash the area and apply wax, sealant, or ceramic spray to restore protection. A few extra minutes now can save your paint from stains, dullness, and future sap drama.
So the next time a tree decorates your car without permission, do not panic. Gather your microfiber towels, choose the right method, and let patience do the work. Your car will look better, your paint will stay safer, and the tree will have to find another hobby.