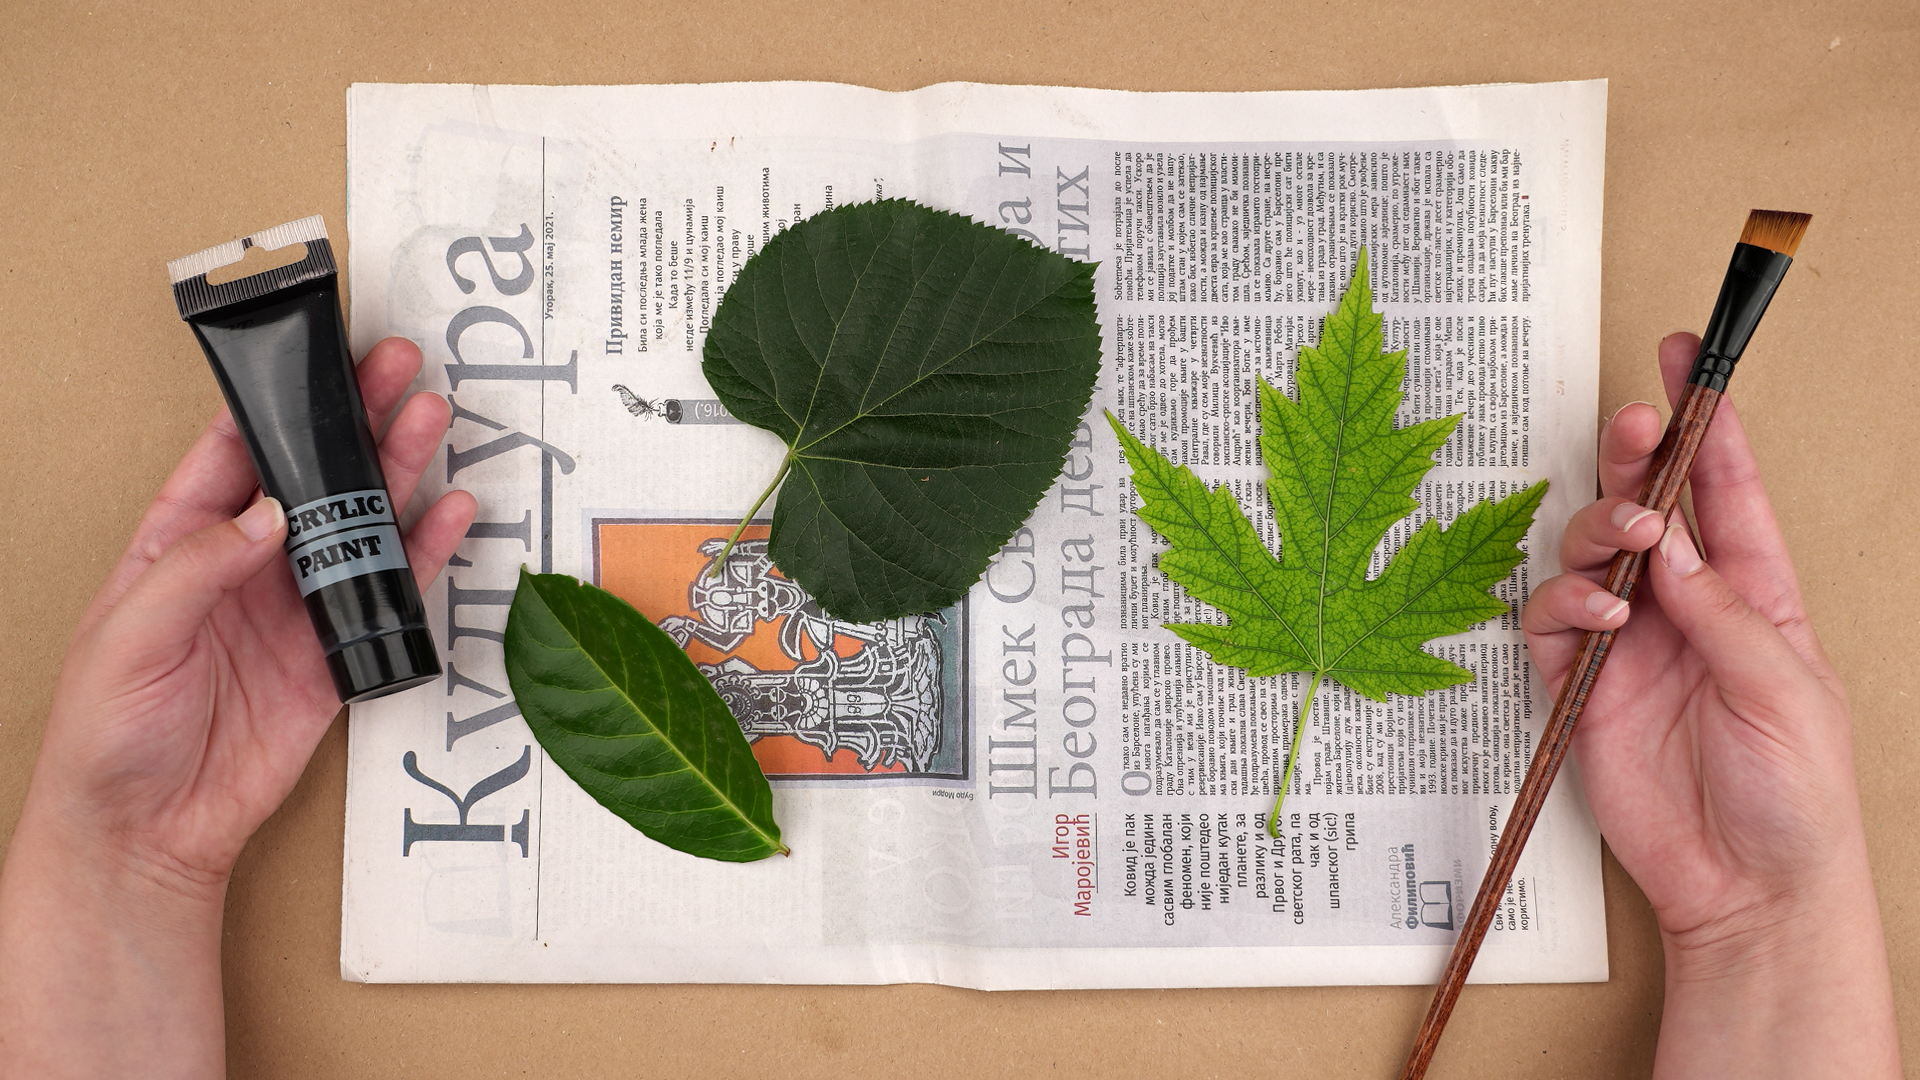
Learning how to paint leaves sounds simple until you sit down, dip your brush into green paint, and somehow create a flat green potato with a stem. Do not worry. Every artist has painted at least one suspicious lettuce-shaped object while aiming for “elegant botanical study.” The good news is that leaves are forgiving, beautiful, and surprisingly fun once you understand their shapes, shadows, veins, and color shifts.
This guide walks you through how to paint leaves in 12 steps, whether you are using watercolor, acrylic, gouache, or mixed media. You will learn how to observe real leaves, sketch their structure, mix natural greens, build depth, add veins, create texture, and avoid the common mistake of painting every leaf the exact same shade of garden-hose green.
Use these steps for botanical art, watercolor leaves, acrylic plant studies, handmade cards, nature journals, wall art, sketchbook practice, or decorative florals. By the end, your painted leaves will look more natural, dimensional, and aliveless “green blob,” more “tiny masterpiece from nature’s design department.”
Why Leaves Are a Great Subject for Beginner Artists
Leaves are one of the best subjects for beginner painters because they teach several core painting skills at once: shape, line, color mixing, value, texture, and composition. A single leaf includes a central vein, smaller veins, curved edges, highlights, shadows, and subtle color changes. In other words, it is a tiny art class disguised as something that falls off a tree.
Another advantage is access. You do not need a fancy still-life setup. You can collect leaves from your yard, photograph a houseplant, or study a bouquet from the grocery store. Even dried leaves are useful because they reveal strong vein patterns and interesting curled edges.
Materials You Need to Paint Leaves
Before starting the 12 steps, gather a few basic supplies. You do not need the entire art store. The art store would love that, but your table probably would not.
Recommended Supplies
- Watercolor paper, mixed media paper, canvas paper, or a small canvas
- Watercolor, acrylic, gouache, or ink
- Round brush, flat brush, liner brush, and optional detail brush
- Pencil and kneaded eraser
- Palette or mixing plate
- Two water cups: one for rinsing, one for clean water
- Paper towel or cotton rag
- Real leaves or reference photos
If you are painting in watercolor, cold-press paper gives you texture, while hot-press paper gives you smoother detail. If you are painting in acrylic, choose a surface that can handle layers, such as canvas paper, acrylic paper, or primed board.
How to Paint Leaves: 12 Steps
Step 1: Choose a Leaf Reference
Start with one real leaf or a clear photo. Beginners often try to paint a “leaf from imagination,” but imagination can be a charming liar. Real leaves have asymmetry, uneven edges, small blemishes, curled tips, and color variations that make them interesting.
Pick a simple leaf first, such as eucalyptus, basil, maple, ivy, pothos, or lemon leaf. Avoid extremely complicated leaves at the beginning unless you enjoy dramatic sighing.
Look closely at the leaf before sketching. Is it long and narrow? Round and wide? Serrated? Smooth? Does the tip point upward? Does one side curve more than the other? This observation stage helps your painting look natural from the start.
Step 2: Study the Basic Shape
Every leaf can be simplified into a basic shape. A maple leaf may begin as a star-like outline. A eucalyptus leaf may start as an oval. A fern may be a long center line with tiny repeated leaflets. Simplifying the structure keeps you from getting lost in details too early.
Use light pencil marks to block in the overall shape. Keep your lines soft. You are creating a map, not engraving a passport photo into stone. If the shape looks too stiff, slightly tilt the leaf or curve the stem to add movement.
Step 3: Draw the Midrib and Main Veins
The midrib is the central vein that runs through the leaf. It is the backbone of your painting. Draw it lightly from the stem to the tip. Then sketch the main side veins branching outward.
Veins usually do not shoot out like perfect ladder rungs. They angle, curve, taper, and vary in length. Keep them delicate. Heavy vein lines can make a leaf look cartoonish unless that is your chosen style.
Step 4: Mix Natural Leaf Colors
One of the biggest secrets to painting realistic leaves is this: do not use green straight from the tube unless you want your leaf to look like it belongs on a plastic toy dinosaur. Natural greens are usually mixed with yellow, blue, brown, red, gray, or even violet.
Try these simple color mixes:
- Fresh spring green: yellow plus a small amount of blue
- Deep leaf green: green plus ultramarine blue or burnt umber
- Olive green: yellow, blue, and a touch of red or brown
- Shadow green: green plus blue, brown, or neutral gray
- Autumn leaf color: yellow ochre, burnt sienna, red, orange, and brown
Make a small color chart before painting. Add more water for pale washes, more pigment for rich shadows, and a touch of warm color where sunlight hits the leaf.
Step 5: Paint a Light Base Layer
Begin with a light base layer. In watercolor, use a transparent wash and let the paper glow through. In acrylic or gouache, thin the paint slightly so you can build layers gradually.
Paint inside the leaf shape, leaving the brightest highlight areas lighter. Do not worry about every vein yet. The first layer is about establishing the general color family. Think of it as the leaf putting on its first outfit before accessorizing with shadows and details.
Step 6: Add the First Shadows
Once the base layer is dry or nearly dry, add shadows. Decide where the light is coming from. If light comes from the upper left, shadows will usually appear on the lower right side, under curled edges, and beside the midrib.
Use a darker green, blue-green, or brown-green mixture. Apply it gently along one side of the central vein, near the base, or along folded areas. Soft shadows make the leaf look rounded rather than flat.
For watercolor, soften hard edges with a clean damp brush. For acrylic, blend quickly while the paint is still wet or glaze over dry layers with thin transparent color.
Step 7: Build Depth with Layers
Leaves become more believable when you build color slowly. Add another layer to deepen shadows, enrich midtones, and strengthen the shape. Let each layer dry before adding the next, especially with watercolor.
Layering gives you control. It also prevents the dreaded muddy leaf, which occurs when too many wet colors argue with each other on the paper. If your colors start looking dull, pause and let the surface dry before continuing.
Step 8: Paint the Veins
Use a fine brush, liner brush, colored pencil, or the tip of a small round brush to paint the veins. Keep them subtle. The midrib can be slightly stronger, but the smaller veins should be thin and broken in places.
For light veins, leave tiny spaces unpainted during the base layer or lift color with a damp brush. For darker veins, use a darker version of your leaf color. Avoid pure black unless you are painting a graphic illustration style.
Step 9: Create Texture
Leaf texture depends on the species. Some leaves are smooth and glossy. Others are matte, fuzzy, bumpy, wrinkled, speckled, or dry. Add texture with small brush marks, dry brushing, glazing, splattering, or lifting.
For a smooth leaf, keep transitions soft and clean. For an autumn leaf, use broken strokes, warm speckles, and irregular edges. For a tropical leaf, add strong veins and glossy highlights. For dried leaves, add browns, ochres, cracks, and curled edges.
Texture should support the leaf, not attack it. A few well-placed marks are better than covering the entire leaf with nervous dots.
Step 10: Refine the Edges
Edges tell viewers a lot about the leaf. A crisp edge suggests a sharp, fresh leaf. A broken edge suggests age, dryness, movement, or distance. Use a small brush to clean up the outline, sharpen the tip, and define any serrated edges.
If the leaf looks too stiff, soften a few edges with water or paint small irregular bites along the margin. Real leaves are rarely perfect. Nature does not use the symmetry tool.
Step 11: Add Highlights
Highlights make leaves look alive. In watercolor, preserve white paper or lift paint gently with a damp brush. In acrylic or gouache, add highlights with pale green, yellow-green, cream, or a tiny touch of white mixed with your leaf color.
Place highlights where the surface catches light: along the midrib, near the tip, on curved areas, or along glossy edges. Keep highlights controlled. Too many can make the leaf look wet, metallic, or like it just joined a disco.
Step 12: Finish with Final Details
Step back and look at the whole painting. Does the leaf need stronger shadows? Softer transitions? A cleaner stem? More contrast? Add final details only where they help.
You can also add a cast shadow under the leaf to make it feel grounded. A soft gray-green or brown shadow works well. If you are painting a group of leaves, vary their sizes, angles, and colors so they do not look copied and pasted.
Watercolor Leaf Painting Tips
Watercolor is excellent for delicate leaves because it creates transparent color and soft transitions. The key is water control. Too much water can cause blooms and puddles. Too little water can create scratchy strokes unless that texture is intentional.
Try Wet-on-Wet for Soft Leaves
Wet the leaf shape with clean water, then drop in green, yellow, or brown paint. The colors will spread softly. This is great for loose botanical illustrations, background foliage, and dreamy sketchbook pages.
Try Wet-on-Dry for Details
Paint on dry paper when you want sharper veins, defined edges, or controlled shadows. Many artists combine both methods: wet-on-wet for the base and wet-on-dry for details.
Acrylic Leaf Painting Tips
Acrylic paint is bold, flexible, and fast-drying. That speed is helpful when layering, but it also means blends can dry before you finish saying, “Wait, I was using that.” Work in small sections and keep a spray bottle nearby if needed.
Use Thin Layers First
Start with thin paint to block in the leaf shape. Then build richer color and texture with thicker layers. Acrylic glazing medium can help create transparent layers for realistic depth.
Use Dry Brushing for Texture
Load a brush with a small amount of paint, wipe most of it off, then drag it lightly over the surface. This creates veins, dry edges, and rough leaf texture.
Common Mistakes When Painting Leaves
Using Only One Green
Real leaves contain many colors. Add yellow, blue, brown, gray, red, or violet to make greens more natural.
Making Every Leaf Identical
If you are painting several leaves, vary the angle, size, value, and color temperature. Repetition can be beautiful, but exact repetition looks artificial.
Overworking the Painting
Stop before the leaf becomes muddy or stiff. Fresh brushwork often looks better than endless correction.
Ignoring the Light Source
Without a clear light source, shadows and highlights become random. Choose a direction and stay consistent.
Creative Leaf Painting Ideas
Once you understand the basic steps, try applying them to different projects. Paint a page of single leaf studies. Create a watercolor wreath. Add leaves around hand-lettered quotes. Paint tropical leaves on canvas. Make autumn leaf greeting cards. Decorate bookmarks with tiny vines. Build a botanical sketchbook organized by season.
You can also experiment with style. Paint realistic leaves one day and loose abstract leaves the next. Try monochrome leaves in blue or sepia. Paint leaves with metallic accents. Use negative painting by painting around the leaf shape instead of inside it. The more you experiment, the more personal your leaf style becomes.
of Practical Experience: What Painting Leaves Teaches You
The first thing you learn from painting leaves is patience. At first, it is tempting to rush straight into the details. You want veins, highlights, shadows, speckles, curled edges, and botanical drama immediately. But leaves reward a slower approach. When you begin with observation, the painting almost tells you what to do next. The curve of the stem suggests movement. The midrib shows structure. The shadows reveal form. The color shifts hint at age, sunlight, and texture.
One useful experience is to paint the same leaf three times in three different styles. Paint it once realistically, once loosely, and once in a decorative pattern. The realistic version teaches accuracy. The loose version teaches confidence. The decorative version teaches design. Together, they show you that there is no single correct way to paint leaves. A botanical artist, a children’s book illustrator, and a mural painter may all paint the same leaf differentlyand all three results can be beautiful.
Another helpful practice is limiting your palette. Instead of using every green you own, try painting leaves with only yellow, blue, burnt sienna, and white if using acrylic. You will quickly discover that green is not one color. It is a whole neighborhood. Some greens are cool and shadowy. Some are warm and sunlit. Some lean gray. Some lean gold. This exercise improves your color mixing faster than buying another tube labeled “perfect leaf green,” which is usually not perfect and may secretly be neon.
Painting from real leaves also improves your eye. A live leaf has thickness. Its edge may turn upward. Its surface may reflect light. Its veins may be raised or recessed. When you study these details, your paintings gain believability. Even if your final style is loose, your loose marks become more convincing because they are based on real observation.
Mistakes are part of the experience. A watercolor wash may bloom unexpectedly. Acrylic may dry too fast. A vein may look too dark. A leaf may become overworked. Instead of treating these as failures, use them as information. Blooms can become texture. A dark vein can be softened with glazing. An overworked leaf can become part of a background pattern. Artists do not avoid every mistake; they learn how to rescue, redirect, and occasionally pretend it was intentional.
The most satisfying moment comes when a flat shape suddenly looks dimensional. Usually, it happens after you add a shadow beside the midrib or a soft highlight near the curved edge. That tiny change can make the leaf lift off the page. It feels like magic, but it is really value, contrast, and observation working together.
Over time, painting leaves becomes calming. The repeated shapes, soft brushstrokes, and natural colors make it a peaceful creative habit. You can paint one leaf in ten minutes or spend an hour on a detailed botanical study. Either way, each leaf teaches you something about form, color, and attention. And unlike a complicated portrait, a leaf will never complain that you made its nose too long.
Conclusion
Learning how to paint leaves is more than a beginner art exercise. It is a practical way to improve observation, brush control, color mixing, layering, and composition. Start with a simple shape, study the midrib and veins, build light layers, add shadows gradually, and finish with thoughtful details. Whether you prefer watercolor leaves, acrylic foliage, botanical illustration, or loose decorative greenery, the same foundation applies: observe first, paint second, and let nature do some of the design work for you.
With practice, your leaves will become more expressive, dimensional, and natural. Some will be realistic. Some will be playful. Some may look like they wandered in from an enchanted forest with excellent lighting. That is part of the joy. Keep a sketchbook, collect references, test color mixes, and paint leaves in every season. The more leaves you paint, the more you will notice them everywhereand yes, walks outside may start taking longer.
Note: This article is written as original web-publishing content and synthesizes widely accepted painting practices, including observation, light-to-dark layering, natural green mixing, water control, dry-brush texture, and botanical detail work.