Note: This guide is for general fitness education. If you have a hip, hamstring, groin, knee, back, or pelvic injury, ask a qualified healthcare professional before trying wall splits. Flexibility should feel like a polite stretch, not like your muscles are filing a complaint with management.
Introduction: Why the Wall Split Is the Friendlier Cousin of the Floor Split
The wall split is one of the most practical ways to train your splits because the wall gives you support, feedback, and a gentle reality check. Instead of dropping into a full split and hoping your legs have signed the same contract as your ambition, you use gravity, body position, and controlled breathing to improve flexibility safely over time.
When people search for how to do a wall split, they often imagine one dramatic move: legs sliding down the wall into a perfect straddle while they look calm, elegant, and possibly sponsored by a yoga mat company. In real life, wall splits come in a few useful versions. You can practice a middle split lying on your back, a front split with one leg up the wall, or an active wall split that builds strength as well as flexibility.
The goal is not to force your body into a picture-perfect shape overnight. The goal is to build range of motion in your hamstrings, hip flexors, inner thighs, glutes, and adductors while keeping your joints safe. Consistency beats intensity here. A gentle routine done several times per week will usually help more than one heroic stretching session that leaves you walking like a baby giraffe on roller skates.
Before You Start: Wall Split Safety Basics
Warm Up First
Before doing any wall split stretch, warm up for five to ten minutes. Try brisk walking, marching in place, bodyweight squats, hip circles, or gentle leg swings. Warm muscles stretch more comfortably than cold muscles, and your nervous system is less likely to slam the emergency brakes.
Use the “Mild Pull” Rule
A good wall split stretch should feel like mild to moderate tension. It should not feel sharp, burning, numb, electric, or pinchy. If you feel pain, back off immediately. Flexibility training is not a negotiation with pain; pain is the bouncer telling you the club is full.
Do Not Bounce
Bouncing in a split stretch can trigger muscle guarding and increase strain risk. Move slowly, hold steady, and breathe. Think “slow elevator,” not “pogo stick at a birthday party.”
Keep Your Hips Honest
In wall splits, your hips like to cheat. They may twist, hike, or roll to avoid the stretch. Keep your pelvis as level as possible, your spine long, and your knees facing the correct direction. Good alignment gives you better flexibility gains and fewer cranky joints.
Way 1: Supine Wall Straddle Split
The supine wall straddle split is the classic wall split. You lie on your back with your legs up the wall, then let them open into a wide V shape. This version mainly targets the inner thighs, groin, hamstrings, and adductors. It is popular because gravity does part of the work, which is lovely because gravity owes us something after all those times it made us drop our phones.
How to Do It
- Sit sideways with one hip close to a wall.
- Lie back and swing your legs up the wall so your body forms an L shape.
- Scoot your hips closer to the wall only as far as comfortable. Beginners may need several inches of space.
- Keep your knees soft, not locked.
- Slowly slide your heels apart, letting your legs open into a straddle.
- Stop when you feel a comfortable stretch through the inner thighs.
- Rest your arms by your sides and breathe slowly.
- Hold for 30 to 60 seconds, then gently bring your legs back together with your hands if needed.
Beginner Modification
If the stretch feels too intense, move your hips farther from the wall or bend your knees slightly. You can also place pillows, yoga blocks, or folded towels under your thighs for support. The props are not a sign of weakness. They are tiny furniture pieces for your flexibility journey.
Common Mistakes
The biggest mistake is letting the legs drop too far too quickly. This can overstretch the groin and make the nervous system tighten up instead of relax. Another mistake is forcing the knees straight. Keep a small bend if your hamstrings feel tight. Finally, avoid staying in the position for so long that your legs go numb. More time is not always better.
Best For
This wall split variation is best for people working toward a middle split, dancers, martial artists, gymnasts, cheerleaders, yogis, and anyone whose inner thighs feel like they were installed with industrial cable ties.
Way 2: Wall-Assisted Front Split
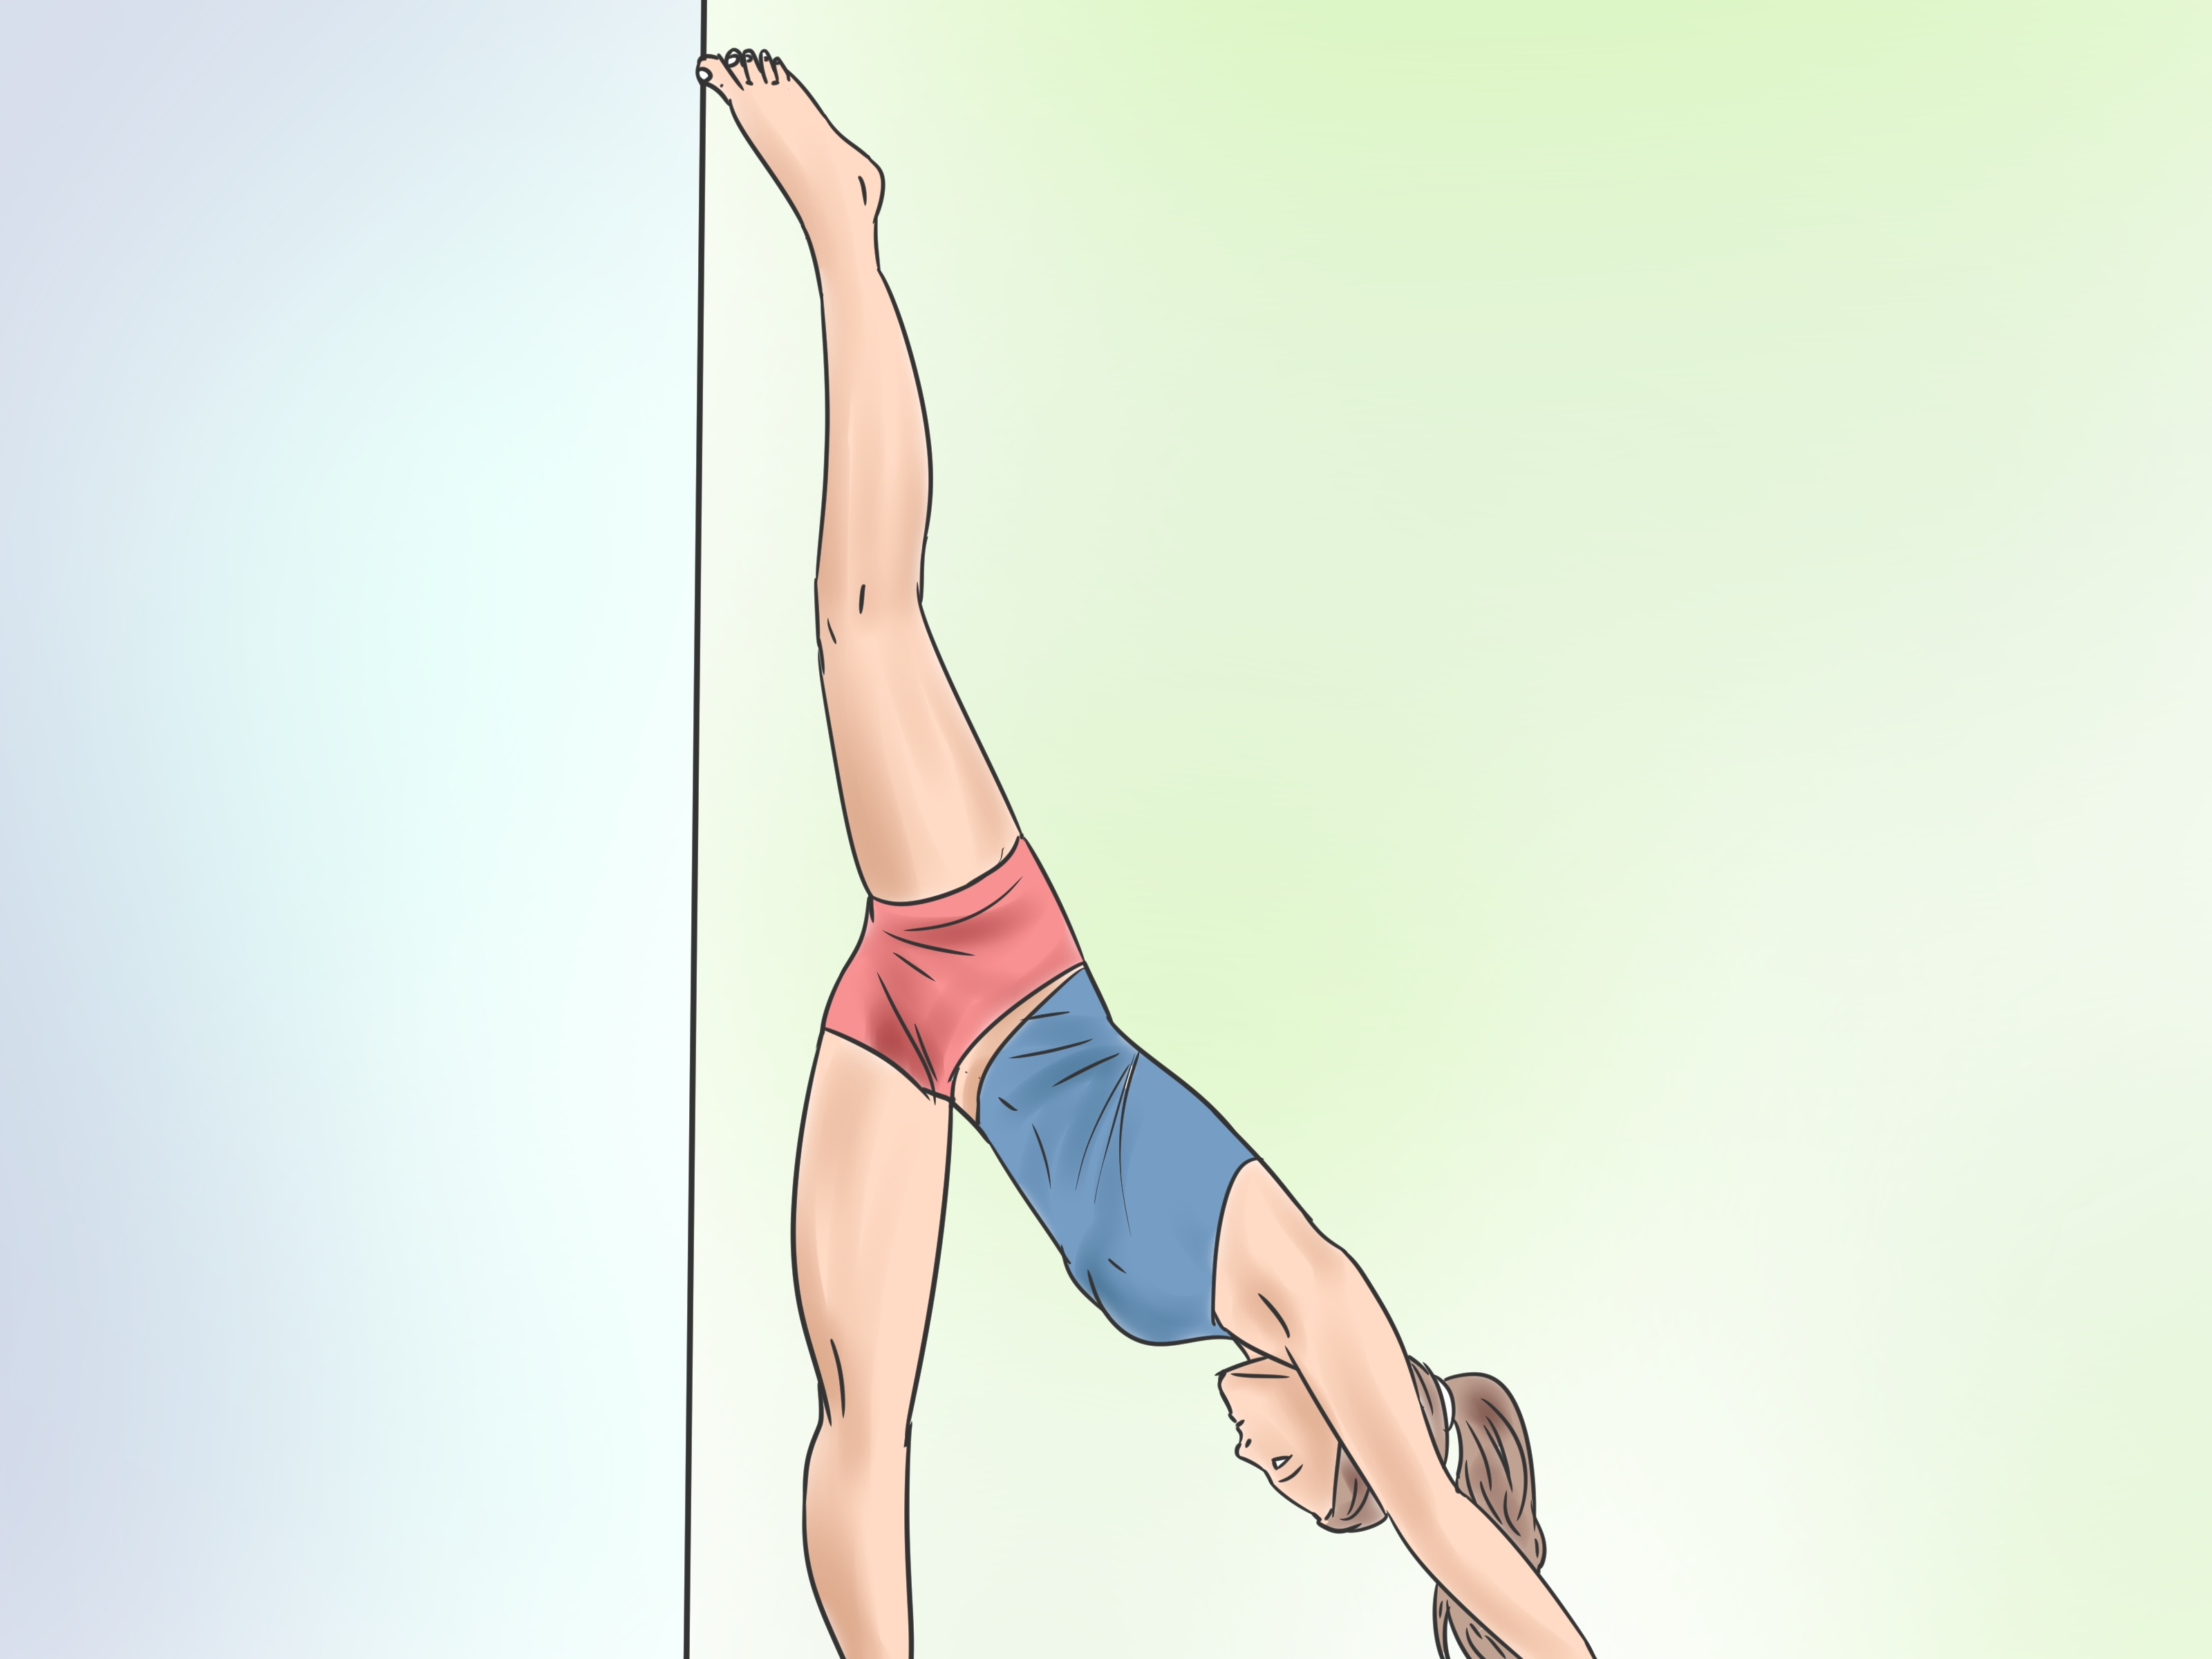
The wall-assisted front split helps stretch one hamstring while also training the opposite hip flexor. Unlike the supine straddle, this version focuses on front split flexibility. It can be done with the front leg up the wall or with the back leg against the wall in a couch-stretch style position. Both versions are useful, but beginners should start gently.
Version A: Front Leg Up the Wall
- Lie on your back near a wall or doorway.
- Place one leg straight up the wall while the other leg extends along the floor.
- Keep both hips facing forward.
- Flex the foot of the raised leg gently.
- Move closer to the wall only until you feel a hamstring stretch.
- Hold for 30 seconds, breathing slowly.
- Switch sides.
This version is excellent if your hamstrings are the main reason your front split feels impossible. It also keeps your spine supported, which helps beginners avoid rounding their back aggressively just to “look deeper.” Spoiler: looking deeper is not the same as stretching better.
Version B: Back Leg Against the Wall
- Start in a half-kneeling lunge with your back knee near the wall.
- Carefully bend your back knee and place the top of your back foot against the wall.
- Keep your front foot flat on the floor.
- Squeeze the glute of the back leg lightly to protect your lower back.
- Lift your chest and keep your ribs stacked over your pelvis.
- Hold for 20 to 30 seconds, then release slowly.
- Repeat on the other side.
This variation stretches the hip flexors and quadriceps, which are often tight in people who sit for long periods. If it feels too intense, move your knee farther from the wall or place padding under the knee.
Best For
This method is best for improving front split flexibility, loosening tight hamstrings, opening the hip flexors, and correcting the common problem of having one side that feels like a graceful dancer and the other side that feels like a rusty gate.
Way 3: Active Wall Split
Passive stretching can help, but active flexibility is what lets you control your range of motion. The active wall split combines stretching with light muscle engagement. This matters because your body is more likely to trust a position when you have strength there. Flexibility without control is like owning a sports car with no brakes: exciting, but not ideal.
How to Do an Active Wall Straddle
- Lie on your back with your legs up the wall.
- Open your legs into a comfortable straddle.
- Press your heels gently into the wall for five seconds.
- Relax and allow the legs to open slightly, without forcing.
- Repeat three to five times.
- Bring the legs together slowly and rest.
How to Do Active Front Split Pulses
- Lie on your back with one leg up the wall and the other leg extended on the floor.
- Flex the raised foot and gently press the heel into the wall for five seconds.
- Relax, then try to move a tiny bit closer to the wall.
- Keep the lower leg active by pressing it lightly into the floor.
- Repeat three rounds on each side.
Why Active Work Helps
Active wall split drills teach your muscles to contract and relax in stretched positions. This can make flexibility feel more stable and usable. For dancers, martial artists, yoga practitioners, and athletes, active control is often the missing ingredient. You do not just want to slide into a split; you want to get out of it without needing a rescue team and a snack.
How Often Should You Practice Wall Splits?
Most beginners can practice wall split stretches two to four times per week. If you are very tight, start with shorter sessions of five to ten minutes. If you already have a flexibility routine, you can add wall splits after your workout or after a dynamic warm-up.
A simple weekly plan might look like this:
- Day 1: Supine wall straddle, 3 rounds of 30 seconds.
- Day 2: Rest or gentle walking.
- Day 3: Wall-assisted front split, 2 rounds per side.
- Day 4: Active wall split drills, 5 to 8 minutes.
- Day 5: Rest.
- Day 6: Combine all three methods lightly.
- Day 7: Rest or easy mobility work.
Progress may be slow, and that is normal. Flexibility is influenced by muscle length, joint structure, nervous system tolerance, strength, consistency, age, training history, and even stress. Some weeks you will feel bendy. Other weeks your legs may act like they have never met stretching before. Keep showing up anyway.
Helpful Warm-Up Stretches Before Wall Splits
Hip Circles
Stand tall and make slow circles with one knee, then switch sides. This wakes up the hips and helps you notice any stiffness before you ask your legs to open wide.
Dynamic Lunges
Step into a gentle lunge, then return to standing. Repeat for 8 to 10 reps per side. This prepares the hip flexors and glutes for front split work.
Side-to-Side Lunges
Shift your weight from one side to the other in a wide stance. Keep your feet flat and move slowly. This is especially useful before a middle split or wall straddle.
Leg Swings
Hold a wall or chair and swing one leg forward and back in a controlled way. Then swing side to side. Keep the motion smooth, not wild. Your leg is not auditioning to be a helicopter.
How to Know You Are Improving
Do not judge progress only by whether you can do a full split. Instead, look for small signs: your legs open more comfortably, your breathing stays calm, your hips feel less guarded, and you recover without soreness. You may also notice better posture, smoother kicks, easier squats, or less tightness after sitting.
Take a progress photo once every two to four weeks if you like visual feedback. Do not take one every day unless you enjoy emotionally negotiating with your camera roll. Flexibility changes slowly, and daily comparison can make real progress look invisible.
Experience Section: Real-Life Lessons From Practicing Wall Splits
One of the biggest lessons from practicing wall splits is that the wall is brutally honest but surprisingly kind. On the floor, it is easy to twist your hips, lean forward, or shift your weight to escape the hardest part of a stretch. Against the wall, your body gets clearer feedback. You can feel when one leg slides lower than the other, when one hip wants to rotate, or when your lower back starts arching like it is trying to leave the room.
Many beginners discover that their “tight hamstrings” are not the only issue. Sometimes the inner thighs are tight. Sometimes the hip flexors are stubborn. Sometimes the real challenge is learning to relax while stretching. The wall split teaches patience because you cannot bully your way into it. You have to breathe, soften your jaw, relax your shoulders, and let the stretch happen gradually. Yes, apparently your face is connected to your hips emotionally. Science may not phrase it that way, but anyone who has clenched their teeth through a stretch understands.
A useful personal strategy is to treat wall splits like brushing your teeth: short, regular, and not dramatic. Five minutes after a workout can be enough to build the habit. Start with legs up the wall, open into a mild straddle, breathe for 30 seconds, close the legs, rest, and repeat. Over time, your body begins to recognize the position. The first week may feel awkward. The second week may feel slightly less awkward. By the fourth week, you may notice that your legs open wider without you making the face of someone trying to assemble furniture without instructions.
Another experience-based tip is to keep the room comfortable. Cold floors, slippery socks, and a wall with framed pictures nearby can turn a peaceful stretch into a slapstick scene. Use a yoga mat or folded blanket under your back. Wear socks only if they help your heels slide smoothly; otherwise, bare feet may give more control. Keep your phone nearby for a timer, but resist the temptation to scroll endlessly while your legs are in a straddle. A short timer keeps the stretch intentional.
Wall splits also reveal side-to-side differences. One hip may feel open and cooperative, while the other behaves like it has hired a lawyer. That is normal. Train both sides, but do not punish the tighter side with aggressive stretching. Give it more gentle time, better warm-ups, and active drills. Often, the tighter side needs strength and coordination as much as length.
Finally, celebrate small wins. A calmer breath, a deeper angle, less shaking, or an easier exit from the stretch all count. Flexibility is not just about reaching the final pose. It is about building a body that moves with more confidence, comfort, and control. The wall split may look simple, but practiced consistently, it can become one of the most effective tools in your mobility routine.
Conclusion: The Smart Way to Master a Wall Split
Learning 3 ways to do a wall split gives you a balanced approach to flexibility. The supine wall straddle helps with middle splits and inner thigh mobility. The wall-assisted front split targets hamstrings and hip flexors. The active wall split builds control, strength, and confidence in your new range of motion.
The secret is not forcing, bouncing, or chasing a perfect photo. The secret is warming up, moving slowly, breathing well, respecting pain signals, and practicing consistently. Wall splits are effective because they make flexibility training more supported and measurable. They also remind you that progress can be quiet. One day, your legs simply open a little farther, and you realize your patience has been doing push-ups behind the scenes.