A clean car feels better, smells better, and makes even a Monday commute slightly less offensive. Yet vehicles have a remarkable ability to become rolling junk drawers. One coffee cup becomes three, receipts reproduce in the center console, and a forgotten french fry begins building a civilization beneath the passenger seat.
Fortunately, keeping a clean car does not require professional detailing every weekend or a trunk packed with expensive products. The smartest approach is prevention: remove clutter before it settles in, clean spills before they become permanent residents, and follow a short routine that fits naturally into your schedule.
These practical car-cleaning tips are designed for commuters, families, pet owners, rideshare drivers, and anyone whose vehicle currently contains more crumbs than a neighborhood bakery.
Why a Clean-Car Routine Beats Occasional Deep Cleaning
Dirt becomes harder to remove after it is ground into carpet fibers. Food spills create stains and odors, while dust collects in vents, seams, cupholders, and frequently touched surfaces. A small amount of regular maintenance prevents those minor problems from becoming an all-day detailing project.
The goal is not showroom perfection. It is a comfortable, organized vehicle that can be reset quickly without sacrificing an entire Saturday.
1. Follow the “Take One Thing Out” Rule
Every time you leave the car, take at least one unnecessary item with you. It might be an empty bottle, a jacket, a shopping receipt, a toy, or the reusable grocery bag that has been riding shotgun for two weeks.
This rule works because it connects cleaning to something you already do: getting out of the vehicle. You do not need to schedule extra time or summon a burst of motivation. You simply remove one thing before closing the door.
Separate car essentials from temporary passengers
Registration documents, charging cables, emergency supplies, and a small cleaning kit belong in the car. Coffee mugs, mail, shoes, sports equipment, and yesterday’s groceries usually do not.
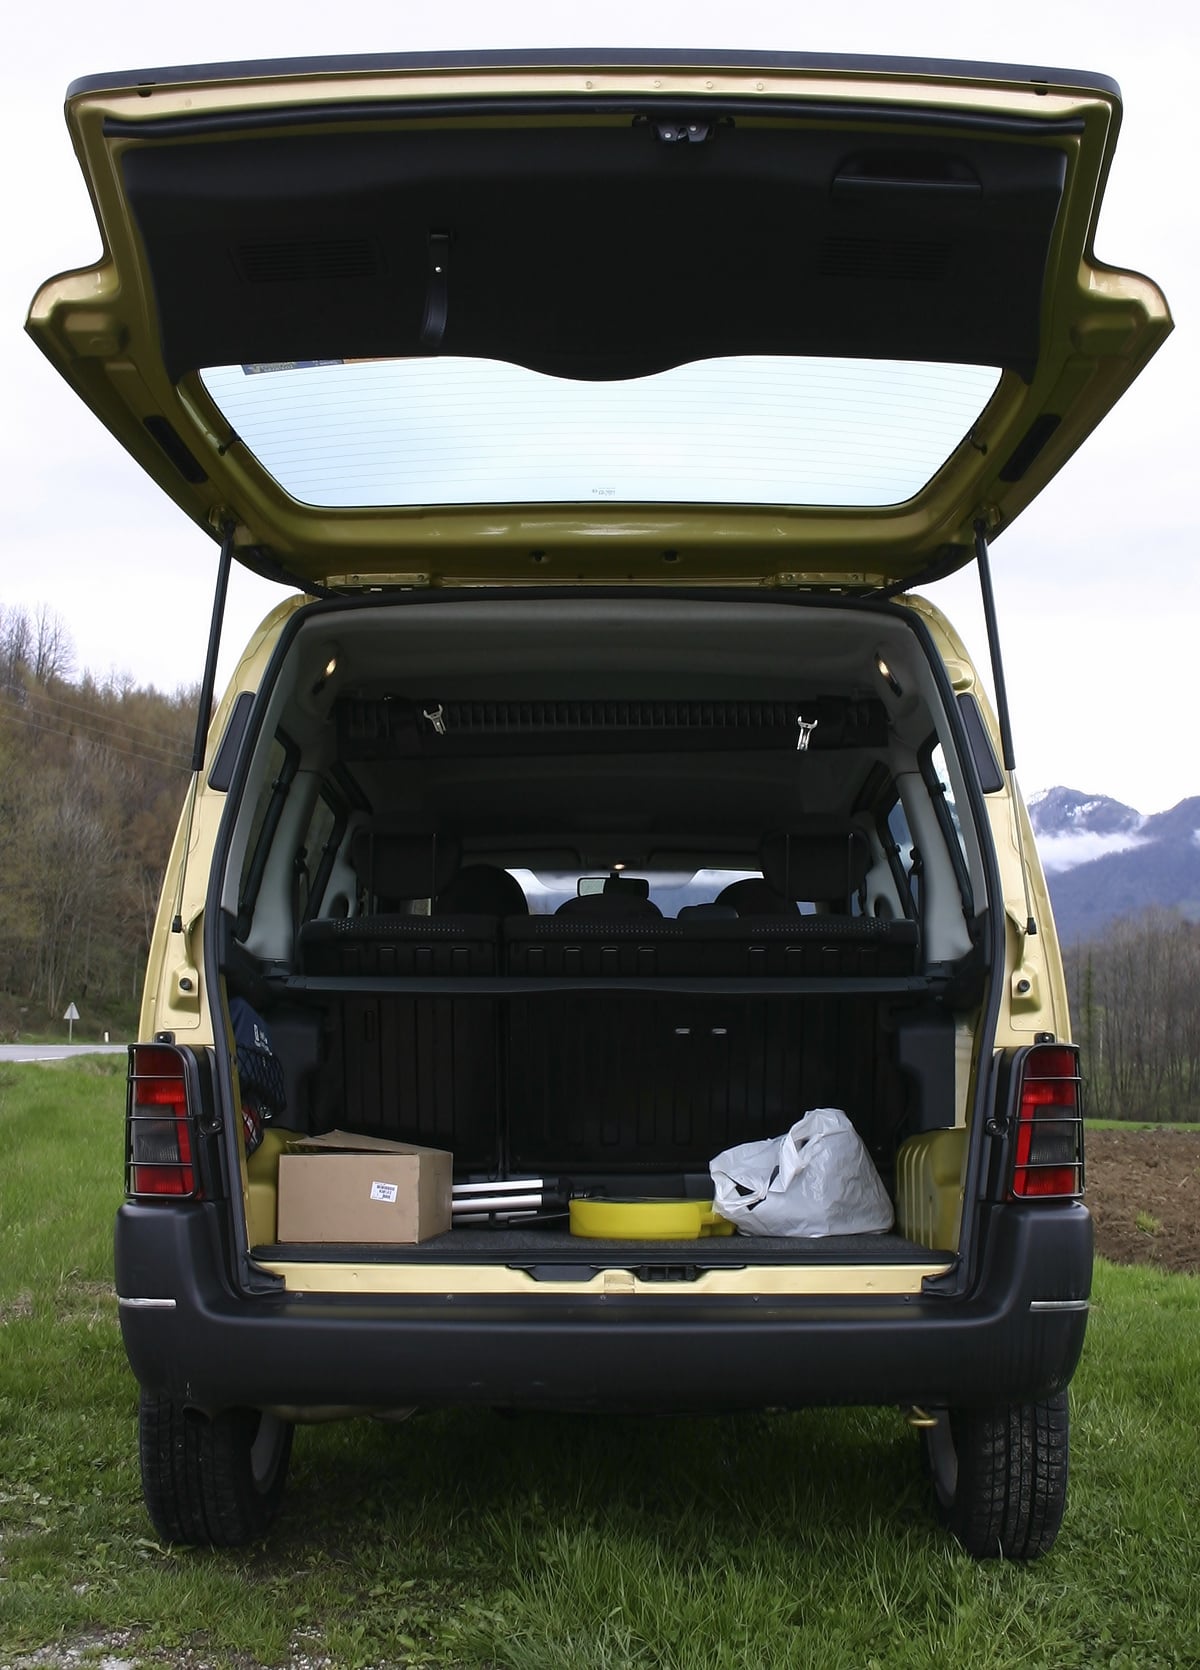
Place a collapsible basket in the trunk for belongings that need to return to the house. Carry the basket inside at the end of the day rather than allowing it to become permanent cargo. Automotive cleaning experts also recommend decluttering before vacuuming because loose objects block access and slow down every later step.
2. Give Trash a Dedicated Home
A car without a trash container is essentially asking cupholders and door pockets to accept a second job. Add a small, leak-resistant car trash can or line a compact container with disposable grocery bags.
Place it where passengers can reach it without performing advanced yoga. For families, a container behind the center console or front passenger seat usually works well.
Empty it before it becomes frightening
Connect trash removal to an existing weekly routine. Empty the bag on trash-collection night, during a fuel stop, after Friday school pickup, or before Sunday grocery shopping.
Food packaging and crumbs should be removed promptly. Besides creating stains and odors, leftover food may attract insects or rodents, particularly when a vehicle remains parked for long periods. AAA recommends removing food and trash regularly and checking beneath seats and inside the trunk for forgotten debris.
3. Keep a Compact Cleaning Kit in the Car
The best cleaning product is the one available during the first minute after a spill. Assemble a small kit containing:
- Two or three microfiber cloths
- A gentle automotive interior cleaner
- An automotive glass cleaner
- Absorbent towels
- A soft detailing brush
- Disposable trash bags
- A lint roller or pet-hair tool
Store everything in a zippered pouch, small caddy, or sealed plastic container. The kit does not need to resemble a professional detailing warehouse. A few versatile supplies can handle most everyday messes.
Match the cleaner to the surface
Car interiors combine plastic, vinyl, fabric, coated trim, leather, glass, and electronic displays. One aggressive household cleaner should not be expected to clean all of them safely.
Read the vehicle owner’s manual and product label before applying anything unfamiliar. Test cleaners in an inconspicuous area, avoid saturating seams and switches, and keep separate microfiber cloths for glass, interior panels, and especially dirty jobs. Automotive publications frequently recommend microfiber because it can remove dust and residue without the roughness of some paper products.
4. Handle Spills Immediately
A fresh spill is a cleanup. A forgotten spill is a project.
Blot liquid with an absorbent towel instead of scrubbing aggressively. Scrubbing may spread the stain or push moisture deeper into upholstery and carpet padding. Remove solid material carefully before applying a cleaner approved for the affected surface.
Blot first, clean second, and dry completely
For cloth upholstery, work from the outside edge of the stain toward the center. Use as little liquid as necessary and repeat the blotting process rather than flooding the fabric.
Leather seats should be treated with an appropriate leather cleaner. Apply conditioner afterward only when recommended by the vehicle or upholstery manufacturer. Leather is generally easier to wipe clean than cloth, but it requires suitable maintenance to prevent drying and deterioration.
After cleaning fabric or carpet, allow it to dry thoroughly. In a secure location, leave the windows or doors open to improve ventilation. Trapped moisture may produce lingering odors and additional staining.
5. Control Food Before Food Controls the Car
The strictest clean-car policy is simple: no eating inside. That rule works beautifully in theory and sometimes lasts until the first road trip.
A realistic alternative is to limit messy foods, use containers with secure lids, and choose snacks that do not turn into powder the moment someone touches them.
Create passenger-friendly food rules
Water is easier to manage than sticky drinks. Whole snacks are easier than foods covered in sauce. After eating, complete a thirty-second crumb check around cupholders, seat seams, buckles, and floor mats.
Families using child restraints should follow the restraint manufacturer’s instructions when cleaning or adding seat protectors. Do not use unapproved accessories that might interfere with correct installation.
Cleaning professionals frequently emphasize that quick maintenance prevents stubborn buildup. A damp microfiber cloth used today is much easier than scrubbing dried syrup next month while questioning every decision that led to that moment. Good Housekeeping also identifies limiting food in the car as one of the most effective ways to prevent seat stains.
6. Vacuum in the Right Order
Vacuuming randomly can turn a simple task into a loop. Start with higher surfaces and finish with the floors so dislodged dust is collected at the end.
Remove the floor mats, slide the seats forward and backward, and use the appropriate attachments for upholstery, carpet, seat rails, seams, and corners. A crevice attachment is especially useful between seats and around the center console.
Remember the hidden zones
Check beneath removable child restraints, inside door pockets, under the front edges of rear seats, and throughout the trunk or cargo area. Use a soft brush to loosen dirt from carpet fibers, vents, buttons, and trim seams before vacuuming.
A quick vacuum every week or two may be enough for a typical commuter. Family vehicles, work trucks, pet-friendly cars, and rideshare vehicles may need attention more frequently. Consistency matters more than setting a land-speed record with the crevice tool.
7. Treat Floor Mats as the First Line of Defense
Floor mats catch much of the sand, mud, road salt, water, and debris that would otherwise settle into the vehicle’s carpet. Remove them before cleaning so dirt is not simply moved from one part of the cabin to another.
Use the correct method for each material
Shake and vacuum carpeted mats before spot-cleaning them with an upholstery-safe product. Do not oversaturate the material, and allow the mats to dry completely before reinstalling them.
Rubber and all-weather mats can generally be scrubbed with warm water and mild soap, rinsed, and dried. Avoid tire shine, greasy dressings, or other products that can leave the driver’s mat slippery. A shiny mat is not worth turning your right foot into an unwilling ice skater. Car and Driver’s testing similarly found that warm soapy water and scrubbing can be an effective, safe starting point for rubber mats.
During wet or snowy weather, inspect beneath the mats regularly. Never place wet mats over damp carpet, where trapped moisture can encourage musty odors.
8. Clean Glass, Screens, and Touch Points Carefully
Interior glass collects fingerprints, haze, dust, and residue. These marks may become especially distracting in direct sunlight or during nighttime driving.
Spray an automotive glass cleaner onto a microfiber cloth instead of directly toward the dashboard. Wipe the window in overlapping passes, then use a second dry cloth to remove streaks.
Do not treat every shiny surface like a window
Infotainment displays and digital gauge clusters may have delicate coatings. Follow the owner’s manual, use a clean microfiber cloth, and avoid strong chemicals unless the manufacturer specifically approves them.
Steering wheels, door handles, shifters, seat-belt buckles, touchscreens, and frequently used buttons also deserve regular attention. Apply minimal moisture around electronics and use a soft brush for seams or vents rather than flooding them with spray. Cars.com recommends spraying cleaner onto the cloth when cleaning automotive glass, helping keep overspray away from interior surfaces.
9. Eliminate Odors at the Source
Air freshener can make a dirty car smell like “Ocean Breeze With Undertones of Old Fries.” It cannot remove the cause.
Begin by searching for trash, damp carpet, spilled food, pet residue, dirty gym equipment, or forgotten clothing. Vacuum the affected area, clean it with a suitable product, and allow the interior to dry completely.
Check the ventilation system
If a musty smell appears when the fan or air conditioner runs, inspect the cabin air filter and consult the vehicle’s maintenance schedule. Cabin filters trap dust and other airborne material before it enters the passenger compartment, but replacement intervals vary by vehicle, environment, and driving conditions.
Persistent odors, visible mold, or signs of water intrusion may require professional inspection. Odor absorbers can help after the source has been eliminated, but they should be the final step rather than camouflage.
Clean first, ventilate second, and deodorize third.
10. Complete a Five-Minute Weekly Reset
Set a timer for five minutes once a week. Remove trash, return misplaced belongings, shake out the mats, wipe the dashboard and console, clean obvious fingerprints from the windows, and inspect the cargo area.
Stop when the timer ends. Keeping the job small makes it less intimidating and reduces the temptation to postpone it until “next weekend,” a magical time period in which humans apparently expect to have unlimited energy.
Add monthly and seasonal maintenance
Once a month, vacuum the cabin thoroughly and clean the floor mats. Every few months, inspect seat seams, condition leather when appropriate, clean door jambs, and wash the exterior.
Bird droppings, tree sap, bugs, road film, and winter salt should be removed promptly because they can affect exterior finishes. AAA and Progressive both describe washing approximately every other week as a reasonable general baseline, although climate, mileage, parking conditions, and road exposure should determine the actual schedule.
The weekly reset controls clutter. The monthly cleaning addresses buildup. The seasonal detail catches everything else.
A Simple Clean-Car Schedule
After every drive
- Take at least one unnecessary item out.
- Discard visible trash.
- Respond immediately to spills.
- Carry food and drink containers inside.
Once a week
- Empty the car trash container.
- Shake out the floor mats.
- Wipe high-touch surfaces.
- Remove belongings that do not belong in the vehicle.
Once a month
- Vacuum the cabin and trunk.
- Clean the floor mats.
- Wipe interior panels and cupholders.
- Clean the inside of the windows.
- Inspect beneath and between the seats.
Seasonally
- Deep-clean upholstery when needed.
- Inspect the cabin air filter.
- Clean door jambs and cargo compartments.
- Wash the exterior thoroughly.
- Remove salt, sap, insects, and other contaminants.
Real-World Experiences: What Actually Keeps a Car Clean
The biggest lesson from keeping different types of vehicles tidy is that most messes begin during transitions. People enter a car carrying coffee, mail, work bags, shopping receipts, toys, jackets, and food. When the trip ends, their attention moves to the next task, and half of those objects remain behind.
Solving that transition problem is often more effective than purchasing another miracle cleaning spray.
The trunk-basket method works
One particularly useful habit is keeping a medium tote or collapsible basket in the trunk. Anything that belongs in the house goes into the tote instead of floating around the cabin. At the end of the day, the entire basket comes inside.
This system is especially helpful for families because small items stop disappearing into door pockets, beneath seats, and between cushions. It also keeps the cargo area available for groceries instead of allowing last week’s sports equipment to claim permanent residency.
Cleaning tools must be easy to reach
A microfiber cloth stored in a garage cabinet will not help when coffee splashes across the console several neighborhoods away. A compact kit stored beneath a seat or in a cargo compartment turns immediate cleanup into the easiest choice.
In everyday use, absorbent towels, a gentle interior cleaner, a glass cloth, trash bags, and a small brush handle most problems. Specialty products may be useful for deep detailing, but they are not necessary for every fingerprint or crumb.
Pet hair is easier to remove in small batches
Pet owners quickly learn that waiting for a major vacuuming session is a mistake. Hair accumulates in layers and works its way into fabric. A rubber pet-hair tool, lint roller, or slightly damp microfiber cloth used for two minutes after a ride can prevent a much longer battle later.
A washable pet blanket can also help, provided it is secured safely and does not interfere with seat belts, air bags, or other safety equipment.
Containment is more realistic than perfection
Parents face a different problem: crumbs seem capable of entering sealed dimensions. The most effective approach is containment. Keep snacks in one section of the vehicle, choose cups with dependable lids, and check the seats when everyone exits.
When inspecting beneath a child restraint or booster seat, follow its manufacturer’s instructions and reinstall it correctly. Frequent, small cleanups prevent sticky residue from becoming archaeological evidence.
Adapt the routine to the weather
During rainy months, moisture is the main concern. Mats should be emptied and dried, wet umbrellas need a contained storage area, and damp clothing should not remain in the vehicle overnight.
Winter driving may require more frequent removal of slush and road salt. During pollen season, regular dashboard dusting and exterior washing become more important. A fixed schedule provides structure, but responding to actual driving conditions is smarter.
A clean car encourages cleaner behavior
When a cabin is already tidy, passengers are more likely to carry out their belongings and use the trash container. When the interior is messy, one more wrapper feels irrelevant. Cleanliness creates its own social pressurein a friendly way, not in a white-gloves-and-clipboard way.
Success should also be defined realistically. A working family vehicle will not remain spotless. A commuter car will collect dust, and a road-trip vehicle will experience snack-related incidents. The goal is a car that can be restored quickly, not a museum exhibit that nobody is allowed to enjoy.
Ten minutes of prevention spread throughout the week will usually outperform a heroic three-hour cleaning session attempted once every few months.
Conclusion
Keeping a clean car is less about scrubbing harder and more about creating better defaults. Give trash a dedicated home, remove belongings during every exit, store basic supplies nearby, respond to spills immediately, protect the floors, and complete a five-minute weekly reset.
Start with one improvement today. Add a trash container, clear the passenger seat, or assemble a small cleaning kit. Once that habit becomes automatic, introduce another. Before long, your car will stop behaving like a mobile storage unit and return to its original job: taking you places without silently judging the condition of your cupholders.
Editorial note: This article synthesizes practical recommendations from AAA, Consumer Reports, Family Handyman, Cars.com, Car and Driver, Progressive, and Good Housekeeping. Always consult your vehicle, upholstery, electronic-display, and child-restraint manuals before applying cleaners, removing safety equipment, or servicing components.