A Kenmore ice maker that suddenly stops working has a special talent for becoming noticeable five minutes before guests arrive. Yesterday, the ice bin was overflowing. Today, it contains three lonely cubes and a suspicious amount of optimism.
Fortunately, a broken ice maker does not always mean the entire refrigerator is failing. The problem may be as simple as a raised shutoff arm, a kinked water line, a clogged filter, or a freezer that is slightly too warm. More complicated failures can involve the water inlet valve, door switch, electronic controls, or the ice maker assembly itself.
This guide explains nine common reasons a Kenmore refrigerator ice maker stops producing ice, how to identify each problem, and which fixes are reasonable for a homeowner to attempt. Because Kenmore refrigerators vary by model, locate the model number inside the fresh-food compartment, along a door frame, or behind a lower drawer before ordering parts or attempting a model-specific reset.
Start With These Quick Kenmore Ice Maker Checks
Before disassembling anything, perform a few basic checks. These solve a surprising number of ice maker complaints and cost exactly zero dollars, which is an excellent price for appliance repair.
- Confirm that the refrigerator is plugged in and cooling normally.
- Make sure the ice maker is switched on.
- Check whether the shutoff arm is stuck in the raised position.
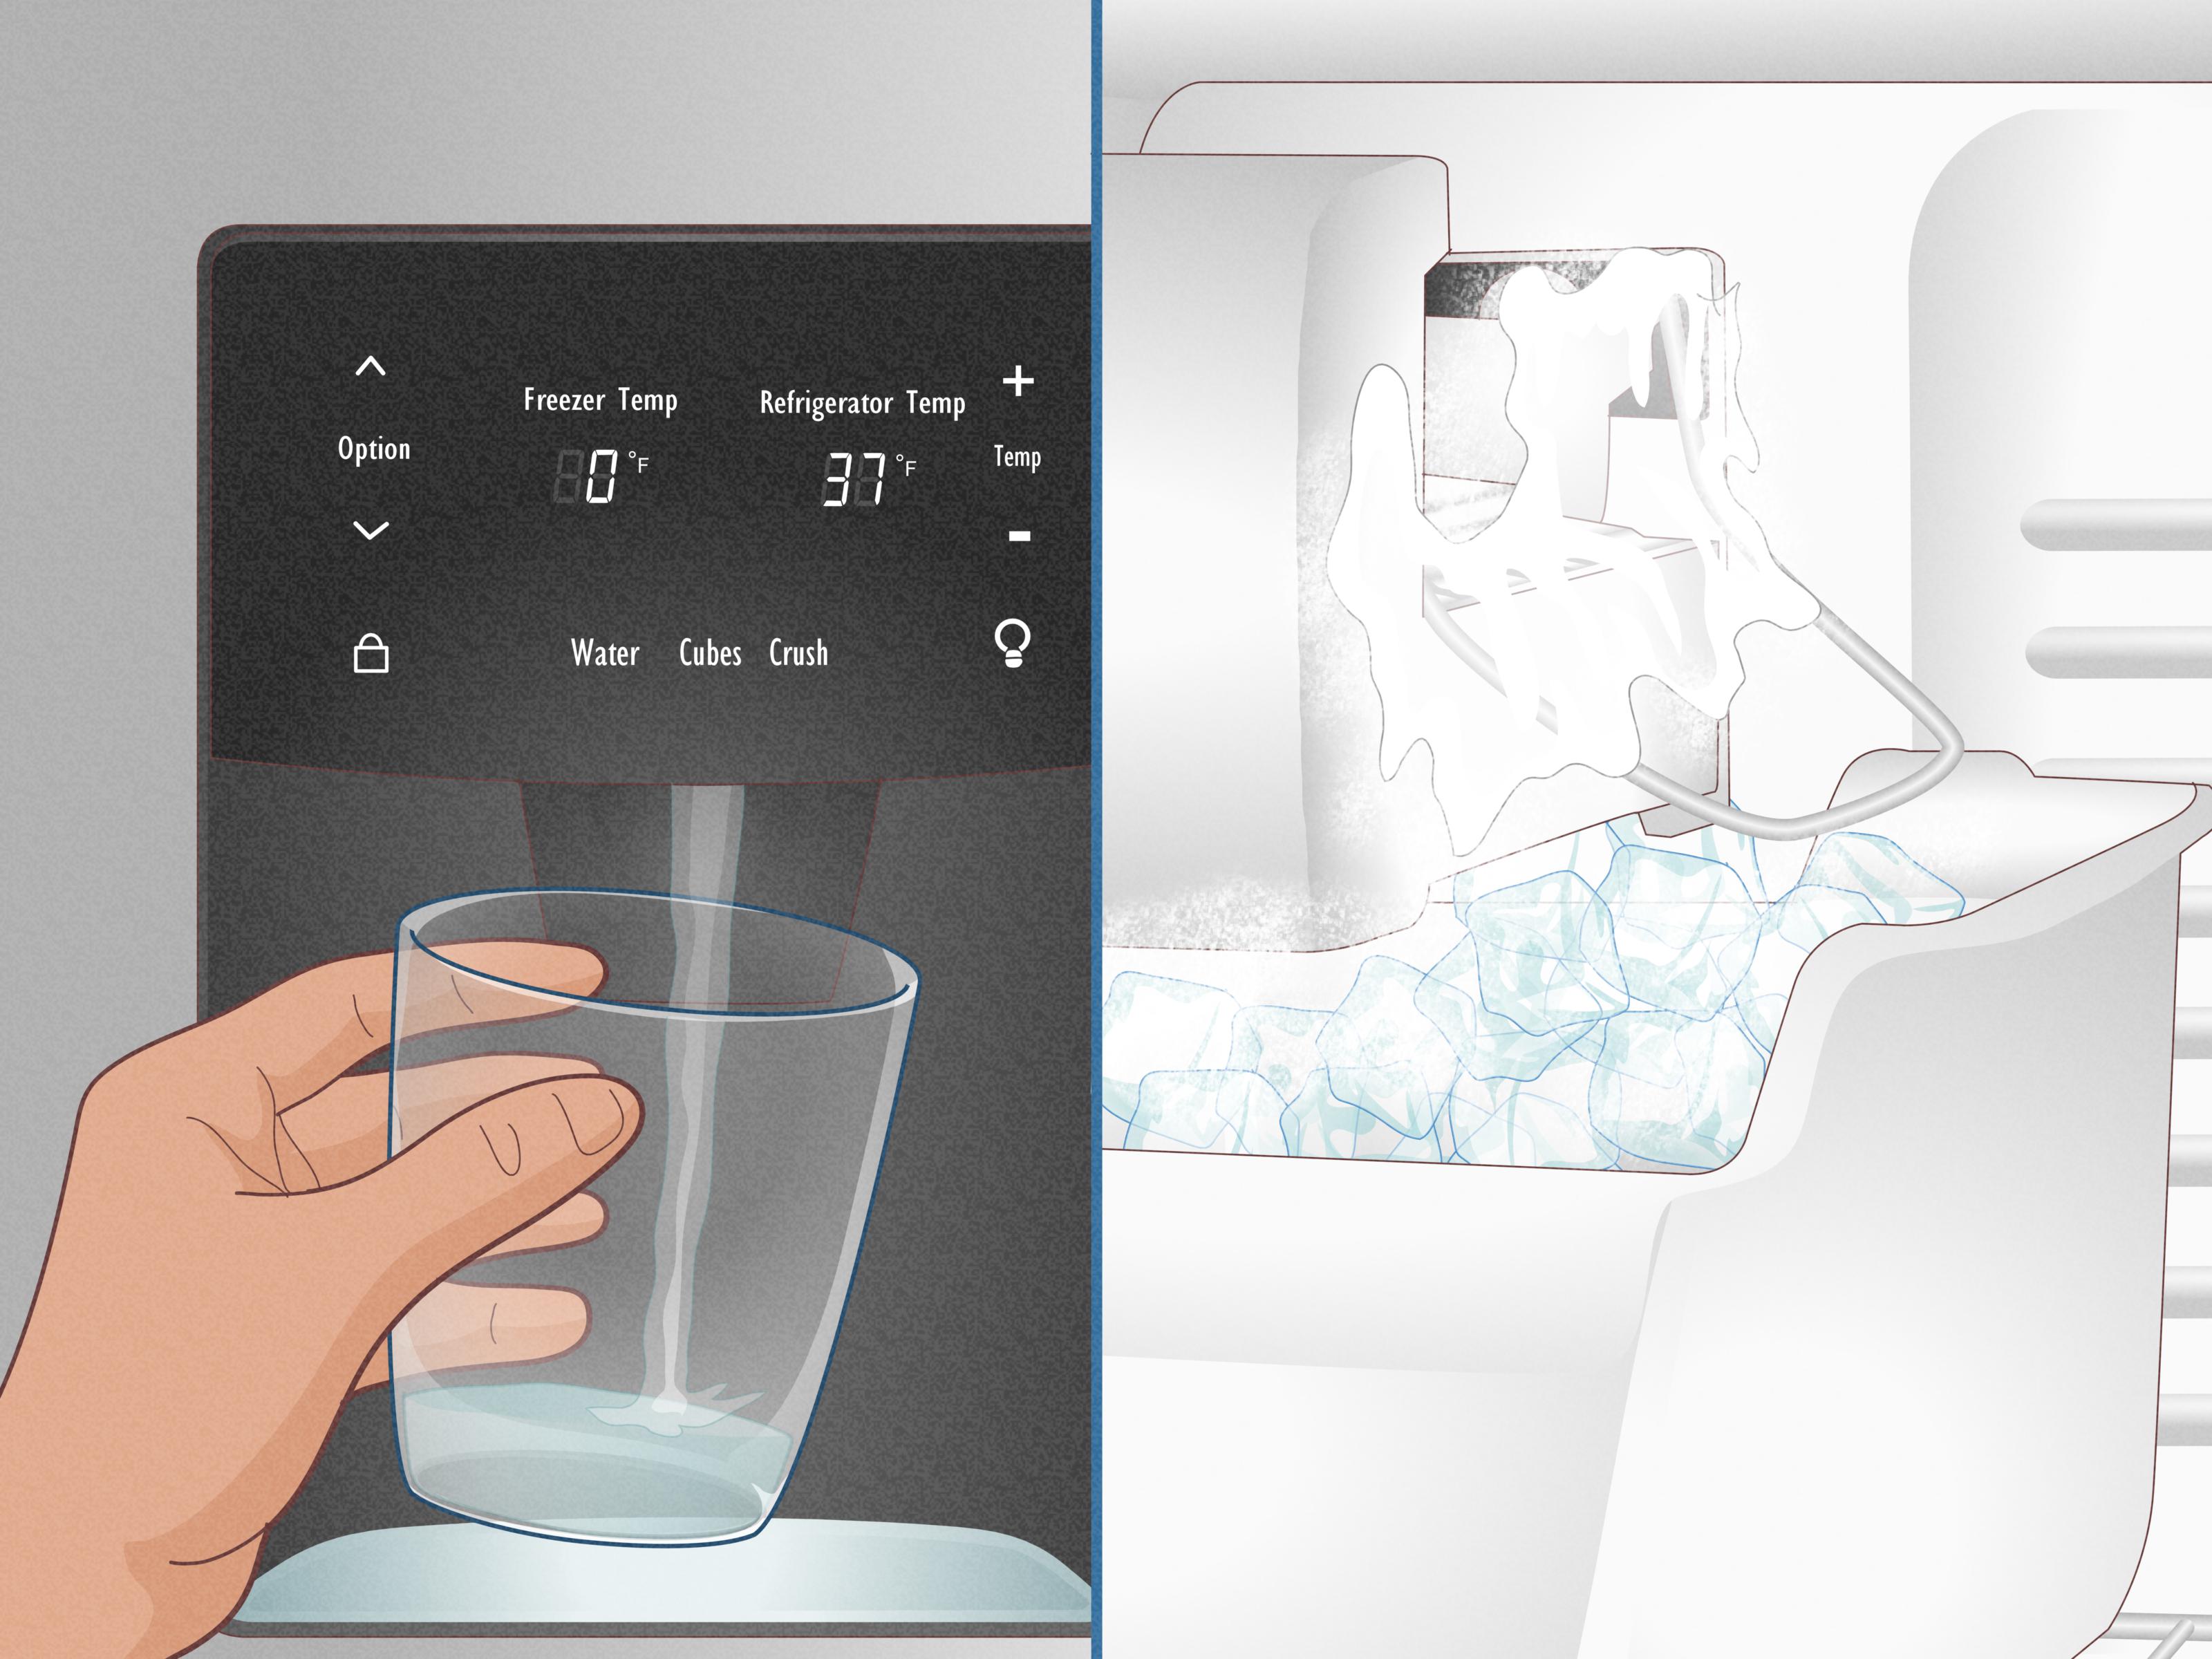
- Set the freezer close to 0°F, unless your owner’s manual specifies otherwise.
- Verify that the household water shutoff valve is fully open.
- Inspect the water line behind the refrigerator for kinks or crushing.
- Check whether the water dispenser works normally.
- Look for cubes jammed in the mold, ejector fingers, or ice bin.
- Confirm that the refrigerator door closes and seals completely.
The water dispenser is particularly useful for diagnosis. If neither the dispenser nor the ice maker receives water, the likely problem is upstream: the shutoff valve, supply tubing, water filter, pressure, or inlet valve. If the dispenser works normally but the ice mold remains dry, focus on the ice maker’s fill tube, valve circuit, sensors, and internal assembly.
1. The Ice Maker Is Turned Off
The simplest explanation is often the correct one: the ice maker may have been switched off accidentally. Kenmore models can use a wire shutoff arm, paddle, rocker switch, control-panel setting, or a combination of controls.
A wire arm usually stops production when it rises with the accumulating ice. If a frozen cube, food package, or misaligned bin holds the arm up, the ice maker interprets that position as “bin full” and refuses to make more ice.
How to fix it
- Remove the ice bin and inspect the shutoff arm or paddle.
- Clear any package, ice clump, or debris blocking its movement.
- Lower the arm gently or move the switch to the on position.
- Check the electronic control panel for an ice maker setting or control lock.
- Reinstall the bin so it sits fully against the rear or side supports.
Do not force a stiff arm. If it is bent, detached, or mechanically jammed, forcing it can convert a small problem into a replacement-parts shopping trip.
2. The Freezer Is Too Warm
An ice maker needs more than cold air; it needs consistently cold air. A freezer may keep food feeling frozen while still being too warm for reliable ice production. Many refrigerator manufacturers recommend a freezer setting near 0°F. The ice maker’s internal thermostat or sensor must detect a sufficiently low temperature before beginning a harvest cycle.
Common reasons for elevated freezer temperatures include blocked air vents, overpacking, frequent door openings, dirty condenser coils, a damaged door gasket, or a cooling-system problem.
How to fix it
- Place an appliance thermometer between frozen packages and check it after several hours.
- Adjust the freezer control gradually toward 0°F.
- Move food away from interior vents so cold air can circulate.
- Clean crumbs and residue from the door gasket.
- Check for gaps by closing the door on a sheet of paper. Weak resistance may indicate a poor seal.
- Vacuum accessible condenser coils according to the owner’s manual.
Allow approximately 24 hours for temperatures to stabilize after making an adjustment. Turning the control to its coldest setting does not instantly create ice; it mostly creates frozen lettuce and disappointment.
3. The Water Supply Is Off, Kinked, or Restricted
A Kenmore ice maker cannot fill its mold without a dependable water supply. The shutoff valve may be partially closed, the tubing may be pinched behind the refrigerator, or mineral deposits may restrict an older valve or line.
This problem commonly appears after moving the refrigerator for cleaning or installation. The appliance gets pushed back, the tubing folds against the wall, and ice production quietly disappears.
How to fix it
- Pull the refrigerator forward carefully.
- Inspect the entire visible supply line for sharp bends, flattening, leaks, or damage.
- Confirm that the household shutoff valve is fully open.
- Make sure the refrigerator is not resting on the tubing.
- Replace cracked, brittle, or badly pinched tubing rather than trying to reshape it.
Low household water pressure can also cause small cubes, slow production, or no filling at all. Many refrigerator inlet valves require roughly 20 psi to operate properly, although the exact requirement should be confirmed in the manual for your model. A plumber may need to evaluate weak household pressure or a corroded shutoff valve.
4. The Water Filter Is Clogged or Installed Incorrectly
A refrigerator water filter gradually collects sediment and contaminants. As the filter becomes restricted, water flow may slow enough to interfere with the ice maker. Warning signs include hollow cubes, unusually small cubes, slow dispenser flow, and declining ice production.
A new filter can also cause trouble when it is the wrong part, has not been fully seated, or contains trapped air after installation.
How to fix it
- Check the filter replacement indicator and installation date.
- Remove and reinstall the filter according to the manual.
- Confirm that the replacement filter is compatible with the exact refrigerator model.
- Flush the required amount of water through the dispenser after replacement.
- Inspect the filter housing for visible cracks, leaks, or a damaged cap.
Filters are commonly replaced about every six months, but water quality and household usage can shorten that interval. A family that fills water bottles all day will use filter capacity faster than someone who visits the dispenser twice a week.
5. The Ice Maker Fill Tube Is Frozen
The fill tube carries water from the inlet valve into the ice mold. If water freezes inside this tube, the mold stays dry even though the ice maker appears to cycle normally.
A frozen fill tube can result from low water pressure, a seeping inlet valve, incorrect freezer conditions, or residual water freezing at the tube’s outlet. Simply melting the blockage may restore production temporarily, but repeated freezing usually signals an underlying problem.
How to fix it
- Unplug the refrigerator and turn off the water supply.
- Locate the fill tube above or behind the ice maker.
- Inspect the opening with a flashlight.
- Allow the blockage to thaw naturally, or apply gentle warm air from a hair dryer on its lowest setting.
- Keep the dryer moving and away from plastic surfaces and standing water.
- Restore power and water, then watch for normal filling or leakage.
Never insert a knife, screwdriver, or metal pick into the tube. A punctured fill tube produces a much less enjoyable appliance problem: water where water absolutely should not be.
6. Ice Is Jammed in the Mold, Ejector, or Bin
Sometimes the refrigerator has made ice but cannot complete the harvest or dispensing process. A malformed cube may block the ejector fingers, several cubes may freeze together in the mold, or a large clump may prevent the shutoff arm from moving.
It is also important to distinguish an ice production problem from a dispenser problem. If the bin contains ice but nothing comes through the door, the ice maker itself may be working. The issue could involve the auger, dispenser motor, chute, bucket alignment, or control lock.
How to fix it
- Turn off or unplug the ice maker before reaching near moving components.
- Remove the ice bin and discard fused or partially melted clumps.
- Check the mold and ejector area for trapped cubes.
- Use a warm cloth to loosen accessible ice instead of prying it out.
- Dry the bin before reinstalling it.
- Make sure the bin engages correctly with the auger drive.
Recurring clumps may indicate temperature fluctuations, a door that is not sealing, or ice sitting unused for long periods. Periodically emptying old ice helps prevent one enormous glacier from taking over the bin.
7. The Water Inlet Valve Is Faulty
The water inlet valve is an electrically controlled valve, usually located near the lower rear of the refrigerator. When the ice maker requests water, the valve opens briefly and sends water through the fill tube.
A valve can fail electrically, become clogged with mineral deposits, remain partially closed, or leak slowly after it should have shut. A failed valve may leave the mold dry. A leaking valve may contribute to frozen fill tubes, oversized cubes, or chunks of ice in the bin.
How to diagnose it
- Confirm that the supply line and filter are not restricting water.
- Listen for a brief hum when the ice maker attempts to fill.
- Inspect the valve and nearby tubing for leaks.
- Check whether the water dispenser is also weak or inoperative.
Testing valve voltage or coil resistance requires electrical knowledge and a multimeter. Because the refrigerator must sometimes be energized during diagnosis, this work is better handled by a qualified technician. Replace the valve with a part matched to the complete Kenmore model number, not merely the refrigerator’s appearance.
8. A Door Switch, Sensor, Wiring Connection, or Control Is Malfunctioning
Many refrigerators suspend certain ice maker or dispenser functions when a door is open. If the door switch fails, the control system may behave as though the door never closes. Some models also use optical bin sensors, thermistors, ice-level boards, or wiring routed through a door hinge.
Possible symptoms include an ice maker that appears completely dead, intermittent operation when the door moves, a light that does not respond correctly, or an electronic control that ignores commands.
How to fix it
- Check whether the interior light turns off when the door switch is pressed.
- Clean optical sensor windows with a soft, dry cloth.
- Inspect visible door-hinge wiring for pinching or damage.
- Make sure all doors and drawers close completely.
- Try a basic power reset by unplugging the refrigerator for several minutes.
A power reset may clear a temporary control error, but it does not repair burned wiring, failed sensors, or damaged circuit boards. Avoid repeatedly resetting the appliance while ignoring obvious electrical symptoms such as burning odors, arcing, or tripped breakers.
9. The Ice Maker Assembly or Main Control Board Has Failed
After temperature, water supply, filters, fill tubing, switches, and jams have been ruled out, the ice maker assembly itself may be defective. Internal motors, gears, heaters, thermostats, sensors, and contacts can wear out over time. On many models, these pieces are serviced by replacing the complete assembly rather than repairing individual components.
A failed main control board can also prevent power from reaching the ice maker or inlet valve. However, control boards are frequently blamed too early. Replacing an expensive board before checking water flow and freezer temperature is the appliance-repair equivalent of buying a new car because the old one needs gasoline.
How to fix it
- Find the refrigerator’s complete model number.
- Consult the model-specific manual for test-mode or reset instructions.
- Verify that the ice maker receives proper temperature, water, and power.
- Check connectors for corrosion, looseness, or heat damage after disconnecting power.
- Replace the assembly only after simpler causes have been eliminated.
Some ice makers include a test button, while others require a specific sequence or technician procedure. Do not jump electrical terminals based on a generic online video. Kenmore models can use different designs, and the wrong procedure may damage the control system.
A Fast Diagnostic Path
Use these observations to narrow down the failure without replacing random parts:
| What You Observe | Most Likely Areas to Check |
|---|---|
| No water from the dispenser and no ice | Household shutoff valve, supply line, filter, water pressure, or inlet valve |
| Water dispenser works, but ice mold is dry | Frozen fill tube, ice maker controls, wiring, valve circuit, or assembly |
| Water is frozen in the mold, but cubes do not eject | Freezer temperature, jammed ejector, motor, thermostat, heater, or assembly |
| Ice is in the bin but does not dispense | Ice clumps, bucket alignment, auger, dispenser switch, motor, chute, or control lock |
| Cubes are small or hollow | Clogged filter, restricted tubing, low water pressure, or weak inlet valve |
| Fill tube freezes repeatedly | Seeping inlet valve, pressure problem, or incorrect water flow |
How Long Should a Kenmore Ice Maker Take to Start Working?
After a new refrigerator installation, filter replacement, reset, or repair, do not expect an immediate avalanche of cubes. The freezer must reach the correct temperature, the water system may contain air, and the ice maker may need several cycles before normal production begins.
Allow approximately 24 hours for initial production and as long as two to three days for the bin to fill, depending on the model, freezer temperature, room conditions, door openings, and household ice use. Discard the first few batches after a new installation or extended shutdown if the manual recommends doing so.
When Should You Call an Appliance Technician?
Professional service is appropriate when the refrigerator is not cooling, the inlet valve requires powered testing, wiring is damaged, water leaks near electrical components, or the ice maker still fails after the basic checks.
Call for service promptly if you notice a burning smell, repeated breaker trips, melted connectors, significant water leakage, unusual compressor behavior, or heavy frost suggesting a broader cooling or defrost-system failure.
Before scheduling a visit, record the model number, note the freezer temperature, and explain whether the water dispenser works. Those details can shorten diagnosis and help the technician arrive with the correct parts.
Real-World Kenmore Ice Maker Troubleshooting Experiences
The following composite examples reflect common homeowner troubleshooting patterns rather than stories from one specific refrigerator. They show why observing the sequence of symptoms is often more useful than immediately replacing the ice maker.
Experience 1: Ice Production Slowed Before It Stopped
One of the most revealing patterns is gradual decline. The ice bin does not become empty overnight. Production first slows, cubes become thinner, and the water dispenser takes longer to fill a glass. Eventually, the ice maker stops producing altogether.
In this situation, the ice maker assembly may be perfectly healthy. The shared symptomweak water flowpoints toward a clogged filter, restricted line, low pressure, or failing inlet valve. Replacing an overdue filter and flushing the system often restores normal cube size within the next several cycles. The practical lesson is simple: small or hollow cubes are an early warning, not an artistic decision by the refrigerator.
Experience 2: The Refrigerator Stopped Making Ice After Cleaning
Another common scenario begins after someone pulls the refrigerator away from the wall to clean underneath it. The appliance is pushed back into place, and ice production disappears later that day.
The cause is frequently a water line folded between the refrigerator and wall. The dispenser may work weakly, while the ice maker receives too little water to fill its mold. Pulling the refrigerator forward and rerouting the tubing with a wide, gentle curve can solve the problem immediately. Leaving a little clearance behind the appliance helps prevent the line from being crushed again.
Experience 3: The Freezer Felt Cold but Was Not Cold Enough
Homeowners often reject temperature as the cause because their frozen food still feels solid. However, an overpacked freezer with blocked vents can develop warm pockets around the ice maker. The ice cream remains frozen, but the ice maker’s thermostat does not consistently reach its cycling temperature.
Removing several packages, clearing the vents, and checking the compartment with an appliance thermometer may reveal that the freezer is running at 10°F or higher instead of near 0°F. After airflow is restored and the temperature stabilizes, ice production may resume without replacing a single component. This is why measuring temperature is more reliable than placing a hand inside and declaring, “Yep, seems chilly.”
Experience 4: A Frozen Fill Tube Kept Coming Back
Thawing a frozen fill tube can produce a satisfying short-term victory. Water flows again, cubes appear, and the household repair hero accepts congratulations. Several days later, the tube freezes again.
Repeated freezing usually means the ice blockage is a symptom. A water inlet valve may be seeping after the fill cycle, leaving droplets that freeze inside the tube. Low pressure can also prevent the valve from closing or operating correctly. The lasting repair is to identify why water remains in the tube, not to schedule a weekly appointment with a hair dryer.
Experience 5: The Ice Maker Was Replaced Too Soon
A replacement ice maker is tempting because it is a visible, self-contained part. Yet some homeowners install a new assembly only to discover that the new unit also receives no water. The actual cause turns out to be a closed shutoff valve, clogged filter, broken door switch, or defective inlet valve.
A better approach is to follow the system in order. Confirm temperature first, then verify water supply, filter flow, fill-tube condition, switch operation, and electrical connections. Replace the ice maker only when its supporting systems have been proven functional. This process takes longer than guessing, but it is usually faster than installing two unnecessary parts and having a philosophical argument with the refrigerator.
Conclusion
When a Kenmore ice maker is not working, begin with the controls, freezer temperature, water supply, filter, and visible ice blockages. These common issues are easier and safer to correct than internal electrical failures. If the mold remains dry despite good water flow, inspect the fill tube and inlet-valve system. If cubes freeze but never eject, the ice maker mechanism, sensors, or assembly may require professional diagnosis.
Most importantly, use the complete model number before following reset instructions or ordering parts. A method that works for one Kenmore refrigerator may not apply to another. Careful observation and step-by-step testing will usually find the real cause faster than replacing whichever component looks most guilty.