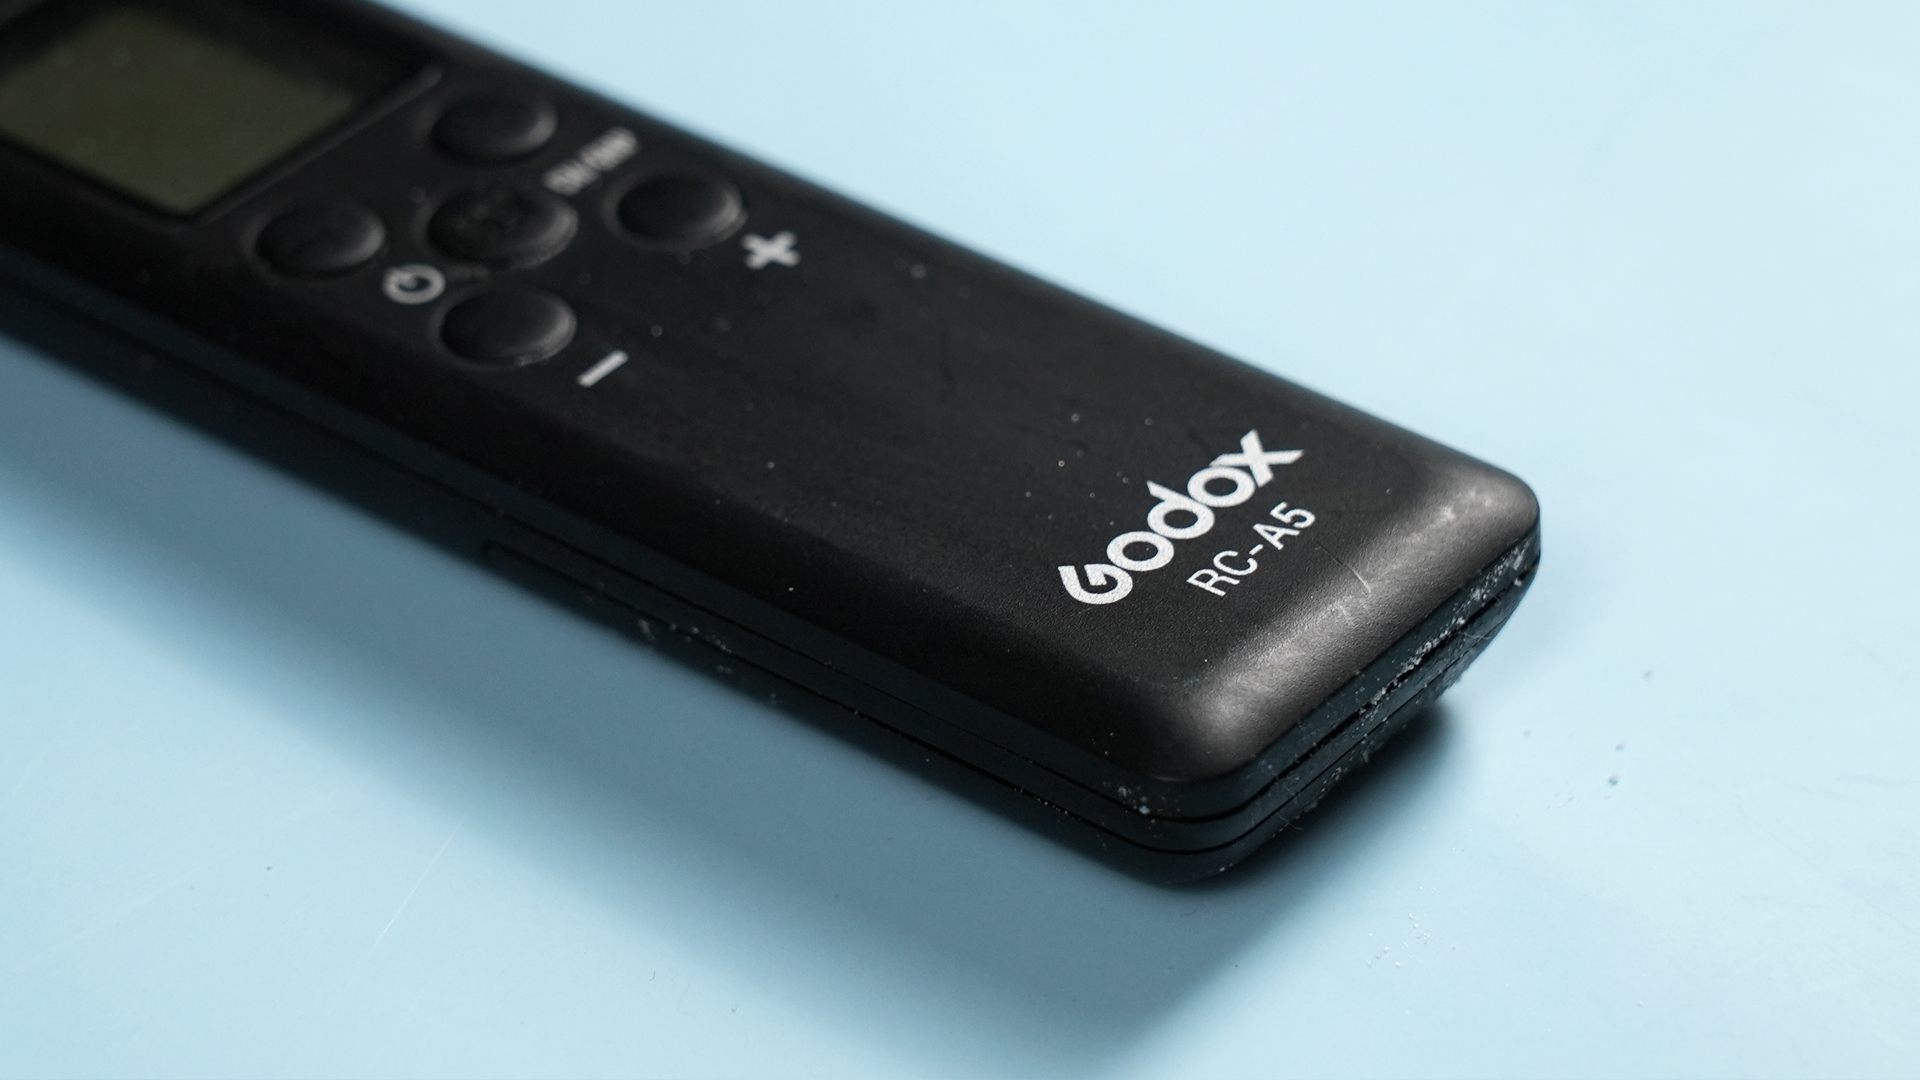
Plastic is supposed to be smooth, durable, and pleasantly boring. Then one day, the handle of your umbrella, game controller, remote control, storage container, or kitchen tool begins feeling like it has been lightly glazed with pancake syrup. You wipe it with a paper towel. The paper towel sticks. Now the plastic is sticky and furry. Excellent.
Fortunately, many sticky plastic surfaces can be rescued with ordinary household supplies. The best cleaning method depends on what caused the tackiness. A recent spill usually responds to dish soap, old adhesive may need gentle abrasion, and a deteriorating soft-touch coating often requires rubbing alcohol.
This guide explains three effective ways to clean sticky plastic without immediately reaching for harsh solvents that might cloud, discolor, scratch, or partially melt the item. You will also learn how to identify degrading plastic, protect printed markings, and decide when cleaning is no longer worth the effort.
Why Does Plastic Become Sticky?
Before attacking the surface with the strongest bottle under the sink, determine what kind of stickiness you are dealing with. Plastic may feel tacky for several different reasons, and each problem requires a slightly different approach.
Food, grease, and everyday grime
Cooking oil, sugary drinks, skin oils, lotion, smoke residue, and household dust can combine into a stubborn film. This type of stickiness is common on refrigerator handles, plastic cabinet knobs, remote controls, toys, reusable containers, and small appliances.
The good news is that the plastic itself is probably fine. The unwanted material is sitting on top of it, waiting for warm water and dish soap to ruin its day.
Sticker or adhesive residue
Labels, price tags, tape, decals, and protective films may leave adhesive behind after removal. The residue often appears in a clearly defined patch and may feel stretchy or gummy rather than uniformly tacky.
A degrading soft-touch coating
Many electronics, tools, camera grips, binoculars, pens, dashboards, and household gadgets have a rubberized polyurethane coating designed to provide a matte, nonslip finish. As the material ages, heat, moisture, oxygen, and sunlight can contribute to deterioration. Additives may also migrate toward the surface, creating a tacky layer that attracts dust.
This is not ordinary dirt. The coating itself is breaking down. Washing may briefly improve it, but permanent treatment often means removing the failed coating and exposing the harder plastic underneath. Conservation guidance also notes that degrading plastics can become sticky as additives migrate to the surface, making dirt removal increasingly difficult.
What You Need Before Cleaning Sticky Plastic
Gather a few basic supplies before you begin:
- Two or three clean microfiber cloths
- Warm water
- Mild dishwashing liquid
- Baking soda
- 70% isopropyl rubbing alcohol
- Cotton swabs
- A soft-bristled toothbrush
- A plastic scraper or expired plastic card
- Disposable gloves for extended cleaning
Always test the chosen cleaner on a hidden area first. Plastic is a broad family of materials, not one universal substance. A cleaner that works perfectly on a hard polypropylene storage bin may cloud clear acrylic, remove painted lettering, soften a decorative coating, or alter a glossy finish.
For electronic devices, turn off the equipment, disconnect power, and remove batteries when possible. Apply liquid to the cloth rather than pouring or spraying it directly onto the device. Keep moisture away from ports, switches, speaker openings, seams, and ventilation holes.
Way 1: Clean Sticky Plastic With Dish Soap and Warm Water
This is the safest place to begin. Dish soap contains surfactants that help lift grease, food residue, skin oils, and ordinary grime from a surface. It is generally less aggressive than alcohol or commercial adhesive removers.
Best for
Use this method on washable plastic toys, storage bins, food containers, appliance exteriors, handles, plastic furniture, and items that became sticky after a spill or regular handling.
Step-by-step instructions
- Mix a few drops of mild dish soap into a bowl of warm water.
- Dip a microfiber cloth into the solution and wring it out thoroughly. The cloth should be damp, not dripping.
- Wipe the sticky area using small circular motions.
- For textured plastic, gently scrub the grooves with a soft toothbrush.
- Wipe the item again with a separate cloth dampened with clean water.
- Dry the plastic completely with a clean towel.
For a fully washable item, soaking it for 10 to 15 minutes may soften dried food or adhesive. Do not soak electronics, battery-operated toys, laminated objects, or anything with glued components.
If the surface becomes clean and smooth, stop. There is no prize for escalating to stronger chemicals after the problem has already been solved.
When this method does not work
If the item remains uniformly tacky after two careful cleanings, the problem may be a deteriorating coating rather than surface grime. If only the former label area remains sticky, move to the baking soda method.
Way 2: Remove Sticky Residue With a Baking Soda Paste
Baking soda provides mild abrasive action that can loosen stubborn residue without the cutting power of sandpaper or a harsh scouring pad. When mixed with a small amount of water, it forms a controllable paste that works especially well on sturdy, unpainted plastic.
University extension guidance describes damp baking soda as a gentle, relatively nonabrasive household cleanser. Even so, glossy and transparent plastic should be treated carefully because repeated rubbing can create fine scratches.
Best for
Choose this method for sticker residue, tape marks, light greasy buildup, and small tacky patches on durable plastic containers, bins, trays, garden tools, and household accessories.
Step-by-step instructions
- Combine two parts baking soda with one part warm water.
- Stir until the mixture forms a thick, spreadable paste.
- Apply a thin layer over the sticky area.
- Let it sit for about five minutes.
- Massage the paste gently with a microfiber cloth or your fingertips.
- Use a plastic card at a low angle to lift softened adhesive, if necessary.
- Wash the area with dish soap and water to remove the remaining paste.
- Rinse and dry the item completely.
For greasy adhesive, a few drops of cooking oil can sometimes help soften the residue before the baking soda treatment. However, oil should be used sparingly because it creates a second cleaning job. Once the adhesive is gone, wash the surface thoroughly with dish soap so the plastic does not graduate from “sticky” to “slippery.”
Household cleaning guidance commonly recommends oil, baking soda paste, rubbing alcohol, and plastic scrapers for adhesive residue, while emphasizing the importance of spot testing.
Where baking soda should not be used
Avoid aggressive scrubbing on clear acrylic, polished plastic, painted designs, printed control panels, eyeglass lenses, collector items, and delicate finishes. Baking soda is gentler than many abrasive powders, but “gentle” does not mean “physically incapable of leaving marks.”
Way 3: Use Isopropyl Alcohol for Degraded Coatings
Isopropyl alcohol is often the most effective option for an old rubberized or soft-touch coating that has started decomposing. It can also remove stubborn adhesive, ink, and oily residue from compatible hard plastic.
The goal may not be to restore the original coating. Once a soft-touch finish has chemically degraded, it generally cannot be transformed back into its fresh factory condition with a cloth and positive thinking. Instead, alcohol helps remove the failing layer so the stable plastic beneath it can be used again.
Best for
This method is useful for sticky camera bodies, remote controls, computer accessories, tool handles, game controllers, binoculars, flashlights, dashboards, and other objects with a deteriorated matte coating.
Step-by-step instructions
- Move to a well-ventilated area away from flames, cigarettes, sparks, and heat sources.
- Put on gloves if you expect to clean for more than a few minutes.
- Test 70% isopropyl alcohol on a concealed section of the item.
- Dampen a microfiber cloth or cotton pad with alcohol. Do not saturate it.
- Rub a small section of the sticky coating using moderate, even pressure.
- As the cloth collects dark or gummy residue, rotate to a clean section.
- Use cotton swabs around buttons, corners, and textured details.
- Repeat until the surface no longer feels tacky.
- Wipe the item with a cloth lightly dampened with water, unless the manufacturer advises otherwise.
- Allow the object to dry completely before reconnecting power or inserting batteries.
Work in small areas. Trying to clean the entire item with one saturated rag usually smears softened coating from one section to another. The process can require patience, fresh cloths, and considerably more rubbing than social media videos suggest.
Repair guidance commonly recommends isopropyl alcohol for removing failed soft-touch coatings, while 3M identifies compatible isopropyl alcohol and water solutions as useful for cleaning many substrates. Compatibility testing remains essential because exceptions exist.
Important alcohol precautions
Do not assume rubbing alcohol is safe for every plastic. It can cloud or weaken certain acrylic products, damage paint, erase printed labels, dull finishes, and deteriorate some rubber materials after repeated exposure. Alcohol is also flammable, so keep it away from ignition sources and close the bottle when it is not being used.
For electronics, never flood the surface. A lightly dampened cloth offers more control. Some manufacturers test products with a 70% isopropyl alcohol solution, but their guidance applies to specific products rather than every electronic device ever manufactured.
Cleaners to Avoid on Sticky Plastic
Acetone and acetone-based nail polish remover
Acetone can dissolve, soften, craze, or discolor several plastics. It may remove the sticky coating, the paint, the shine, and occasionally your remaining optimism. Unless a manufacturer specifically confirms compatibility, keep acetone away from plastic.
Bleach mixtures
Bleach is rarely necessary for removing stickiness. More importantly, never mix bleach or another disinfectant with vinegar, ammonia, alcohol, or other cleaning products. The CDC warns that combining household cleaners can release dangerous vapors.
Metal scrapers and razor blades
A razor blade may remove adhesive quickly, but it can also carve permanent lines into the plastic. Use a flexible plastic scraper or an old card, and keep it nearly parallel to the surface.
Melamine sponges
Melamine foam works through fine abrasion. It can dull glossy plastic, erase printed symbols, and leave an uneven finish. Use it only after spot testing and only when changing the appearance would not matter.
Excessive heat
A hair dryer can soften some labels, but too much heat may warp thin plastic, loosen internal glue, or worsen a failing coating. Use the lowest heat setting, keep the dryer moving, and stop if the plastic begins to soften.
How to Prevent Plastic From Becoming Sticky Again
Store plastic objects away from direct sunlight, hot vehicles, radiators, and humid rooms. Wipe frequently handled surfaces before oils and grime accumulate. Avoid storing rubberized gadgets in sealed plastic bags, especially in warm conditions, because trapped heat and moisture may accelerate deterioration.
Keep remotes, controllers, tools, and camera equipment in a dry, ventilated location. For long-term storage, remove batteries and avoid direct contact between degrading plastic and nearby paper, fabric, or other objects. Sticky surfaces readily collect dust and may transfer residue.
If a soft-touch coating has already failed, removing it completely is often more durable than repeatedly washing the surface. The exposed plastic may look shinier and feel less luxurious, but it will also stop behaving like a lint roller.
Practical Experiences and Lessons From Cleaning Sticky Plastic
Real-world cleaning attempts tend to teach the same lesson: identify the source of the stickiness before choosing a cleaner. Consider a plastic refrigerator handle covered with cooking grease. It may feel almost identical to a deteriorating camera grip, but its treatment is much simpler. A damp cloth can spread the grease around and make the handle appear clean while leaving it tacky. Warm water and concentrated dish soap usually succeed because the problem is external contamination rather than damaged plastic.
A second common experience involves storage containers with old price labels. Scrubbing the dry adhesive immediately often creates dozens of tiny sticky rolls that migrate across the container. The more energetic the scrubbing becomes, the larger the contaminated area grows. Allowing a baking soda paste to sit first makes the residue easier to lift with a plastic card. The useful lesson is that dwell time can be more effective than brute force.
Electronics provide a different challenge. A remote control or game controller may remain sticky after soap cleaning because the original soft-touch finish has begun to fail. During alcohol cleaning, the cloth may turn black or gray. This can look alarming, but it often means the deteriorated coating is transferring onto the cloth. Continuing slowly with fresh sections of fabric generally produces a hard, smooth plastic surface underneath.
The visual result is not always perfectly uniform. Areas that received more wear during years of use may have thinner coatings than protected corners. Removing the finish section by section can temporarily create glossy and matte patches. Working methodically across an entire panel usually produces a more consistent appearance than cleaning only the spots touched most often.
Printed markings are another frequent casualty of overconfidence. Alcohol may leave the structural plastic untouched while removing button labels, decorative paint, or brand logos in seconds. Testing behind a battery cover does not confirm that the printed front panel is safe. A better approach is to clean around lettering with cotton swabs, using soap and water near printed graphics whenever possible.
Clear plastic requires even more caution. An adhesive remover may work beautifully on an opaque storage bin and create a cloudy patch on an acrylic display case. Starting with the mildest method protects against this problem. Dish soap should come first, followed by carefully tested baking soda or a product explicitly approved for that plastic.
Another lesson concerns the cleaning cloth itself. Once a cloth becomes loaded with gummy coating, continuing to use it simply redistributes the residue. Several small cloths or disposable cotton pads often work better than one heroic rag attempting to complete the entire operation.
Finally, some plastic is too degraded to save cosmetically. Cracking, crumbling, distortion, strong chemical odors, or recurring oily liquid may indicate advanced material deterioration. Cleaning can improve usability, but it cannot reverse chemical aging. Valuable, historic, or collectible objects should be evaluated by a professional conservator rather than subjected to a home experiment involving every solvent in the garage.
Conclusion
The safest strategy for cleaning sticky plastic is to escalate gradually. Begin with warm water and dish soap for food, oil, and routine grime. Use a baking soda paste for stubborn adhesive on durable plastic. Reserve isopropyl alcohol for compatible surfaces, difficult residue, and degraded soft-touch coatings.
Spot testing is the small step that prevents large regrets. Work slowly, use clean cloths, protect printed details, and avoid harsh solvents unless the manufacturer specifically approves them. In many cases, an object that seemed ready for the trash can be returned to service with a few household supplies and a reasonable amount of patience.
Note: Cleaning removes residue or a failed surface coating; it does not reverse the chemical deterioration of aging plastic. Stop if the item becomes discolored, soft, cracked, cloudy, or distorted.