There is something deeply satisfying about turning a container headed for the recycling bin into a planter that looks as though it wandered out of a Scandinavian design shop. Add fresh basil, thyme, mint, or parsley, and suddenly your windowsill is doing three jobs at once: growing dinner, reducing waste, and showing off.
Upcycled Marimekko herb planters combine practical container gardening with the bold, joyful spirit associated with Marimekko prints. The Finnish design house was founded in 1951, while Maija Isola’s famous Unikko floral pattern debuted in 1964. Its oversized, graphic flowers remain instantly recognizable and provide excellent inspiration for a DIY planter makeover.
The project can be as simple as decorating a cleaned tin can with salvaged patterned paper, or as ambitious as transforming a collection of mismatched containers into a coordinated indoor herb garden. You do not need expensive pots, professional art skills, or a suspiciously perfect craft room with 47 labeled drawers. You need suitable containers, proper drainage, a few decorating supplies, and herbs that match the light available in your home.
Why Upcycled Marimekko Herb Planters Work So Well
Good upcycling begins with an object that still has useful life left in it. The U.S. Environmental Protection Agency specifically encourages reusing and repurposing containers and other household items as a way to prevent waste before recycling becomes necessary. A clean can, food-safe tub, sturdy jar used as an outer cachepot, or unwanted flowerpot can therefore become the starting point for a useful decorative project rather than another disposable object.
The Marimekko-inspired aesthetic is especially well suited to upcycling because bold patterns can visually unify containers that began life in completely different forms. One pot might be an old nursery container. Another might be a coffee tin. A third could be a thrifted ceramic pot whose original color can only be described as “1997 dentist’s waiting room beige.” Give them related colors and large graphic motifs, and the group suddenly looks intentional.
Design Meets Everyday Function
Herb planters are also genuinely useful. Unlike a decorative object that merely occupies a shelf and collects dust with great enthusiasm, a kitchen herb garden can provide fresh leaves for sauces, salads, soups, drinks, and garnishes. Place the finished planters where the herbs receive appropriate light, and your art project becomes part of your cooking routine.
The key word, however, is appropriate. A beautiful container cannot compensate for permanently wet roots, poor drainage, or a sun-loving herb sitting in a gloomy corner. Successful DIY herb planters must work for the plants first and the photographs second.
Materials and Tools
You can adapt the supply list to what you already own. That is part of the funand the entire point of upcycling.
- Clean, sturdy containers such as metal cans, nursery pots, small buckets, or thrifted flowerpots
- Licensed Marimekko fabric or paper scraps you already own, or original hand-painted motifs inspired by bold Scandinavian floral design
- Decoupage medium suitable for the chosen surface
- Acrylic paint or a surface-appropriate primer and paint
- Paintbrushes or foam brushes
- Scissors
- Fine-grit sandpaper, if needed for surface preparation
- A drill, awl, or appropriate hole-making tool for drainage
- High-quality container potting mix
- Herb seedlings or seeds
- A saucer or waterproof tray for indoor use
- An optional exterior-compatible protective topcoat
When using branded fabric or paper, repurpose genuine scraps or products you already own rather than reproducing a copyrighted print for commercial resale. For a fully original project, borrow the broader visual principleslarge flowers, confident shapes, high contrast, and cheerful color combinationswithout copying a specific pattern exactly.
Choosing the Best Containers to Upcycle
Almost any sturdy container can become a planter, but “almost” is doing important work in that sentence. The container should be clean, reasonably durable, large enough for the selected herb, and capable of allowing excess water to escape.
University extension guidance consistently emphasizes drainage for container-grown herbs. Containers need holes in the bottom, and the growing medium should drain well while retaining enough moisture to support healthy roots. Straight garden soil is usually a poor choice for pots because it can compact and limit aeration.
Good Candidates
- Metal food cans: Lightweight, inexpensive, and easy to group together.
- Plastic nursery pots: Already designed for plants and generally equipped with drainage holes.
- Old ceramic flowerpots: Excellent for repainting or decoupage when structurally sound.
- Small buckets: Useful for larger herbs when drainage holes can be added safely.
- Decorative tins: Attractive outer covers for a removable nursery pot.
When to Use a Cachepot Instead
If a beautiful container cannot safely be drilled, use it as a cachepot, or decorative outer pot. Keep the herb in a slightly smaller nursery pot with drainage holes, remove it for thorough watering, let excess water drain, and then return it to the decorative container.
This method is particularly useful for collectible tins, delicate ceramics, and containers whose interior finish is unknown. It also protects your artwork because the decorated outer surface does not need to endure as much direct exposure to wet potting mix.
How to Make Upcycled Marimekko Herb Planters
Step 1: Clean and Prepare the Container
Wash the container thoroughly and remove grease, dust, loose labels, and adhesive residue. Allow it to dry completely. Smooth sharp metal edges before proceeding. If the surface is glossy, a light sanding may help paint or primer adhere, but follow the recommendations for the specific material and coating you use.
Do not decorate over dirt and hope the glue will negotiate a peace treaty with it. Surface preparation is not glamorous, but neither is watching your carefully applied design peel off three days later.
Step 2: Create Proper Drainage
If you are planting directly into the container, make drainage holes before decorating it. A hole in the bottom allows excess water to leave the root zone and helps maintain air around the roots. Adding a layer of gravel instead of providing drainage holes is not an equivalent solution.
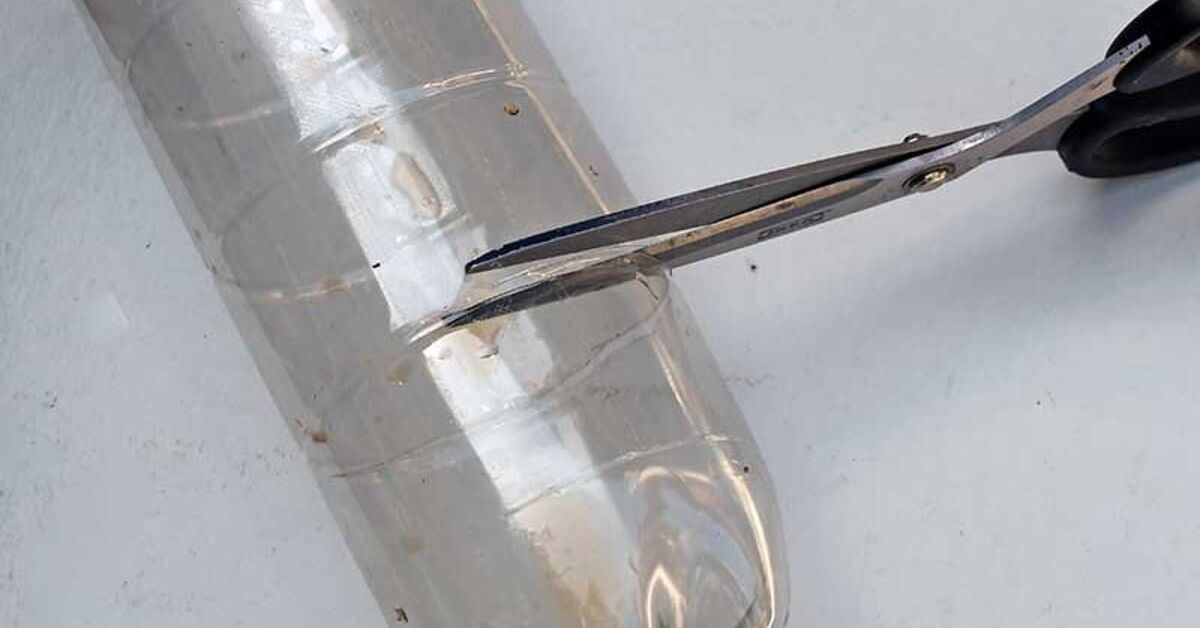
Use the correct tool and safety equipment for the container material. Metal edges can be sharp, while ceramic drilling requires appropriate bits and techniques. When modification is unsafe or impractical, use the cachepot method instead.
Step 3: Choose Your Marimekko-Inspired Color Story
A coordinated palette is what turns random recycled containers into a collection. Choose two or three dominant colors plus a neutral background. Classic combinations might include:
- Black, white, and bright red
- Deep blue, white, and warm yellow
- Pink, orange, and burgundy
- Forest green, cream, and black
- Terracotta, blush, and dark plum
You do not need every pot to match exactly. In fact, a little variation makes the arrangement more interesting. Repeat one background color, flower shape, or accent shade across the collection to create visual continuity.
Step 4: Paint the Base
Apply a surface-appropriate primer when necessary, followed by one or more thin coats of paint. Thin coats usually produce a cleaner finish than one heroic blob of paint applied with the optimism of a person who has ignored every craft disaster on the internet.
Allow each coat to dry according to the product instructions. Keep paint and decorative coatings on the exterior unless the product is specifically suitable for the intended interior use.
Step 5: Add the Pattern
There are two easy approaches.
Decoupage method: Cut motifs from patterned paper, napkins, or fabric scraps. Plan the layout before applying adhesive. Add the pieces gradually, smoothing them gently and allowing the recommended drying time. Standard decoupage practice involves preparing the surface, fitting the decorative material, adhering it carefully, and adding a protective coat.
Hand-painted method: Sketch loose flower shapes or abstract botanical forms with pencil, then fill them with acrylic paint. The charm comes from confident scale rather than microscopic perfection. Large petals are easier to paint than tiny details and have greater visual impact from across the room.
For a playful set, give each herb its own design. Basil might get oversized red blooms, thyme could wear a black-and-white geometric pattern, and mint could have energetic green circles. Your parsley does not care about branding, but it may appreciate finally being treated like the celebrity garnish it believes itself to be.
Step 6: Protect the Exterior
Once the design is fully dry, apply a protective finish suitable for the decorating materials and expected environment. Indoor planters generally face less weather exposure, while pots on a covered balcony may encounter humidity, splashes, and temperature changes.
No decorative coating makes a paper-covered pot indestructible. Avoid leaving decoupaged containers standing in water, and place indoor pots on saucers or waterproof trays.
Step 7: Add Potting Mix and Herbs
Fill the planter with a high-quality potting mix intended for containers. Set the herb at approximately the same depth it was growing in its original pot, gently firm the mix around the roots, and water thoroughly enough for excess water to drain.
Do not pack the soil as though you are preparing a runway. Roots need both moisture and air.
Best Herbs for Upcycled Planters
The right herb depends on pot size, sunlight, and your cooking habits. Many commonly grown herbs perform well in containers, including basil, chives, cilantro, mint, oregano, parsley, rosemary, sage, and thyme. Most herbs prefer substantial light, with extension guidance commonly recommending roughly four to six hours or more of direct sunlight depending on the species.
| Herb | Why It Works | Planter Tip |
|---|---|---|
| Basil | Fast-growing and frequently harvested | Give it generous root space and bright light |
| Chives | Compact and beginner-friendly | Excellent for smaller individual pots |
| Mint | Vigorous and useful in drinks and cooking | Keep it in its own container to control spreading |
| Parsley | Useful in many dishes and visually attractive | Choose a reasonably deep container |
| Thyme | Compact growth and Mediterranean flavor | Avoid keeping the mix constantly soggy |
| Rosemary | Fragrant, sculptural, and evergreen-looking | Provide excellent drainage and strong light |
How to Keep Your DIY Herb Planters Healthy
Match the Plant to the Light
Observe the location before choosing herbs. A bright kitchen window may receive direct sun for only part of the day. Outdoors, buildings, railings, and nearby trees can also change the number of hours of usable sunlight.
When natural light is inadequate indoors, supplemental grow lighting may help. Avoid choosing a rosemary plant simply because it looks adorable beside the toaster if that corner receives the approximate amount of sunlight found inside a sock drawer.
Water According to the Soil, Not the Calendar
Container plants can dry more quickly than plants growing in the ground, but watering every pot on an automatic schedule can also cause trouble. Check the potting mix regularly and consider the herb, container size, material, temperature, and light exposure.
Water thoroughly when needed, then allow excess water to escape. Never let a drainage saucer remain permanently full unless you are cultivating mosquitoes as a side business.
Fertilize With Restraint
Herbs generally do not need aggressive feeding. Container nutrients can gradually be lost through watering, so light fertilization may eventually be useful, depending on the potting mix and plant. Follow the product instructions rather than assuming that twice the fertilizer creates twice the basil. Plants are annoyingly resistant to this kind of mathematical optimism.
Harvest Regularly
Regular harvesting keeps many culinary herbs useful and can encourage bushier growth. Pinch basil above a set of leaves rather than stripping random individual leaves from the bottom until the plant resembles a tiny palm tree.
Remove damaged growth, watch for pests, and rotate indoor containers occasionally if plants lean strongly toward the light.
Common Mistakes to Avoid
Making the Pot Beautiful but Forgetting Drainage
This is the classic DIY planter failure. A gorgeous exterior cannot rescue roots sitting in stagnant water. Make the drainage decision before beginning the decorative work.
Using a Container That Is Too Small
A tiny can may work for a young chive plant, but vigorous herbs need room for roots and enough potting mix to maintain more stable moisture. When a plant becomes crowded, move it to a larger container and consider converting the original planter into a cachepot or seed-starting vessel.
Combining Herbs With Conflicting Needs
A mixed herb planter can be attractive, but the plants should have compatible requirements. Pairing moisture-loving and drought-tolerant herbs in one tiny container turns watering into a household diplomatic crisis.
Decorating the Inside With Unsuitable Materials
Keep decorative paint, glue, and coatings away from the root zone unless the products are specifically intended for that use. The simplest approach is usually to decorate the exterior and let a proper inner planting container handle the soil and water.
Expecting a Paper Finish to Survive Constant Rain
Decoupage projects can be protected, but outdoor exposure is demanding. For uncovered exterior locations, hand-painted designs on weather-resistant containers may be more practical than delicate paper decoration.
Styling Ideas for a Marimekko-Inspired Herb Garden
Place three planters of different heights together rather than lining up ten identical pots like suspects in a police procedural. Use an old wooden tray to protect the surface beneath them and make the group easier to move.
For a kitchen windowsill, try one dominant color across all containers with different floral motifs. On a balcony, use larger pots with bolder patterns that remain visible from inside. You can also add simple plant markers made from reused wooden sticks, wine corks, or painted scrap wood.
A particularly effective arrangement is a set of three: one high-contrast black-and-white planter, one strong floral design, and one mostly solid pot with a small coordinating accent. This creates visual rhythm without making the entire shelf look as though a pattern catalog exploded.
My Experience Making Upcycled Marimekko Herb Planters
The first lesson I learned from making decorative herb planters was that the ugliest container often has the greatest potential. A plain metal can does not argue with you. It has no treasured glaze to protect and no expensive finish to ruin. You can sand it, paint it, change your mind, paint it again, and eventually pretend the second design was always the plan.
I started with several containers that had almost nothing in common except that I had been reluctant to throw them away. One was a nursery pot. Another was a large food tin. The third was a small ceramic planter with a chipped exterior but no structural cracks. Individually, they looked like three items waiting for different garage sales. Once I repeated the same cream background and used large red, black, and pink botanical shapes, they began to feel like a collection.
The most useful discovery was that big patterns are much more forgiving than small ones. On a curved planter, tiny geometric details can distort, wrinkle, or simply test the outer limits of human patience. Oversized flowers and broad abstract shapes are easier to position and still look intentional when the curve changes their proportions slightly.
I also learned to plan drainage before becoming emotionally attached to the finished design. On an early experiment, I decorated first and then realized the metal container needed holes. Drilling afterward worked, but handling a newly decorated pot while making drainage holes was unnecessarily stressful. It felt a bit like installing plumbing after wallpapering the bathroom. Possible, yes. Sensible, no.
Another surprise was how much the herbs themselves influence the design. A rosemary plant has an upright, architectural appearance, so it looks good in a simpler graphic pot. Basil is lush and generous, making it a natural partner for large playful flowers. Chives create a fine vertical texture that can balance a very busy pattern. Mint, meanwhile, grows with the confidence of a plant that believes the entire property has been left to it in a will, so giving it a dedicated container is both visually neat and horticulturally practical.
The cachepot method became my favorite option for delicate decorated containers. Instead of putting potting mix directly against the finished surface, I kept the herb in a removable plastic nursery pot with drainage. Watering became easier, the decorative container stayed cleaner, and changing plants took seconds. When one basil plant eventually reached the end of its useful life, I did not have to dismantle the whole project. I simply replaced the inner pot.
Water management was another area where experience quickly defeated aesthetics. At first, I wanted every planter to sit perfectly flush on a shelf with no visible saucers. That looked wonderful until the first thorough watering. Now I use a coordinated tray or discreet saucers and treat them as part of the design rather than an inconvenience. Furniture tends to have very strong opinions about repeated exposure to water.
I also became less obsessed with perfect pattern placement. Handmade planters look better when they retain some evidence of being handmade. A slightly irregular petal or an imperfect overlap gives the project character. The goal is not to manufacture a counterfeit factory product. The goal is to combine an existing container, personal creativity, and useful plants in a way that feels joyful.
Perhaps the best part of the project is how quickly it changes the atmosphere of an ordinary space. A windowsill with three mismatched plastic pots is functional. The same windowsill with coordinated bold planters becomes a small design feature. Add the scent of basil or rosemary, and the display starts engaging more than the eye.
There is also a practical satisfaction in harvesting something from an object that might otherwise have been discarded. Snipping chives from a planter made from an old container does not solve the world’s waste problem, obviously, but it does change the way you look at everyday materials. A package is no longer automatically trash the moment its original contents are gone. Sometimes it is simply waiting for drainage holes and a much better outfit.
Conclusion: Small Containers, Big Personality
Upcycled Marimekko herb planters bring together three pleasures that rarely appear in the same afternoon project: decorating, gardening, and giving old objects another useful life. The most successful versions balance style with horticultural basics. Choose a suitable container, provide reliable drainage, use quality potting mix, match herbs to available light, and decorate the exterior with bold color and confident patterns.
You can create a coordinated windowsill garden from containers that originally looked completely unrelated. Better yet, the project is endlessly adaptable. Change the colors, scale the patterns up or down, use painted motifs instead of decoupage, or swap seasonal herbs as your cooking habits change.
The result does not need to be flawless. It needs to drain, grow something delicious, and make you smile when you walk into the room. For a recycled tin can, that is a fairly impressive career change.
Note: This is an independent DIY upcycling project and is not affiliated with or endorsed by Marimekko. When using recognizable branded designs, repurpose genuine materials you already own and respect applicable intellectual property rights, especially for items intended for commercial sale.