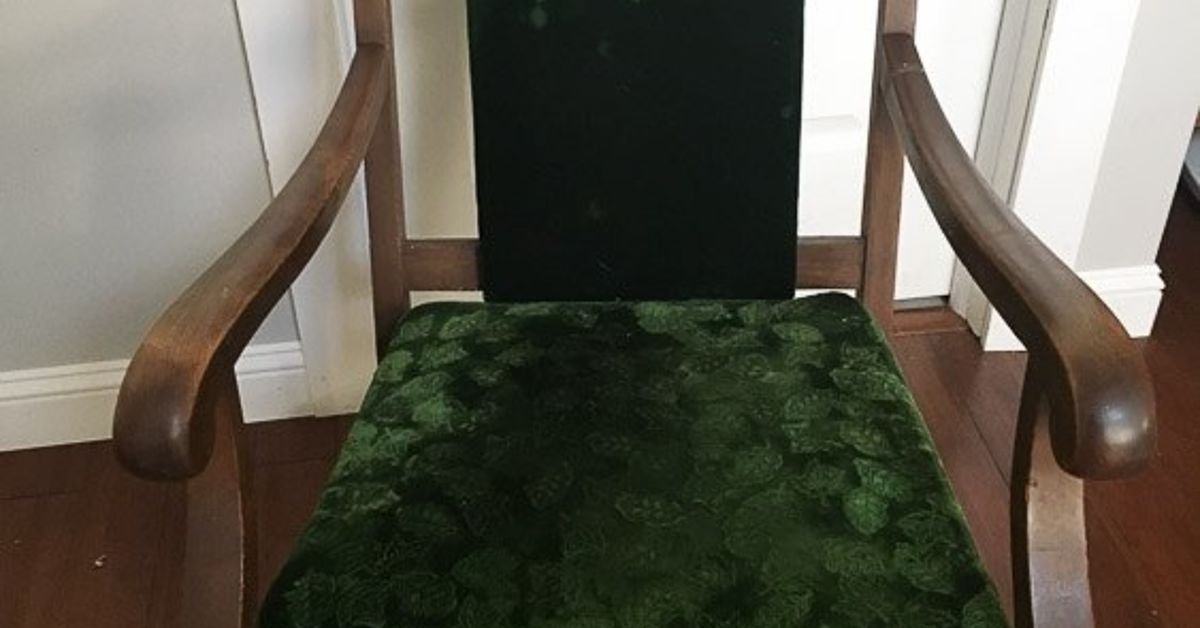
A refinished vintage rocking chair is more than a place to sit. It is a small time machine with curved runners, a few honorable dents, and probably at least one squeak that sounds like it has opinions. Whether found in a thrift store, inherited from a grandparent, rescued from a dusty garage, or adopted from the curb five minutes before the trash truck arrived, an old rocker can become one of the most character-rich pieces in a home.
The beauty of refinishing a vintage rocking chair is that you are not simply making old wood shiny again. You are preserving shape, comfort, craftsmanship, and memory while giving the piece enough strength and style to survive modern life. That means learning when to sand, when to stain, when to repair loose joints, when to paint, and when to leave a little patina alone because, frankly, not every wrinkle needs a makeover.
This guide walks through the practical, design-minded, and slightly dusty adventure of refinishing a vintage rocking chair, with special attention to wood preparation, finish choices, safety, repair decisions, and the lived-in charm that makes antique and vintage furniture so lovable.
Why a Refinished Vintage Rocking Chair Still Feels Special
Rocking chairs have been part of American homes for centuries. Their popularity grew especially after the American Revolution, and designs such as Shaker rockers, Windsor rockers, Boston rockers, platform rockers, and later wicker and bentwood styles became familiar fixtures in parlors, nurseries, porches, and reading corners. A rocker has always had a practical purpose: it moves gently, supports the body, and invites people to slow down. In a world that treats “relaxing” like a suspicious activity, that is practically heroic.
Vintage rocking chairs often feature details that newer mass-produced furniture does not always prioritize: turned spindles, shaped arms, hand-fitted joints, woven seats, carved crests, steam-bent parts, and hardwood frames made from maple, oak, walnut, cherry, pine, or mixed woods. Even when the finish is tired, the bones may be excellent.
A refinished rocking chair can work beautifully in farmhouse interiors, traditional rooms, cottage spaces, nursery corners, reading nooks, modern rustic homes, and even eclectic apartments where every piece seems to have a passport and a story. The key is refinishing with respect. The goal is not to erase its past; the goal is to make the chair proud to be invited back into the living room.
Before You Start: Inspect the Chair Like a Furniture Detective
Before grabbing sandpaper like a hero in a DIY montage, inspect the rocking chair carefully. A smart refinishing project begins with patience, not power tools. Look at the chair from every angle and ask three questions: Is it structurally sound? Is the existing finish safe to disturb? Is the piece valuable enough that a full refinish could reduce its historical or monetary value?
Check the Structure
Sit in the chair gently and listen. A soft creak is normal. A dramatic groan from the underworld is not. Look for loose spindles, wobbly arms, cracked runners, separated joints, missing screws, broken stretchers, split seats, or repairs made with mystery glue from 1979. Rocking chairs take stress in multiple directions, especially at the runners, legs, arms, and back posts, so weak joints should be repaired before the cosmetic work begins.
Identify the Old Finish
Vintage rocking chairs may have shellac, varnish, lacquer, oil, wax, paint, stain, or several layers of “somebody had a brush and a dream.” If the finish is only dull, dirty, or lightly scratched, a full strip may not be necessary. Cleaning, light sanding, touch-up stain, and a protective topcoat may revive the chair beautifully.
Think About Lead Paint
If the rocking chair has old paint and may date from before 1978, treat it with caution. Sanding or scraping old painted surfaces can create hazardous dust if lead is present. Use an EPA-recognized lead test kit or consult a professional before disturbing old paint. Children, pregnant people, and pets should be kept away from any project that may involve lead dust. This is not the fun part of refinishing, but safety is always more charming than regret.
Clean First, Refinish Second
Many people skip straight to sanding, which is like brushing your teeth before eating a plate of ribs. Clean first. Dirt, wax, body oils, old polish, and household grime can clog sandpaper and interfere with stain or finish.
Start with a soft cloth and a mild solution of warm water and gentle dish soap. Wring the cloth well; do not soak the wood. Clean spindles, arms, runners, and carved details carefully. For crevices, use a soft toothbrush or detailing brush. Dry the chair immediately with a clean towel and let it sit until fully dry.
Avoid flooding antique wood with water. Moisture can raise grain, loosen joints, damage veneer, or leave marks. Also avoid heavy silicone polishes or oily products before refinishing because they can cause adhesion problems later. The chair does not need a spa day involving seventeen mystery sprays. It needs a calm, sensible cleaning.
Repairing Loose Joints and Rocker Problems
A refinished chair that still wobbles is just a shiny problem. Structural repair should happen before stripping, sanding, staining, or painting. Loose chair joints are common because wood expands and contracts over time, glue dries out, and rocking motion adds repeated stress.
Loose Spindles and Dowels
If a spindle or dowel can be removed, gently disassemble the joint, scrape away old glue, test the fit, apply quality wood glue, reassemble, and clamp until dry. If a spindle is loose but cannot be fully removed, a glue injector can sometimes deliver adhesive into the joint through a small hidden hole. For important heirlooms, conservative repair is best: fix what is weak without aggressively changing original parts.
Cracked Runners
Runners are the soul of the chair. If one is cracked, check whether it can be glued and clamped cleanly. A small crack may be repairable with wood glue and careful pressure. A severe break may require a custom replacement runner shaped to match the original curve. Do not ignore runner damage; an uneven rocker can feel like sitting on a boat operated by a squirrel.
Missing Hardware or Bad Past Repairs
Some vintage rockers have screws, brackets, corner blocks, or later reinforcement pieces. Replace missing hardware with pieces that match the chair’s age and purpose as closely as possible. Remove globs of hardened glue only when doing so will not damage the wood. The goal is stability, not turning the chair into a forensic crime scene.
Sanding a Vintage Rocking Chair Without Losing Your Mind
Sanding a rocking chair is not difficult, but it is detailed. Flat furniture is simple. Rocking chairs have spindles, curves, arms, crests, legs, runners, and tiny corners where dust goes to start a family.
For most refinishing projects, begin with medium-grit sandpaper only if the old finish needs real leveling. A common progression is 120-grit for removing rough finish, 150-grit or 180-grit for smoothing, and 220-grit for final prep before stain or paint. Always sand with the grain when possible. For spindles and rounded parts, wrap sandpaper around the curve and work by hand. Sanding sponges are excellent for shaped details.
Be careful with veneer, carved decoration, painted details, and delicate edges. Over-sanding can blur crisp lines or cut through thin surfaces. If the chair has collectible value, consider a lighter restoration instead of a full refinish. Patina is not dirt; it is history with better lighting.
Should You Stain, Paint, Oil, or Keep the Natural Wood?
The best finish for a vintage rocking chair depends on the wood, the style, the room, and how the chair will be used. A nursery rocker needs durability. A decorative parlor rocker may need subtle beauty. A porch rocker needs more weather resistance. A chair used daily by a coffee-drinking adult and a snack-wielding toddler needs all the protection it can politely get.
Stain for Classic Warmth
Wood stain is a great choice when the chair has attractive grain. Oak, walnut, maple, cherry, and pine can all look beautiful with the right tone. Before staining the whole chair, test the color on an underside area. Some woods absorb stain unevenly, especially pine, maple, and birch. A pre-stain wood conditioner or gel stain can help create a more even appearance.
Paint for a Fresh Furniture Makeover
Paint can be a smart choice when the wood is mismatched, badly stained, or previously painted. Satin or eggshell finishes often look more refined than high gloss on vintage furniture. Chalk-style paint can create a soft matte look, but it should be sealed with wax or a protective topcoat if the chair will be used regularly. Painted rockers in black, cream, sage green, navy, warm white, or muted red can look especially charming.
Clear Finish for Natural Character
If the wood grain is beautiful, a clear finish may be enough. Polyurethane offers strong protection and is available in water-based and oil-based versions. Water-based polyurethane dries clear and is useful when you want to preserve a pale or painted finish. Oil-based polyurethane adds amber warmth and can make darker wood look richer. Apply thin coats, follow the grain, and sand lightly between coats after each coat dries.
Oil and Wax for a Softer Look
Oil and wax finishes can create a hand-rubbed, low-sheen appearance. They are lovely on certain vintage pieces, but they may require more maintenance and may not resist spills as well as polyurethane. For a rocking chair used every day, durability matters. A finish should look good, but it should also survive jeans rivets, coffee mugs, story time, and the occasional cat who believes all furniture is communal property.
Step-by-Step: How to Refinish a Vintage Rocking Chair
Step 1: Photograph and Label Everything
Take photos before disassembly, especially if removing cushions, cane panels, hardware, or detachable runners. Label parts with painter’s tape. Future you will be grateful, and future you is already tired.
Step 2: Clean the Chair Thoroughly
Remove dust, grime, and old wax buildup. Let the chair dry completely before repairs or sanding.
Step 3: Make Structural Repairs
Repair loose joints, cracked runners, broken spindles, and weak arms. Clamp glued joints properly and allow full curing time according to the adhesive instructions.
Step 4: Strip Only If Necessary
If the old finish is flaking, gummy, heavily painted, or incompatible with the new finish, use an appropriate furniture stripper and follow safety instructions. Work in a ventilated area with gloves and eye protection. If lead paint is suspected, do not sand or strip casually.
Step 5: Sand Smoothly and Evenly
Sand the chair with the appropriate grit progression. Use hand sanding for spindles and curves. Vacuum and wipe away dust with a tack cloth or lint-free cloth.
Step 6: Apply Stain or Paint
Apply stain with a cloth or brush, wipe off excess, and allow it to dry fully. For paint, use primer when needed and apply thin coats. Thin coats look better than one thick coat that resembles frosting applied during an earthquake.
Step 7: Seal the Finish
Protect the chair with polyurethane, furniture wax, varnish, or another suitable topcoat. For daily-use chairs, two to three protective coats are usually wise. Sand lightly between clear coats for a smooth feel.
Step 8: Reassemble and Test the Rock
Once everything is dry and cured, reassemble the chair. Place it on a flat surface and test the rocking motion. Add felt pads under runners only if needed to protect floors, but make sure they do not interfere with balance.
Design Ideas for a Refinished Vintage Rocking Chair
A refinished vintage rocking chair can take many style directions. For a farmhouse look, choose a warm wood stain or distressed white paint. For a modern rustic room, try matte black with a natural cane seat. For a nursery, consider soft green, creamy beige, or pale gray with a washable cushion. For a reading nook, a walnut stain and linen pillow can create a cozy “I read serious books here” mood, even if the book is mostly recipes and mysteries.
If the chair has a woven cane or rush seat, inspect it carefully. A damaged woven seat may need replacement rather than refinishing. If the seat is upholstered, new fabric can transform the entire piece. Performance fabrics, ticking stripes, floral cotton, leather, or textured neutrals all pair well with vintage frames.
Hardware and decorative accents should be subtle. Rocking chairs usually do not need much jewelry. Their shape already does the talking.
Common Mistakes to Avoid
The first mistake is sanding before checking for lead paint. The second is ignoring loose joints. The third is using too much stain or topcoat. The fourth is rushing dry time. The fifth is refinishing a potentially valuable antique without researching it first.
Another common mistake is making the chair look too perfect. Vintage furniture should not always look factory-new. Small dents, softened edges, and gentle color variation can make the finished piece feel authentic. A refinished rocking chair should look refreshed, not like it just returned from witness protection with a new identity.
How to Care for a Refinished Rocking Chair
After the project is complete, protect the finish with simple habits. Dust with a soft cloth. Avoid harsh cleaners. Keep the chair away from extreme humidity, direct heat, and long periods of strong sunlight. Use cushions with breathable fabric and check the runners occasionally for wear.
If the chair lives on a covered porch, use a finish suitable for moisture and UV exposure. Indoor finishes may not hold up outdoors. Even porch furniture deserves boundaries.
Conclusion: A Rocking Chair Worth the Effort
A refinished vintage rocking chair is one of the most rewarding furniture makeover projects because it combines beauty, function, history, and comfort. Unlike trend-driven decor, a rocker has staying power. It can sit in a nursery today, a reading corner tomorrow, and a guest room years from now, still doing its quiet job: inviting someone to sit down and breathe.
The best refinishing approach is thoughtful. Clean before sanding. Repair before staining. Test before committing. Protect before using. And above all, respect the age and character of the piece. When done well, a vintage rocking chair does not lose its story. It simply gets a better chapter.
Experience Notes: What Refinishing a Vintage Rocking Chair Teaches You
Working on a refinished vintage rocking chair teaches patience faster than almost any other furniture project. A flat tabletop is straightforward, but a rocker is full of curves, narrow gaps, and little surprises. The first lesson is that every chair has a personality. Some are cooperative and clean up beautifully after a light sanding. Others reveal three layers of paint, one mystery stain, a loose arm, and a runner that appears to have survived a small domestic rodeo.
The most satisfying part is often the cleaning stage. It sounds boring, but wiping away years of dust and old polish can reveal grain, color, and details that were hiding in plain sight. A dull brown chair may turn out to have warm maple underneath. A tired black-painted rocker may reveal carved details on the crest rail. That moment feels like finding a twenty-dollar bill in a winter coat, except dustier.
The hardest part is usually the spindles. Sanding spindles by hand is not glamorous. It is repetitive, slow, and strangely meditative once you stop expecting it to be quick. Sandpaper wrapped around each rounded part works better than forcing a power sander where it does not belong. This is also where many people learn that “just a quick weekend project” is a phrase furniture uses to trick humans.
Repairs bring their own lessons. A wobbly rocking chair may look charming, but once you sit in it, charm becomes concern. Regluing joints before refinishing makes the entire project feel more professional. When old glue is cleaned out and a joint is clamped correctly, the chair often feels dramatically stronger. It is a reminder that beauty and structure need each other. A gorgeous finish cannot compensate for a chair that shifts like it has stage fright.
Choosing a finish is another memorable part of the process. Stain feels classic and lets the wood speak. Paint feels bold and can rescue a piece with mismatched wood or heavy damage. A clear topcoat gives the final surface that smooth, touchable quality that makes people run their hand over the armrest and say, “You did this?” That sentence alone is worth at least half the sanding.
Living with the finished chair is the real reward. A refinished rocker changes the mood of a room. It softens corners, adds warmth, and creates an instant invitation. Add a small pillow or folded throw, and suddenly the chair looks like it has been waiting for a cup of tea, a baby, a book, or a quiet evening. The finished piece may not be perfect, but that is part of its appeal. A few old marks under a new finish say: this chair has lived, and now it gets to live some more.
Note: This article is original, written in standard American English, and synthesized from established U.S. furniture refinishing, woodworking, home-improvement, antique-care, and safety best practices.