Removing a lip ring sounds like it should be easy. After all, it is tiny jewelry, not a locked treasure chest guarded by a dragon. But anyone who has stood in front of the bathroom mirror, fingers slipping, bead refusing to budge, lip suddenly feeling like it has its own legal team, knows the truth: taking out a lip ring can be surprisingly tricky.
The good news is that most lip rings can be removed safely at home if the piercing is fully healed, the jewelry is not stuck, and there are no signs of infection or serious irritation. The less-good news is that guessing, yanking, twisting the wrong direction, or using questionable “tools” from the junk drawer can irritate the piercing, scratch the jewelry, or make your lip very unhappy.
This guide explains how to take out a lip ring step by step, including how to remove common lip jewelry types such as labret studs, captive bead rings, seamless rings, clickers, and circular barbells. You will also learn when not to remove a lip piercing, what to do if the jewelry is stuck, how to clean the area afterward, and when it is smarter to visit a professional piercer instead of turning your bathroom into a mini jewelry repair shop.
Before You Remove a Lip Ring: Make Sure It Is Safe
Before touching your lip jewelry, pause for a quick safety check. Lip piercings sit partly in or near the mouth, which naturally contains plenty of bacteria. That does not mean you need to panic, but it does mean cleanliness matters. You should only remove a lip ring yourself if the piercing is fully healed, calm, and not painful.
A healed lip piercing usually feels comfortable, moves slightly without sharp pain, has no unusual swelling, and does not produce yellow or green discharge. Some piercings look healed on the outside before the inner channel is fully stable, so do not rush the process. Many lip piercings take several weeks to several months to settle, depending on placement, jewelry, aftercare, and your body’s healing speed.
Do Not Remove the Jewelry If These Problems Are Present
Avoid taking out your lip ring at home if you notice intense swelling, heat, throbbing pain, spreading redness, pus, bleeding that will not stop, fever, chills, or a bad taste or smell coming from the piercing. Removing jewelry from an infected or irritated piercing can sometimes trap drainage inside as the hole closes, which may make the situation worse. In that case, contact a professional piercer or healthcare provider.
You should also avoid removing jewelry if it feels embedded, if skin is growing over part of the backing, or if the jewelry is stuck so tightly that you need force. Lip tissue is soft, and “I’ll just pull harder” is how a simple jewelry change becomes a dramatic story you tell with hand gestures.
What You Need to Take out a Lip Ring
You do not need a professional toolbox for basic lip ring removal, but a few simple items make the process cleaner and easier.
- Clean hands washed with soap and warm water
- Sterile saline wound wash or clean water for rinsing
- Clean paper towels or sterile gauze
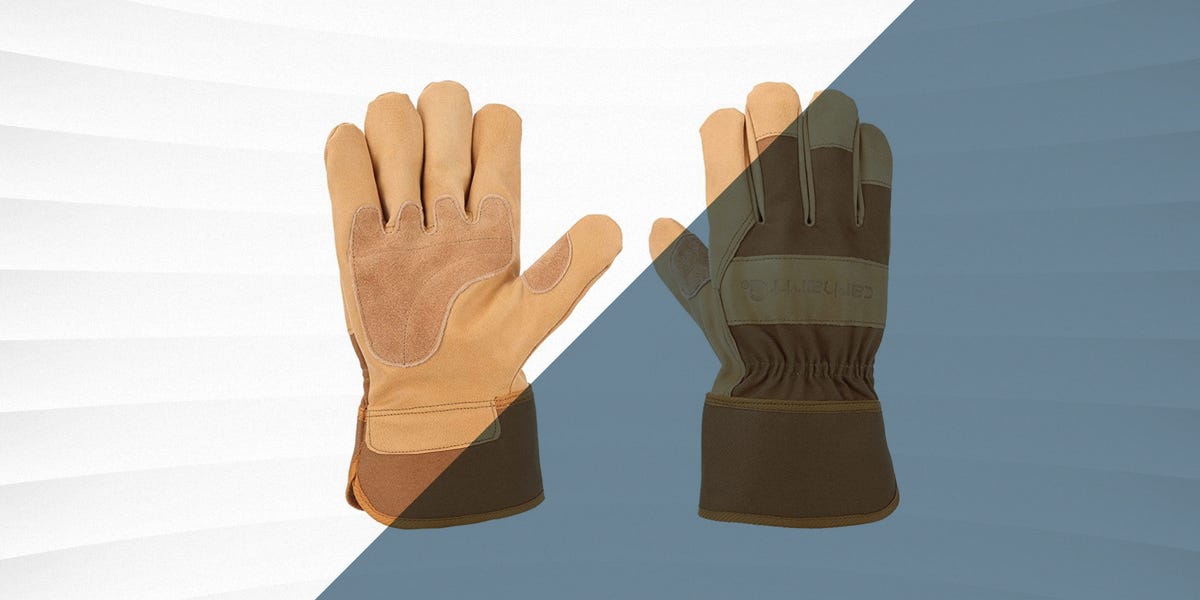
- Disposable gloves for better grip
- A well-lit mirror
- A small bowl or towel to catch beads, balls, or tiny ends
- Optional: clean hemostats or jewelry pliers, preferably used by a piercer
Do not use rubbing alcohol, hydrogen peroxide, harsh antiseptics, or random household cleaners on the piercing. These products can dry or irritate tissue. Also, avoid using dirty tweezers, rusty pliers, or anything that looks like it last helped fix a bicycle chain.
How to Prepare Your Lip Piercing for Removal
Start by washing your hands thoroughly. If you have disposable gloves, put them on after washing. Gloves help you grip smooth jewelry, especially tiny balls that seem designed to escape into the sink drain.
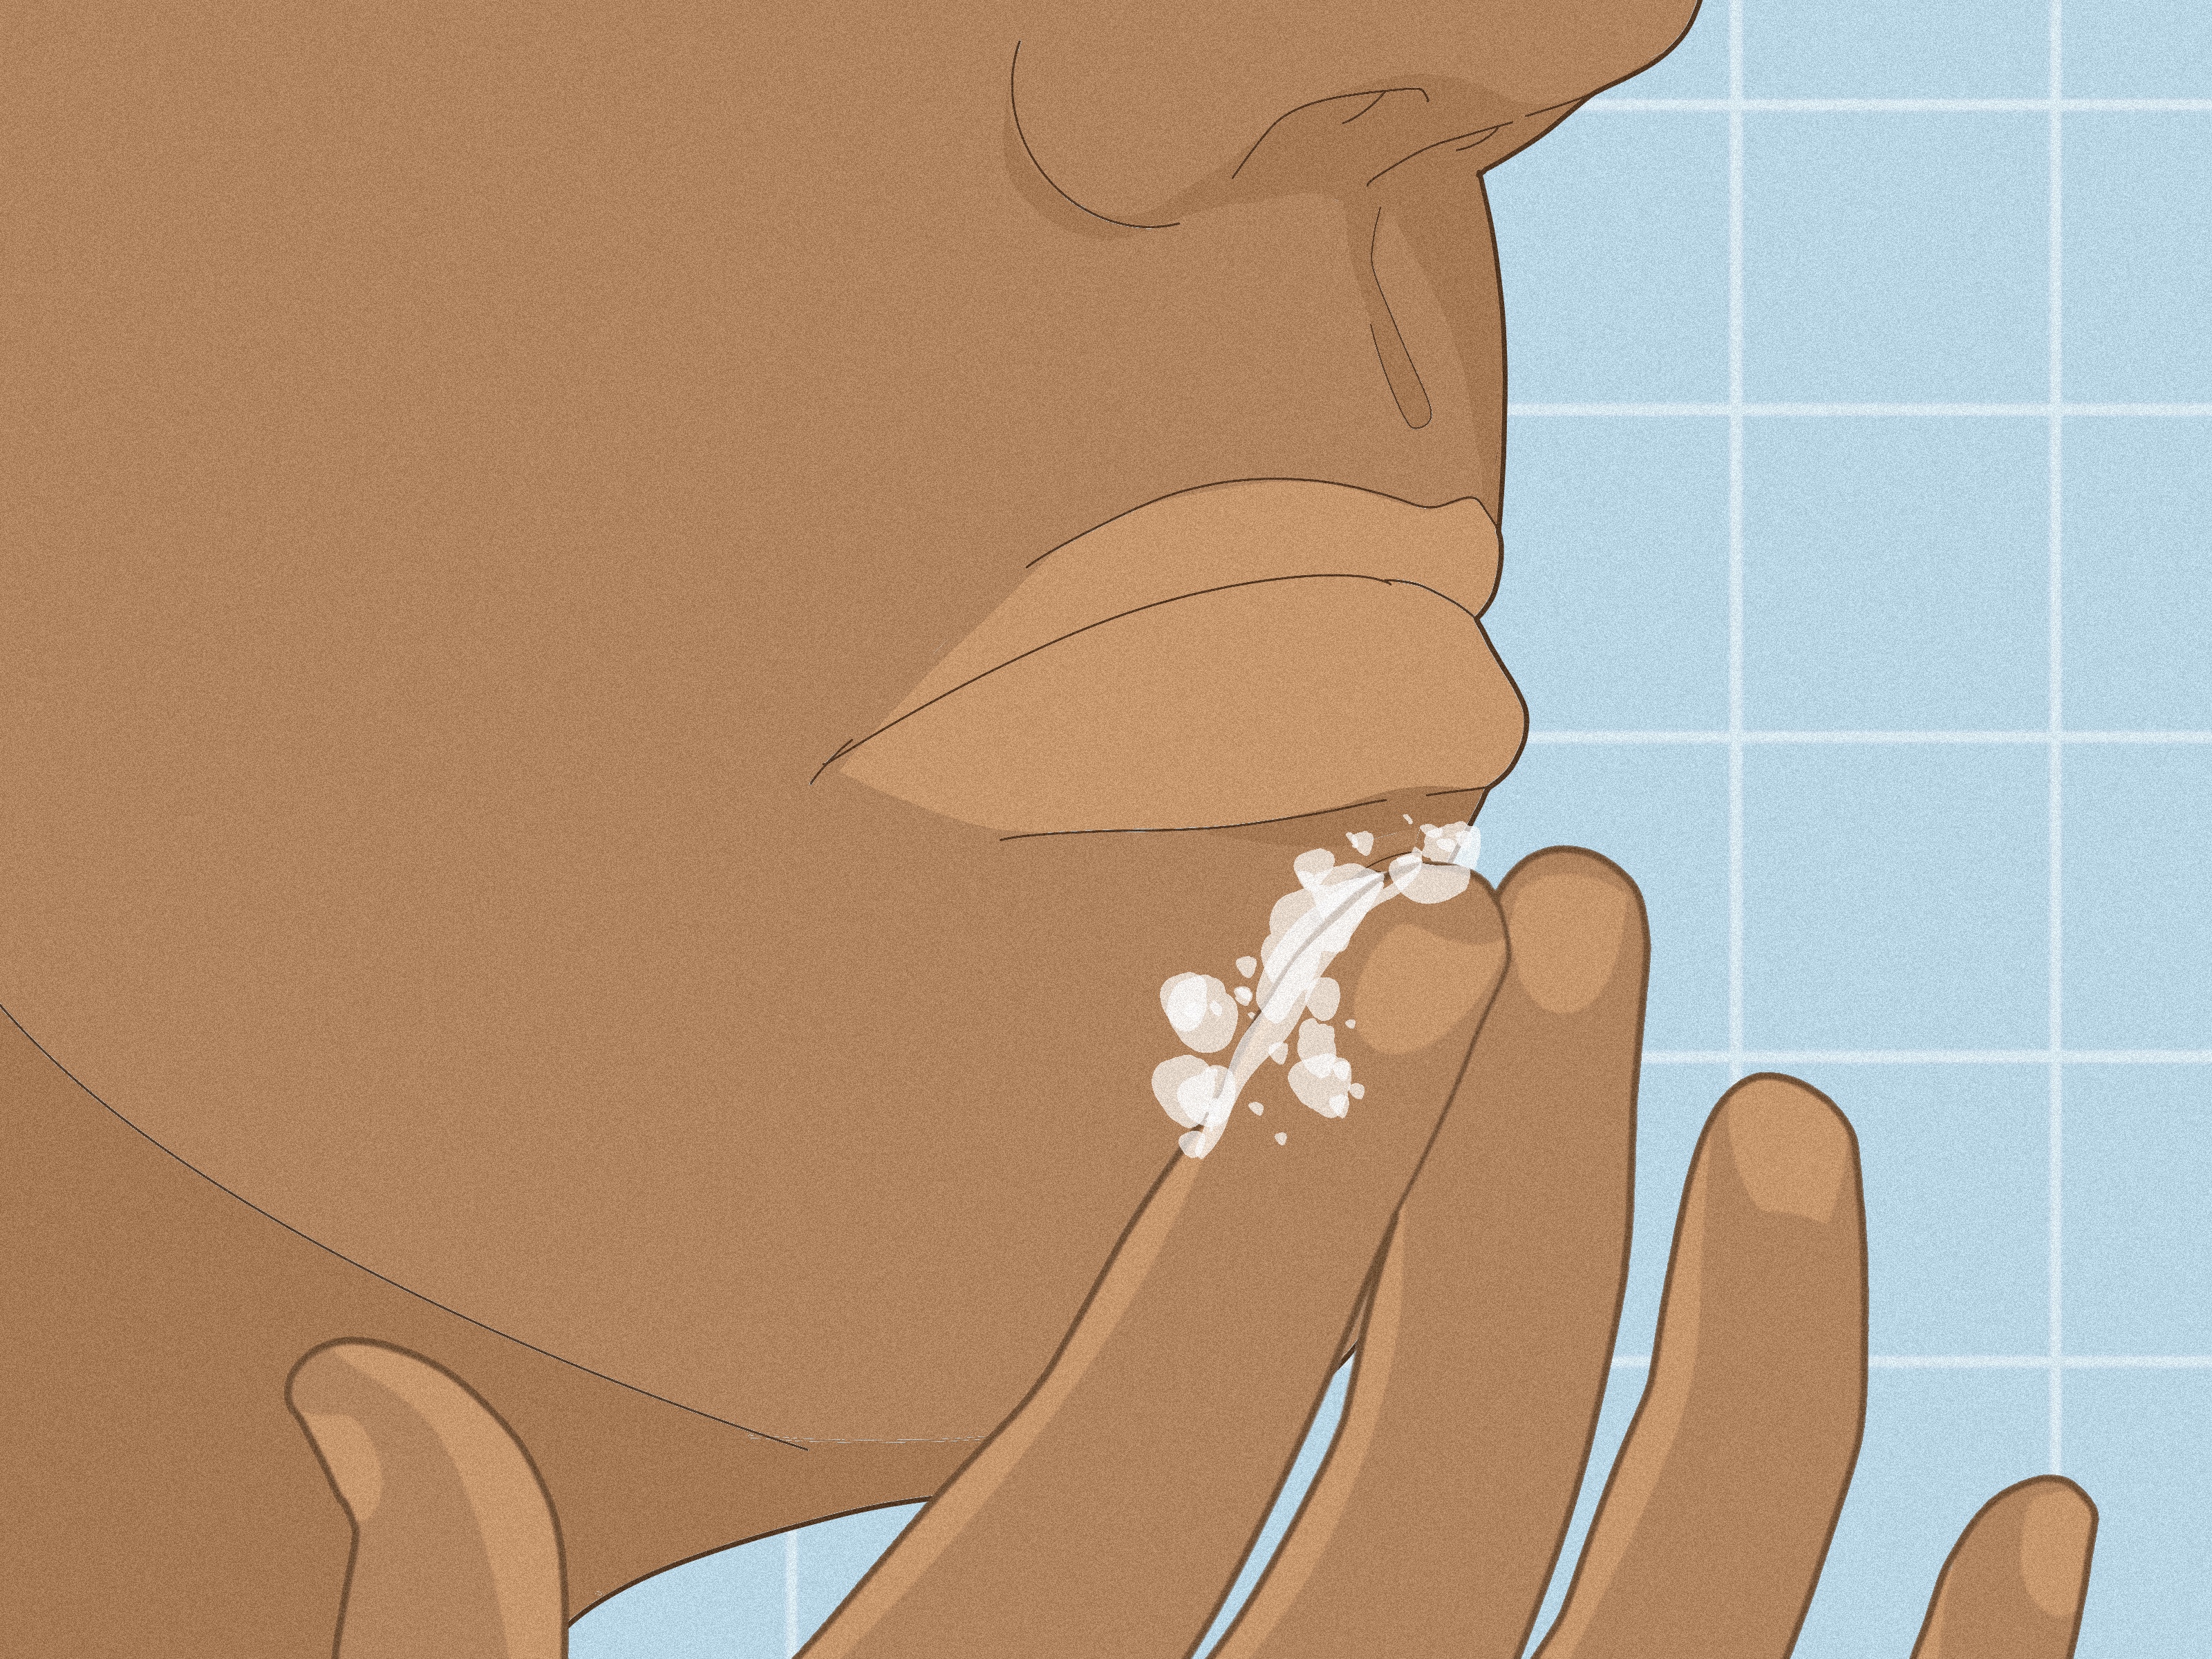
Next, rinse the outside of the piercing with sterile saline or clean water. If there is crust around the jewelry, soften it first. Hold saline-soaked gauze against the area for a few minutes, then gently wipe away loosened buildup. Do not pick at crust with your fingernails.
Dry the area with clean gauze or a paper towel. A dry surface gives you better control. Place a towel over the sink or counter so small jewelry parts do not bounce away into another dimension.
Identify Your Lip Jewelry Type First
The key to removing a lip ring safely is knowing what kind of jewelry you have. Different styles open in different ways. If you twist a threadless end like a screw, nothing useful happens. If you pull on a threaded ball without unscrewing it, your lip may file a complaint.
Labret Stud
A labret stud is one of the most common lip jewelry styles. It usually has a flat disc inside the mouth and a decorative ball, gem, or end on the outside. Labret studs may be internally threaded, externally threaded, or threadless.
Captive Bead Ring
A captive bead ring, often called a CBR, is a circular ring with a bead held in place by tension. The bead is not screwed on. It pops out when the ring tension is released.
Seamless Ring
A seamless ring looks like a smooth hoop with a tiny opening. It is usually opened by twisting the ends sideways, not by pulling the ring apart like a key ring.
Clicker Ring
A clicker has a hinged segment that opens and closes with a click. These are popular because they are easier to manage than some tension-based rings.
Circular Barbell
A circular barbell looks like a horseshoe with balls or decorative ends on both sides. Usually, one or both ends unscrew.
How to Remove a Labret Stud
To remove a labret stud, stand in front of a mirror and locate the flat disc inside your lip. Hold the flat back steady with one hand. With the other hand, grip the outside ball or decorative end.
If the jewelry is threaded, turn the outside end counterclockwise. Think “lefty loosey.” Once the ball or end comes off, gently slide the post out through the inside or outside, depending on the jewelry’s design and what feels smoothest. Move slowly and keep the post aligned with the piercing channel.
If the labret is threadless, the decorative end is held in place by pressure from a slightly bent pin. Hold the flat back steady, then pull the front end straight out. A gentle twisting-and-pulling motion may help, but do not wrench it. Threadless ends can suddenly release, so keep your fingers close and controlled.
How to Remove a Captive Bead Lip Ring
A captive bead ring can be annoying because the bead is held by tension. Hold the ring with one hand and the bead with the other. Gently pull the bead away from the ring until it pops free. If the ring is small or thick, this may be difficult without proper ring-opening tools.
Once the bead is out, rotate the ring through the piercing until the opening reaches the piercing channel. Slide the ring out carefully. Do not force the ring if the gap is too small. Professional piercers have tools that open rings evenly without warping the jewelry or pinching your lip.
How to Remove a Seamless Lip Ring
For a seamless ring, find the tiny seam. Hold one side of the seam with one hand and the other side with your other hand. Twist the ends away from each other sideways, like opening a spiral, rather than pulling the ring outward into a wider circle.
Pulling the ends directly apart can bend the ring out of shape. Once there is enough space, rotate the opening to the piercing channel and slide the ring out gently. If the seam is hard to find, look closely under bright light or ask a piercer to help.
How to Remove a Clicker Lip Ring
Clicker rings are usually more cooperative. Find the hinged segment and look for the small seam or notch. Hold the fixed part of the ring steady and gently pull the hinged section open. Some clickers open inward; others open outward.
Once open, rotate the ring until the open section lines up with the piercing hole, then slide it out. If the hinge feels stuck, do not pry aggressively. A stuck clicker can pinch tissue or scratch the jewelry if you attack it with the wrong tool.
How to Remove a Circular Barbell
For a circular barbell, hold one side of the jewelry steady and unscrew one ball counterclockwise. Some ends are very small, so gloves can help. Once one ball is removed, gently rotate the jewelry out of the piercing.
If both balls spin but neither comes off, one may be turning the entire bar. Hold the opposite side more firmly and try again. If the jewelry still refuses to cooperate, a piercer can remove it quickly with clean tools and fewer dramatic mirror faces.
What If the Lip Ring Is Stuck?
A stuck lip ring is common. Jewelry can become slippery from saliva, tight from dried buildup, or difficult because the ball was screwed on firmly. First, clean and dry the jewelry. Then try wearing disposable gloves for grip. Often, that alone solves the problem.
If a threaded ball is stuck, hold the post or opposite side steady and turn the ball counterclockwise. Do not squeeze your lip tissue while trying to gain leverage. If the jewelry has crust around it, soften the buildup with saline before trying again.
If the jewelry still will not move, stop. Do not use excessive force, household pliers without protection, or sharp tools near your mouth. A professional piercer can remove stuck jewelry with the right tools, often in minutes. That is much better than turning a stubborn bead into a swollen lip situation.
How to Clean the Piercing After Removing the Lip Ring
After removing the jewelry, rinse the area gently with sterile saline or clean water. Pat dry with clean gauze or a paper towel. If you plan to insert new jewelry, make sure the replacement piece is clean, high quality, and appropriate for lip piercings.
If you are retiring the piercing, keep the area clean while it closes. Do not pick at the hole or squeeze it. The outside may shrink quickly, but the inner tissue still needs time to settle. If you notice swelling, pain, pus, or unusual tenderness after removal, ask a healthcare provider or piercer for advice.
Will a Lip Piercing Close After You Remove the Jewelry?
Yes, it can. Lip piercings may shrink or close quickly, especially if they are new. Some people find that a piercing begins tightening within hours. Older, well-established piercings may stay open longer, but there is no universal timeline.
If you want to keep the piercing, do not leave jewelry out for long. If you need to remove it for work, sports, dental care, or a medical procedure, ask a piercer about safe retainers. Clear or flesh-toned retainers may be an option in some situations, though they still need to be the correct size and material.
Common Mistakes to Avoid
The first mistake is removing jewelry too early. A healing lip piercing is not ready for casual jewelry changes. Even if it looks fine, the inner channel may still be fragile. Early removal can cause irritation, swelling, or closure.
The second mistake is using force. Lip jewelry should not require a wrestling match. If you are straining, sweating, or bargaining with the mirror, it is time to stop and get help.
The third mistake is ignoring signs of infection. Redness, swelling, heat, pus, fever, or worsening pain deserve attention. Do not simply remove the ring and hope the problem vanishes.
The fourth mistake is inserting low-quality jewelry afterward. Lip jewelry touches delicate tissue and may contact teeth and gums. Poorly finished jewelry, rough threading, or nickel-containing metals can irritate the piercing or trigger sensitivity in some people.
When to See a Professional Piercer
See a professional piercer if your jewelry is stuck, your piercing is new, the bead will not release, you cannot identify the jewelry type, or you want to change jewelry for the first time. Piercers can also check whether the jewelry size is correct. A bar that is too long can bump teeth and gums, while one that is too short can press into swelling tissue.
You should also see a healthcare provider if you have signs of infection, severe swelling, fever, spreading redness, or jewelry that appears embedded. Piercers are excellent for jewelry help, but medical symptoms need medical care.
Experiences and Practical Lessons From Removing a Lip Ring
People often assume the hardest part of a lip piercing is getting it done. Then comes the first jewelry change, and suddenly the tiny ball on a labret stud becomes the villain of the evening. One common experience is the “slippery fingers problem.” You wash your hands, do everything right, grab the jewelry, and the ball spins without loosening. This is where disposable gloves become the unsung hero. They add grip without requiring you to pinch your lip like you are trying to win a claw machine prize.
Another familiar moment is discovering that not all lip rings work the same way. Someone may think their captive bead ring unscrews, only to twist the bead for ten minutes and wonder why nothing is happening. Captive beads are tension-set, threadless ends pull apart, threaded balls unscrew, and clickers hinge open. Once you know the mechanism, removal becomes much less mysterious. It is like learning that the “broken” door was a push, not a pull.
Many people also learn that timing matters. Removing a lip ring too soon can make the piercing angry fast. A new piercing may swell after unnecessary movement, and reinserting jewelry can feel uncomfortable if the channel has started shrinking. If the piercing is still healing, the safest experience is usually letting a piercer handle the first jewelry change. They can swap the initial longer bar for a better-fitting one without scraping the inside of the piercing.
There is also the classic sink-drain incident. Tiny beads love drains. They are practically magnetized to them. Before removing a lip ring, cover the sink with a towel or work over a clean surface. A bead rolling across the bathroom floor at midnight is not a glamorous part of body modification, but it is extremely common.
Some people remove lip jewelry for a job interview, dental appointment, family event, sports practice, or simply because they are ready for a different look. The experience is smoother when you plan ahead. If you want the piercing to stay open, have replacement jewelry or a retainer ready before removing the original piece. If you are retiring the piercing, clean the area and give it time to close naturally.
Another practical lesson is that discomfort is information. Mild pressure while sliding out jewelry can be normal, but sharp pain, bleeding, or strong resistance is not something to power through. Your lip is not being dramatic; it is warning you. Stop, clean the area, and get help if needed.
Finally, many people discover that professional piercers are worth it. A removal attempt that takes you 30 frustrating minutes may take a piercer two calm minutes. They have better lighting, proper tools, clean technique, and experience with stubborn jewelry. There is no shame in asking for help. In fact, it is often the smartest move, especially when your options are “visit a piercer” or “accidentally invent a new problem.”
Conclusion
Taking out a lip ring safely comes down to three things: clean hands, the right technique, and knowing when to stop. Identify the jewelry type before you begin, work slowly, and never force a stuck ring or stud. If your piercing is new, irritated, infected, embedded, or simply not cooperating, visit a professional piercer or healthcare provider.
A lip ring may be small, but removing it properly protects your piercing, your skin, your teeth, and your patience. With the right approach, you can change or retire your lip jewelry without unnecessary dramaand without sacrificing a bead to the bathroom sink gods.