Importing audiobooks into iTunes sounds like it should be as simple as dragging a file into a window and calling it a day. Sometimes it is. Other times, iTunes looks at your 18-hour mystery novel and says, “Nice album, buddy,” then tosses it into Music like it belongs between a workout playlist and that one song you downloaded in 2012.
The good news is that importing audiobooks into iTunes is still very possible, especially on Windows. The slightly quirky news is that Apple has split its media world across newer apps. On modern Macs, audiobooks usually live in Apple Books, while device syncing happens through Finder. On Windows, iTunes remains especially useful for audiobooks and podcasts, even as Apple Music, Apple TV, and Apple Devices handle other media jobs.
This guide explains how to import audiobook files into iTunes, organize them properly, change their media type, add artwork, fix common problems, and sync them to an iPhone, iPad, or iPod. We will keep it practical, beginner-friendly, and mercifully free of “computer wizard only” nonsense.
Before You Start: What Audiobook Files Work Best With iTunes?
iTunes can handle common audio formats such as MP3, AAC, M4A, WAV, and AIFF. For audiobooks, however, the most Apple-friendly format is usually M4B. That format is commonly used for audiobooks because it can support bookmarking and chapter-style organization better than plain MP3 files.
That does not mean MP3 audiobooks are useless. Far from it. MP3 files are easy to import, widely compatible, and common when you download public-domain audiobooks, ripped CD audiobooks, lectures, language lessons, or spoken-word recordings. The only catch is that iTunes may initially treat MP3 audiobook files as music. That is why changing the Media Kind to Audiobook is one of the most important steps in this guide.
How to Import Audiobooks Into iTunes: 14 Steps
Step 1: Install or Open iTunes on Your Computer
On a Windows PC, download iTunes from Apple or the Microsoft Store if it is not already installed. If you already have Apple Music, Apple TV, and Apple Devices installed, remember that iTunes may still be the place where audiobooks and podcasts are managed. On older Macs, iTunes may still exist, but on newer macOS versions, you will generally use Apple Books and Finder instead.
Step 2: Gather Your Audiobook Files in One Folder
Before importing anything, create a clean folder for your audiobook. Name it something obvious, such as The Hobbit Audiobook or Spanish Lessons Volume 1. Place all related audio files inside it. This matters because multi-part audiobooks can become messy fast. One missing chapter file is all it takes to turn your calm Sunday listening session into a detective investigation.
Step 3: Check the File Format
Right-click your files and check their extensions. You may see .mp3, .m4a, .m4b, .aac, .wav, or another format. M4B is ideal for audiobooks in Apple’s ecosystem, but MP3 is usually fine. If the file came from a store, library service, or audiobook platform, check whether it requires a special app or account authorization.
Step 4: Open iTunes and Go to Your Library
Launch iTunes. In the upper-left area, choose the media section where your imported file is most likely to appear. For MP3 files, iTunes may first place them in Music. Do not panic. This is normal. iTunes is not insulting your audiobook; it simply needs better instructions.
Step 5: Import the Audiobook File or Folder
Use File > Add File to Library for a single file or File > Add Folder to Library for a folder containing multiple audiobook tracks. You can also drag and drop files directly into the iTunes window. If your audiobook is split into chapters, importing the whole folder is usually faster and less error-prone.
Step 6: Find the Newly Imported Files
After importing, check your library. If the audiobook does not appear under Audiobooks right away, look in Music, Songs, Recently Added, or Albums. Sorting by Date Added can help you find the files quickly. This is especially useful when your library has thousands of tracks and one audiobook chapter is hiding between holiday songs and gym music.
Step 7: Select All Parts of the Audiobook
If your audiobook has multiple files, select every chapter or track that belongs to the same book. On Windows, click the first file, hold Shift, and click the last file to select a range. You can also hold Ctrl and click individual files. Selecting all related files lets you edit the metadata in one batch instead of repeating the same task fourteen times like a very bored robot.
Step 8: Open the Info Window
Right-click the selected file or files and choose Song Info or Get Info, depending on your iTunes version. This opens the information panel where you can edit the title, author, album name, genre, artwork, track number, and media kind.
Step 9: Change the Media Kind to Audiobook
Go to the Options tab and find Media Kind. Change it from Music to Audiobook. This is the magic switch. Once changed, the file should appear in the Audiobooks section instead of your Music library. It also helps iTunes remember your listening position, which is essential unless you enjoy manually finding hour 9, minute 43, second “somewhere around here.”
Step 10: Enter the Audiobook Title and Author
In the Details section, enter the audiobook title in the album or title field. Use the author’s name as the artist or album artist. For example, if you are importing Pride and Prejudice, you might use Jane Austen as the artist and Pride and Prejudice as the album. Clean metadata makes your library easier to browse and keeps your audiobook from looking like a pile of mystery files.
Step 11: Organize Chapters and Track Numbers
If your audiobook is divided into multiple chapters, check the track numbers. Use a consistent order such as 1 of 14, 2 of 14, 3 of 14, and so on. If tracks are named inconsistently, rename them with chapter numbers at the beginning. A clean chapter order prevents iTunes from playing Chapter 12 before Chapter 2, which is a bold storytelling choice but usually not the author’s intention.
Step 12: Add Cover Artwork
In the Artwork tab, add a cover image if you have one. A square JPG or PNG works well. Cover artwork is not required, but it makes your audiobook library much easier to scan visually. It also gives your collection a polished look, instead of the classic gray music-note icon of mild disappointment.
Step 13: Adjust Playback Options
In the Options area, consider turning on settings such as Remember playback position and Skip when shuffling, if available. These two settings are extremely helpful for audiobooks. Remembering playback position lets you return to the exact place you stopped. Skipping during shuffle prevents your audiobook from interrupting a music playlist with Chapter 37 of a crime thriller during leg day.
Step 14: Sync the Audiobook to Your iPhone, iPad, or iPod
Connect your Apple device with a USB cable. In iTunes on Windows, select your device, go to the Audiobooks section, choose the audiobook you want, and sync. On newer Macs, use Finder to manage syncing, because iTunes has been replaced by separate apps. After syncing, open the Books app on your iPhone or iPad and check the Audiobooks section. If the file does not show there, also check the Music app, especially if the media kind was not changed correctly.
Importing Audiobooks Into Apple Books on a Mac
If you are using a modern Mac, the process is different because Apple separated iTunes into dedicated apps. Audiobooks now belong mainly in Apple Books. To import, open the Books app, choose File > Import, select your audiobook files, and click Import. You can also drag and drop some audiobook files into your Books library.
After importing into Books, syncing to an iPhone or iPad usually happens through Finder. Connect your device, open Finder, select the device in the sidebar, choose the relevant content type, and apply the sync settings. This feels strange if you grew up using iTunes for everything, but once you understand the new split, it becomes much easier.
Common Problems and How to Fix Them
The Audiobook Imported as Music
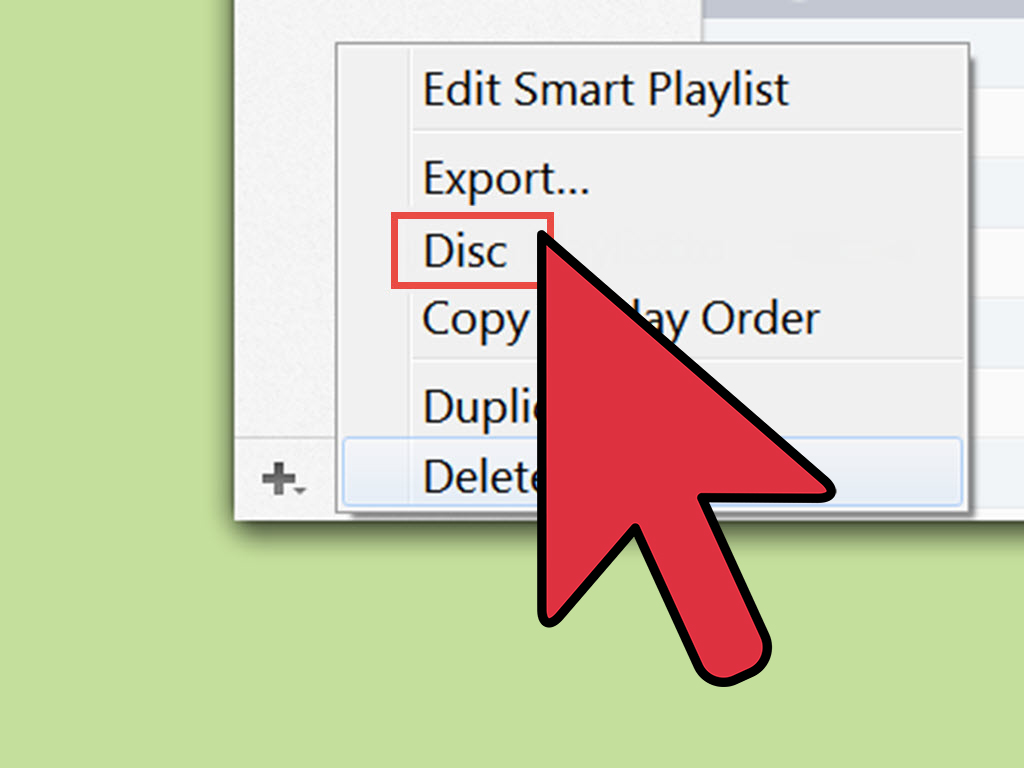
This is the most common issue. Select the files, open Get Info, go to Options, and change Media Kind to Audiobook. If the option is unavailable in your current app, you may be using Apple Music rather than iTunes, or the file may need to be imported through Books instead.
The Chapters Play in the Wrong Order
Edit the track numbers and file names. Use leading zeros if needed, such as 01, 02, 03, and 04. Computers are brilliant machines, but they sometimes think “Chapter 10” belongs before “Chapter 2.” Give them neat numbering and they behave better.
The Audiobook Will Not Sync to iPhone
First, confirm the audiobook plays on your computer. Next, check whether it is categorized as an audiobook. Then connect your device and review the sync settings. On Windows, iTunes or Apple Devices may be involved depending on your setup. On Mac, Finder handles device syncing. Also make sure your device has enough storage, because audiobooks can be large.
The File Requires Authorization
Some purchased or protected audiobook files require account authorization before they will play. If your audiobook came from Audible or another store, sign in with the correct account and authorize the computer when prompted. Avoid trying to bypass protection. The clean path is to use files you own, files you are allowed to use, or downloads provided through the official app or store.
The Audiobook Is Too Large
Long audiobooks can take up serious storage. If you are importing from CDs or converting your own legally owned recordings, choose a format and bit rate that balances quality and size. Spoken-word audio usually does not need the same bit rate as music. A reasonable spoken-word setting can keep the voice clear without turning your hard drive into a digital storage buffet.
Best Practices for a Clean Audiobook Library
Good audiobook organization starts before import. Keep a master folder on your computer with subfolders for each author and title. Use consistent file names. Add artwork. Fill out title, author, and album fields. Change the media kind immediately after importing. These small habits save a lot of future frustration.
For multi-file audiobooks, avoid mixing different books in the same folder. Also avoid vague names like Track 1, Track 2, and Final Final Audio Fixed. Your future self deserves better. Try a structure like Author – Book Title – Chapter 01. It is not glamorous, but neither is searching for missing chapters at midnight.
Should You Use MP3 or M4B for Audiobooks?
MP3 is the practical choice when you want compatibility across many devices and apps. It works almost everywhere and is easy to manage. The downside is that MP3 files may not behave like true audiobooks unless you edit their media kind and playback settings.
M4B is often better for Apple users because it is designed with audiobook behavior in mind. It can support bookmarking, chapters, and better audiobook-style organization. If you already have an M4B file, try importing that first. If you have MP3 files, do not worry; just organize them carefully inside iTunes.
Real-World Experience: What Importing Audiobooks Into iTunes Is Actually Like
In real life, importing audiobooks into iTunes is not difficult, but it rewards patience. The first import is usually the messiest because you are learning where iTunes places files, how it labels them, and why an audiobook about Roman history suddenly appears next to pop albums. Once you understand the pattern, the whole process becomes much smoother.
The biggest lesson is this: do not trust the first import to be perfect. iTunes often makes a reasonable guess, but it does not always know your intention. If you import MP3 files, iTunes may assume they are songs. That is not a disaster. It simply means you need to change the media kind, update the title, and organize the track numbers. Think of iTunes as a helpful librarian who occasionally files cookbooks under “Jazz.” Useful, but supervision is required.
Another practical lesson is to prepare files before opening iTunes. When audiobook chapters are scattered across Downloads, Desktop, and three mysterious folders called “New Folder,” importing becomes chaotic. Place everything in one folder first. Rename files in order. Check that no chapters are missing. Then import. A tidy folder is the difference between a five-minute job and a one-hour scavenger hunt.
Artwork also matters more than people expect. It does not change the sound, of course, but it makes browsing far easier. When every audiobook has a cover, your library feels intentional. When none of them has artwork, your collection starts to look like a gray warehouse of forgotten audio.
Syncing is where many users get confused, especially because Apple’s ecosystem has changed over time. If you are on Windows, iTunes may still feel familiar. If you are on a newer Mac, you may wonder where iTunes went. The answer is simple: Apple split the old iTunes jobs into separate apps. Books handles audiobooks. Finder handles syncing. Once that clicks, the process stops feeling broken and starts feeling merely “Apple-ish,” which is a special category of simple after you know the secret handshake.
My best advice is to import one audiobook first as a test. Do not begin with a 47-disc language course or a 900-chapter fantasy saga. Start with one short book. Import it, change the media kind, add artwork, sync it, and play it on your device. Once that works, repeat the same workflow for your larger collection. This approach saves time and prevents the classic mistake of importing 600 files incorrectly and then spending your evening fixing metadata like a spreadsheet goblin.
Finally, back up your audiobook files. iTunes libraries can be rebuilt, but original files are precious. Keep a separate backup on an external drive or cloud storage. If you ever move computers, reinstall apps, or reorganize your library, you will be glad you kept the original folders safe.
Conclusion
Importing audiobooks into iTunes is a straightforward process once you know the important details: gather your files, import them, find them in your library, change the media kind to Audiobook, clean up the metadata, add artwork, and sync them to your device. The trickiest part is understanding which Apple app does what. On Windows, iTunes remains useful for audiobooks. On newer Macs, Apple Books and Finder have taken over much of the old iTunes workflow.
If your audiobook lands in Music, do not worry. If the chapters are out of order, fix the track numbers. If it will not sync, check the file type, authorization, device storage, and sync settings. With a little organization, your audiobook library can go from digital junk drawer to beautifully sorted listening shelf.
And once everything is set up correctly, the reward is excellent: your favorite books, lectures, language lessons, and spoken-word recordings ready to play wherever you go. No messy folders. No lost chapters. No “why is Chapter 4 playing after Chapter 19?” drama. Just press play and enjoy the story.