Few baking disasters feel as personal as a cake that refuses to leave the pan. You mixed, measured, preheated, waited, sniffed the air like a cartoon character floating toward pieand then half the cake stayed behind like it signed a lease. The good news? Most sticking problems can be prevented before the batter ever touches the pan. Learning how to grease and flour a pan is one of those small kitchen skills that looks boring until it saves your birthday cake, banana bread, brownies, coffee cake, or Bundt masterpiece from becoming a crumbly “rustic dessert bowl.”
Greasing and flouring a pan creates a thin release layer between the batter and the bakeware. The grease helps prevent sticking, while the flour clings to the grease and gives the batter a dry surface to grip lightly without fusing to the pan. Done correctly, it helps cakes release cleanly, keeps corners neat, and makes cleanup less dramatic. Done carelessly, it can leave shiny uncoated patches, clumps of flour, greasy puddles, or pale floury streaks on the outside of your bake.
This guide breaks the process into nine simple steps, with practical tips for round cake pans, loaf pans, square pans, muffin tins, and those beautiful but slightly suspicious Bundt pans with enough grooves to qualify as architecture.
Why Greasing and Flour Matters
Pan preparation is not busywork. It is baking insurance. When a recipe says “grease and flour the pan,” it usually means the batter is likely to stick without a protective coating. Butter cakes, pound cakes, quick breads, snack cakes, and many layer cakes benefit from this step. Dense batters with sugar, fruit, chocolate, or sticky mix-ins especially appreciate a properly prepared pan.
That said, not every recipe wants a greased pan. Angel food cake, chiffon cake, and some sponge cakes often need to climb the sides of an ungreased pan as they bake. If you grease those pans, the batter may not rise properly. The golden rule is simple: follow the recipe first. If the recipe specifically says not to grease the pan, believe it. Baking is science wearing an apron.
What You Need Before You Start
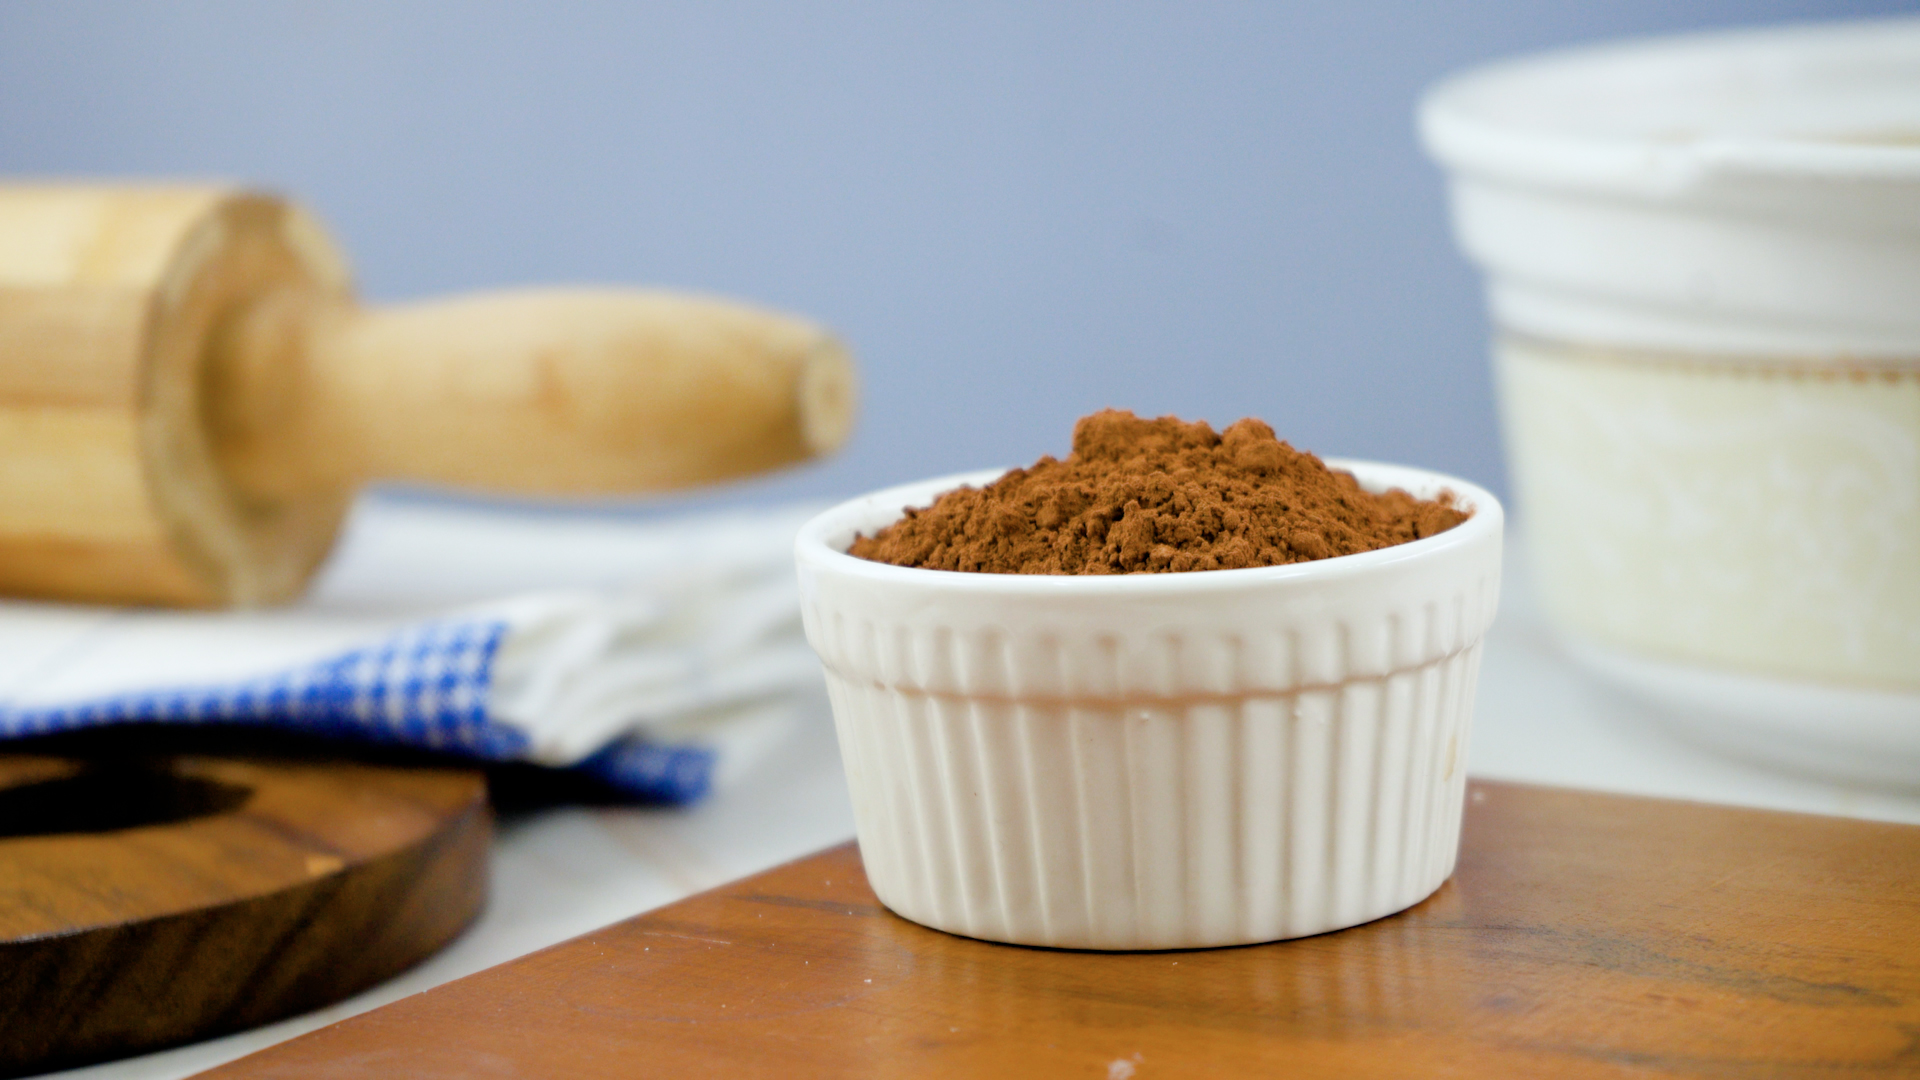
You do not need fancy tools, although a pastry brush makes the job easier. Gather the pan your recipe calls for, solid shortening or softened butter, all-purpose flour, a paper towel or pastry brush, and parchment paper if you are working with a flat-bottom cake pan. For chocolate cakes, unsweetened cocoa powder can replace flour so the outside of the cake stays deep and dark instead of looking like it rolled through chalk dust.
Baking spray with flour is another convenient option. It combines oil and flour in one product and can be especially helpful for Bundt pans or detailed molds. However, regular cooking spray is not always the same thing. Some bakeware makers recommend using baking spray that contains flour rather than ordinary cooking spray, especially for intricate nonstick pans.
How to Grease and Flour a Pan: 9 Steps
Step 1: Read the Recipe Carefully
Before reaching for the butter, check the recipe instructions. Some recipes ask for a greased pan, some ask for grease and flour, some call for parchment, and a few want no grease at all. If you are baking a classic yellow cake, chocolate cake, pound cake, loaf cake, or coffee cake, greasing and flouring is often recommended. If you are making angel food cake, pause and double-check before coating the pan.
This step matters because pan prep affects texture, rise, browning, and release. A delicate foam cake may need to cling to the pan. A buttery layer cake needs help letting go. Treat the recipe like the bossy but wise friend who has already made the mistakes for you.
Step 2: Choose the Right Grease
Solid vegetable shortening is a reliable choice because it spreads evenly, coats well, and is less likely to leave water or milk solids behind. Softened butter also works for many home bakers, especially in simple cake pans, but it can brown more and may not be ideal for every detailed mold. For Bundt pans and shaped cake pans, shortening applied with a pastry brush is often the safer route.
Use a thin, complete coating. More grease does not mean better release. Too much can pool in corners, fry the edges, or create a heavy crust. You want the pan to look evenly coated, not like it just returned from a spa treatment.
Step 3: Coat the Bottom of the Pan
Start with the bottom because this is where the cake will sit the longest and where sticking can be most heartbreaking. Use a paper towel, your clean fingers, or a pastry brush to spread a thin layer of shortening or softened butter across the entire base. Work from the center outward and pay attention to corners.
Look for shiny dry spots. If you see bare metal or uncoated nonstick surface, touch it up. The coating should be smooth and continuous. A missed patch the size of a dime can become the place where your cake decides to start a protest movement.
Step 4: Grease the Sides and Corners
After the bottom is covered, move up the sides. For square and rectangular pans, corners are the troublemakers. For round pans, check the seam where the bottom meets the wall. For loaf pans, coat the short ends as carefully as the long sides.
You usually do not need to grease all the way above the batter line, but you should coat the area the batter will touch. If your recipe rises significantly, grease slightly higher than the expected fill level. A pastry brush is useful here because it reaches corners without leaving thick blobs.
Step 5: Add Flour or Cocoa Powder
Once the pan is greased, sprinkle in a spoonful or two of all-purpose flour. For a standard 8-inch or 9-inch round cake pan, one to two tablespoons is usually enough. For a loaf pan or square pan, start with about a tablespoon and add more only if needed. For a chocolate cake, use unsweetened cocoa powder instead of flour to avoid pale streaks on the finished cake.
The flour should dust the grease, not bury it in a snowstorm. Too much flour can leave a dry, powdery coating on the crust. The goal is a whisper-thin layer that helps release the cake cleanly.
Step 6: Tilt, Tap, and Rotate
Hold the pan over the sink or trash can and gently tilt it so the flour slides across the bottom. Tap the side of the pan with your hand while rotating it. The flour will stick to the greased surface and reveal whether you missed any areas.
For the sides, angle the pan upward and continue tapping until the flour climbs the walls. Turn the pan slowly so every section gets coated. This part feels a little like panning for gold, except the treasure is a cake that does not break into emotional support crumbs.
Step 7: Tap Out the Excess
When the inside is evenly dusted, turn the pan upside down over the sink, trash can, or a sheet of parchment paper. Tap firmly to remove loose flour. If clouds of flour keep falling out, you used too much. Keep tapping until only the thin coating remains.
This step is important for appearance and flavor. Excess flour can bake into a chalky layer, especially on darker cakes. If you notice thick patches, wipe that area clean, grease lightly again, and re-dust. It is better to fix the pan now than to explain later why your cake has “decorative flour freckles.”
Step 8: Add Parchment for Extra Protection
For round, square, and rectangular cake pans, parchment paper gives extra release protection. After greasing the pan, trace the bottom onto parchment, cut it out, and place it in the pan. Grease the top of the parchment lightly, then flour the pan if the recipe calls for it.
Parchment is especially helpful for layer cakes, carrot cakes, sticky fruit cakes, and tender cakes that need to release perfectly. It is less useful for Bundt pans because parchment cannot hug all those curves and ridges. For Bundt pans, careful greasing and flouringor a quality baking spray with flouris the better approach.
Step 9: Fill the Pan Right Away
Once the pan is greased and floured, add the batter soon after. If a prepared pan sits too long in a warm kitchen, the grease can soften, slide, or pool. This is especially true with detailed pans. Mix your batter, prepare the pan, pour, level, and bake.
When the cake is done, follow the recipe’s cooling instructions before removing it. Many cakes need a short rest so the structure sets, but cooling too long in the pan can also encourage sticking. For Bundt cakes, the release window is often especially important: cool briefly, loosen gently if needed, then invert with confidencebut not with the energy of someone flipping pancakes at a county fair.
Special Tips for Different Pans
Round Cake Pans
Round cake pans are the easiest candidates for parchment. Grease the pan, add a parchment circle, grease the parchment, then flour lightly. This method helps layer cakes release cleanly and keeps the bottoms smooth for stacking and frosting.
Loaf Pans
Loaf pans have deep corners where batter loves to cling. Grease the bottom, sides, and short ends carefully. A parchment sling can make quick breads easier to lift out. Let the parchment hang slightly over the long sides so you can use it as handles after the loaf cools.
Bundt Pans
Bundt pans are gorgeous, dramatic, and occasionally petty. Their grooves, ridges, and patterns need special attention. Use a pastry brush to coat every crevice with shortening or use baking spray with flour. Tap flour through the pan until every shiny spot is covered, then remove excess thoroughly. If any area still looks glossy, touch it up before adding batter.
Muffin Tins
For muffins and cupcakes, paper liners are often easiest. If you are not using liners, grease each cup thoroughly and dust lightly with flour for cakes or sticky batters. For savory muffins, flour may not be needed unless the recipe recommends it.
Common Mistakes to Avoid
Using Too Much Grease
A thick layer of butter or shortening can make edges greasy, heavy, or overly browned. Thin and even is better than thick and heroic.
Skipping the Corners
Corners are where beautiful bakes go to get stuck. Take your time with square pans, loaf pans, and detailed molds.
Leaving Excess Flour
Loose flour can create pale spots and a dry mouthfeel. Always tap out extra flour before adding batter.
Using Flour on Chocolate Cake
Flour works, but cocoa powder looks better on chocolate cakes. It also adds a subtle chocolate note instead of a dusty white finish.
Ignoring the Recipe
If the recipe says ungreased, do not grease. If it says parchment, use parchment. Baking instructions are not decorative text; they are tiny road signs on the way to dessert.
Real Kitchen Experiences: Lessons From Sticky Situations
The first time many home bakers learn the value of greasing and flouring a pan is not from a cookbook. It is from a cake that exits the pan in two acts: the top half on the cooling rack and the bottom half still attached like a stubborn souvenir. The lesson arrives quickly. A good cake can taste wonderful and still look like it had a rough commute.
One practical experience worth remembering is that “nonstick” does not mean “no preparation ever.” Nonstick pans are helpful, but cake batter contains sugar, starch, eggs, and moisture. As it bakes, it can bond to tiny scratches, seams, corners, and decorative details. A light coating of grease and flour gives you a margin of safety. This is especially true with older pans that have lost some of their slick finish. If your pan has seen ten birthdays, four bake sales, and one suspicious dishwasher cycle, give it a little extra care.
Another lesson: parchment circles feel fussy until you use them. Cutting parchment for a round pan may seem like a small arts-and-crafts assignment, but the payoff is huge when a layer cake releases with a smooth bottom. For busy bakers, pre-cut parchment rounds can be worth keeping in the drawer. They are not glamorous, but neither is reassembling a broken cake with frosting and optimism.
Bundt pans teach patience better than yoga. A detailed Bundt design can turn out beautifully, but only if the pan is coated in every ridge and valley. A pastry brush helps because it pushes shortening into the pattern. After dusting with flour, hold the pan under good light and check for shiny areas. Shiny means unprotected. Unprotected means stuck. Stuck means someone will call it “homemade-looking,” which is polite kitchen language for “something happened.”
Chocolate cakes bring another useful experience: cocoa powder is your friend. Dusting a chocolate cake pan with flour can leave a pale cast on the crust. It does not ruin the cake, but it can make the outside look dull. Cocoa powder blends into the color of the cake and keeps the finish more attractive. For deep chocolate Bundt cakes, this small switch can make the difference between bakery-style and “why is my cake wearing flour sunscreen?”
Finally, timing matters. Preparing the pan too early can allow grease to slide or collect, especially in a warm kitchen. Prepare your ingredients, mix the batter, then grease and flour the pan close to filling time. Once baked, let the cake cool according to the recipe. Removing it too soon can cause tearing; waiting too long can make it cling. With practice, greasing and flouring becomes quick, clean, and almost automatic. It is not the flashiest baking skill, but it is one of the most reliable ways to protect your work. Dessert deserves a graceful exit.
Conclusion
Knowing how to grease and flour a pan is a simple skill with a big reward: cleaner release, smoother cake edges, easier cleanup, and fewer dessert emergencies. The best method is straightforward. Read the recipe, coat the pan evenly, dust lightly with flour or cocoa, tap out the excess, and use parchment when it makes sense. Pay special attention to corners, seams, and decorative details, because those are the places where batter likes to cling.
Once you master the technique, you will stop crossing your fingers every time you invert a cake. Instead, you will have the quiet confidence of someone who knows the cake is coming out in one piece. That confidence is not magic. It is just a well-prepared pan doing its job.