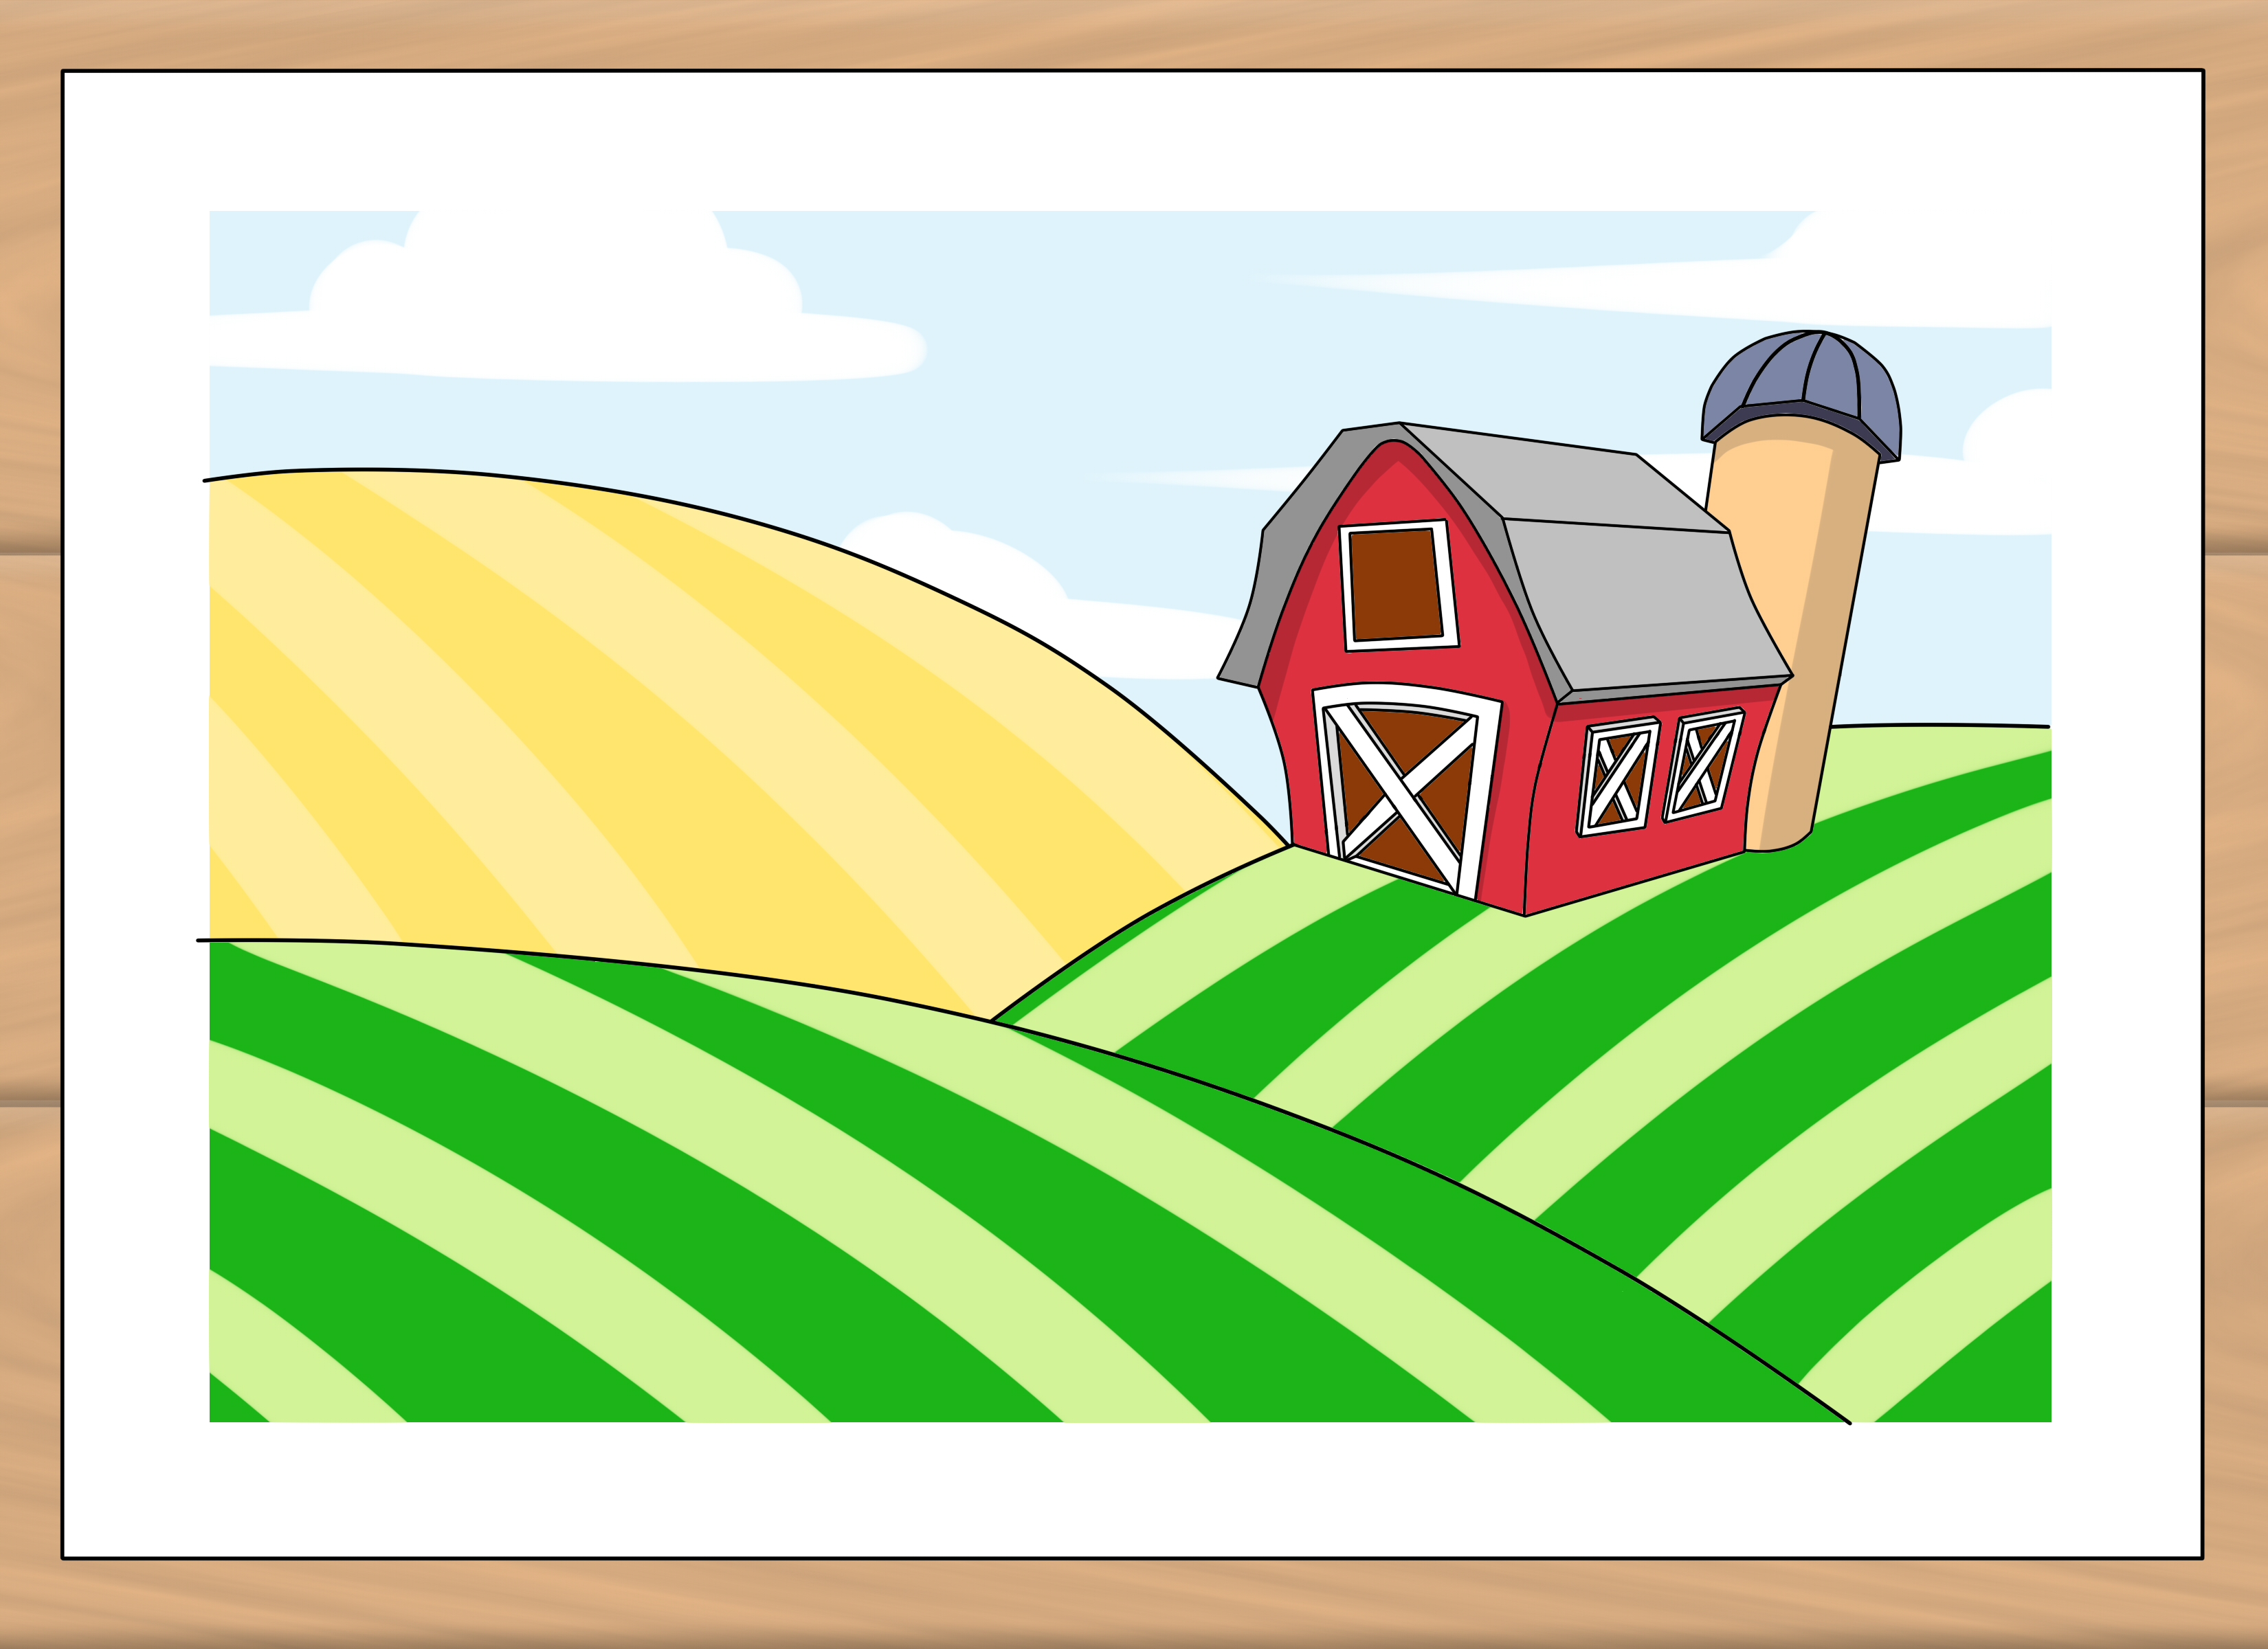
Learning how to draw a farm is one of those art projects that looks complicated until you break it into friendly little pieces. A barn is mostly a rectangle wearing a triangle hat. A field is a few lines that know where they are going. A cow is an oval with opinions. Put those pieces together, add a road, a fence, a few trees, and suddenly your paper has become a place where somebody is probably late for breakfast.
This easy farm drawing tutorial is designed for beginners, kids, adults returning to art, and anyone who has ever stared at a blank page as if it owed them money. You do not need fancy supplies or perfect perspective. You only need a pencil, paper, a willingness to draw lightly at first, and the courage to let a chicken look slightly like a potato during the early stages.
By the end of these seven steps, you will know how to draw a farm scene with a barn, fields, animals, fences, shadows, and simple landscape perspective. Better yet, you will understand why the drawing works, so you can create a sunny dairy farm, a pumpkin patch, a horse ranch, or a wildly dramatic farm where the rooster clearly runs the place.
What You Need Before You Start
Keep your materials simple. A regular pencil, eraser, black pen or fineliner, and plain drawing paper are enough for a strong farm sketch. Colored pencils, crayons, markers, or watercolor can help later, but do not wait for a deluxe art supply haul. Many excellent drawings began with a pencil that had been sharpened by a person who meant business.
Before drawing, decide what kind of farm you want to create. A classic family farm may include a red barn, silo, vegetable garden, cows, chickens, and a dirt road. A horse farm may feature paddocks, a stable, fences, and rolling pasture. A crop farm can focus on a tractor, rows of corn, hay bales, and a large open sky. Choosing a theme helps you avoid putting every farm item in the universe into one tiny picture.
Use Three Simple Drawing Zones
Divide your paper mentally into three areas: foreground, middle ground, and background. The foreground is closest to the viewer, such as a fence post, tall grass, or a large chicken. The middle ground usually holds the barn, animals, road, and main activity. The background contains distant fields, hills, clouds, and tiny trees. This arrangement gives your farm drawing depth without requiring complicated math or a tiny architecture degree.
How to Draw a Farm in 7 Steps
Step 1: Draw the Horizon Line and Sketch the Main Layout
Start by drawing a light horizontal line across the upper half of your page. This is the horizon line, where the land seems to meet the sky. Place it about one-third of the way down the paper for a big, open sky, or closer to the middle if you want the farm buildings and fields to take center stage.
Now decide where your main barn will go. Place it slightly off-center rather than directly in the middle. A barn placed a little to the left or right often makes the drawing feel more natural and less like it is posing for a passport photo. Sketch a loose rectangle for the barn body. Add a smaller rectangle nearby for a farmhouse, shed, or stable.
Next, lightly map the larger shapes around the buildings. Use long curving lines for hills, broad shapes for fields, and a winding line for a road. At this stage, do not worry about windows, roof shingles, or whether the tractor has enough cup holders. Your goal is simply to arrange the big pieces.
Helpful tip: Keep these first lines faint. You are building a blueprint for your drawing, not carving it into a mountain.
Step 2: Build the Barn from Basic Shapes
Turn your barn rectangle into a recognizable farm building. Draw a triangle or shallow trapezoid on top for the roof. If you want a classic gambrel roof, draw two slanted lines rising from each side of the barn, then add two shorter slanted lines that meet at the top. This creates the familiar “big red barn” silhouette that has appeared in countless storybooks and probably at least one refrigerator magnet.
Add large double doors near the bottom center of the barn. Draw a smaller loft door or window above them. A simple circle, rectangle, or cross-shaped window works well. You can also add a silo beside the barn by drawing a tall narrow rectangle topped with a rounded dome or pointed cap.
Do not make every line ruler-straight. Rural buildings often have character: slightly uneven boards, a crooked weather vane, a roof that has endured weather, seasons, and possibly a highly determined squirrel. A few imperfect details make the barn feel more believable.
Step 3: Add a Road, Fence, and Fields for Perspective
This step is where your farm drawing begins to feel spacious. Draw a dirt road starting near the bottom of the page and narrowing as it travels toward the horizon. The two sides of the road should move closer together in the distance. They do not have to meet exactly, but they should suggest that the road continues far beyond the barn.
Add a fence along one side of the road or around a pasture. Draw fence posts larger and farther apart in the foreground. As the fence moves toward the distance, make the posts smaller and closer together. This one small trick makes a flat page feel like a place you could stroll through, provided you do not mind suspicious geese.
For fields, draw long lines that angle toward the same general area near the horizon. These may become crop rows, freshly plowed soil, or strips of grass. Keep the lines wider apart near the bottom of the page and closer together near the top. This simple perspective method makes your field appear to stretch into the distance.
You can create several types of fields by changing the line pattern. Parallel rows suggest crops. Wavy bands suggest pasture. Small repeating bumps can become hay bales or bushes. A vegetable garden can use neat rectangular beds, while an orchard can use evenly spaced circles for tree tops.
Step 4: Draw Farm Animals with Easy Shapes
Now it is time to populate your farm. Start with only two or three animals. A crowded farm scene can be fun, but drawing sixteen chickens, nine pigs, and one emotionally complicated goat may turn your relaxing art project into a livestock census.
For a cow, draw a large rounded rectangle or oval for the body, a smaller oval for the head, and four narrow legs underneath. Add small triangles for ears, curved shapes for horns if you want them, and a few uneven spots. Keep distant cows tiny and simple. At a distance, a cow can be nothing more than a small blob with legs, which is also how many of us look before coffee.
For a chicken, draw a small oval body, a tiny circle head, a triangle beak, and a fan-shaped tail. For a horse, use a long oval body, a narrower neck, a small head, and four legs. For pigs, use a rounded body, short legs, triangular ears, and a curly tail. The key is to establish the animal’s overall pose before adding details.
Proportion trick: Animals in the foreground should look larger and show more detail. Animals near the barn or horizon should be smaller, lighter, and simpler. This difference helps your farm scene look deep rather than crowded onto the same invisible stage.
Step 5: Add Trees, Crops, and Natural Texture
A farm without plants can look a little lonely, like somebody opened an agricultural-themed office park. Add trees, grass, crops, shrubs, and clouds to make the scene feel alive.
For a simple tree, draw a narrow trunk and a loose cloud shape for the leafy canopy. Avoid making every tree identical. Mix round trees, tall narrow trees, and slightly leaning trees. In nature, plants are not arranged by a committee that meets every Tuesday to approve matching hairstyles.
Use short upward strokes for grass in the foreground. Make the strokes longer and darker close to the bottom of the page, then shorter and lighter farther away. Add clusters of tiny lines, dots, or zigzags to suggest texture in a field. Do not draw every blade of grass individually unless your personal dream is to become one with the lawn.
For crop rows, add tiny repeated marks along your perspective lines. Corn may be suggested with short vertical strokes. Pumpkin patches can use scattered circles. A wheat field can use quick feathery marks. The viewer does not need every leaf explained. They only need enough visual clues to understand what they are seeing.
Step 6: Create Light, Shadows, and Depth
Choose where the sun is shining from before you shade the drawing. Imagine that the sun sits in the upper-left or upper-right corner of your page. The side of the barn facing the sun should be lighter. The opposite side should be darker. Add shadows beneath the roof, under the barn doors, behind the silo, and below the animals.
Use gentle pencil pressure for distant areas and heavier pressure for foreground details. This creates visual depth. Distant hills, trees, and fields should usually look softer and lighter. Nearby fence posts, rocks, grass, and animals can have darker outlines and stronger shadows.
Try basic hatching by drawing parallel lines for shade. Cross-hatching adds another set of lines in a different direction for deeper shadows. Stippling uses dots and works nicely for rough soil, gravel roads, or the fuzzy texture of distant trees. You do not need to shade every inch of the paper. Leave some areas bright so the drawing can breathe.
A good farm drawing often has one clear focal point. Usually, it is the barn, farmhouse, tractor, or main animal. Make this area slightly darker, sharper, or more colorful than the rest. Your viewer’s eye will naturally travel there first.
Step 7: Refine the Details and Add Color
Erase any planning lines that are still visible. Darken only the lines you want to keep. Add final details such as barn boards, roof lines, fence rails, wagon wheels, flower patches, smoke from a chimney, or a rooster standing somewhere important-looking.
If you are adding color, begin with large areas. Use blue for the sky, green for grass, brown for the road and soil, and a warm color for the barn. Red is traditional, but your barn can be yellow, weathered gray, faded blue, or purple if your imaginary farmer has impeccable taste.
Use lighter colors in the distance and stronger colors in the foreground. Add a pale blue-gray to far hills and a richer green to nearby grass. Shade the side of the barn away from the sun with a darker version of its main color. A small amount of contrast can make the whole picture feel more finished.
Finally, step back from your drawing. Look for empty spaces that need a little texture and overly busy areas that need to calm down. Your goal is not to make every inch equally detailed. Your goal is to create a farm scene that feels peaceful, lively, and clearly yours.
Common Mistakes When Drawing a Farm
Making everything the same size: A nearby cow should not be the same size as a cow near the horizon unless the distant cow has discovered a new career in giantism. Make close objects bigger and distant objects smaller.
Drawing fences with identical spacing: Fence posts should get smaller and closer together as they travel away from you. This gives your farm drawing perspective and makes the scene feel deeper.
Adding details too early: Start with large shapes first. If you spend ten minutes drawing barn windows before deciding where the barn belongs, the window may become the most carefully rendered part of a completely confused landscape.
Using one heavy outline everywhere: Vary your line weight. Darker, thicker lines work well in the foreground. Lighter lines help distant features recede naturally.
How to Make Your Farm Drawing More Personal
Once you understand the basic farm drawing steps, customize the scene. Add a family name on the barn, a tiny vegetable stand, a dog chasing a butterfly, a scarecrow with a lopsided hat, or a tractor parked at an angle that suggests somebody had a very long day.
You can also choose a season. Draw spring with puddles, seedlings, and soft clouds. Create summer with tall corn and bright green fields. Make an autumn farm with pumpkins, orange leaves, and hay bales. Draw winter with snow on the barn roof, bare trees, and animal tracks crossing the ground.
The most memorable farm drawings are not always the most realistic. They are the ones with a sense of place. A crooked fence, a favorite animal, a dramatic sunset, or a tiny figure carrying a basket can turn a generic rural landscape into a small visual story.
Conclusion: Your Farm Starts with a Few Lines
Knowing how to draw a farm is less about memorizing every barn board and more about seeing the scene in layers. Begin with a horizon line and large shapes. Add a barn, road, fence, and fields. Use smaller details for distant objects, stronger marks for nearby objects, and simple shadows to make everything feel connected.
Most importantly, let your drawing have personality. A farm can be neat, wild, sunny, stormy, busy, peaceful, old-fashioned, or completely imaginary. Start with these seven steps, then make the land your own. Your first attempt may not look like it belongs in a museum, but it might look like it belongs on a refrigerator, which is honestly an excellent gallery with very loyal visitors.
Farm Drawing Experiences: What You Learn by Sketching Rural Scenes
Drawing a farm can be a surprisingly calming experience because it gives your eyes a job. Instead of rushing past a field, barn, or fence, you begin noticing how many small decisions make the scene feel real. You may notice that a roof is not simply a triangle, that a dirt road is not simply brown, and that trees have different shapes depending on their distance, age, and mood. Yes, trees have moods. Some are cheerful little circles. Others are clearly planning something.
One useful practice is to sketch a farm scene from memory first. Draw the version of a farm that lives in your imagination: a bright barn, wide green field, sun, clouds, and a few animals. Then look at a real farm photograph or observe a rural landscape from a safe public area. Compare what you imagined with what you see. You may realize that barns have vents, fences change direction, fields are rarely perfectly flat, and animals spend a remarkable amount of time standing in ways that make their legs difficult to count.
This comparison teaches one of the best drawing lessons: observation is more important than guessing. You do not need to copy every detail exactly, but looking closely gives you better choices. Notice how a fence rail overlaps a post. Notice how a horse’s neck connects to its body. Notice how crop rows curve with the land instead of marching across it like tiny green soldiers.
Farm drawing also helps you practice visual storytelling. A barn with closed doors, dark clouds, and puddles tells a different story from a barn with open doors, sunlit fields, and chickens wandering through a garden. Add one small narrative detail to every farm drawing. Maybe a farmer is carrying a bucket. Maybe a cat is sitting on a fence. Maybe a scarecrow has lost its hat to the wind. These small choices make viewers curious about what happened before and what might happen next.
Try drawing the same farm three times. First, create a quick five-minute pencil sketch using only basic shapes. Second, spend twenty minutes adding perspective, shadows, and texture. Third, make a colorful version using the same composition but change the season or weather. This exercise teaches you that an idea can grow without needing to start from zero every time.
Most artists remember early drawings that looked awkward. That is normal. In fact, awkward drawings are proof that you practiced instead of merely thinking about practicing, which already puts you ahead of the people who own seventeen sketchbooks and have somehow kept every page mysteriously blank. Keep your farm drawings, date them, and revisit the subject later. Over time, you will see stronger shapes, better depth, more confident lines, and animals that increasingly resemble the animals they were meant to be.