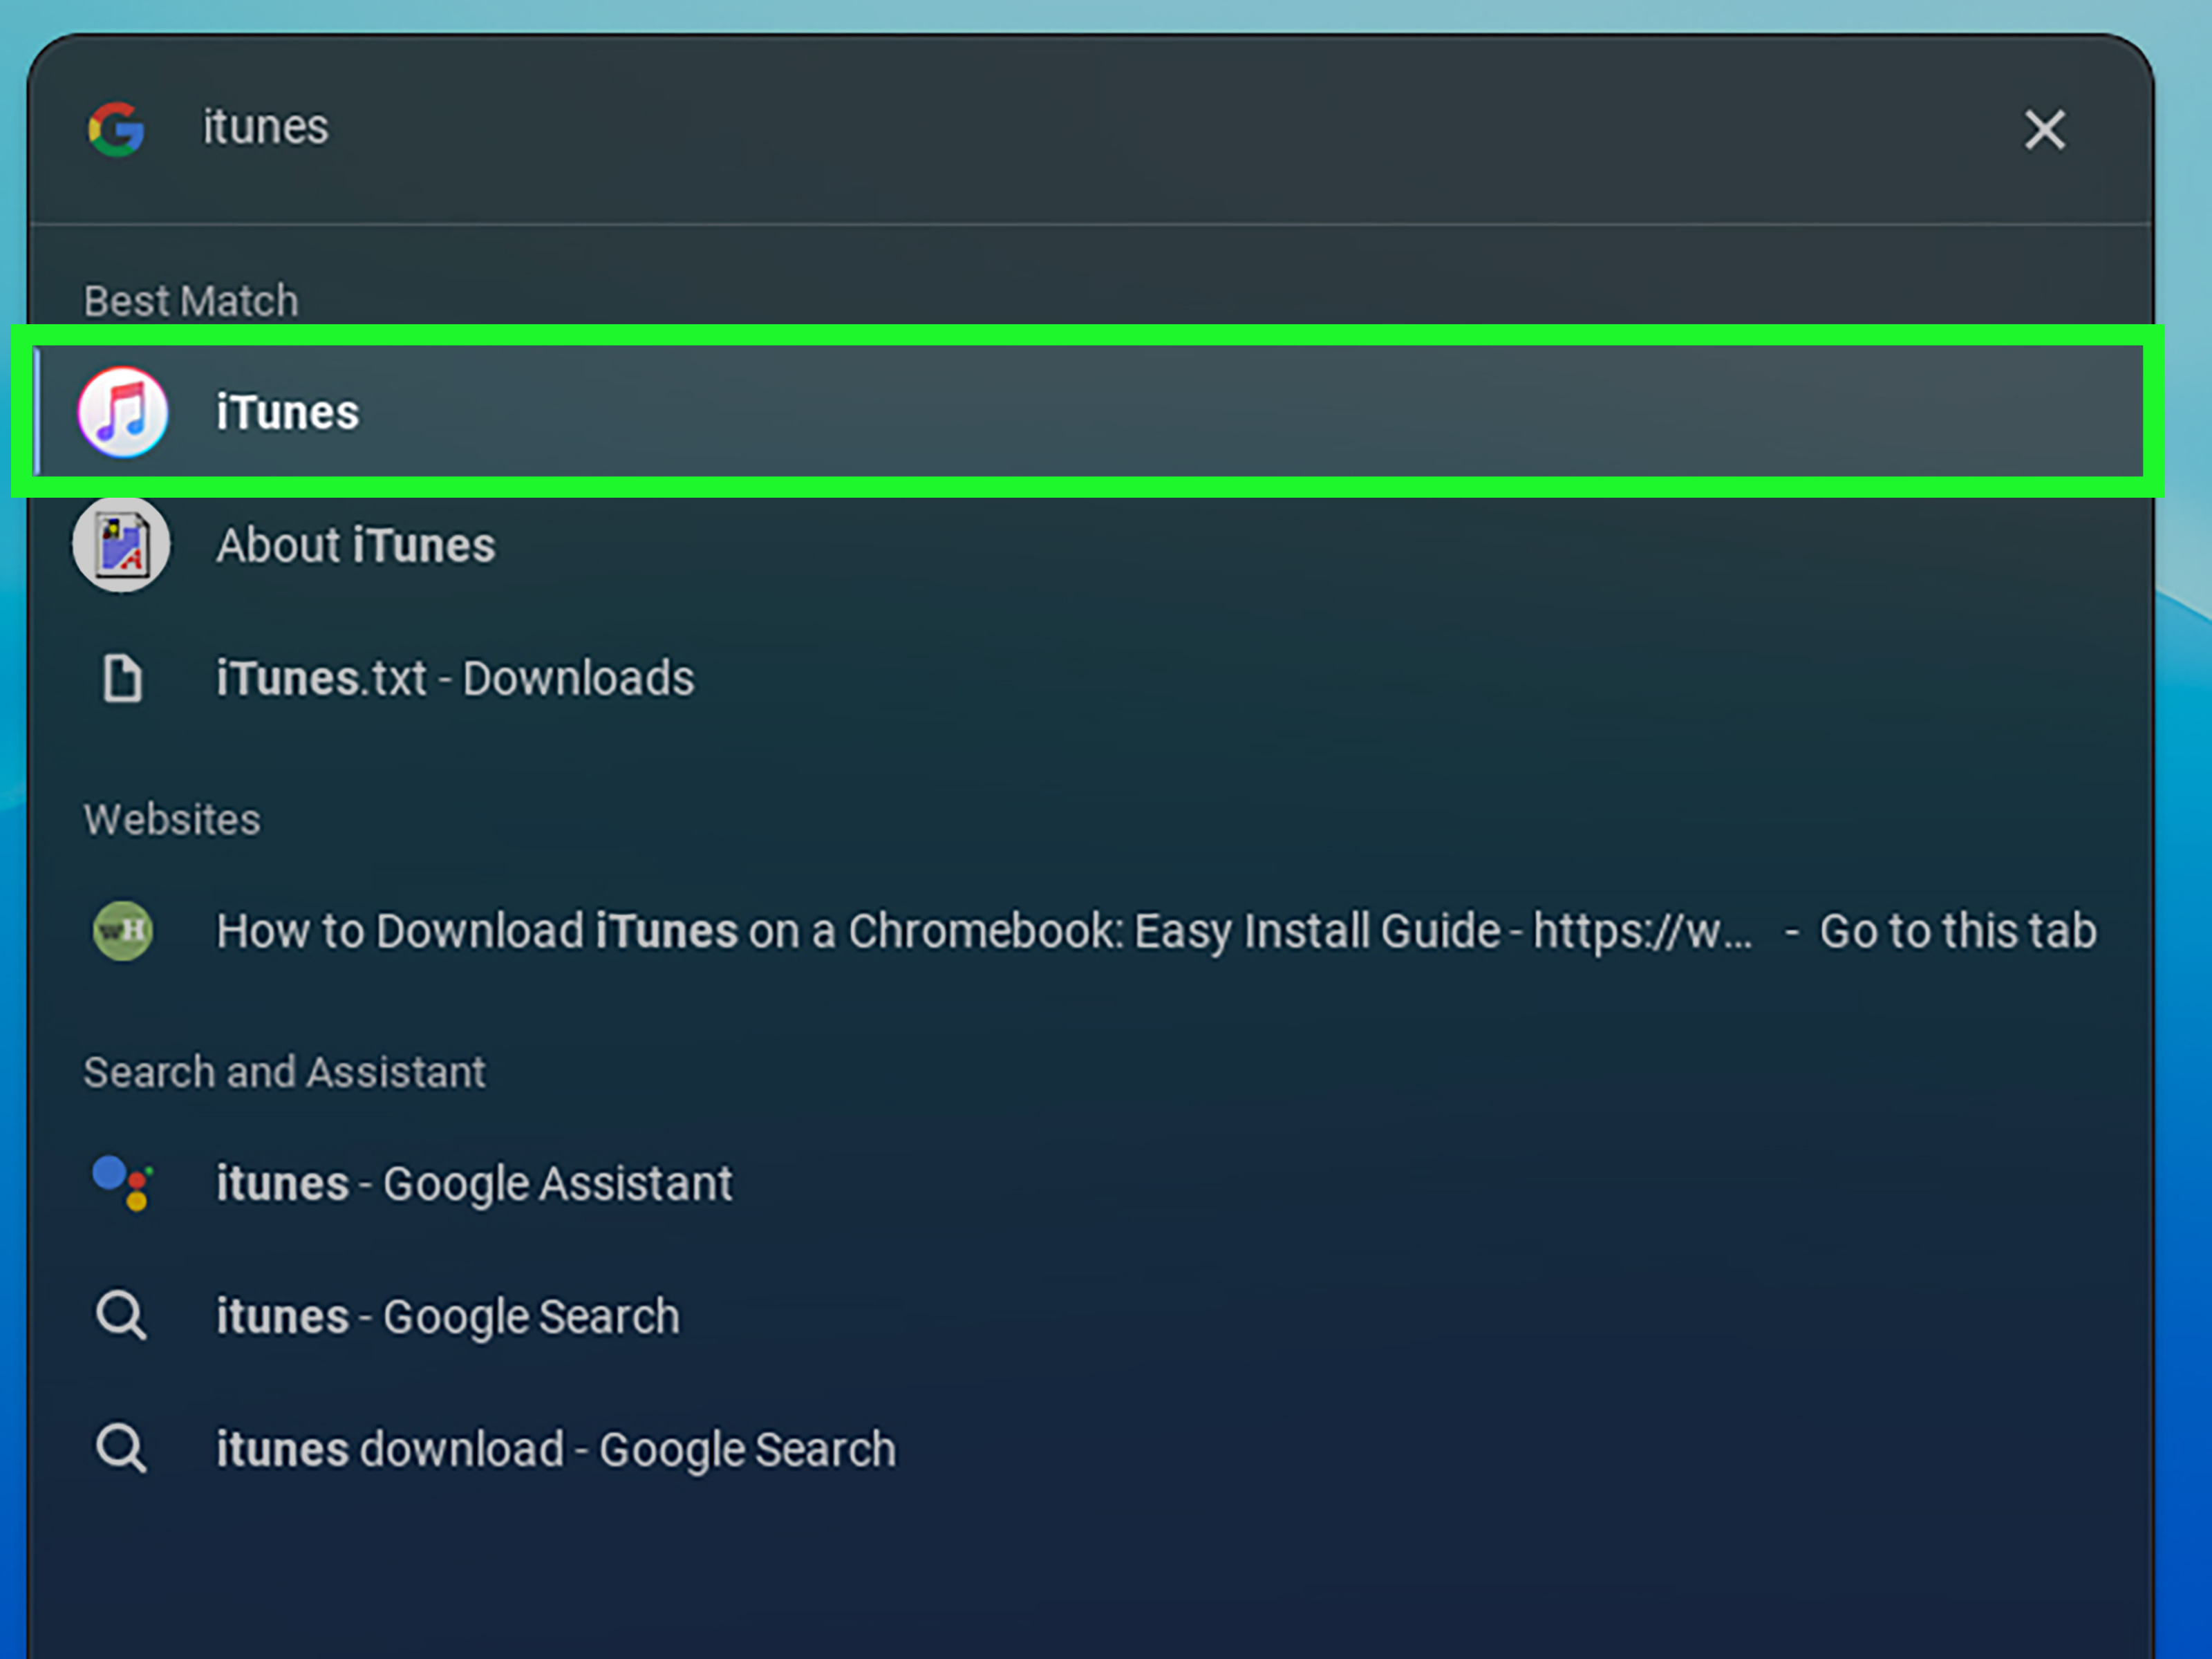
Note: Before we put on our digital tool belt, here is the honest answer: iTunes does not have a native ChromeOS version. You cannot install it on a Chromebook the same way you would install it on a Windows PC or an older Mac. However, you still have several practical ways to access your Apple music, purchases, playlists, and iPhone-related content from a Chromebook. Some are simple. Some are nerdy. One involves Linux and Wine, which is basically asking your Chromebook to wear a tiny Windows costume.
If you searched for “how to download iTunes on a Chromebook,” you are probably trying to do one of three things: listen to your iTunes music library, access Apple Music, manage an iPhone or iPad, or recover old purchases from the iTunes Store. The good news is that a Chromebook can handle many of those jobs. The not-so-good news is that traditional iTunes is a Windows desktop program, and ChromeOS was not built to run classic Windows software directly.
This easy install guide explains what works, what does not, and which option you should choose. We will cover the safest methods first, then move into the experimental Linux method for users who enjoy typing commands and pretending their laptop is a secret agent.
Can You Download iTunes Directly on a Chromebook?
No, you cannot directly download and install the full desktop version of iTunes on a Chromebook as a normal ChromeOS app. Apple officially provides iTunes for Windows through the Microsoft Store and legacy download pages, while macOS has moved away from the old all-in-one iTunes app in favor of separate Apple Music, Apple TV, Podcasts, and Finder-based device management. ChromeOS is not listed as a supported iTunes platform.
That sounds disappointing, but it is not the end of the story. A Chromebook is excellent at web apps, Android apps, cloud storage, streaming, and lightweight productivity. Apple has also made several services available outside the Apple ecosystem. So instead of forcing the old iTunes app onto ChromeOS, the smarter approach is to decide what you need from iTunes and use the best Chromebook-friendly replacement.
Best Option: Use Apple Music on Your Chromebook
If your main goal is listening to music, the easiest solution is not iTunes at all. It is Apple Music. Apple supports Apple Music on Android devices and on Chromebooks that support Android apps. Many modern Chromebooks include the Google Play Store, which allows you to install Android apps directly.
How to Install Apple Music from Google Play
- Open the Launcher on your Chromebook.
- Open the Google Play Store.
- Search for Apple Music.
- Select the official Apple Music app by Apple.
- Click Install.
- Open the app and sign in with your Apple Account.
- Allow library syncing if prompted.
This is the cleanest method for most people. It does not require Linux, developer mode, command-line tricks, or the emotional support snacks often needed during failed software installations. If your music library is already connected to Apple Music or iCloud Music Library, your playlists and songs may appear after you sign in.
The Apple Music app is especially useful if you subscribe to Apple Music. You can stream songs, browse playlists, listen to albums, and access personalized recommendations. For many Chromebook users, this replaces the most important part of iTunes: playing music.
What If Your Chromebook Does Not Have Google Play?
Some older, school-managed, or work-managed Chromebooks may not support Google Play. In that case, you may not be able to install Android apps. If your Chromebook is managed by a school or company, the administrator may also block app installation. That is not your Chromebook being dramatic; it is simply following policy.
To check, open Settings, look for Apps, and see whether Google Play Store is available. If you do not see it, your device may not support Android apps, or the feature may be disabled by your administrator.
Even Easier: Use the Apple Music Web Player
If you do not want to install anything, use the Apple Music web player in Chrome. This is a great option for shared Chromebooks, low-storage devices, or anyone who prefers “open browser, play music, move on with life.”
How to Use Apple Music in Chrome
- Open the Chrome browser on your Chromebook.
- Go to the Apple Music web player.
- Click Sign In.
- Enter your Apple Account details.
- Start playing your music, playlists, albums, and radio stations.
The web player is the fastest way to access Apple Music on ChromeOS. It does not give you the full classic iTunes experience, but it covers the biggest everyday need: listening. It is also less likely to break after a ChromeOS update, which is more than we can say for certain experimental workarounds held together with hope and terminal commands.
Can You Install the Windows Version of iTunes on a Chromebook?
Technically, some users try to install iTunes for Windows on a Chromebook through the Linux development environment and Wine. Wine is a compatibility layer that can run some Windows applications on Linux. Since ChromeOS can run a Linux container on supported devices, the idea is simple: enable Linux, install Wine, download the Windows iTunes installer, and run it.
The reality is less simple. iTunes depends on Windows components, Apple services, device drivers, and media frameworks. Older 32-bit versions may launch more successfully than newer versions, but performance is inconsistent. iPhone syncing is especially unreliable because USB device communication and Apple Mobile Device services do not behave the same way inside ChromeOS Linux.
In plain English: you may get iTunes to open, but you should not expect it to manage your iPhone perfectly. If your goal is only curiosity, go ahead carefully. If your goal is backing up your iPhone before a major iOS update, please use a real Windows PC or Mac. Your future self will thank you with fewer forehead wrinkles.
Experimental Method: Install iTunes Using Linux and Wine
This method is for advanced users. It may fail. It may work partially. It may work today and break tomorrow. Use it only if you understand that ChromeOS, Linux, Wine, and iTunes are not exactly best friends at a picnic.
Step 1: Enable Linux on Your Chromebook
- Open Settings.
- Go to About ChromeOS or search for Linux development environment.
- Select Set up.
- Choose a disk size. If available, give Linux at least 10 GB.
- Finish the setup and open the Terminal app.
Linux on Chromebook is designed mainly for development tools, code editors, and Linux apps. It is not officially intended as a magic tunnel for every Windows program ever created. Still, it gives you the foundation needed to try Wine.
Step 2: Update Linux
Open Terminal and run:
This updates the Linux container and helps prevent package conflicts. It is the software equivalent of washing your hands before cooking. Not exciting, but wise.
Step 3: Install Wine
Run:
Depending on your Chromebook model and Linux version, you may need additional packages. Some guides recommend enabling 32-bit architecture for older Windows apps. Because iTunes compatibility is often better with older 32-bit releases, this may be necessary.
If the installation fails, your Chromebook’s Linux environment may not support the required packages smoothly. At that point, it is usually better to use Apple Music, the web player, or a Windows computer rather than spend your evening fighting dependency errors like a medieval knight fighting a printer.
Step 4: Download iTunes for Windows
Download iTunes only from official Apple or Microsoft sources. Avoid random “free iTunes download” websites. Those sites often come with bonus surprises, and not the fun birthday kind. The Microsoft Store version is intended for Windows devices, while Apple also maintains Windows download pages for certain iTunes versions.
For Wine experiments, older 32-bit iTunes installers may be more likely to run than newer builds. However, older software can have security and compatibility limitations. If you only need music playback, the Apple Music app or web player is safer.
Step 5: Run the Installer with Wine
Move the iTunes installer into your Linux files folder. Then run a command similar to:
Follow the installer prompts. If installation completes, try launching iTunes from the Linux apps section or by running the iTunes executable through Wine. Expect possible errors, missing features, login problems, display glitches, or sync failures.
Step 6: Know the Limitations
Even if iTunes launches, it may not behave like it does on Windows. You may have trouble signing in, authorizing the computer, playing protected content, detecting an iPhone, importing CDs, or syncing libraries. Some Chromebooks also use ARM-based processors, which can make Windows app compatibility even more limited.
For that reason, this guide recommends Wine only as an experimental workaround. For regular use, Apple Music on Android or the web is much easier.
How to Access Old iTunes Purchases on a Chromebook
If you bought songs through the iTunes Store years ago, you may still be able to access them through your Apple Account. The easiest route is to sign in to Apple Music with the same Apple Account. Purchased music and synced library content may appear depending on your account settings, region, and library status.
For movies and TV shows, Apple’s ecosystem now leans toward the Apple TV app. Chromebooks do not have the same full Apple TV desktop app that Windows users can install, but you may be able to watch Apple TV content through supported web access. For photos, files, mail, notes, and basic iCloud data, iCloud.com works in modern browsers such as Chrome.
How to Manage an iPhone from a Chromebook
This is where things get tricky. Classic iTunes was not just a music player. It also backed up, restored, updated, and synced iPhones and iPads. On modern Windows, Apple now offers the Apple Devices app for managing iPhone and iPad backups, updates, restores, and syncing. That app is built for Windows, not ChromeOS.
A Chromebook can handle some iPhone-related tasks through the cloud. You can access iCloud Photos, iCloud Drive, Mail, Contacts, Calendar, Notes, and other web-based tools through iCloud.com. You can also upload and download files through the browser. But a Chromebook is not a full replacement for iTunes or Apple Devices when it comes to local wired iPhone backups and restores.
Best Alternatives for iPhone Management
- Use iCloud Backup: Back up your iPhone directly from the phone over Wi-Fi.
- Use iCloud.com: Access photos, files, notes, and contacts from Chrome.
- Use a Windows PC: Install Apple Devices or iTunes for full local management.
- Use a Mac: Use Finder and Apple’s built-in device tools.
- Use Remote Desktop: Connect from your Chromebook to a Windows PC that already has iTunes or Apple Devices installed.
If you own a Windows desktop at home, remote access can be surprisingly practical. You run iTunes or Apple Devices on the Windows computer and control that computer from the Chromebook. The Chromebook becomes the steering wheel, while the Windows PC does the heavy lifting.
Which Method Should You Choose?
The best method depends on your goal. Do not install extra tools just because a tutorial says it is possible. A toaster can technically be used to warm socks, but that does not make it a lifestyle recommendation.
If You Want to Listen to Music
Use Apple Music from the Google Play Store or the Apple Music web player. This is the easiest, safest, and most reliable Chromebook solution.
If You Want to Access iCloud Files
Use iCloud.com in Chrome. It works well for photos, documents, notes, mail, and basic account access.
If You Want to Sync or Restore an iPhone
Use a Windows PC with Apple Devices or iTunes, or use a Mac. A Chromebook is not the ideal tool for wired iPhone restore jobs.
If You Want to Experiment
Try Linux and Wine, but understand the limitations. Do not rely on this setup for important backups, purchases, or device recovery.
Common Problems and Fixes
Problem: Google Play Store Is Missing
Your Chromebook may not support Android apps, or the feature may be disabled by a school or workplace administrator. Use the Apple Music web player instead.
Problem: Apple Music App Will Not Install
Update ChromeOS, restart the Chromebook, check available storage, and confirm that Google Play is enabled. If it still fails, use the browser version.
Problem: iTunes Installer Fails in Wine
This is common. Try an older 32-bit iTunes installer from an official Apple source, install required Wine packages, or abandon the mission gracefully and use Apple Music. There is no shame in choosing peace.
Problem: iPhone Is Not Detected
This is one of the biggest limitations of the Wine method. ChromeOS Linux may not pass the required USB device services to iTunes properly. Use iCloud Backup, a Windows PC, or a Mac for serious iPhone management.
Problem: Purchased Songs Do Not Appear
Make sure you are signed in with the same Apple Account used for the original purchases. Check your Apple Music library settings and purchase history on an Apple device or Windows PC if necessary.
Safety Tips Before Downloading Anything
Only download Apple software from Apple, Microsoft, Google Play, or official Apple web services. Avoid third-party iTunes installers, cracked versions, “Chromebook iTunes APK” files, or browser extensions promising full iTunes support. Those shortcuts can lead to malware, stolen login credentials, or corrupted files.
Also, do not enter your Apple Account password into unofficial tools. If a website looks suspicious, it probably is. Your music library is not worth handing your account to a digital raccoon wearing a fake Apple logo.
Extra Experience: Real-World Lessons from Using Apple Services on a Chromebook
In real-world use, the biggest mistake people make is assuming “iTunes” means only one thing. For years, iTunes was the suitcase Apple used to pack music, movies, podcasts, backups, iPhone syncing, purchases, playlists, and the kitchen sink. On a Chromebook, it helps to unpack that suitcase first.
For example, a student who only wants study playlists does not need the Windows iTunes app. Installing Apple Music from Google Play is faster, cleaner, and less stressful. The app behaves like a normal Android app, and it fits the Chromebook lifestyle well: open, stream, close, repeat. A small storage Chromebook benefits from this because the music stays mostly in the cloud.
A casual listener may prefer the web player. I have seen this work especially well for people using borrowed or shared Chromebooks. They do not need administrator permission, they do not need Linux, and they do not need to worry about local app updates. They just sign in, play music, and sign out when finished. This is the closest thing to a “no drama” solution.
The more complicated case is the person trying to rescue an old iPod, sync local MP3 files, or back up an iPhone before replacing it. This is where the Chromebook begins to show its limits. ChromeOS is excellent for cloud-first computing, but iTunes device management was built around desktop operating systems. If the job involves firmware restores, encrypted local backups, or USB syncing, a Windows PC or Mac is still the better tool.
The Linux and Wine route is interesting, but it is not something I would recommend to a beginner. It can feel exciting when the installer opens, like you have hacked the matrix with a budget laptop and a cup of coffee. Then a driver fails, the login screen freezes, or the iPhone refuses to appear. That is not because you did something wrong. It is because iTunes was never designed for that environment.
The practical lesson is simple: match the method to the mission. For streaming, use Apple Music. For files and photos, use iCloud.com. For iPhone backups, use iCloud Backup or a Windows/Mac computer. For experiments, use Linux and Wine only when you have time to troubleshoot. The “easy install guide” is not about forcing one old app onto every device. It is about getting the Apple content you want with the fewest headaches.
Another useful habit is keeping your Apple Account organized. Use the same Apple Account across Apple Music, iCloud, and your purchases. Turn on two-factor authentication. Check your storage. Keep your Chromebook updated. Small steps like these prevent many of the problems people blame on iTunes, ChromeOS, or mysterious technology gremlins.
Finally, remember that Chromebooks are best when you let them be Chromebooks. They shine with web apps, Android apps, cloud storage, and simple workflows. Trying to turn one into a full Windows media-management machine can work in special cases, but it is rarely the smoothest path. Choose the simple solution first. Your playlist will sound exactly the same, and your evening will be much calmer.
Conclusion
So, how do you download iTunes on a Chromebook? The truthful answer is that you do not install full desktop iTunes natively on ChromeOS. Instead, you use the right Apple-friendly alternative. For music, install Apple Music from Google Play or use the Apple Music web player. For iCloud files, photos, notes, and mail, use iCloud.com in Chrome. For iPhone backups, restores, and wired syncing, use a Windows PC with Apple Devices or iTunes, or use a Mac.
If you are comfortable with Linux, you can experiment with Wine and a Windows iTunes installer, but treat that as a hobby project, not a dependable solution. The best Chromebook experience is usually the simplest one: stream your music, access your cloud content, and save the heavy Apple device management for a computer that officially supports it.