Interlocking crochet looks like yarn decided to become a puzzle, a blanket, and a magic trick all at once. At first glance, it can seem intimidating: two colors, two mesh layers, stitches passing in front and behind, and charts that look as if they were designed by a very artistic traffic engineer. But once you understand the rhythm, interlocking crochet becomes surprisingly logical, wonderfully satisfying, and dangerously addictive.
This guide explains how to do interlocking crochet in 13 clear steps, using standard American crochet terms. You will learn how the technique works, what materials to use, how to set up the foundation meshes, how to read front and back stitch placement, and how to fix the most common mistakes before they turn your project into a yarn lasagna.
The main keyword here is how to do interlocking crochet, but we will also naturally cover related terms such as interlocking crochet tutorial, double filet crochet, intermeshing crochet, filet crochet mesh, two color crochet, and reversible crochet patterns.
What Is Interlocking Crochet?
Interlocking crochet is a colorwork crochet technique that uses two separate mesh layers worked together. Most beginner versions use two contrasting yarn colors. One mesh sits in front, the other sits behind, and the design appears when double crochet stitches are worked either in front of or behind the opposite color.
It is also called double filet crochet, intermeshing crochet, or locked filet mesh. The names vary, but the idea is similar: you are creating two filet-style grids that weave through each other without being sewn together afterward.
The finished fabric is often reversible, thick, flexible, and excellent for geometric designs. It works beautifully for blankets, scarves, pillow covers, bags, placemats, and wall hangings. If regular crochet is a melody, interlocking crochet is harmony: two separate lines working together to make something richer.
Before You Begin: Tools, Yarn, and Skills
You do not need an advanced crochet degree from the University of Yarn Drama, but you should feel comfortable with a few basic skills before starting.
You Should Know These Stitches
- ch: chain
- dc: double crochet
- sl st: slip stitch
- ch-sp: chain space
- turning chain: chains made at the beginning of a row to reach stitch height
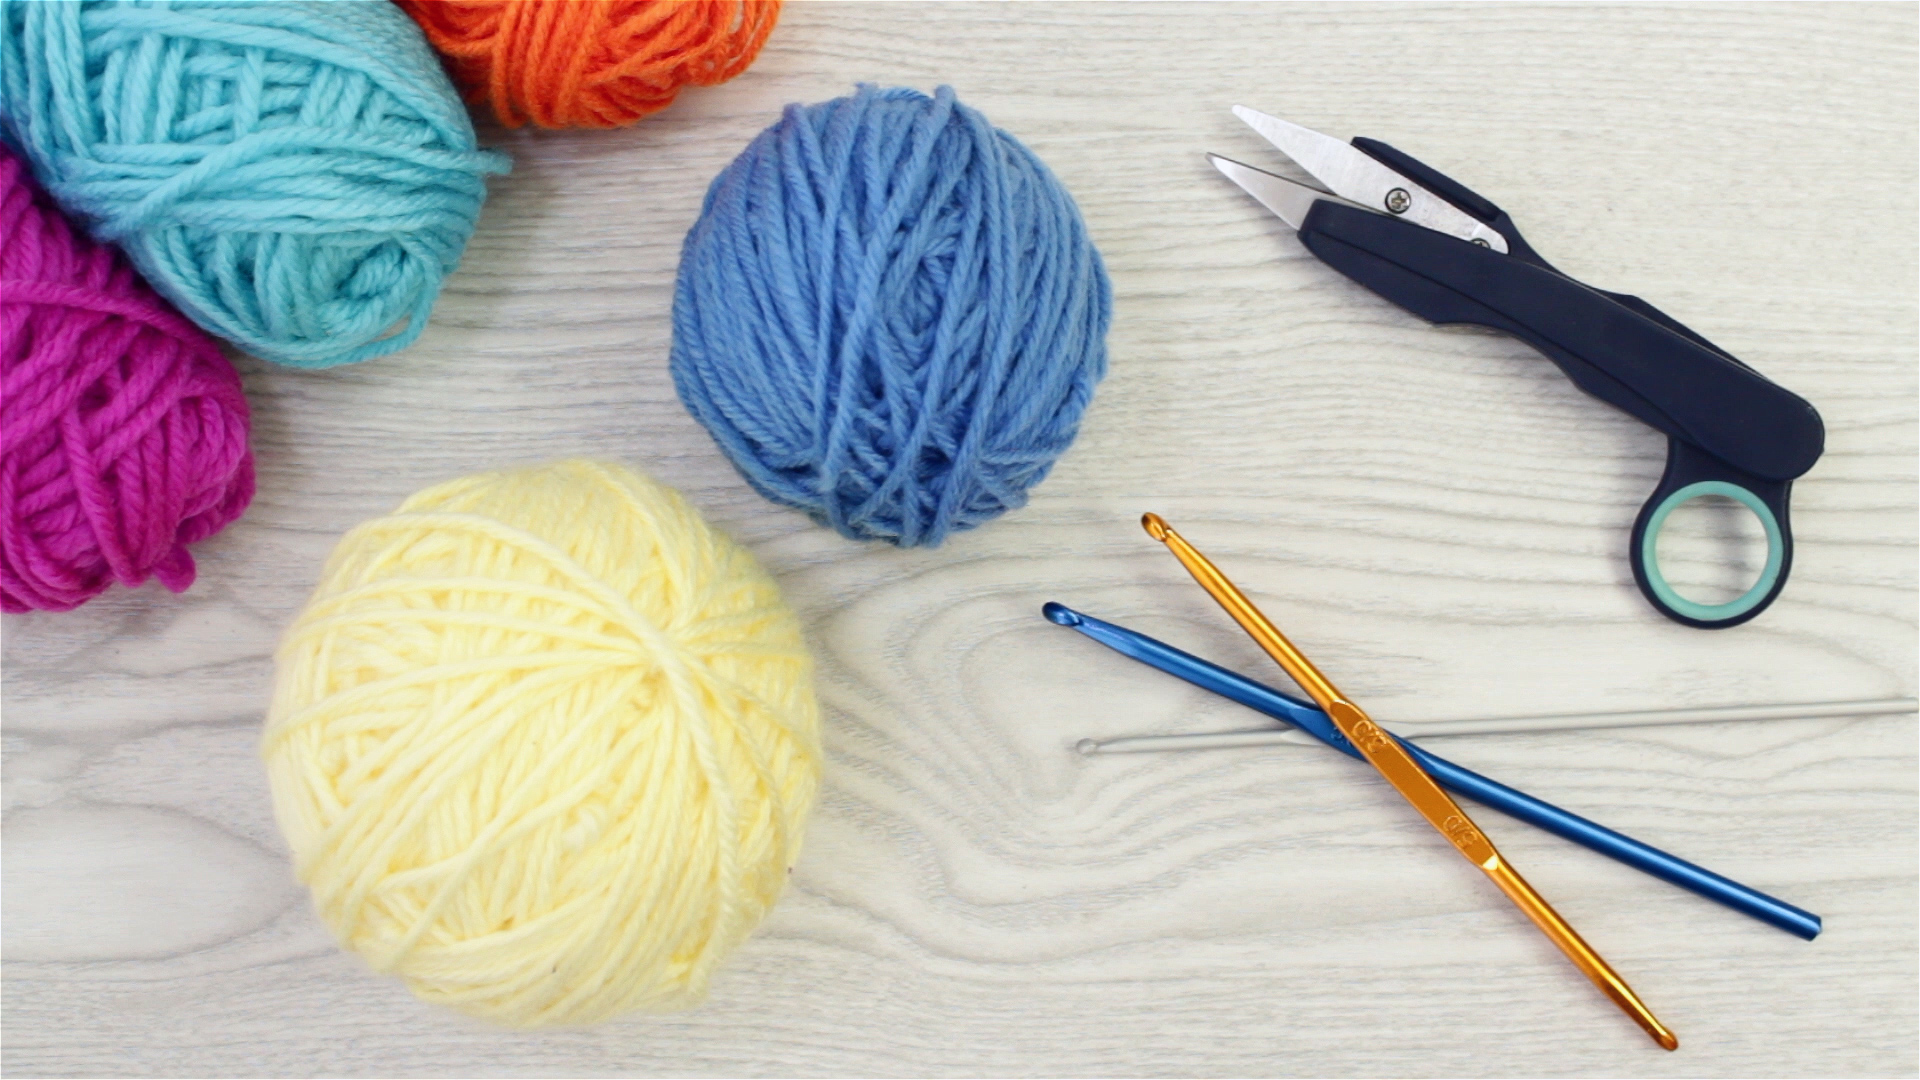
Recommended Materials
- Two colors of smooth, medium-weight yarn
- A crochet hook that matches your yarn label, usually around 5 mm to 5.5 mm for worsted weight yarn
- Scissors
- Yarn needle for weaving ends
- Stitch markers
- A printed chart or graph paper for practice
For your first project, choose yarns with strong contrast, such as navy and cream, black and gold, or teal and white. Avoid fuzzy yarn at the beginning. Fluffy yarn hides stitches, and interlocking crochet already has enough mystery without adding a furry disguise.
How to Do Interlocking Crochet: 13 Steps
Step 1: Choose Two High-Contrast Colors
Interlocking crochet depends on clear visual contrast. Pick one light color and one dark color so the design stands out. Similar shades, like sky blue and slightly moodier sky blue, may look pretty in the skein but can disappear in the finished fabric.
Call your colors Color A and Color B. Color A usually forms the first mesh, while Color B forms the second mesh. Keeping names simple helps when following charts or written instructions.
Step 2: Understand the Mesh Structure
The foundation of interlocking crochet is a filet mesh. A basic filet mesh is made from double crochet stitches and chain spaces. The typical repeat is one double crochet, one chain, skip one space or stitch, then another double crochet.
In interlocking crochet, you make two meshes. These meshes are offset so the stitches of one color line up with the spaces of the other color. That offset is what allows the colors to weave through each other.
Step 3: Make a Small Practice Swatch
Start small. A swatch with 8 to 12 mesh squares across is enough for learning. Do not begin with a king-size blanket unless you enjoy turning hobbies into emotional endurance sports.
Try chaining a foundation that gives you a short row of evenly spaced mesh boxes. The exact chain count depends on your chosen pattern, but beginner practice swatches often use a repeat based on double crochet and chain spaces.
Step 4: Crochet the First Mesh Row with Color A
Using Color A, create your first filet mesh row. Work double crochet stitches separated by chain spaces. Keep your tension relaxed and even. If the row curls dramatically, your foundation chain may be too tight.
A helpful beginner habit is to count your mesh openings instead of only counting stitches. Interlocking crochet is grid-based, so those little windows matter.
Step 5: Add Color B as the Second Mesh
Now introduce Color B. This second mesh should be offset from Color A so its double crochets sit in the spaces of the first mesh. This is where the fabric begins to look less like ordinary crochet and more like a clever woven structure.
Do not cut Color A unless the pattern tells you to. In many interlocking crochet patterns, both colors remain attached and are worked in alternating rows.
Step 6: Learn the Front and Back Rule
The key to interlocking crochet is deciding whether a stitch goes in front of or behind the opposite color. Many patterns use abbreviations such as F for front and B for back.
If the instruction says to work in front, bring your working stitch in front of the opposite mesh before completing the double crochet. If it says to work behind, insert your hook so the stitch forms behind the opposite mesh. This front-and-back movement creates the visible pattern.
Step 7: Keep the Two Meshes Separate but Interwoven
This part sounds contradictory, but it is the heart of the technique. The two colors should not be crocheted into one thick lump. They should remain as separate mesh layers that pass through each other.
Think of the colors as dance partners. They move around each other, but they do not become one giant yarn blob. If your hook accidentally catches both colors too often, pause and separate the layers with your fingers.
Step 8: Follow a Simple Chart
Interlocking crochet charts are usually grid-based. Each square tells you whether the next double crochet should go in front of or behind the opposite mesh. Some charts use symbols, while others use letters or colors.
Read the chart carefully before starting. Many crochet charts are read from bottom to top, and the direction may change depending on whether you are working a right-side or wrong-side row. Mark the row you are on with a sticky note or highlighter. Your future self will thank you with snacks.
Step 9: Work Slowly Through the First Pattern Row
For the first real design row, move slowly. Say the instructions out loud if needed: “front, front, back, front, back.” It may feel silly, but it works. Crochet is already one long conversation with yarn, so you might as well make it official.
Check after every few stitches to make sure the pattern is appearing correctly. If a stitch is on the wrong side, it is easier to fix immediately than ten rows later.
Step 10: Control Your Tension
Interlocking crochet creates a thicker fabric than a single crochet mesh. Because of that, tight tension can make the piece stiff or wavy. Aim for smooth, relaxed stitches.
If your fabric pulls inward, go up a hook size. If the mesh looks floppy and loose, go down a hook size. Gauge matters most when making fitted items, but even for blankets or scarves, consistent tension makes the final project look cleaner.
Step 11: Check Both Sides Frequently
One of the joys of interlocking crochet is that the back can look as interesting as the front. However, the back can also reveal mistakes you might not notice right away.
Every row or two, flip the work over and inspect both sides. Look for crossed stitches, missed spaces, accidental joins, or places where one color should have passed behind but took a surprise vacation to the front.
Step 12: Finish the Edges Neatly
Edges can make or break an interlocking crochet project. Because there are two layers, the edges may feel a little loose if they are not secured properly.
Many patterns include an edging round that joins the layers around the border. A simple single crochet border can stabilize the fabric. For blankets, you can add a decorative border such as crab stitch, shell edging, or a clean half double crochet round.
Step 13: Block and Weave in Ends
Blocking helps even out the mesh and improve the drape. The best blocking method depends on your fiber. Acrylic yarn often responds well to gentle steam blocking, while wool can usually be wet blocked. Always test a small area first.
Finally, weave in ends securely with a yarn needle. Because interlocking crochet is reversible, hide tails carefully between layers or along matching-color stitches. Nobody wants a beautiful reversible scarf with yarn tails waving hello from the wrong side.
Common Interlocking Crochet Mistakes and How to Fix Them
Mistake 1: Using Colors That Are Too Similar
If your design looks muddy, your colors may not contrast enough. Choose one light and one dark shade for the next project.
Mistake 2: Accidentally Joining the Two Meshes
If both layers become fused in the wrong place, gently pull back to the mistake and separate the meshes. Interlocking crochet should be connected by placement, not by accidental stitch capture.
Mistake 3: Losing Track of Front and Back Stitches
Use a row tracker, sticky note, or stitch marker. For beginners, written notes beside the chart can prevent confusion.
Mistake 4: Crocheting Too Tightly
Try a larger hook or relax your grip. The fabric needs enough space for the two mesh layers to move through each other.
Best Beginner Projects for Interlocking Crochet
Once you understand the 13 steps, choose a beginner-friendly project. The best first projects are flat rectangles because they let you practice the technique without shaping.
- Dishcloth: Small, practical, and low-pressure.
- Scarf: Great for practicing repeated geometric patterns.
- Baby blanket: A larger project with a simple repeated motif.
- Pillow cover: Perfect for bold two-color designs.
- Wall hanging: Ideal if you want the pattern to be decorative rather than wearable.
For your first pattern, choose simple stripes, diamonds, zigzags, or checkerboards. Save detailed portraits, lettering, and complex curves for later. Yarn is patient, but your sanity has limits.
Why Interlocking Crochet Is Worth Learning
Interlocking crochet rewards patience. It teaches you to read structure, not just stitches. You begin to see fabric as layers, movement, and negative space. That skill can improve your overall crochet confidence, especially if you enjoy charts, colorwork, or textured designs.
The technique is also practical. The finished fabric is usually thicker than standard filet crochet, making it useful for cozy home decor. It can be reversible, which is wonderful for scarves, throws, and blankets that will be seen from both sides.
Most importantly, it looks impressive. Even a simple interlocking crochet pattern can make people say, “Wait, you made that?” This is your cue to smile modestly while secretly feeling like a yarn wizard.
Helpful Tips for Better Results
Use Smooth Yarn
Cotton, acrylic, or wool blends with clear stitch definition are good choices. Avoid eyelash, boucle, or fuzzy yarn until you are comfortable with the technique.
Practice with a Light-Colored Hook Area
Good lighting matters. Interlocking crochet requires seeing whether your hook is in front of or behind the other mesh.
Count Mesh Squares Often
Counting prevents pattern drift. If your mesh count changes unexpectedly, fix it early.
Use Stitch Markers at the Edges
Markers help identify the first and last stitches of each row. This keeps edges straight and reduces accidental increases or decreases.
Experience Section: What Learning Interlocking Crochet Really Feels Like
Learning how to do interlocking crochet is a little like learning to drive in a busy parking lot. You know the basic controls, but suddenly there are layers, directions, and a strong desire not to crash into anything. The good news is that after a few rows, your hands begin to understand what your brain was arguing about.
The first experience most beginners have is confusion over the two meshes. At first, it may feel unnatural to keep two layers separate while also weaving them together. You may ask, “Should this stitch go through that space? Around that post? Behind this color? Why is my yarn looking at me like that?” This is normal. The breakthrough comes when you stop thinking of the project as one flat piece and start seeing it as two grids working together.
Another common experience is realizing how important contrast is. Many crocheters choose two beautiful colors from their stash, only to discover that beautiful together does not always mean readable together. A soft lavender and pale gray combination may look elegant in a basket, but in interlocking crochet, the pattern can vanish faster than scissors in a craft room. High contrast makes the technique easier to learn and makes the final design more dramatic.
Tension is another teacher. Beginners often crochet tightly because they are concentrating. Tight stitches make the hook harder to insert and can cause the fabric to curl. After a few practice rows, you learn to loosen your grip. The fabric starts to breathe, the stitches settle, and the whole process becomes more enjoyable. A slightly larger hook can help, especially when using worsted weight yarn.
Following a chart may also feel slow at first. That is not a failure; it is part of the craft. Interlocking crochet is not the technique you use when watching a mystery movie with subtitles and eating popcorn. It asks for attention. However, once the pattern repeat becomes familiar, the rhythm becomes relaxing. Front, back, front, front, back begins to feel almost musical.
One of the best experiences is flipping the work over and seeing that the reverse side looks good too. That moment is deeply satisfying. It feels as if you have discovered a secret room inside crochet. Many techniques produce a clear right side and wrong side, but interlocking crochet often gives both sides personality. This makes it especially rewarding for blankets and scarves.
Mistakes will happen. You may place a stitch in front when it should go behind, skip a chain space, or accidentally trap the opposite mesh. The important thing is not to panic. Interlocking crochet is easier to correct when checked frequently. Pulling back a few stitches is better than pretending the mistake is “a design feature” until it becomes the centerpiece of row twelve.
With practice, the technique becomes less intimidating and more creative. You start imagining geometric borders, reversible bags, bold wall art, and personalized blankets. Interlocking crochet opens a door to patterns that look complex but are built from humble double crochets and chains. That is the charm of it: simple stitches, clever placement, stunning results.
The best advice from experience is to start small, use strong contrast, keep your chart visible, and celebrate progress row by row. Your first swatch does not need to be perfect. It only needs to teach you how the layers behave. Once that clicks, interlocking crochet becomes one of those techniques you will want to show everyone, including people who only asked, “How was your weekend?”
Conclusion
Interlocking crochet may look advanced, but it is built from familiar basics: chains, double crochets, mesh spaces, and careful stitch placement. By working two filet crochet layers together and moving stitches in front of or behind the opposite color, you can create reversible, graphic, eye-catching fabric.
Start with a small swatch, use two contrasting colors, follow the 13 steps, and check both sides often. Once you understand the rhythm, interlocking crochet becomes less of a mystery and more of a creative playground. And yes, you are absolutely allowed to feel proud when your yarn starts looking like woven magic.