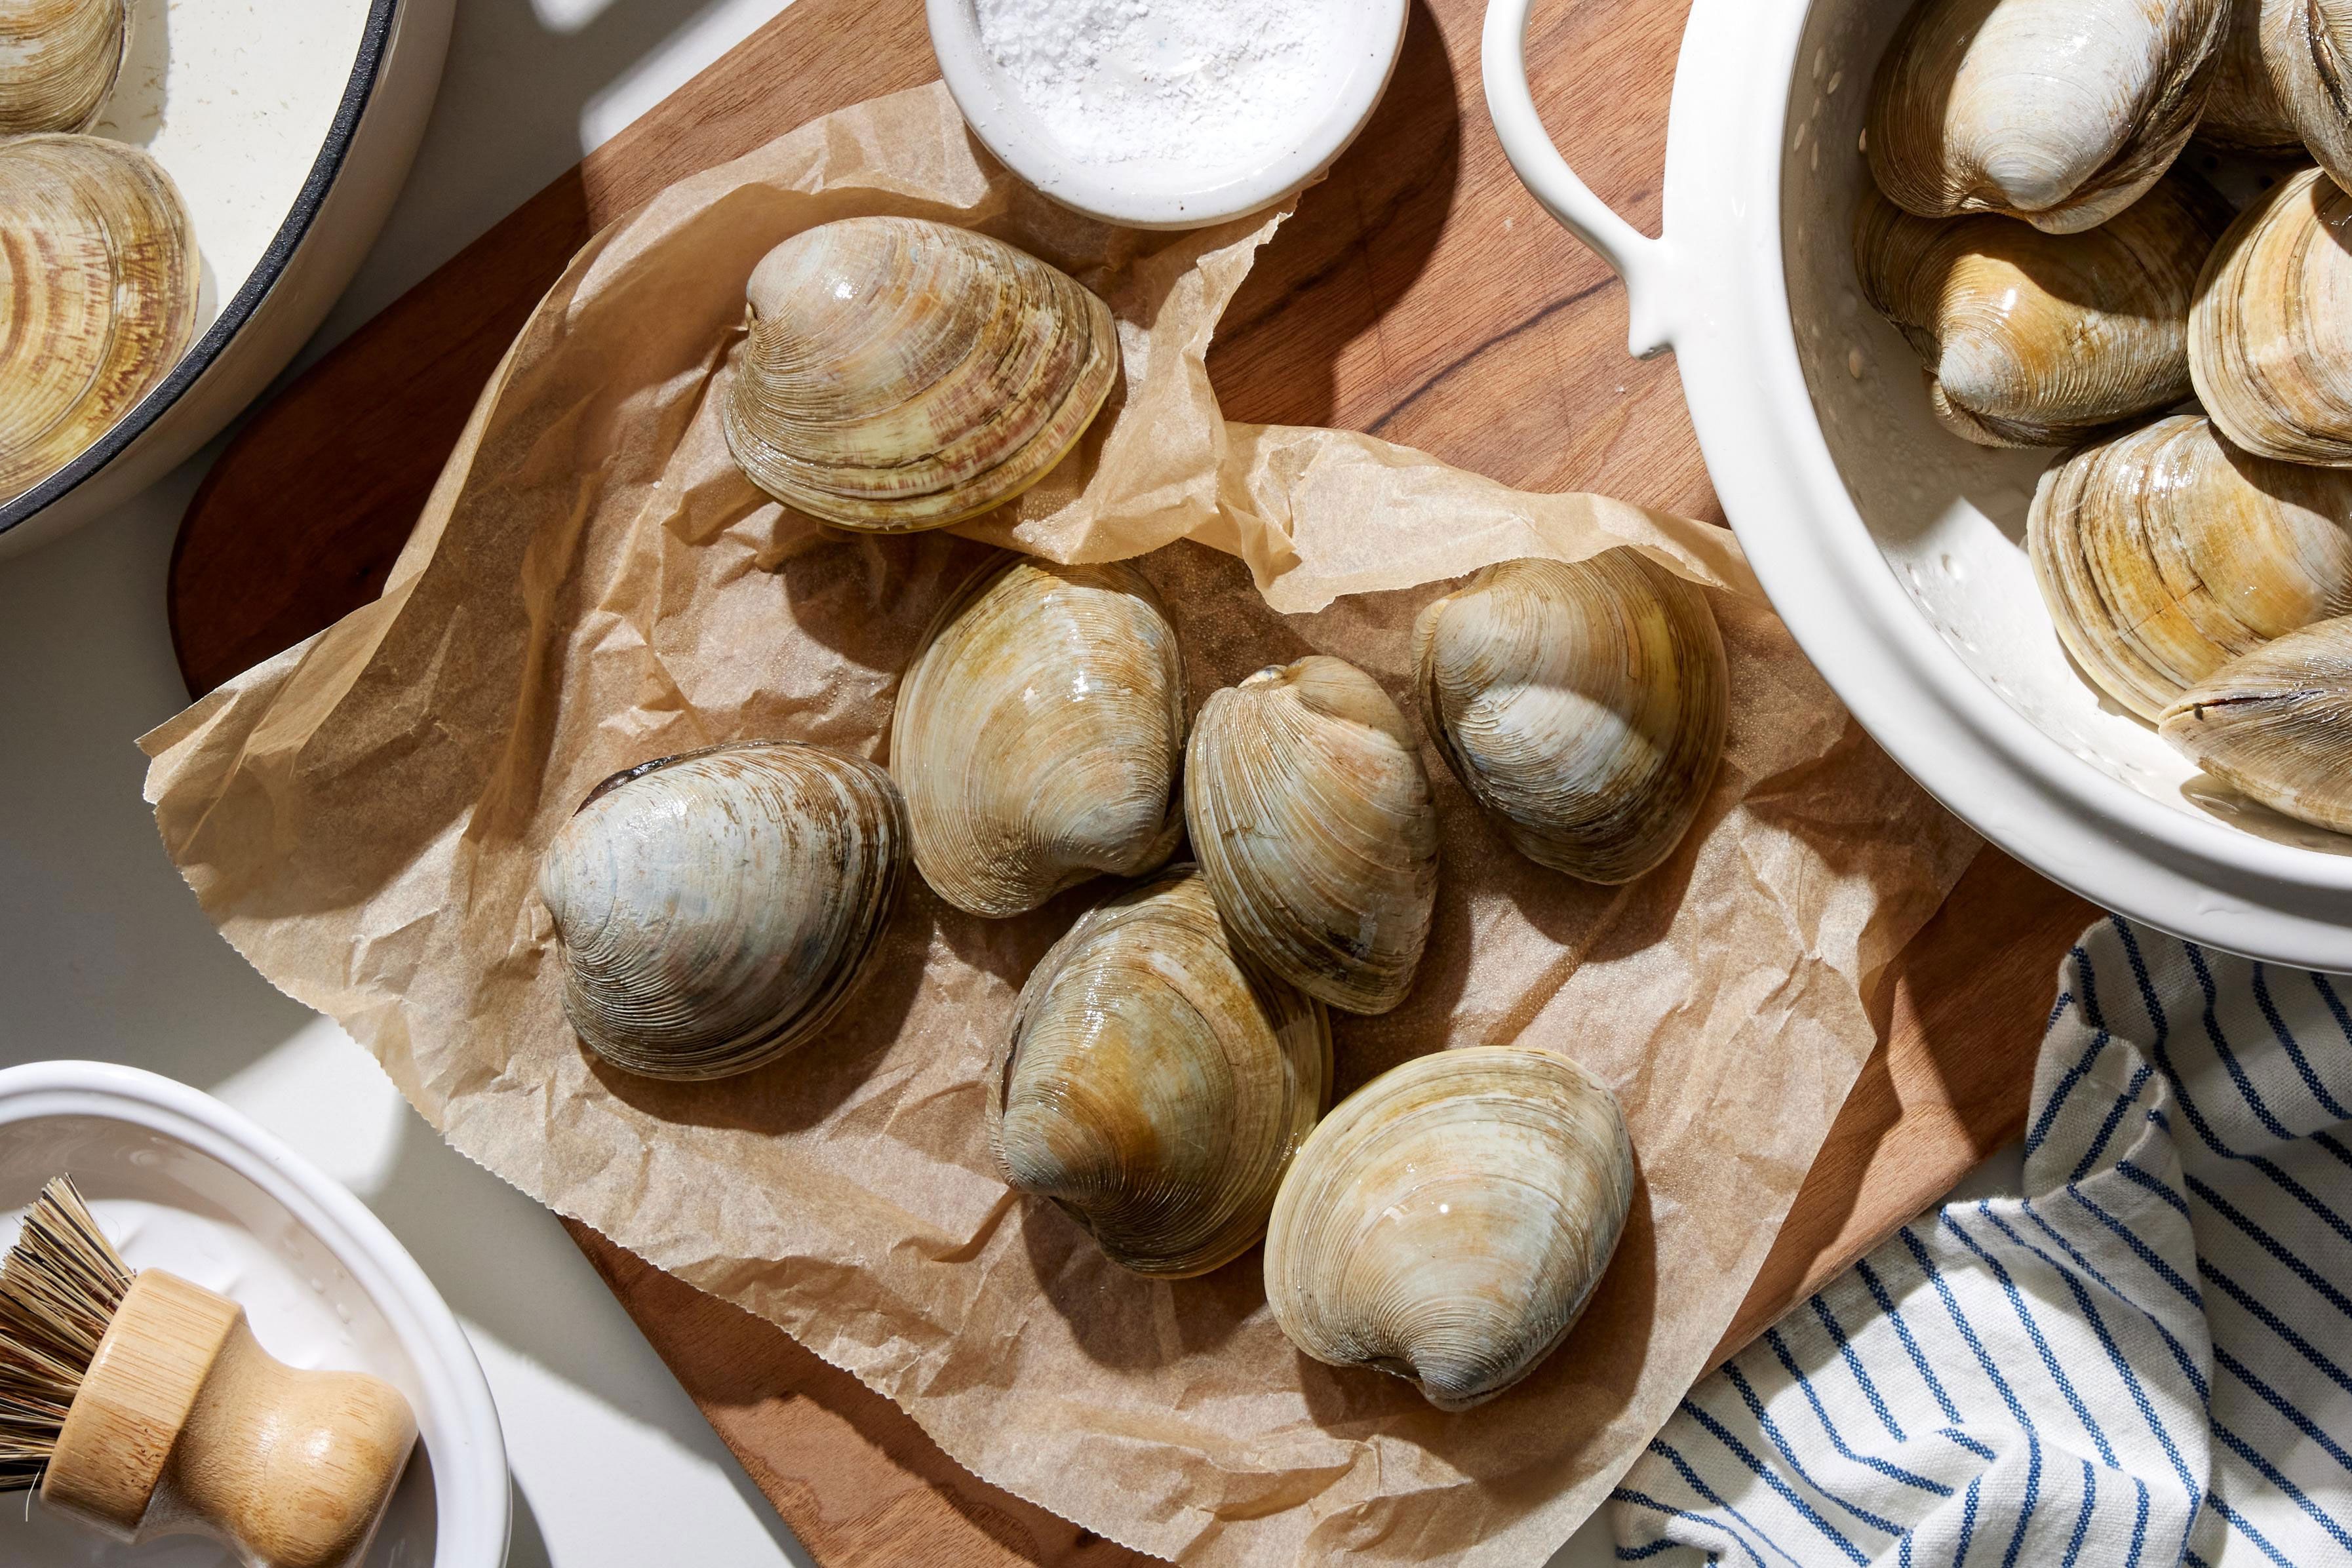
Fresh clams are tiny ocean treasures: sweet, briny, tender, and capable of turning a simple dinner into something that feels suspiciously close to a seaside vacation. But there is one thing nobody invited to the party: sand. A single gritty bite can turn linguine with clams from “restaurant-worthy” to “did I just chew a beach?” in two seconds flat.
The good news is that learning how to clean clams is not complicated. You do not need fancy tools, seafood-school credentials, or a dramatic chef apron that says “Captain of the Kitchen.” You only need cold water, salt, a bowl, a brush, and a little patience. In this guide, you will learn how to clean clams in just 4 easy steps, how to tell whether clams are fresh, how long to soak clams to remove sand, and what mistakes to avoid before cooking them.
This method is designed mainly for hard-shell clams such as littlenecks, cherrystones, topnecks, Manila clams, and similar varieties commonly used for steaming, chowder, pasta, and broth-based dishes. Razor clams and some soft-shell clams require slightly different cleaning, so consider this your go-to guide for everyday fresh clams in the shell.
Why Cleaning Clams Matters
Clams are filter feeders, which means they draw in water, filter out nutrients, and sometimes trap sand or grit inside their shells. That is completely natural. Unfortunately, your dinner guests probably did not request “coastal sediment” as a seasoning. Cleaning clams removes two kinds of unwanted grit: debris stuck to the outside of the shell and sand hidden inside the clam itself.
Proper clam cleaning also helps you spot clams that should not be cooked. Fresh clams are alive when purchased, and live clams should be handled carefully. A clam with a cracked shell, a sour smell, or a shell that stays open after tapping is usually a sign to toss it. When seafood is involved, being picky is not rude. It is dinner insurance.
What You Need to Clean Clams
Before you begin, gather everything so the process feels smooth instead of like a kitchen scavenger hunt. You will need:
- Fresh live clams
- A large bowl or deep container
- Cold water
- Kosher salt or sea salt
- A firm vegetable brush or clean scrub brush
- A slotted spoon or spider strainer
- A colander
- A clean damp towel or paper towel if storing briefly
For the saltwater soak, aim for water that tastes roughly like the sea. A practical home-kitchen ratio is about 1/3 cup kosher salt for 1 gallon, or 16 cups, of cold water. Stir until the salt dissolves before adding the clams. Do not use hot water, because heat can stress or kill the clams before they have a chance to purge sand.
How to Clean Clams in Just 4 Easy Steps
Step 1: Inspect the Clams and Discard the Bad Ones
Start by looking closely at each clam. The shells should be closed or close when gently tapped. If a clam is slightly open, tap it on the counter and give it a moment. A living clam will usually react by closing its shell. If it stays open, smells unpleasant, or has a broken shell, discard it.
This step may feel ruthless, but it is important. Clams spoil quickly after they die, and one questionable clam can ruin both the flavor and safety of your meal. Also remove any clams that feel unusually heavy and sound like they are packed with mud when handled. Those little troublemakers can release a shocking amount of sand into your bowl or pot.
Fresh clams should smell clean, briny, and ocean-like. They should not smell sour, rotten, or aggressively “fishy.” A good clam smells like the sea breeze. A bad clam smells like a warning label.
Step 2: Scrub the Shells Under Cold Running Water
Next, rinse the clams under cold running water. Use a firm brush to scrub the shells and remove mud, sand, seaweed bits, barnacles, and any other clingy ocean souvenirs. Pay attention to ridges and hinges, where grit likes to hide like it is avoiding rent.
Scrubbing is important because the shells often go directly into the cooking pot. Whether you are steaming clams with garlic and white wine, making clam chowder, or preparing spaghetti with clams, the cooking liquid will touch the outside of the shells. If the shells are dirty, that grit can end up in your broth or sauce.
Do not use soap, detergent, or bleach on clams. Clams are food, not bathroom tile. Cold water and physical scrubbing are enough for the exterior cleaning stage.
Step 3: Soak the Clams in Salt Water to Purge Sand
Place the scrubbed clams in a large bowl of cold salt water. Make sure they have enough room and are not stacked in a deep, crowded pile. The goal is to encourage the clams to filter the salt water and release sand. If they are packed too tightly, they cannot do their tiny clam job properly.
Let the clams soak for 20 minutes to 1 hour. For very sandy clams, especially if they came directly from a local harvest or fish market, you can repeat the soak with fresh salt water. Some cooks soak clams longer, but for most store-bought hard-shell clams, one good soak or two short soaks will usually do the trick.
During soaking, you may see sand collect at the bottom of the bowl. That is excellent news. It means the sand is in the bowl instead of waiting to ambush your pasta. Keep the bowl in a cool place while the clams soak. If your kitchen is warm, place the bowl in the refrigerator so the clams stay cold.
Avoid soaking clams in plain fresh water for a long time. Fresh water can kill live clams. Also skip the old-school cornmeal trick. Some cooks swear by it, but salt water alone is usually cleaner, simpler, and less likely to leave extra particles inside the shells.
Step 4: Lift, Rinse, and Cook Soon
When the clams are done soaking, do not pour the entire bowl into a colander. That would dump the released sand right back over the clams, which is basically undoing your work with impressive efficiency. Instead, use a slotted spoon or your hands to lift the clams out of the water, leaving the grit behind at the bottom of the bowl.
Transfer the clams to a colander and give them one final rinse under cold water. If the soaking water looks very sandy, repeat the saltwater soak with clean salt water for another 15 to 30 minutes. Once the rinse runs clean and the clams look bright and fresh, they are ready to cook.
Cook clams soon after cleaning for the best texture and flavor. When steamed, clams should open as they cook. Discard any clams that remain closed after cooking. Do not try to negotiate with them. A clam that refuses to open has made its final statement.
How Long Should You Soak Clams?
For most fresh clams from a grocery store or seafood counter, 20 to 30 minutes in cold salt water is usually enough. If you see a lot of sand in the bottom of the bowl, change the water and soak them again. For extra-gritty clams, a total purging time of 1 to 2 hours may be useful, as long as the clams are kept cold and the water remains properly salted.
The exact soaking time depends on the clam variety, where the clams came from, and how much purging they already received before sale. Farm-raised clams and supermarket clams are often cleaner than wild-harvested clams, but it is still smart to purge them at least once. Think of it as a quick background check before dinner.
How to Store Fresh Clams Before Cleaning
Fresh clams should be kept cold and breathable. Store them in the refrigerator in an open container covered with a damp towel or damp paper towel. Do not seal live clams in an airtight plastic bag, because they need air. Do not store them submerged in fresh water, which can kill them. If possible, cook them within one to two days of purchase.
Keep clams away from ready-to-eat foods to avoid cross-contamination. Wash your hands, cutting boards, sink area, and utensils after handling raw seafood. This is not the glamorous part of seafood cooking, but it is the part that keeps your delicious dinner from becoming a cautionary tale.
Common Mistakes When Cleaning Clams
Mistake 1: Skipping the Tap Test
Do not assume every clam in the bag is alive and ready to cook. Always check for cracked shells and open shells that do not close when tapped. This simple step can save the entire dish.
Mistake 2: Using Fresh Water for a Long Soak
Clams come from saltwater environments. A long soak in unsalted fresh water can kill them. Use cold salt water for purging, and keep the clams cool.
Mistake 3: Pouring the Soaking Water Over the Clams
Always lift clams out of the bowl instead of dumping everything into a strainer. Sand sinks to the bottom. If you pour, the grit comes along for the ride.
Mistake 4: Cleaning Too Far in Advance
Clams taste best when cleaned and cooked soon afterward. You can store cleaned clams briefly in the refrigerator under a damp towel, but do not turn clam prep into a three-day waiting game.
Best Dishes to Make After Cleaning Clams
Once your clams are clean, the dinner options are wide open. Steam them with garlic, butter, parsley, and a splash of white wine. Toss them with spaghetti, olive oil, chili flakes, and lemon zest. Add them to New England clam chowder, Portuguese-style seafood stew, or a simple tomato broth with crusty bread on the side.
Small clams such as littlenecks and Manila clams are excellent for quick steaming and pasta. Larger cherrystone clams work well grilled, chopped for stuffing, or used in chowder. The key is not to overcook them. Clams become tough when cooked too long, so remove them from heat once they open and look plump.
Kitchen-Tested Experiences: What Cleaning Clams Teaches You
The first time you clean clams, it can feel a little mysterious. You bring home a bag of tightly closed shells, stare at them in the sink, and wonder whether dinner is about to be elegant or mildly chaotic. After a few batches, though, the process becomes almost relaxing. There is a rhythm to it: inspect, scrub, soak, lift, rinse. It is simple, but it rewards attention.
One of the biggest lessons is that clean clams start at the market. If the clams already smell fresh and are stored properly on ice or in a refrigerated case, the cleaning process is easier. When the clams look dry, cracked, or neglected, no amount of scrubbing can turn them into premium seafood. Good cooking often begins before you touch the stove.
Another practical experience: always use a clear or light-colored bowl if you have one. It makes it much easier to see how much sand the clams release. The first time you notice a layer of grit at the bottom, you will understand why purging matters. It is oddly satisfying, like catching the villain before the movie even starts.
Timing matters, too. If you are making pasta with clams, clean the clams before chopping garlic, parsley, tomatoes, or herbs. While the clams soak, you can prepare the rest of the ingredients. By the time your pan is hot, the clams are clean and ready. This turns the waiting time into useful cooking time instead of kitchen limbo.
For family dinners, the biggest win is confidence. Clean clams make better broth. Better broth makes better pasta, chowder, rice, or dipping sauce. When clams are properly purged, the final dish tastes sweet and briny instead of gritty. That means people focus on the flavor, not on quietly wondering whether their molars are under attack.
It also helps to keep your expectations realistic. Some clams release almost no sand, especially farm-raised clams from a good seafood counter. Others release enough grit to make you question their hobbies. Both situations are normal. The goal is not to perform a complicated ritual; it is to give the clams a clean, cold, salty environment where they can purge naturally.
One final experience worth remembering: do not rush the final lift. Move slowly, lift the clams from above, and leave the dirty water behind. This small detail separates a successful cleaning session from a tragic re-sanding. It is the clam equivalent of not stepping in the puddle after you have just polished your shoes.
Conclusion
Cleaning clams is one of those kitchen skills that sounds more intimidating than it really is. Once you know the process, it becomes a quick routine: inspect the clams, scrub the shells, soak them in cold salt water, then lift and rinse before cooking. These four easy steps help remove sand, protect the flavor of your dish, and make your seafood dinner taste clean, fresh, and restaurant-ready.
Whether you are making buttery steamed clams, clam chowder, grilled clams, or a glorious bowl of linguine with clams, proper cleaning is the difference between “wow, this tastes like the ocean” and “why is there a beach in my mouth?” Treat the clams gently, keep them cold, cook them soon, and let their natural briny sweetness do the rest.