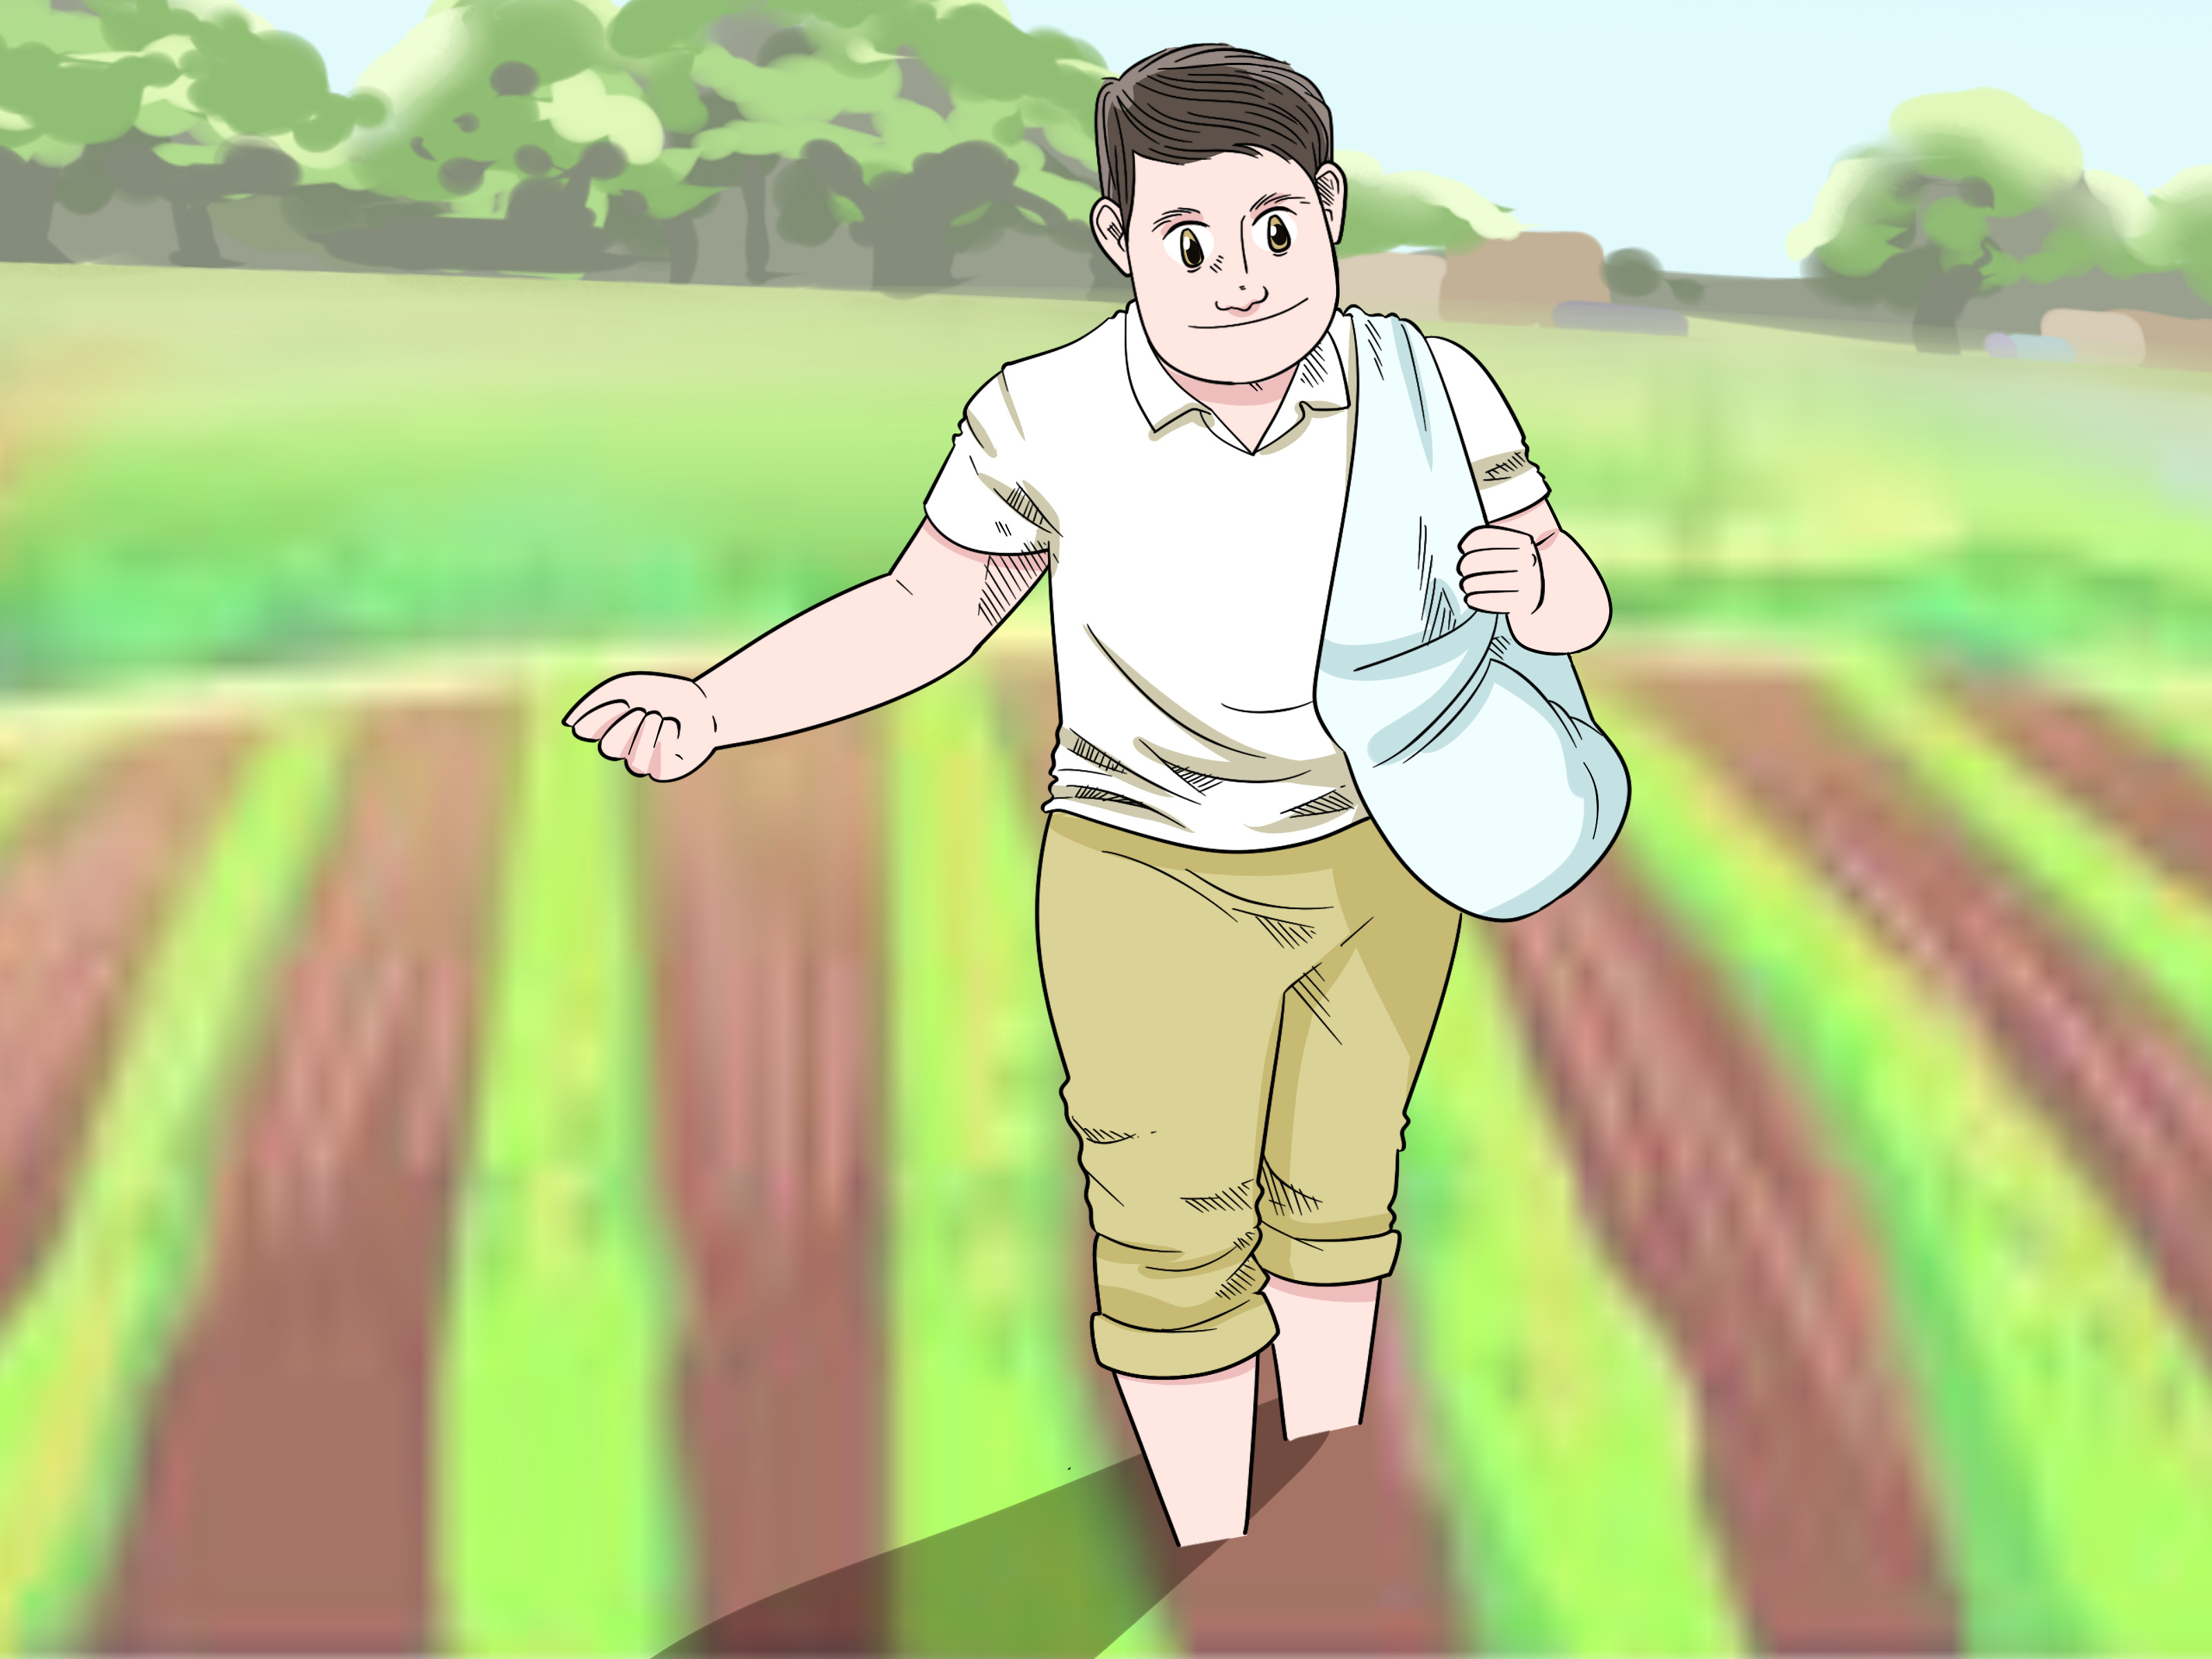
Note: This guide is written for home gardeners, lawn owners, and small-scale growers who want a practical, safe, and efficient way to use urea fertilizer. Always follow your local soil test recommendations and the product label.
Urea fertilizer is the espresso shot of the plant nutrition world: small, powerful, and very easy to overdo if you get too enthusiastic. With an analysis commonly listed as 46-0-0, urea is one of the most concentrated dry nitrogen fertilizers available. That means it can green up lawns, push leafy vegetable growth, and support high-demand crops like corn, cabbage, pasture grasses, and small grains. It also means one careless scoop can turn “healthy growth” into “why does my lawn look like toast?”
Learning how to apply urea fertilizer correctly is mostly about three things: applying the right rate, applying it at the right time, and getting it into the soil before too much nitrogen escapes as ammonia gas. Urea works beautifully when managed well. Left on the surface during hot, windy, damp conditions, however, it can lose nitrogen through volatilization before your plants ever get a taste.
This step-by-step guide explains how to apply urea fertilizer in gardens, lawns, fields, and landscape areas while reducing waste, protecting plants, and keeping your fertilizer budget from floating away into the sky like a very expensive balloon.
What Is Urea Fertilizer?
Urea fertilizer is a synthetic nitrogen fertilizer made from ammonia and carbon dioxide. It is usually sold as white or slightly off-white granules or prills. The numbers on the bag, 46-0-0, mean it contains about 46% nitrogen, 0% phosphate, and 0% potash. In plain English, urea is a nitrogen-only fertilizer.
Nitrogen is essential for chlorophyll production, leafy growth, protein formation, and overall plant vigor. Plants short on nitrogen often look pale green or yellow, grow slowly, and produce weak yields. But nitrogen is also mobile in soil and easy to lose through leaching, runoff, volatilization, or denitrification. That is why urea must be handled with more planning than a slow-release garden blend.
How to Apply Urea Fertilizer: 14 Steps
Step 1: Start With a Soil Test
Before opening the fertilizer bag, test your soil. A soil test tells you whether nitrogen is needed and whether phosphorus, potassium, pH, or organic matter are already in a good range. This matters because urea supplies nitrogen only. If your soil is already rich in nitrogen, adding more can cause lush, weak growth, delayed fruiting, nitrate buildup, or fertilizer burn.
For lawns and gardens, soil testing every few years is a smart habit. For farms and larger growing areas, nutrient plans should be based on crop needs, yield goals, soil type, previous crops, and local extension recommendations.
Step 2: Understand the Fertilizer Rate
Because urea is 46% nitrogen, a little product supplies a lot of nutrient. To calculate how much urea you need, use this formula:
Pounds of urea needed = pounds of actual nitrogen needed ÷ 0.46
For example, if your lawn needs 1 pound of actual nitrogen per 1,000 square feet, you would apply about 2.17 pounds of urea per 1,000 square feet. If a small garden bed needs 0.2 pound of actual nitrogen, divide 0.2 by 0.46. The answer is about 0.43 pound of urea.
This is where measuring matters. Urea is not the fertilizer to toss around with a “good enough” shrug. Your plants will notice. So will the brown spots.
Step 3: Choose the Right Time of Year
Apply urea when plants are actively growing and ready to use nitrogen. For warm-season crops, that usually means shortly before or during periods of rapid vegetative growth. For cool-season lawns, spring and fall are usually better than the hottest part of summer. For vegetables, nitrogen is often applied before planting and again as a sidedress when plants begin strong growth.
Avoid applying urea too early in the season when plants are not using much nitrogen. Nitrogen applied far ahead of crop demand is more likely to be lost. In most cases, timing fertilizer close to plant uptake improves efficiency and reduces environmental loss.
Step 4: Check the Weather Forecast
The weather forecast is not just small talk; it is part of your fertilizer plan. Urea should be watered in or moved into the soil soon after application. A light-to-moderate rain after spreading can help dissolve the granules and move nitrogen into the root zone.
However, do not apply urea right before a heavy storm. Too much rain can wash fertilizer away or move nitrate below the root zone, especially in sandy soils. The sweet spot is a forecast with gentle rain or the ability to irrigate after application.
Step 5: Avoid Hot, Windy, High-Risk Conditions
Surface-applied urea is vulnerable to ammonia volatilization, especially when the soil is warm, moist, high in residue, or alkaline. Wind can increase the problem by carrying ammonia away from the soil surface. High humidity followed by drying conditions can also increase losses.
If the weather is hot, windy, and dry, wait for better conditions or plan to irrigate immediately. Fertilizer should feed plants, not perform a magic trick where nitrogen disappears before lunch.
Step 6: Decide Whether to Broadcast, Band, Sidedress, or Incorporate
Urea can be applied several ways:
- Broadcasting: Spreading evenly over the soil or lawn surface.
- Banding: Placing fertilizer in a narrow band near the crop row.
- Sidedressing: Applying fertilizer beside growing plants during the season.
- Incorporation: Mixing fertilizer into the top few inches of soil.
Broadcasting is convenient for lawns, pastures, and large areas, but it has higher volatilization risk if urea remains on the surface. Incorporation or watering-in reduces that risk. Banding and sidedressing can improve efficiency because fertilizer is placed closer to the root zone.
Step 7: Keep Urea Away From Seeds, Stems, and Leaves
Urea is a soluble salt, and direct contact can injure seeds, roots, stems, and leaves. In gardens, do not pile urea against plant crowns or let granules sit on wet foliage. In row crops, avoid placing urea directly with seed unless a local recommendation specifically allows it at a safe rate and placement.
For vegetable rows, a safe method is to place fertilizer several inches away from the stem or seed row, then lightly mix it into the soil and water it in. Think of urea as strong seasoning: excellent when distributed, unpleasant when dumped in one bite.
Step 8: Calibrate Your Spreader
If you are applying urea to a lawn, pasture, or field, calibrate your spreader before the full application. Uneven spreading can create stripes of dark green growth and pale yellow stress. It can also create burned patches where too much fertilizer lands.
For small lawns, apply half the fertilizer while walking north to south and the other half east to west. This cross-pattern helps improve even coverage. For larger fields, check spreader width, gate settings, granule flow, and overlap. A badly calibrated spreader is basically a crop artist painting with nitrogen, and not always in a flattering style.
Step 9: Apply the Correct Amount Evenly
Measure your growing area, calculate the required urea, and spread it evenly. Never guess by handfuls unless your hand has been professionally calibrated by a soil scientist, which seems unlikely.
For lawns, common nitrogen recommendations often fall around 0.5 to 1 pound of actual nitrogen per 1,000 square feet per application, depending on grass type, season, and local guidance. Since urea is concentrated, this equals roughly 1.1 to 2.2 pounds of urea per 1,000 square feet. For vegetable gardens, follow soil test recommendations and avoid heavy single applications. Split applications are usually safer and more efficient.
Step 10: Incorporate Urea When Possible
In bare soil, lightly incorporate urea into the top inch or few inches of soil after spreading. This reduces nitrogen loss and places fertilizer closer to plant roots. In field situations, incorporation can be done with tillage when appropriate. In gardens, a rake or hand cultivator works well.
Do not aggressively till around established plants, because root damage can do more harm than the fertilizer helps. For established lawns, incorporation is not practical, so watering-in becomes essential.
Step 11: Water It In Promptly
After applying urea, irrigate with enough water to dissolve the granules and move nitrogen into the soil. For lawns and established plantings, watering soon after application is one of the easiest ways to reduce volatilization and prevent leaf burn.
Aim for enough moisture to move fertilizer off the surface without causing runoff. If water starts flowing down the driveway, sidewalk, or field edge, stop. Fertilizer belongs in the root zone, not in the storm drain doing a surprise tour of the neighborhood.
Step 12: Use a Urease Inhibitor When Conditions Are Risky
A urease inhibitor is an additive that slows the conversion of urea into forms that can release ammonia gas. It can be helpful when urea must remain on the soil surface for several days before rain or irrigation. This is especially useful in no-till systems, high-residue fields, pastures, and situations where incorporation is not possible.
Urease inhibitors do not make nitrogen loss impossible. They simply buy time. If no rain or irrigation occurs for too long, protection declines. Use them as a risk-management tool, not as a superhero cape for sloppy timing.
Step 13: Split Applications for Better Efficiency
Instead of applying all nitrogen at once, split the total amount into two or more applications. This is especially useful for vegetables, lawns, sandy soils, high-rainfall areas, and crops with long growing seasons.
For example, a vegetable garden might receive part of its nitrogen before planting and another small application when crops are established. Corn, leafy greens, cabbage-family crops, onions, and squash often respond well to well-timed sidedress nitrogen. Lawns on sandy soil may also perform better with smaller, more frequent applications rather than one heavy feeding.
Step 14: Monitor Plant Response and Adjust
After applying urea, watch your plants over the next one to three weeks. Healthy nitrogen response often appears as deeper green color, stronger leaf growth, and improved vigor. But more is not always better. Too much nitrogen can cause excessive leaves, weak stems, reduced flowering, delayed fruiting, disease problems, or burned turf.
Keep records of the date, rate, weather, crop response, and any problems. Good fertilizer management improves over time. The best growers are not guessing; they are learning from each application.
Practical Examples of Applying Urea Fertilizer
Example 1: Lawn Application
Suppose your cool-season lawn needs 1 pound of nitrogen per 1,000 square feet. Since urea is 46% nitrogen, you need about 2.17 pounds of urea per 1,000 square feet. Mow first if needed, apply the fertilizer evenly with a spreader, then water it in. Avoid applying during drought stress or extreme heat.
Example 2: Vegetable Garden Sidedress
For a vegetable garden, apply urea only according to soil test guidance or crop need. Place it in a shallow band several inches away from plant stems, lightly mix it into the soil, and water immediately. This works well for nitrogen-hungry crops like corn, broccoli, cabbage, kale, and leafy greens.
Example 3: Pasture or Hay Field
For pastures and hay fields, apply urea when grasses are actively growing and rain is expected soon. Avoid spreading on wet foliage, heavy dew, or extremely hot and windy days. If livestock graze the area, prevent fertilizer piles and uneven deposits, because concentrated urea can be hazardous if animals consume it directly.
Common Mistakes to Avoid
Applying Too Much
Overapplication is the fastest way to damage plants and waste money. Because urea is nearly half nitrogen by weight, even a small measuring mistake can create a big nutrient mistake.
Leaving Urea on the Surface Too Long
Surface-applied urea should be watered in, incorporated, or protected with a urease inhibitor when rain is uncertain. Leaving it exposed increases ammonia volatilization risk.
Applying Before Heavy Rain
Gentle rain is helpful. Heavy rain can move nitrogen away from the root zone or into waterways. Watch the forecast carefully.
Using Urea as a Complete Fertilizer
Urea supplies nitrogen, not phosphorus or potassium. If your soil needs other nutrients, use a complete fertilizer plan based on a soil test.
Letting Granules Sit on Wet Leaves
Urea granules on wet leaves can cause spotting or burn. Brush or rinse fertilizer off foliage and irrigate after application.
Safety and Storage Tips
Store urea in a dry, sealed container or bag. It absorbs moisture easily, which can cause clumping. Keep it away from children, pets, livestock, seed, pesticides, and direct water exposure. Wear gloves when handling fertilizer and wash your hands afterward.
Do not store urea where spills can wash into drains, wells, ponds, or streams. Sweep up spills promptly and apply the recovered fertilizer at the correct rate if it is clean and usable.
Experience-Based Tips for Applying Urea Fertilizer
After working with urea in lawns, gardens, and small growing plots, the biggest lesson is this: the fertilizer itself is simple, but the timing is everything. Urea can make plants look like they drank a green smoothie made by a professional athlete, but only when the nitrogen reaches the root zone. If it sits on the surface too long, especially during warm weather, part of that nitrogen can vanish into the air. That is why experienced growers often plan urea applications around irrigation or a reliable rain event.
One practical habit is to measure the area before measuring the fertilizer. Many people start with the bag, but the smarter move is starting with square footage. A 100-square-foot garden bed, a 1,000-square-foot lawn section, and a two-acre pasture all need different calculations. Once the area is clear, the math becomes less mysterious. If the recommendation calls for 1 pound of actual nitrogen, divide by 0.46 and apply about 2.17 pounds of urea. That tiny equation prevents a surprising number of crispy plant disasters.
Another useful experience is to avoid fertilizing emotionally. Gardeners sometimes see yellow leaves and immediately reach for nitrogen. Sometimes that works. Other times, yellowing comes from overwatering, compacted soil, cold weather, root disease, iron deficiency, or poor drainage. Urea cannot fix every plant problem. It is a fertilizer, not a plant therapist. When in doubt, check soil moisture, inspect roots, review recent weather, and consider a soil test before applying more nitrogen.
For lawns, evenness matters almost as much as rate. A broadcast spreader can do a good job, but only if the operator walks steadily and overlaps passes correctly. Applying half the rate in one direction and the other half at a right angle often gives smoother results. This simple trick helps prevent stripes that make the lawn look like it is wearing badly chosen pajamas.
In vegetable gardens, urea works best when treated like a targeted supplement. Keep it away from stems and leaves, place it lightly into the soil beside the row, and water right away. Fast-growing crops such as sweet corn, kale, cabbage, squash, and onions often show a visible response within a couple of weeks. Fruit-bearing crops like tomatoes and peppers require more caution. Too much nitrogen can produce big leafy plants that seem proud of themselves but forget to make fruit.
For sandy soils, smaller split applications are usually better than one large dose. Sandy soil does not hold nitrogen well, so heavy applications can leach beyond the root zone. For clay or high-residue soils, incorporation or inhibitor use becomes more important. In every case, the goal is the same: put the right amount of nitrogen where roots can use it, when they can use it.
Finally, record what you did. Write down the date, amount, weather, crop, and result. Fertilizer success often improves because of boring little notes. A notebook can save money, protect plants, and make next season’s decisions much easier. Urea is powerful, but careful observation is what turns it from a risky white granule into a reliable growing tool.
Conclusion
Applying urea fertilizer correctly is not complicated, but it does require respect for nitrogen’s quick-moving nature. Start with a soil test, calculate the rate carefully, apply when plants are actively growing, and water or incorporate the fertilizer soon after spreading. Use split applications when appropriate, avoid direct contact with seeds and foliage, and consider a urease inhibitor when surface application cannot be followed by rain or irrigation.
Urea is affordable, concentrated, and effective. Used carelessly, it can burn plants or lose nitrogen before crops benefit. Used wisely, it can support rich green lawns, vigorous vegetables, productive pastures, and strong crop growth. In short: measure first, spread evenly, water promptly, and let the plants do the bragging.