If you have ever bitten into soft, chewy mochi and wondered whether tiny dessert elves were involved, good news: you can make it at home with a microwave, a bowl, and the kind of confidence usually reserved for people who parallel park on the first try. Microwave mochi is one of the fastest ways to create that stretchy, pillowy Japanese-inspired rice cake texture without steaming equipment or traditional rice pounding.
This guide walks you through how to make microwave mochi in 8 steps, using sweet rice flour, water or milk, sugar, and a generous amount of starch for dusting. The method is simple, but the details matter. The right flour creates the chew. The microwave intervals cook the dough evenly. The dusting starch keeps your hands from becoming permanent mochi accessories.
Whether you want plain mochi bites, fruit-filled mochi, mochi ice cream, matcha mochi, or a quick chewy dessert for a weekend snack attack, this recipe gives you the foundation. Let’s turn your microwave into a tiny mochi factory.
What Is Microwave Mochi?
Microwave mochi is a shortcut version of traditional mochi, a chewy rice cake commonly associated with Japanese sweets. Traditional mochi is often made by steaming glutinous rice and pounding it until elastic. Microwave mochi skips the pounding drama and uses mochiko, shiratamako, or another sweet glutinous rice flour mixed with liquid and sugar.
The microwave heats the starches in the rice flour until they gelatinize. That is the kitchen-science reason the mixture transforms from a milky batter into a glossy, stretchy dough. In less glamorous words: it goes from pancake batter to edible squish magic.
The key is using the correct flour. Regular rice flour will not give you the same bounce. You need sweet rice flour, also called glutinous rice flour or mochiko flour. Despite the word “glutinous,” it does not mean it contains gluten. It refers to the sticky texture of the rice.
Ingredients for Easy Microwave Mochi
This basic recipe makes about 8 small mochi pieces. You can double it, but beginners should start small because hot mochi dough is sticky, stretchy, and surprisingly persuasive.
Basic Ingredients
- 1 cup sweet rice flour such as mochiko or glutinous rice flour
- 1/4 to 1/3 cup granulated sugar, depending on how sweet you like it
- 3/4 cup water or milk for a richer flavor
- 1/8 teaspoon salt to balance the sweetness
- 1 teaspoon vanilla extract, optional
- 1/3 to 1/2 cup potato starch or cornstarch for dusting
Optional Fillings and Toppings
- Sweet red bean paste
- Fresh strawberries, mango, or banana slices
- Ice cream scoops, frozen firm before wrapping
- Matcha powder
- Cocoa powder
- Toasted sesame seeds
- Kinako, or roasted soybean flour
- Shredded coconut
Equipment You Need
You do not need a specialty kitchen setup. Microwave mochi is beautifully low-maintenance, which is one reason it has become a favorite among home cooks who want homemade sweets without committing to a full dessert engineering project.
- A microwave-safe glass or ceramic bowl
- A whisk
- A silicone spatula
- Plastic wrap or a microwave-safe cover
- A cutting board or baking sheet
- Parchment paper
- A knife, bench scraper, or kitchen scissors
- Food-safe gloves, optional but very helpful
How to Make Microwave Mochi: 8 Steps
Step 1: Choose the Right Sweet Rice Flour
Start with sweet rice flour, glutinous rice flour, mochiko, or shiratamako. This is the most important ingredient in the recipe. If you use regular rice flour, the mochi will not become properly stretchy. It may turn dense, crumbly, or disappointingly un-mochi-like, which is a technical culinary term for “sad.”
Mochiko is commonly available in Asian grocery stores and many U.S. supermarkets. Sweet white rice flour can also work in many homemade mochi recipes, though texture may vary depending on the brand and milling style. If your first batch is slightly softer or firmer than expected, adjust the liquid by a tablespoon next time.
Step 2: Mix the Dry Ingredients
In a microwave-safe bowl, whisk together the sweet rice flour, sugar, and salt. Mixing the dry ingredients first helps distribute the sugar evenly and prevents pockets of flour from hiding in the batter. Mochi batter is not the place for mysterious lumps. Lumps become chewy little surprises, and not the fun kind.
For a classic plain mochi, keep the dry mix simple. For flavored mochi, add 1 teaspoon of matcha powder, cocoa powder, freeze-dried strawberry powder, or instant coffee powder at this stage. Dry flavorings blend more smoothly when added before the liquid.
Step 3: Add Water or Milk and Whisk Until Smooth
Slowly pour in the water or milk while whisking. The batter should look smooth, thick, and pourable, similar to a loose cake batter. If it looks dry, add liquid one teaspoon at a time. If it is watery, add a small spoonful of sweet rice flour.
Water gives mochi a clean, traditional flavor. Milk makes the dough slightly creamier and softer. Coconut milk adds richness and pairs especially well with mango, toasted coconut, or sesame toppings. Just remember that richer liquids may make the dough a little more tender, so dusting and cooling become extra important.
Step 4: Cover the Bowl and Microwave for the First Round
Cover the bowl loosely with plastic wrap or a microwave-safe lid. Do not seal it tightly. Steam needs a place to escape, and nobody wants a mochi volcano in the microwave.
Microwave on high for 1 minute. The edges may begin to thicken while the center still looks pale and loose. That is normal. Remove the bowl carefully because steam can be hot. Stir the mixture thoroughly with a wet silicone spatula, scraping the sides and bottom.
Step 5: Microwave Again in Short Intervals
Return the bowl to the microwave and cook for another 45 to 60 seconds. Stir again. Depending on your microwave wattage, you may need one more 30-second burst. The mochi is done when it looks glossy, sticky, cohesive, and slightly translucent. It should pull away from the sides in stretchy ribbons when stirred.
Avoid cooking it for too long. Overcooked mochi can become tough or rubbery. Undercooked mochi may taste floury and look cloudy. The sweet spot is a dough that is elastic, shiny, and evenly cooked. Think soft bounce, not tire rubber.
Step 6: Prepare a Starch-Dusted Surface
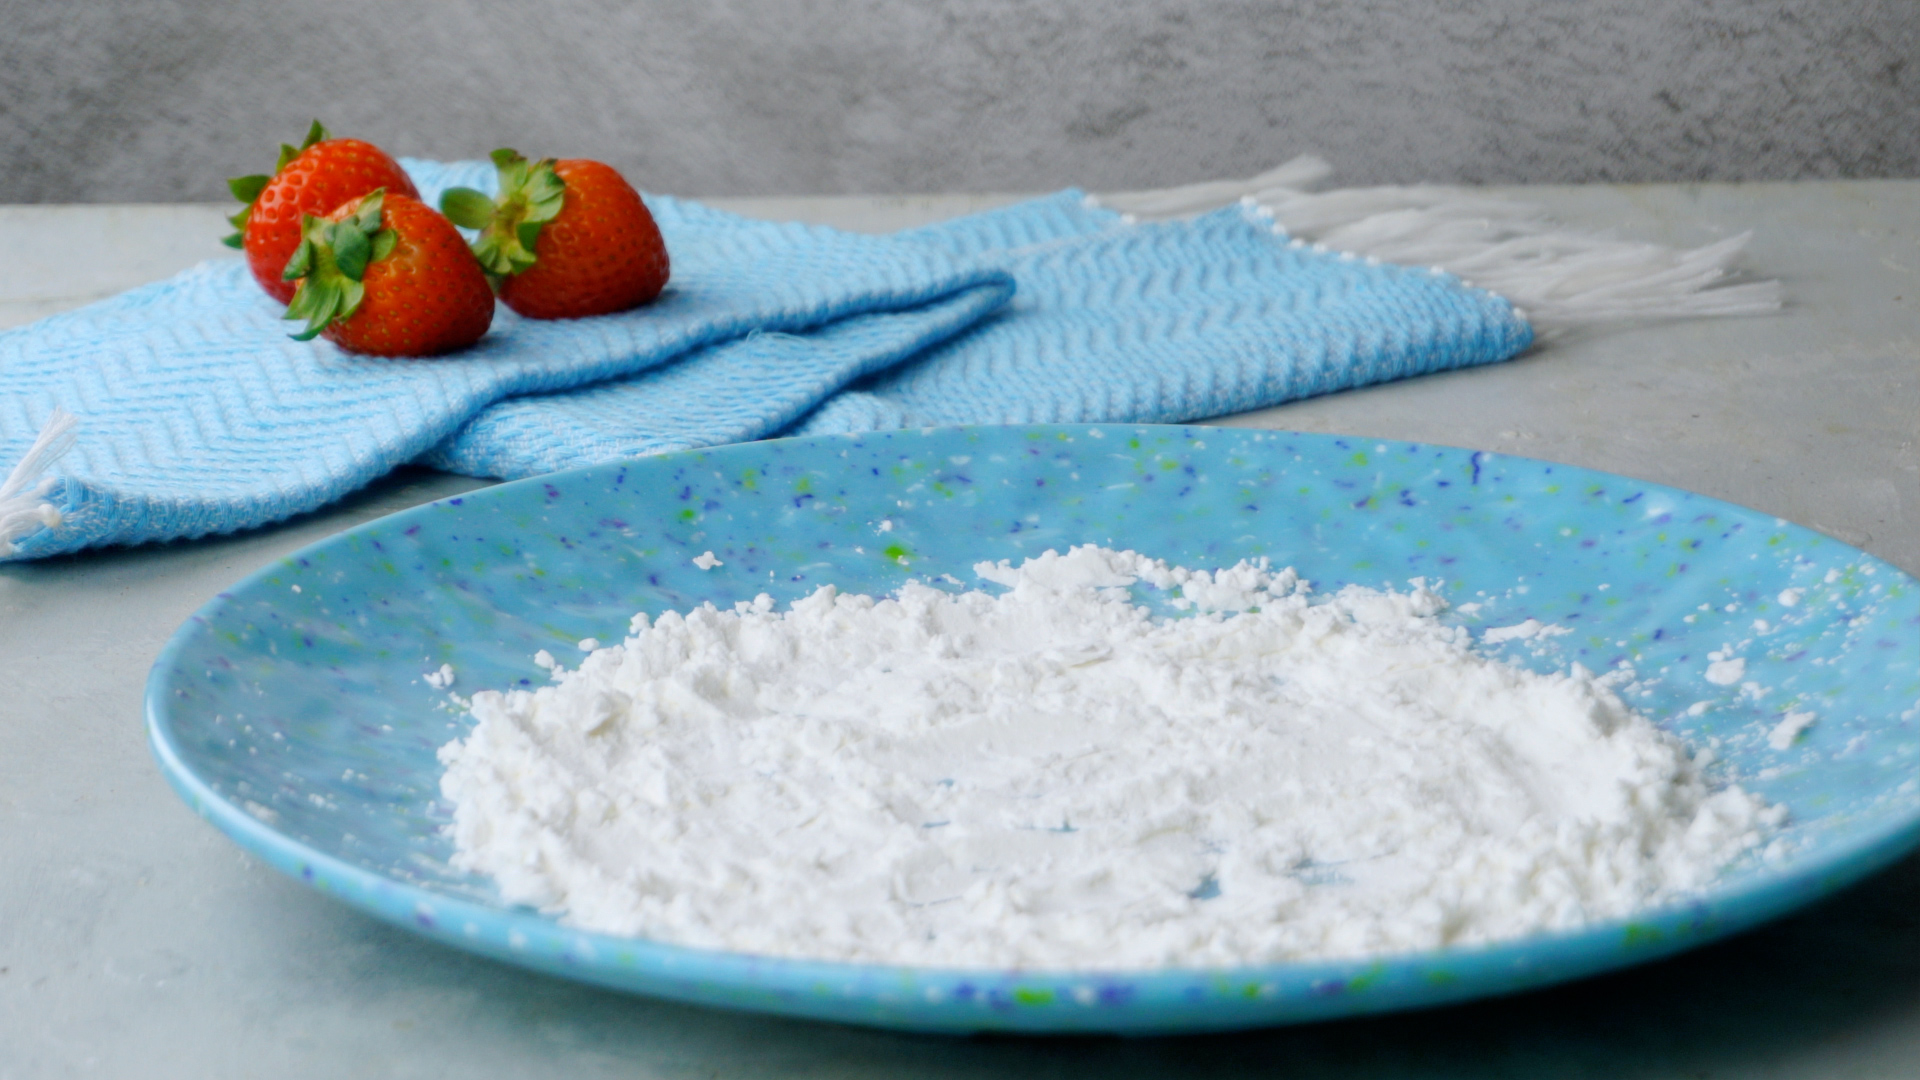
While the mochi cools for a few minutes, line a cutting board or baking sheet with parchment paper. Dust it generously with potato starch or cornstarch. Then dust it again, because mochi has a talent for finding the one unstarchy spot on the board.
Potato starch is traditional for many mochi-style sweets because it has a silky texture and neutral flavor. Cornstarch is easy to find and works well, too. Some cooks lightly toast cornstarch in a dry skillet before using it for dusting, especially when it will remain on the outside of the finished mochi.
Step 7: Shape, Cut, or Fill the Mochi
Transfer the warm mochi dough onto the starch-dusted surface. Dust the top lightly. Let it cool until it is safe to touch but still pliable. If you are making plain mochi bites, pat the dough into a rectangle and cut it into 8 pieces with a starch-dusted knife, bench scraper, or kitchen scissors.
For filled mochi, flatten each piece into a small circle. Place a teaspoon of filling in the center, then pinch the edges together to seal. Place the mochi seam-side down and gently roll it between your palms. Do not overfill it. Mochi has stretch, but it also has boundaries, like all of us before coffee.
If you are making mochi ice cream, freeze small scoops of ice cream until very firm before wrapping. Work quickly, use plenty of starch, and return finished pieces to the freezer right away.
Step 8: Serve and Store Properly
Fresh microwave mochi tastes best the day it is made. The texture is soft, chewy, and tender. Serve it plain, dusted with matcha, rolled in coconut, filled with fruit, or drizzled lightly with chocolate sauce. For a balanced bite, pair sweet mochi with slightly bitter green tea or unsweetened coffee.
Store leftover mochi in an airtight container at room temperature for a short period if it has no perishable filling. If your mochi contains fruit, dairy, ice cream, or other perishable fillings, refrigerate it promptly and eat it as soon as possible. Refrigeration can make mochi firmer, so let chilled pieces sit at room temperature briefly before eating. For food safety, do not leave perishable mochi out for more than two hours.
Microwave Mochi Troubleshooting Guide
Why Is My Mochi Too Sticky?
Mochi is naturally sticky, but if it is impossible to handle, it may be too hot, under-dusted, or slightly undercooked. Let it cool for a few minutes and add more starch to your hands and work surface. A wet spatula also helps when transferring the dough.
Why Is My Mochi Tough?
Tough mochi is usually overcooked or too dry. Microwaves vary, so shorten the final cooking interval next time. You can also add one or two extra teaspoons of water to the batter if your flour absorbs liquid aggressively.
Why Does My Mochi Taste Floury?
That usually means it needs more cooking. Continue microwaving in 20- to 30-second intervals, stirring well between each round, until the dough turns glossy and slightly translucent.
Why Did My Mochi Flatten?
Plain mochi without filling may flatten as it rests. That is normal. For rounder pieces, tuck the edges underneath and place them seam-side down. Fillings also help mochi hold a plumper shape.
Flavor Ideas for Homemade Microwave Mochi
Once you master the basic microwave mochi recipe, the flavor possibilities multiply quickly. Matcha mochi is earthy and elegant. Cocoa mochi tastes like a chewy brownie cousin. Strawberry mochi becomes bright and fruity with freeze-dried strawberry powder or a small piece of fresh fruit inside.
For tropical mochi, use coconut milk in the dough and fill it with mango. For dessert-shop energy, wrap the mochi around ice cream. For a nutty version, roll finished pieces in toasted sesame seeds or kinako. You can even make peanut butter mochi by placing a small chilled spoonful of peanut butter filling in the center.
The trick is controlling moisture. Juicy fruit can make mochi wet if it sits too long. Ice cream melts quickly. Soft fillings can leak if you overfill the dough. Start with small amounts, seal carefully, and serve filled mochi soon after making it.
Best Tips for Soft, Chewy Mochi Every Time
- Use sweet rice flour only. Regular rice flour will not create the same chewy texture.
- Stir between microwave intervals. This helps the dough cook evenly.
- Keep your spatula wet. Water reduces sticking while you stir.
- Dust generously. Potato starch or cornstarch is your best friend.
- Work while the dough is warm. Warm mochi is easier to shape than cold mochi.
- Do not overfill. A little filling goes a long way.
- Eat fresh when possible. Mochi texture is best shortly after it is made.
Serving Suggestions
Microwave mochi can be served as a snack, dessert, party bite, or edible proof that your microwave deserves more respect. For a simple plate, arrange plain mochi pieces with green tea and fresh berries. For a dessert board, serve matcha mochi, cocoa mochi, mango-filled mochi, and red bean mochi together.
You can also cut mochi into small cubes and add them to shaved ice, parfaits, fruit bowls, or ice cream sundaes. Small mochi cubes bring chew and texture, turning a regular bowl of dessert into something much more interesting. Just keep pieces bite-sized, especially when serving children or older adults, because mochi is chewy and should be eaten carefully.
Common Mistakes to Avoid
The biggest mistake is using the wrong flour. The second biggest mistake is not using enough starch. The third is grabbing hot mochi with bare hands and learning, very quickly, that dessert can fight back.
Another common error is skipping the stirring between microwave rounds. Microwave heat is not always even, and stirring helps prevent cooked edges with a raw center. Also avoid adding too much filling. A small teaspoon may look modest, but once wrapped in stretchy dough, it creates a balanced bite.
Finally, do not expect homemade mochi to look factory-perfect on your first try. Handmade mochi often has a charming, slightly lumpy personality. That is part of the fun. The goal is soft, chewy, delicious mochinot a museum exhibit.
Experience Notes: What Making Microwave Mochi Teaches You
The first experience most people have with microwave mochi is surprise. It feels almost suspicious that a few basic ingredients can become a chewy dessert in minutes. You whisk flour, sugar, and water together, press a few microwave buttons, stir like you mean it, and suddenly the bowl contains something glossy and elastic. It is the kind of kitchen transformation that makes you look around for witnesses.
The second experience is humility. Mochi is simple, but it is not passive. The dough sticks to anything that approaches without starch. It clings to spoons, fingers, cutting boards, and occasionally your sense of dignity. After one batch, you learn to prepare everything before cooking: starch on the board, filling ready, spatula nearby, gloves waiting, container open. Microwave mochi rewards organization. It does not reward wandering around the kitchen looking for cornstarch while the dough cools into a stubborn blob.
Another useful lesson is that texture changes fast. Hot mochi is extremely soft and stretchy. Warm mochi is flexible and shapeable. Cool mochi becomes firmer and less cooperative. That means timing matters. Let it cool enough so you do not burn your hands, but do not abandon it completely. Mochi waits for no one, especially not someone scrolling through messages.
Flavor experiments are where the recipe becomes personal. A little matcha gives the dough a grown-up bitterness that balances the sugar. Cocoa powder makes it feel dessertier without much effort. Coconut milk creates a softer, richer bite. Fresh strawberries wrapped with sweet bean paste taste bright and classic, while mango brings a sunny, tropical mood. Ice cream mochi is the most dramatic version because the filling melts quickly, but it is also one of the most satisfying when it works.
The best practical experience is learning how much starch is enough. At first, beginners often use too little because they want the mochi to look clean. Then the dough sticks everywhere. After that, they use a snowy mountain of starch and discover the mochi tastes powdery. The sweet spot is generous but controlled: dust the surface, dust your hands, dust the top, then brush off excess before serving.
Microwave mochi also teaches patience in tiny doses. You cannot rush cooling. You cannot skip stirring. You cannot force too much filling into one wrapper and expect it to behave. But the process is forgiving. Even imperfect mochi tastes good. A piece that tears can become a casual mochi bite. A flattened ball can be rolled in sesame seeds. A slightly messy batch can still disappear from the plate in five minutes.
That is the charm of homemade microwave mochi. It is quick, playful, and just unpredictable enough to feel handmade. You do not need professional pastry skills. You need the right flour, a microwave-safe bowl, a little starch, and a willingness to laugh when the first piece looks like a tiny edible pillow that had a rough morning. By the second batch, your hands move faster. By the third, you start planning flavors before the bowl is even clean.
Conclusion
Learning how to make microwave mochi is a small kitchen skill with a big payoff. With sweet rice flour, sugar, liquid, and a microwave, you can create soft, chewy mochi in just a few minutes. The 8-step method is easy enough for beginners but flexible enough for creative cooks who want to play with fillings, toppings, and flavors.
Remember the essentials: use the right flour, cook in short intervals, stir well, dust generously, and shape while warm. Your first batch may be a little messy, but messy mochi is still mochi. And frankly, a dessert that tastes good even when it looks slightly confused is a dessert worth keeping.