Few bathroom mysteries are as annoying as a toilet tank that looks like it just finished a spin class. You walk in, see water dripping down the porcelain, and immediately wonder: Is the toilet leaking? Is the floor doomed? Did the tank develop feelings and start crying? Relax. In most cases, toilet tank sweating is simply condensation.
Toilet tank sweating happens when cold water inside the tank chills the porcelain surface, while warm, humid bathroom air touches the outside of the tank. When that warm air cools quickly, moisture turns into droplets. It is the same basic science behind a cold glass of iced tea sweating on a summer porch. Charming on a drink. Less charming near your baseboards.
The good news is that you can usually stop toilet tank condensation with one of three practical fixes: reduce bathroom humidity, insulate the tank, or warm the incoming tank water slightly with an anti-sweat valve. The best solution depends on your bathroom, climate, water temperature, budget, and tolerance for small DIY projects. Let’s walk through the three best ways to stop toilet tank sweating before your bathroom floor starts auditioning for a wetlands documentary.
Why Does a Toilet Tank Sweat?
A toilet tank sweats because its outside surface becomes colder than the dew point of the surrounding air. In plain English, the tank is cold, the bathroom is humid, and the air gives up its moisture when it hits the chilled porcelain. This is especially common in summer, in humid regions, in bathrooms with poor ventilation, or in homes with very cold well water.
Showers, baths, wet towels, closed doors, and weak exhaust fans all increase bathroom humidity. Meanwhile, every flush refills the toilet tank with cold water. If the tank stays cold and the air stays moist, condensation keeps forming. One flush is not the villain. A steamy bathroom plus repeated flushing is the tiny plumbing soap opera.
First, Make Sure It Is Not a Leak
Before you treat toilet tank sweating, confirm that the water on the floor is actually condensation. Dry the tank completely with a towel. Then check the water supply line, shutoff valve, tank bolts, flush valve area, and base of the toilet. If water reappears at a specific fitting or seam, you may have a plumbing leak rather than sweating.
A simple test helps: place a few drops of food coloring in the toilet tank and wait without flushing. If colored water appears in the bowl, the flapper or flush valve may be leaking, which can make the tank refill frequently with cold water and worsen condensation. Fixing a running toilet can reduce sweating and save water. Your toilet should not be secretly refilling all day like it has a side hustle.
Way 1: Reduce Bathroom Humidity
The first and often easiest way to stop toilet tank sweating is to lower the humidity in the bathroom. Since condensation needs moisture in the air, controlling humidity attacks the problem at the source. This method works especially well if your tank sweats most after hot showers, during muggy weather, or in a small bathroom with limited airflow.
Use the Exhaust Fan Correctly
A bathroom exhaust fan should remove moist air from the room and vent it outdoors. For best results, turn the fan on before starting a shower, keep it running during the shower, and leave it on for 15 to 30 minutes afterward. If the room still feels damp, the mirror stays foggy, or towels never fully dry, your fan may be undersized, clogged with dust, or venting poorly.
You can do a quick airflow test by holding a square of toilet paper near the fan grille while the fan is running. If the paper sticks, the fan is pulling air. If it drops like it gave up on life, the fan needs cleaning, repair, or replacement. Dusty fan covers and clogged ducts reduce performance, so clean the grille and check airflow regularly.
Open the Door, Window, or Shower Curtain
Air movement matters. After a shower, leave the bathroom door open when privacy is no longer a concern. If the bathroom has a window and outdoor conditions are not extremely humid, crack it open. Pull the shower curtain partly open or leave the shower door open so surfaces can dry faster. The quicker damp surfaces dry, the less moisture hangs around to collect on your toilet tank.
This habit costs nothing and can make a noticeable difference. Bathrooms are moisture factories, and closing everything up after a hot shower is like putting a lid on a soup pot and acting surprised when steam collects.
Try a Dehumidifier or Moisture Control Habit
In very humid homes, a small bathroom-safe dehumidifier can help. This is especially useful in windowless bathrooms, basement bathrooms, laundry-adjacent bathrooms, or homes in damp climates. A basic hygrometer can tell you the relative humidity in the room. Keeping indoor humidity in a comfortable range helps reduce condensation, musty odors, mildew, and other moisture problems.
Other small habits also help: hang wet towels outside the bathroom, use cooler or shorter showers when possible, wipe down shower walls, and avoid leaving damp bath mats bunched on the floor. These steps may sound boring, but they are the plumbing equivalent of eating vegetables. Not glamorous. Effective.
When Humidity Control Is Enough
Humidity control may solve the problem if the toilet tank only sweats occasionally. For example, if droplets appear after long showers but not during the rest of the day, improving ventilation may be all you need. It is the lowest-cost fix, and it improves the whole bathroom, not just the toilet tank.
However, if the tank sweats even when nobody has showered, your incoming water may be extremely cold. In that case, ventilation helps, but it may not fully stop the condensation. That is when tank insulation or an anti-sweat valve becomes more attractive.
Way 2: Insulate the Toilet Tank
The second way to stop toilet tank sweating is to insulate the inside of the tank. A toilet tank liner creates a barrier between the cold water and the porcelain. The tank exterior stays warmer, so humid air is less likely to condense on it.
This is a popular DIY solution because toilet tank liner kits are inexpensive, widely available, and designed for the job. Most kits use closed-cell foam with adhesive backing. Closed-cell foam is helpful because it resists absorbing water and creates a thermal break. Translation: it tells condensation, “Not today, tiny droplets.”
How a Toilet Tank Liner Works
Inside the tank, cold water chills the porcelain. When you add a liner to the interior walls, the cold water no longer touches as much of the porcelain surface directly. This reduces the temperature difference between the tank exterior and the room air. Less temperature difference usually means less sweating.
Insulation works best when the liner is installed on a clean, dry tank interior. Adhesive does not stick well to wet porcelain, mineral scale, or mystery bathroom slime from 2009. Preparation matters.
Basic Steps to Install a Toilet Tank Liner
First, turn off the toilet’s water supply using the shutoff valve near the wall. Flush the toilet and hold the handle down to remove as much water as possible from the tank. Sponge out remaining water and dry the tank thoroughly. If there is mineral buildup, clean it carefully and let the tank dry again.
Next, measure the inside tank walls and cut the foam liner pieces to fit. Avoid blocking the flush valve, fill valve, flapper, float, handle arm, overflow tube, or any moving parts. Peel the backing and press the liner firmly into place. Smooth out bubbles and make sure the edges adhere. Then turn the water back on and flush a few times to confirm everything moves freely.
Common Mistakes to Avoid
Do not cover mechanical parts inside the tank. Do not install liner pieces over grime or moisture. Do not use random materials that can break apart, shed particles, or interfere with flushing. Some people mention bubble wrap as a quick insulation hack, but a proper toilet tank liner kit is usually cleaner, neater, and more reliable for a finished bathroom.
Also, be patient during drying. If the inside of the tank is damp when you apply adhesive foam, the liner may peel away later. Nothing ruins your confidence like opening the tank lid and finding your insulation floating around like a sad little pool toy.
When Tank Insulation Is the Best Fix
Tank insulation is a strong choice when the toilet sweats regularly but you do not want to modify plumbing. It is also useful in homes with cold well water, bathrooms without easy access to a hot water line, or rental situations where major plumbing work is not practical. If the bathroom humidity is only moderately high, a liner can be enough to stop the drips.
For severe sweating in very humid bathrooms, combine a tank liner with better ventilation. Insulation reduces the cold-surface problem, while ventilation reduces the moisture supply. Together, they make a very respectable anti-drip team.
Way 3: Install an Anti-Sweat Valve
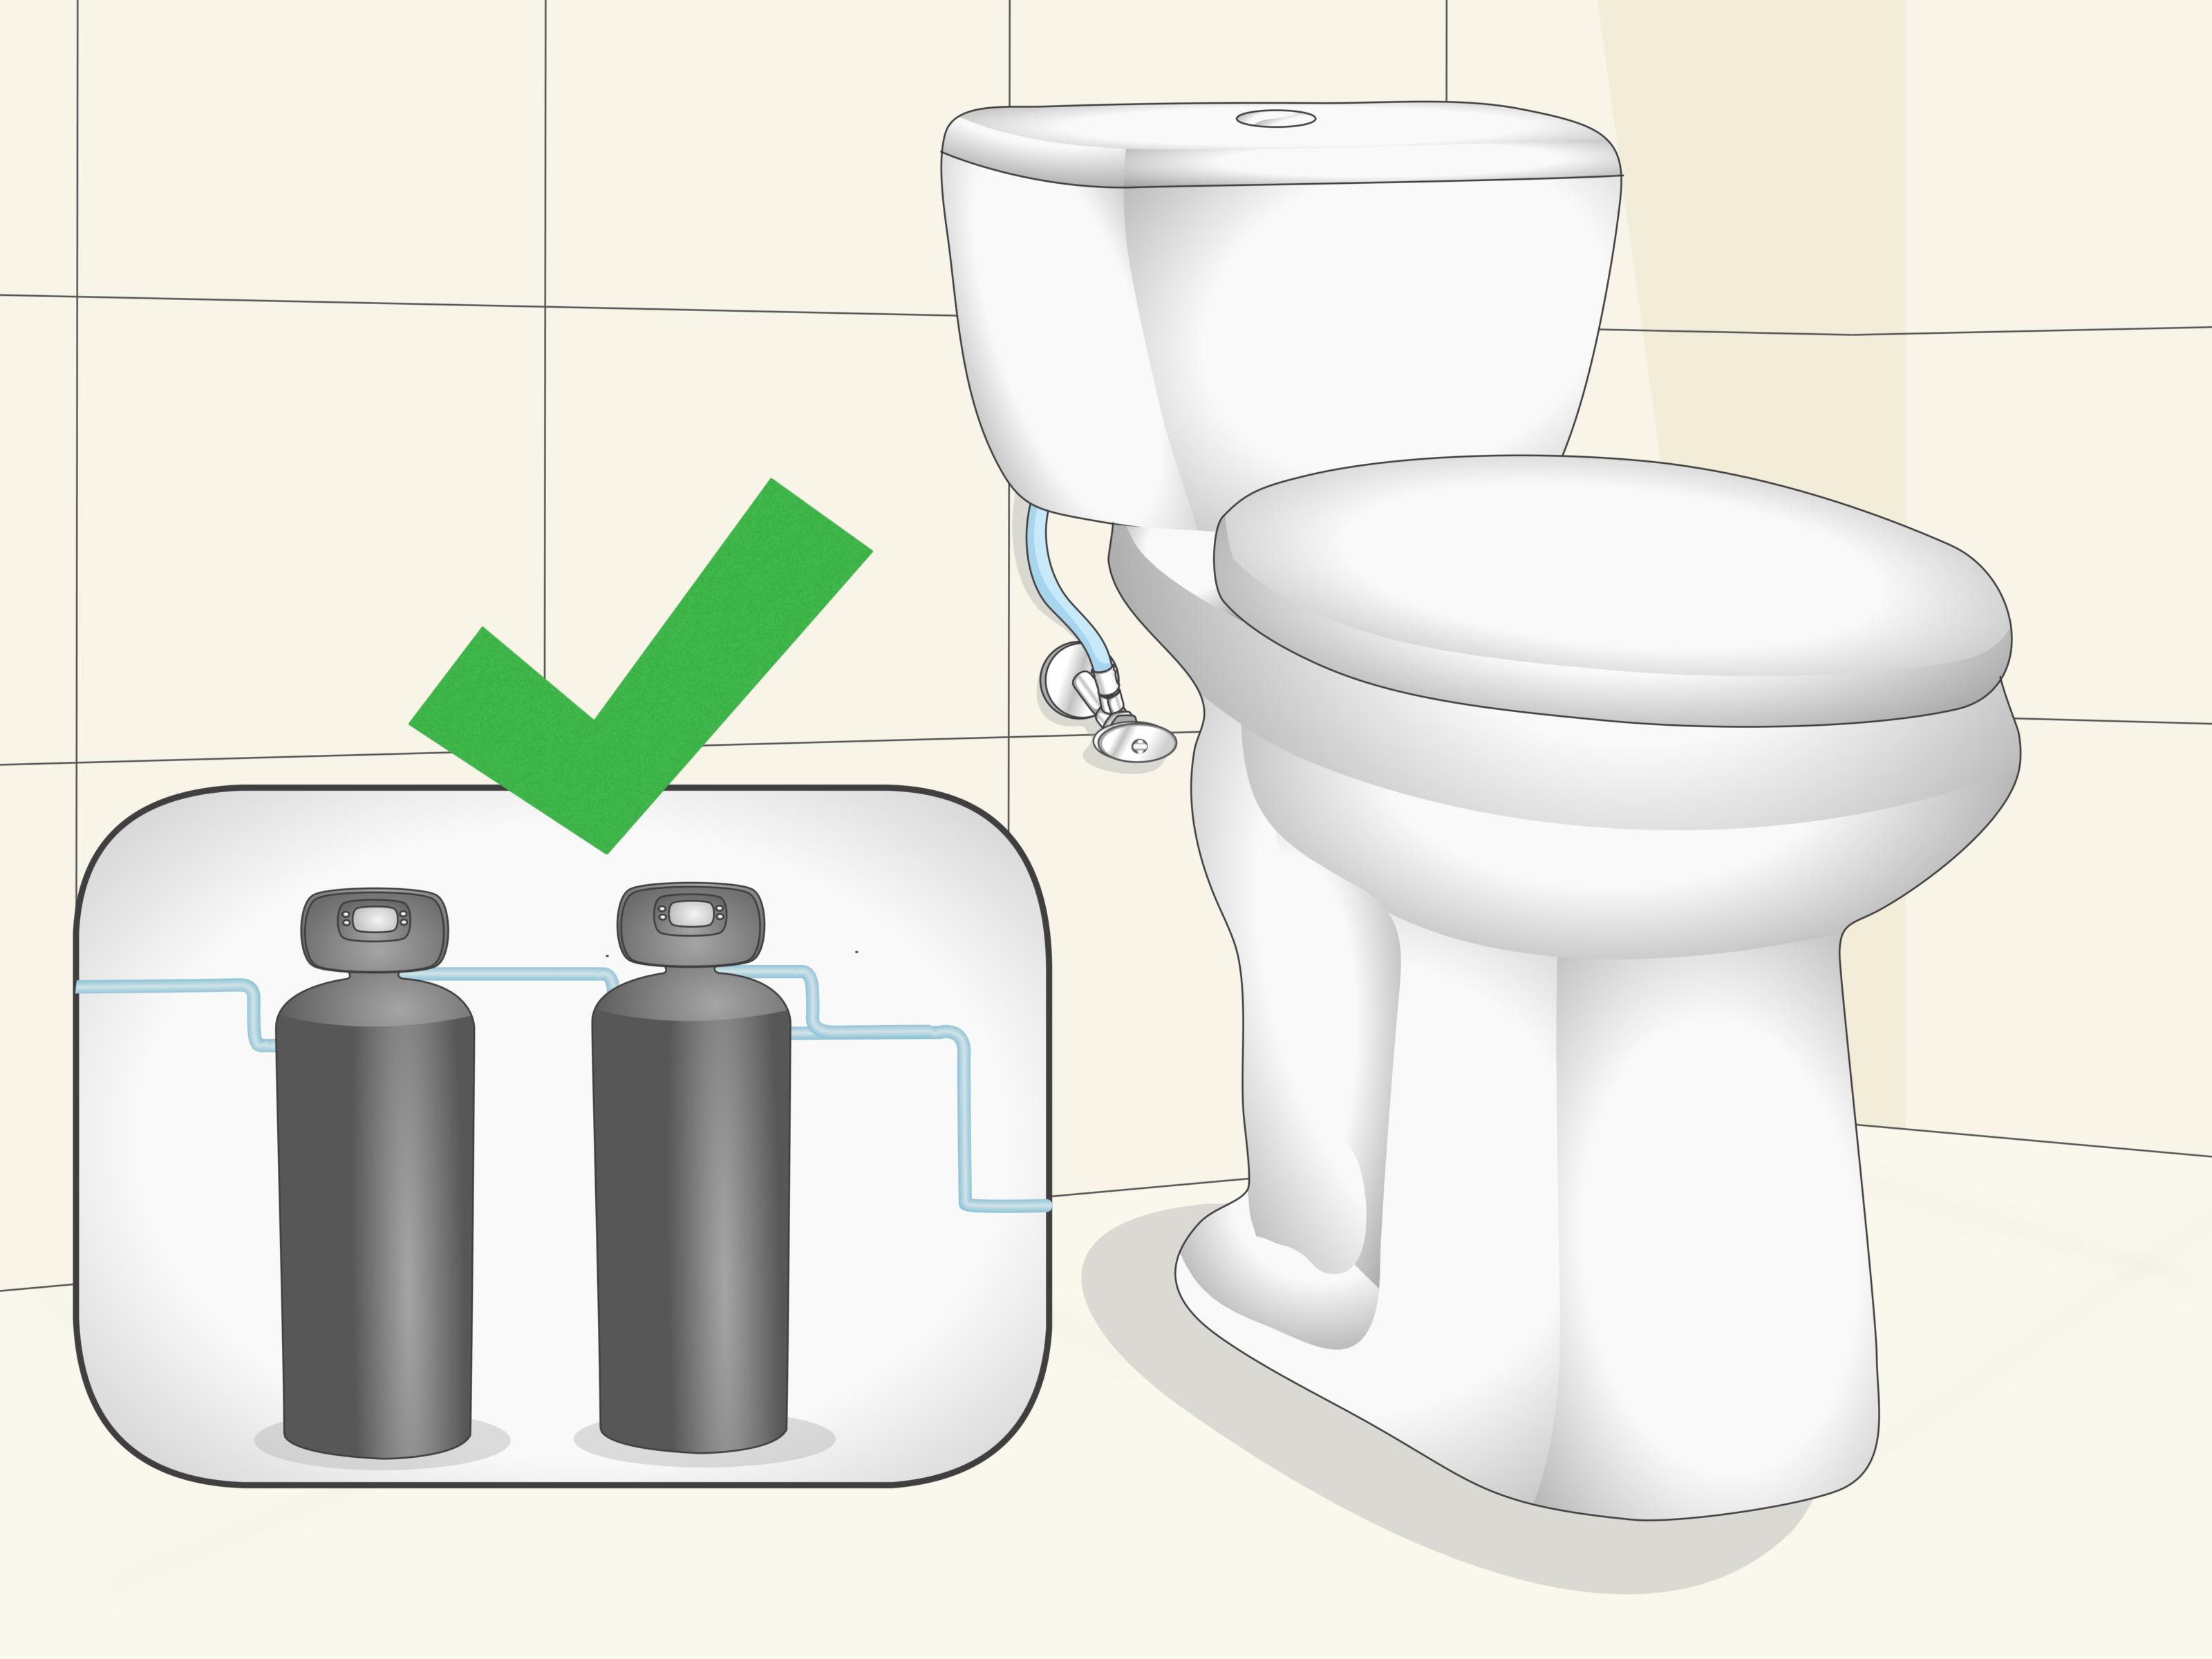
The third and most permanent way to stop toilet tank sweating is to install an anti-sweat valve. This valve mixes a small amount of warm water into the cold water feeding the toilet tank. By raising the tank water temperature slightly, the porcelain stays warmer and condensation is much less likely to form.
An anti-sweat valve does not make the toilet hot. Nobody is preparing soup in the tank, thankfully. It simply tempers the incoming water enough to reduce the temperature difference between the tank and the bathroom air.
How an Anti-Sweat Valve Works
A standard toilet supply line brings cold water to the tank. An anti-sweat valve connects to both cold and hot water lines, then blends them before water enters the toilet. The result is slightly warmer refill water. Warmer tank water means a warmer tank surface. A warmer tank surface means less condensation.
This approach is especially helpful in homes where water enters the toilet very cold, such as houses supplied by deep wells or cold municipal lines. If your tank sweats even in a reasonably ventilated bathroom, cold water may be the main issue.
Installation Considerations
Installing an anti-sweat valve is more involved than turning on a fan or sticking in a liner. It usually requires access to a nearby hot water line, basic plumbing skills, and careful connections. In many homes, this is a job for a licensed plumber, especially if cutting or modifying supply lines is required.
The valve must be adjusted properly. Too little warm water may not stop condensation. Too much warm water wastes energy and may create unnecessary utility costs. The goal is moderation. Think “slightly tempered,” not “toilet spa day.”
When an Anti-Sweat Valve Is Worth It
An anti-sweat valve is worth considering when tank sweating is heavy, frequent, and damaging. If water is dripping onto the floor daily, staining grout, swelling trim, or encouraging mildew, a more permanent fix may be smarter than constant towel patrol. This is also a good option when ventilation and insulation have helped but not solved the problem.
Because installation can be more expensive, start with diagnosis. If the bathroom is humid, fix airflow first. If the tank remains cold and wet even in dry air, consider a liner or anti-sweat valve. The right fix depends on whether the main problem is moisture in the air, cold water in the tank, or both.
Which Method Should You Try First?
For most homeowners, the best order is simple: start with humidity control, then try tank insulation, then consider an anti-sweat valve if the problem continues. This sequence moves from easiest and cheapest to most involved and permanent.
If your bathroom fan is weak, your showers are long, and your towels stay damp, start with ventilation. If your bathroom air is fairly dry but the tank still sweats, install a toilet tank liner. If the tank drips heavily in warm weather despite ventilation and insulation, talk to a plumber about an anti-sweat valve.
Extra Tips to Prevent Water Damage
While solving toilet tank sweating, protect the bathroom floor. Wipe the tank dry when you notice condensation. Check around the toilet base for soft flooring, stained grout, peeling paint, or musty smells. If the bathroom has wood trim near the toilet, keep an eye on swelling or discoloration.
A washable absorbent mat can temporarily catch drips, but do not let it stay wet. A damp rug around a toilet can become a mildew hotel with terrible reviews. Wash and dry mats often, and avoid using them as a permanent solution.
Also check the toilet flapper. A leaking flapper can cause the tank to refill repeatedly with cold water, keeping the porcelain chilled all day. Replacing a worn flapper is inexpensive and may reduce sweating dramatically. Sometimes the “condensation problem” is really a running-toilet problem wearing a tiny disguise.
When to Call a Professional
Call a plumber if you see water coming from the supply valve, tank bolts, tank-to-bowl connection, or toilet base. Call a professional if the floor feels soft, water stains appear below the bathroom, or you want an anti-sweat valve installed. You should also get help if you are uncomfortable shutting off water, cutting pipes, or making supply-line changes.
Toilet tank sweating may look harmless, but repeated dripping can damage flooring and create moisture problems. Fixing it early is easier than replacing subfloor later. Plumbing problems rarely become cheaper after being ignored. They are dramatic like that.
Real-World Experience: What Actually Works Best?
In many homes, toilet tank sweating is not caused by one single issue. It is usually a combination of cold refill water, steamy shower habits, and a bathroom fan that is technically “working” but not actually moving enough air. The most successful fixes usually combine two approaches rather than relying on one magic product.
For example, imagine a small hallway bathroom used by a family of four. Two morning showers, one closed door, one fan full of dust, and a toilet refilling with cold water after every flush. By 8 a.m., the tank looks like it has been misted with a spray bottle. In that situation, installing a tank liner may help, but cleaning the exhaust fan and running it longer after showers may help even more. The moisture has to go somewhere. Ideally, it goes outside through a vent, not onto the toilet tank and floor.
In older homes, the fix can be slightly different. Some bathrooms have no exhaust fan or have a fan that vents into an attic instead of outdoors. That is a problem because moving damp air into another part of the house does not remove moisture; it relocates it. Homeowners in this situation often notice foggy mirrors, peeling paint, musty smells, and tank condensation. Adding a properly vented exhaust fan can improve comfort, protect finishes, and reduce toilet sweating at the same time.
Homes with well water often face a colder-water challenge. The bathroom may be well ventilated, but the tank still sweats because the incoming water is extremely cold. In these cases, a toilet tank insulation kit is often a practical first step. It is affordable, does not require changing plumbing, and can be installed in an afternoon if the tank is cleaned and dried properly. If condensation remains heavy, an anti-sweat valve may be the long-term answer.
One useful habit is to observe when the sweating happens. If the tank sweats only after showers, blame humidity first. If it sweats mostly during summer, outdoor humidity and warm indoor air may be part of the story. If it sweats all day, even when the bathroom is dry, the refill water temperature is probably a major factor. This small bit of detective work prevents wasted money and unnecessary repairs.
Another practical lesson: do not ignore small drips. A little condensation today can become stained grout, loose flooring, or mildew odors later. The tank does not need to be flooding the room to cause damage. If you routinely find water beads on the tank or puddles near the toilet, treat it as a real maintenance issue, not a weird bathroom personality trait.
The best overall strategy is simple: dry the bathroom air, separate cold water from warm porcelain with insulation, or temper the water so the tank does not become an ice cube in a humid room. Start with the easiest fix, watch the results, and move up only if needed. Your reward is a drier floor, a cleaner bathroom, and one less reason to stare suspiciously at your toilet before coffee.
Conclusion
Toilet tank sweating is a common condensation problem, not a sign that your bathroom is cursed. Warm, humid air meets a cold toilet tank, and droplets form. The three best ways to stop it are to reduce bathroom humidity, insulate the tank, or install an anti-sweat valve that slightly warms the refill water.
Start with ventilation and moisture control because those improvements benefit the entire bathroom. If the tank still sweats, add a toilet tank liner to create a thermal barrier. For severe or persistent condensation, especially with very cold water, an anti-sweat valve may provide the most permanent fix. Most importantly, confirm that the water is not coming from a leak before you chase condensation. A dry toilet tank is nice. A dry floor is even better. A bathroom that no longer feels like a tropical rainforest with plumbing? That is the dream.
Note: Always follow local plumbing codes and product instructions. If a repair requires cutting pipes, connecting hot and cold supply lines, or diagnosing hidden water damage, hire a qualified plumber.