Painting varnished cupboards is one of those home projects that looks simple until you meet the villain of the story: glossy, stubborn varnish. It sits there smiling under the light, acting innocent, while secretly preventing paint from sticking like a toddler avoiding vegetables. The good news? You absolutely can paint varnished cupboards and get a smooth, durable finishif you prep them correctly.
Whether you are updating kitchen cabinets, bathroom cupboards, built-in storage, or an old wooden hutch, the process depends on one major goal: creating a surface the new paint can grip. Varnish is designed to protect wood from moisture, stains, grease, and daily wear. That is wonderful when you want wood to stay wood. It is less wonderful when you want fresh white, sage green, navy blue, charcoal, cream, or any other color that says, “I have my life together, at least in this room.”
This guide covers six practical ways to paint varnished cupboards, from the classic sanding-and-priming method to faster no-sand options, spray finishes, cabinet kits, and full strip-and-repaint techniques. You will also learn what tools to use, which mistakes to avoid, and how to make the finish last longer than your excitement after buying new cabinet hardware.
Before You Start: Check the Cupboard Surface
Before choosing a painting method, inspect your cupboards closely. Are they solid wood, wood veneer, laminate, MDF, or previously stained and varnished? Are there greasy areas around handles? Is the old varnish peeling, sticky, cracked, or shiny as a bowling alley lane? These details matter because paint adhesion depends on the condition of the existing finish.
If your home was built before 1978 and the cupboards may have old paint under the varnish, avoid aggressive sanding until you test for lead. Sanding unknown old coatings can create hazardous dust. For modern varnished wood cupboards, normal sanding, cleaning, priming, and painting can be done safely with ventilation, eye protection, gloves, and a dust mask or respirator.
Tools and Materials You May Need
- Degreasing cleaner or TSP substitute
- Microfiber cloths and tack cloth
- Painter’s tape and drop cloths
- Screwdriver or drill for removing doors and hardware
- Wood filler or two-part filler for holes and dents
- Sandpaper in 120-, 150-, 180-, 220-, and 320-grit ranges
- Sanding block or orbital sander
- Liquid deglosser, if using a no-sand method
- Bonding primer or stain-blocking primer
- Cabinet, door, and trim enamel or hybrid alkyd paint
- Angled brush, foam roller, microfiber roller, or paint sprayer
- Painter’s pyramids, drying racks, or scrap wood supports
1. Paint Varnished Cupboards by Sanding and Priming
The most reliable way to paint varnished cupboards is also the least glamorous: clean, sand, prime, sand again, and paint. This method works because sanding dulls the glossy finish and gives primer something to bite into. You do not need to sand all the way down to bare wood. In fact, unless the varnish is failing, sanding to bare wood can create extra work and uneven absorption.
How to Do It
Start by removing cupboard doors, drawers, knobs, pulls, hinges, and shelf hardware. Label each door and drawer with painter’s tape so everything goes back in the right place. Trust this step. Future you does not want to play “cabinet door roulette” at midnight.
Clean every surface with a degreaser, especially around handles and near the stove. Grease is one of the biggest reasons paint fails on kitchen cupboards. After cleaning, rinse with clean water if your cleaner requires it, then let the surface dry completely.
Use 120- to 180-grit sandpaper to dull the varnish. The goal is a smooth, matte surface, not raw wood. Vacuum the dust, wipe with a damp microfiber cloth, and finish with a tack cloth. Apply a high-quality bonding primer or stain-blocking primer. Once the primer dries, lightly sand with 220-grit paper to remove texture, dust again, and apply two thin coats of cabinet enamel.
Best For
This method is best for heavily used kitchen cupboards, glossy varnished doors, bathroom cabinets, and any project where durability matters more than speed. If you want the best chance of a long-lasting finish, sanding and priming is the gold standard.
2. Use a Liquid Deglosser for a Faster No-Sand Method
If sanding sounds like punishment from a home improvement reality show, liquid deglosser may be your friend. A deglosser, sometimes called liquid sandpaper, chemically dulls the surface so primer or paint can adhere better. It is especially useful for detailed cupboard doors with grooves, raised panels, trim, or carved areas that are annoying to sand by hand.
How to Do It
Remove the doors and hardware, then clean the cupboards thoroughly. Apply the liquid deglosser according to the product directions. Most deglossers are wiped on with a cloth or scrubbing pad, worked over the surface, and then wiped off or allowed to dry within a specific time window.
Ventilation is important because deglossers can have strong fumes. Wear gloves, protect nearby surfaces, and do not casually splash it around like salad dressing. After the surface is properly dulled, apply a bonding primer unless your specific cabinet coating system says otherwise. Finish with two thin coats of durable cabinet paint.
Best For
This method is ideal for cupboards with decorative trim, carved doors, or surfaces where you want to reduce dust. It can save time, but it is not magic. If the varnish is peeling, flaky, or contaminated with grease, you still need to remove loose finish, clean carefully, and possibly sand problem areas.
3. Paint with a Bonding Primer Made for Glossy Surfaces
Bonding primer is the secret handshake between old varnish and new paint. Varnished cupboards are slick, and regular wall primer may not grip them well. A bonding primer is designed to adhere to difficult surfaces such as glossy wood, laminate, tile, and previously finished cabinets.
How to Do It
Clean the cupboards first, then lightly scuff sand or degloss the surface. Even when using bonding primer, a little surface preparation makes a big difference. Apply primer in a thin, even coat with an angled brush for corners and a small roller for flat panels. Avoid heavy coats, which can drip, pool in corners, and dry with ridges.
Let the primer dry fully according to the manufacturer’s instructions. Do not rush drying time just because the surface feels dry. Primer needs time to harden and bond. Once dry, lightly sand with 220-grit paper, wipe away dust, and inspect the surface. If stain, tannin, or old color is bleeding through, apply a second coat of primer before painting.
Best For
This method works well for dark stained cupboards, orange-toned varnished wood, glossy bathroom vanities, and cabinets that need extra adhesion. It is especially helpful when painting a light color over dark wood.
4. Use Cabinet Enamel for a Harder, Cleaner Finish
Not all paint belongs on cupboards. Standard wall paint may look fine for a week, but cabinet doors live a harder life. They get touched, bumped, wiped, splashed, and occasionally attacked by spaghetti sauce. Cabinet enamel, door-and-trim enamel, or hybrid alkyd paint is made to dry harder and resist cleaning better than ordinary interior wall paint.
How to Do It
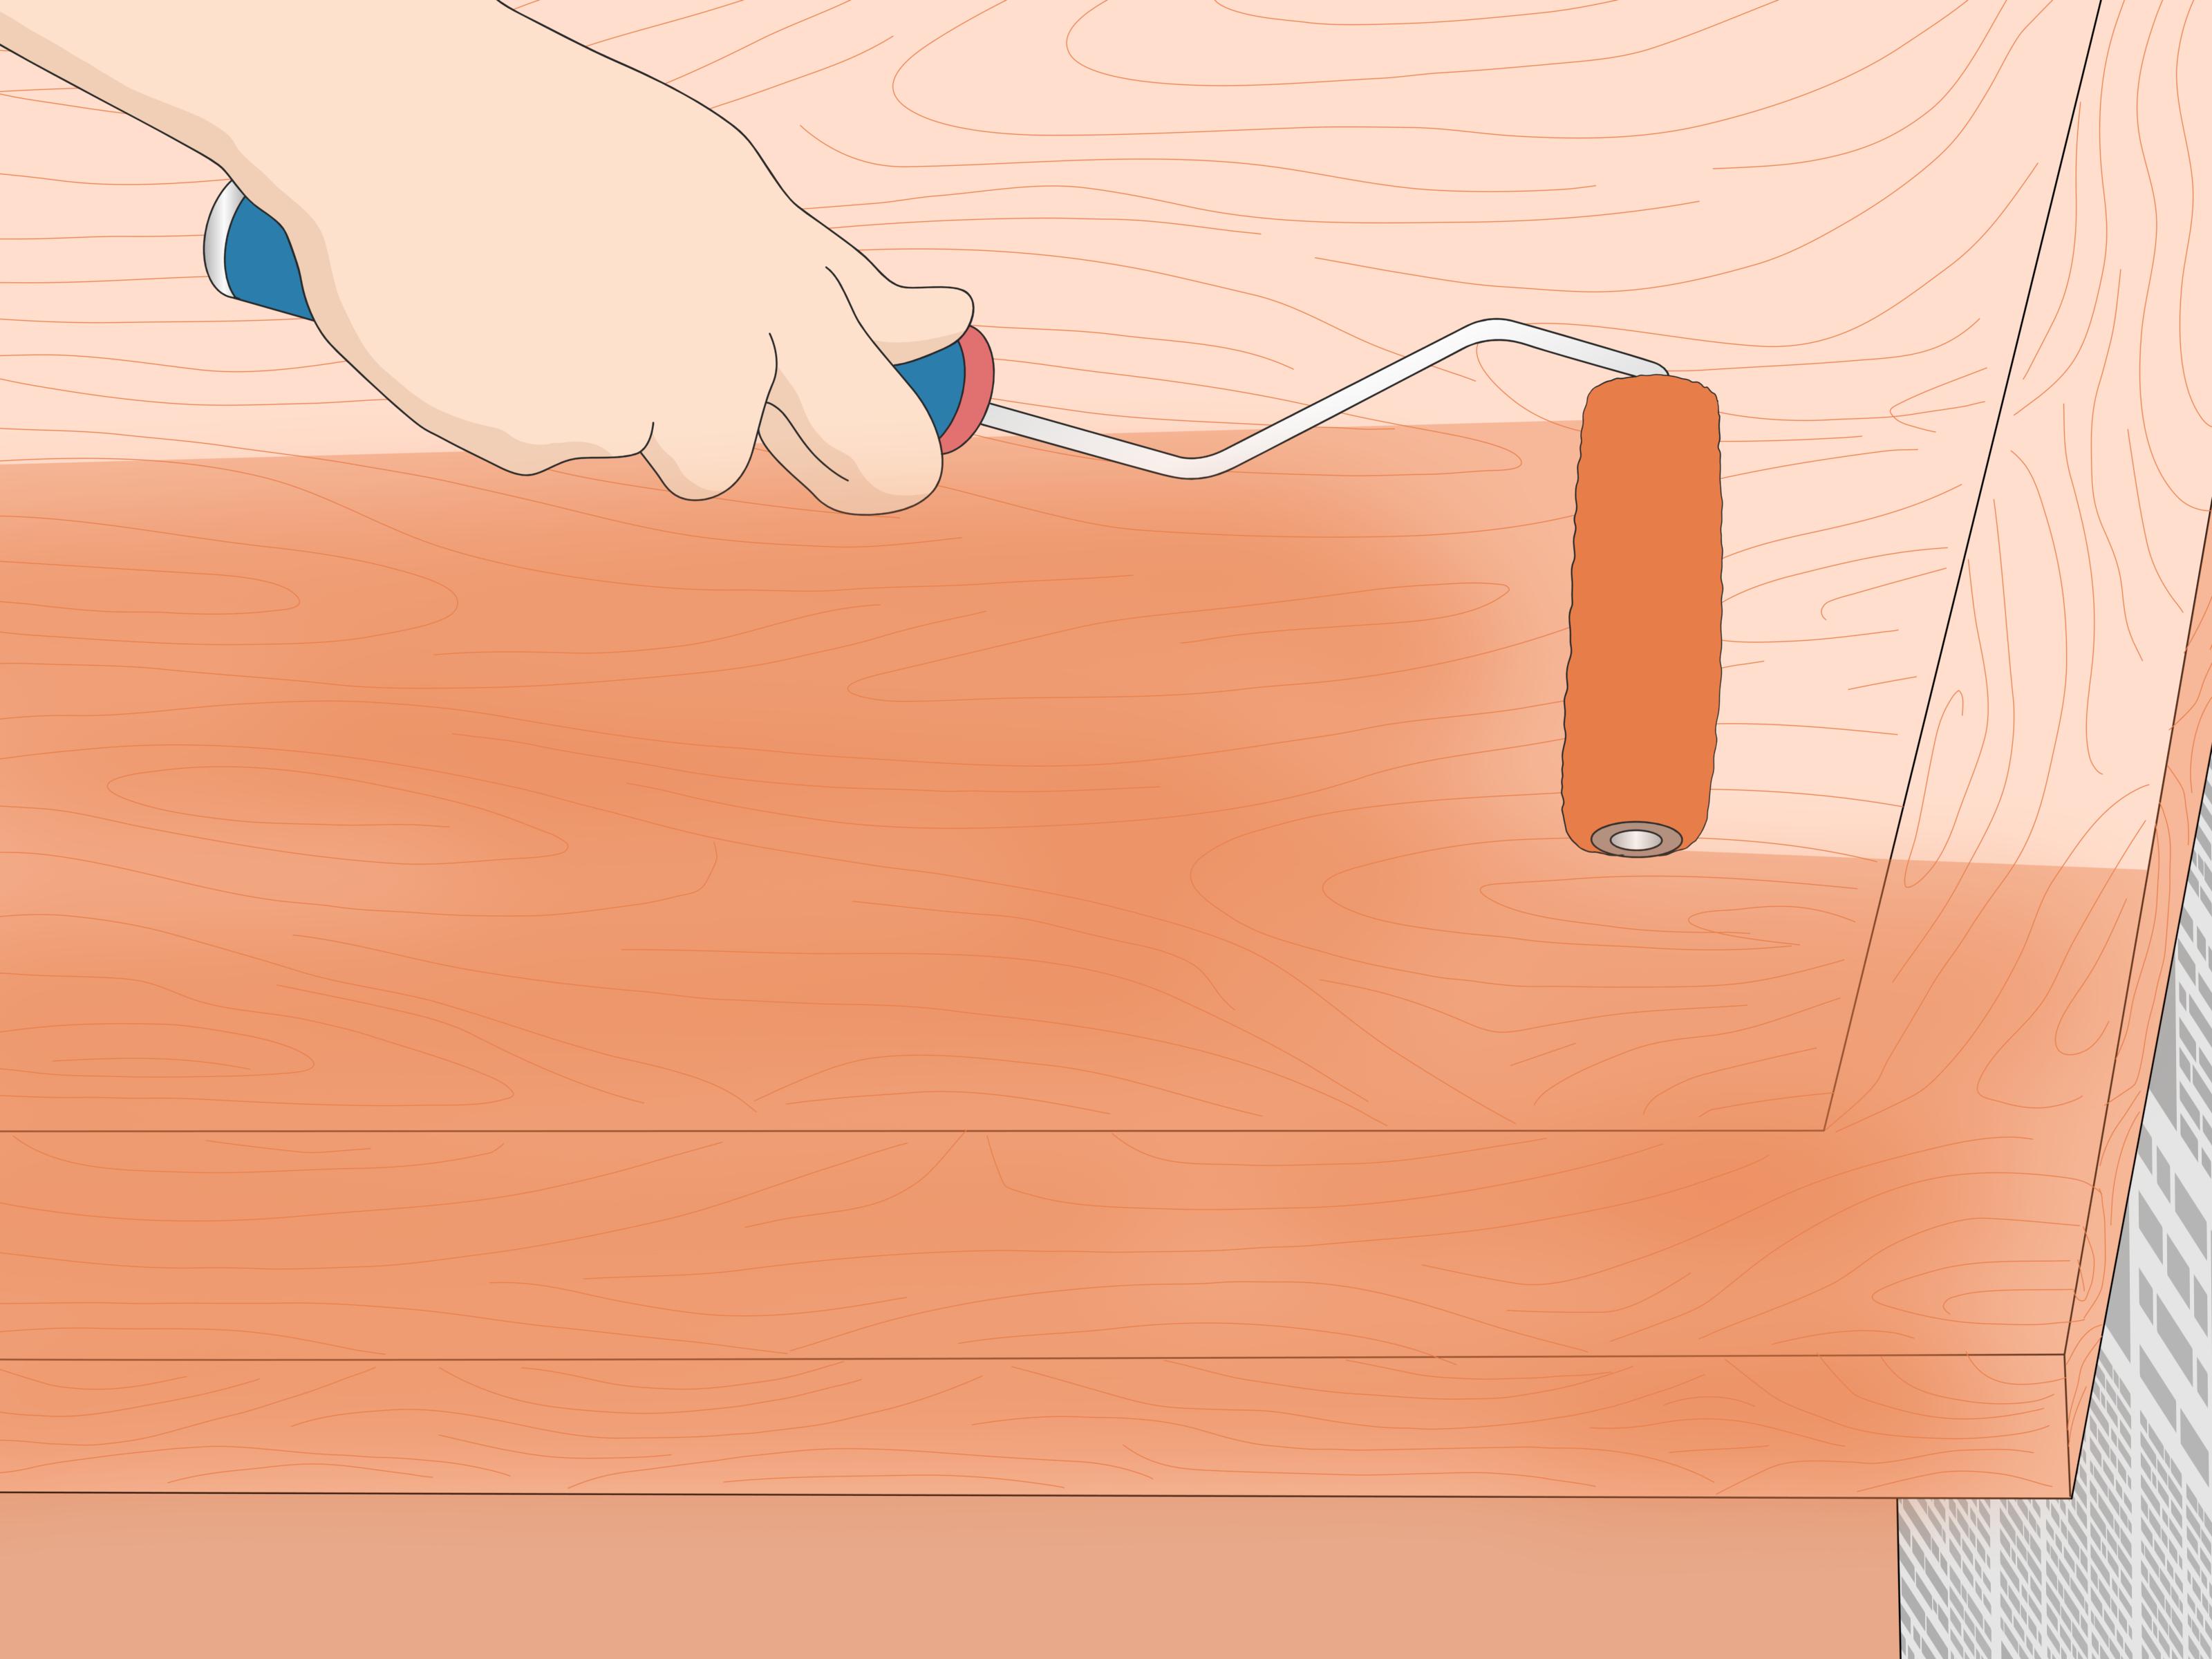
After cleaning, sanding, and priming, apply cabinet enamel in thin coats. Use an angled brush for inside corners and detailed edges, then roll flat areas with a high-density foam roller or microfiber roller. Keep a wet edge and avoid overworking the paint. Many modern cabinet paints are self-leveling, which means brush marks can settle down as the paint driesif you stop poking at them like they owe you money.
Apply two coats, allowing proper drying time between coats. For the smoothest finish, lightly sand between coats with 320-grit paper once the paint is dry enough to sand without gumming up. Wipe thoroughly before adding the next coat.
Best For
This approach is best when you want cupboards that can handle daily cleaning. Satin, semi-gloss, and gloss finishes are popular for cabinets because they are easier to wipe than flat finishes. Satin looks softer and more modern, while semi-gloss offers extra durability and light reflection.
5. Spray Paint Varnished Cupboards for a Professional Look
Spraying can create a smooth, factory-like finish, especially on flat slab doors or modern cupboards. However, spraying requires more setup, masking, ventilation, and patience. It is not the best choice if you are painting in a tiny kitchen while your dog, cat, or curious toddler treats wet paint like an interactive exhibit.
How to Do It
Remove the doors and drawers, clean and sand or degloss them, then prime as usual. Set up a spray area with plastic sheeting, drop cloths, and good airflow. Use a paint sprayer compatible with your chosen primer and cabinet paint. Thin the paint only if the product instructions allow it.
Spray several light passes instead of one heavy coat. Keep the sprayer moving at a consistent distance from the surface. Overlap each pass slightly to prevent stripes. Let one side dry fully before flipping the door, or use a drying rack system that allows both sides to cure safely.
Best For
Spraying is best for experienced DIYers, large cabinet projects, and doors with broad flat surfaces. It can deliver stunning results, but overspray is real. Masking the room carefully is not optional unless you secretly want a fine mist of cabinet paint on your toaster.
6. Strip the Varnish First for a Fresh Start
Sometimes the old varnish is too damaged to paint over. If it is peeling, sticky, alligatored, cracked, or uneven, painting over it is like putting a tuxedo on a raccoon: technically possible, but chaos is coming. In these cases, stripping the varnish may be the smartest move.
How to Do It
Remove the doors and hardware, then apply a wood-safe varnish stripper according to the directions. Work in a ventilated area, wear gloves and eye protection, and protect nearby surfaces. After the old finish softens, remove it with a plastic scraper or appropriate stripping pad. Clean off residue as instructed by the stripper manufacturer.
Once the wood is clean and dry, sand it smooth. Fill holes, dents, and damaged areas. Prime with a stain-blocking primer, especially if the wood is oak, cherry, mahogany, pine, or another species that may bleed tannins through paint. Then apply two coats of cabinet enamel.
Best For
Stripping is best for badly damaged varnish, thick old finishes, or cupboards with adhesion problems from previous DIY attempts. It takes more work, but it gives you a cleaner foundation and reduces the risk of peeling later.
Common Mistakes to Avoid When Painting Varnished Cupboards
Skipping the Cleaning Step
Cleaning is not optional. Kitchen cupboards collect grease, dust, fingerprints, cooking residue, and mystery grime. If you sand before cleaning, you may grind that residue into the surface, which can weaken primer adhesion.
Painting Over Gloss Without Scuffing
Paint does not naturally love shiny varnish. A glossy surface needs sanding, deglossing, or a combination of both. If you skip this step, the paint may scratch off around handles or peel from corners.
Using Wall Paint Instead of Cabinet Paint
Wall paint is made for walls. Cupboards need paint that dries hard, resists blocking, and handles repeated wiping. Choose cabinet enamel, trim enamel, or a product specifically recommended for cabinets and furniture.
Applying Thick Coats
Thick paint coats dry slowly, sag easily, and stay soft longer. Thin coats look better and cure harder. Two or three thin coats are usually stronger than one heroic blob of paint.
Reinstalling Doors Too Soon
Paint can be dry to the touch long before it is fully cured. Reinstalling doors too early can cause sticking, dents, or fingerprints. Give the finish as much curing time as possible before heavy use.
How Long Does It Take to Paint Varnished Cupboards?
A small bathroom vanity may take a weekend. A full kitchen often takes several days to a week, especially when you include cleaning, sanding, priming, painting both sides of doors, drying time, and curing time. The actual painting is not the slowest part. Waiting is. Cabinet painting is basically a patience test with better hardware at the end.
For best results, plan your project in stages. Day one can be removing hardware, labeling doors, cleaning, and filling holes. Day two can be sanding and priming. Day three can be sanding primer and applying the first paint coat. Day four can be the second coat. After that, allow curing time before reinstalling doors and returning the cupboards to daily battle.
Real-World Experience: What Actually Matters When Painting Varnished Cupboards
After watching many DIY cupboard painting projects succeed, fail, and land somewhere in the “it looks good from across the room” category, one lesson stands out: preparation determines the final result more than the paint color does. People often spend two weeks choosing between warm white and slightly warmer white, then spend only twenty minutes cleaning the cupboards. That is backward. The color matters, of course, but adhesion matters more. A beautiful color that scratches off with a fingernail is not a design choice; it is a cry for primer.
One practical experience is that cupboard doors usually look cleaner than they really are. Around knobs and pulls, there is often a thin layer of hand oil that normal dusting does not remove. On kitchen cupboards near the stove, the top corners may have sticky cooking residue. If those spots are not degreased, primer can separate or cure unevenly. A good test is to wipe the surface with a white cloth after cleaning. If the cloth still comes away yellow or gray, keep cleaning. Your cupboards are not being dramatic; they are just carrying years of dinner history.
Another experience: labeling doors is boring until you skip it. Many cupboard doors look identical but are not perfectly interchangeable. Hinges settle, frames shift, and older cabinets have tiny differences that become obvious during reassembly. A simple numbering system saves time and prevents the classic DIY finale where one door refuses to close and everyone blames the screwdriver.
Sanding is also commonly misunderstood. You are not trying to remove every bit of varnish. You are trying to dull the gloss and create tooth. When the surface changes from shiny to evenly cloudy, you are usually on the right track. Over-sanding veneer can burn through the thin wood layer, especially on older cupboards. Use moderate pressure and let the sandpaper do the work.
Drying and curing are where many projects lose their shinesometimes literally. Paint may feel dry after a few hours, but cabinet paint can take days or even weeks to fully cure depending on the product, humidity, temperature, and coat thickness. During that early period, avoid scrubbing, slamming doors, or stacking freshly painted pieces together. If you must reinstall doors quickly, add small felt bumpers and close them gently. Cupboards are not fragile forever, but they are a little sensitive during their fresh-paint era.
Finally, hardware can make or break the upgrade. Fresh paint with old grimy knobs is like wearing a new suit with muddy sneakers. If the budget allows, replace dated pulls or clean existing hardware thoroughly. Even simple matte black, brushed nickel, brass, or wood knobs can make painted varnished cupboards look intentional instead of “we survived a weekend project and this is what happened.”
Conclusion
Painting varnished cupboards is completely doable when you respect the surface. The best method depends on the condition of the varnish, the type of cupboard, your tools, and how much time you are willing to invest. For maximum durability, clean thoroughly, scuff sand, use a bonding or stain-blocking primer, and finish with a cabinet-grade enamel. For detailed doors or faster prep, liquid deglosser can help. For a premium finish, spraying may be worth the extra setup. And when the old varnish is failing, stripping gives you the cleanest fresh start.
The secret is not rushing. Varnished cupboards need patience, thin coats, proper drying time, and a little humility. Do the prep well, and your cupboards can go from dated and glossy to smooth, modern, and ready for years of daily use. Skip the prep, and the paint may peel faster than a banana in a smoothie shop.