A gas meter may look like a small mechanical puzzle bolted to the side of your house, but it has a straightforward job: recording how much natural gas passes into the property. Learning how to read it can help you track household energy use, check an estimated bill, investigate an unexpected spike, or determine whether a new furnace setting is saving energy.
The only tricky part is that not every gas meter speaks the same visual language. Some use clock-style dials, some display rolling numbers like a car odometer, and newer systems may transmit readings automatically to the utility. Fortunately, you do not need an engineering degree, a magnifying glass, or a ceremonial wrench. You simply need to identify the meter type and follow the correct rules.
Safety first: Read the display only. Do not loosen fittings, remove seals, turn valves, open the meter, or attach anything to the surrounding pipes. If you smell a strong sulfur-like or rotten-egg odor, hear hissing, notice damaged piping, or suspect a natural gas leak, leave the area immediately and contact 911 and your gas utility from a safe location.
What Does a Gas Meter Measure?
A residential natural gas meter normally records a cumulative volume rather than showing the amount used during one billing period. In other words, it works more like a vehicle odometer than a trip meter. The number continues increasing as gas flows through the meter.
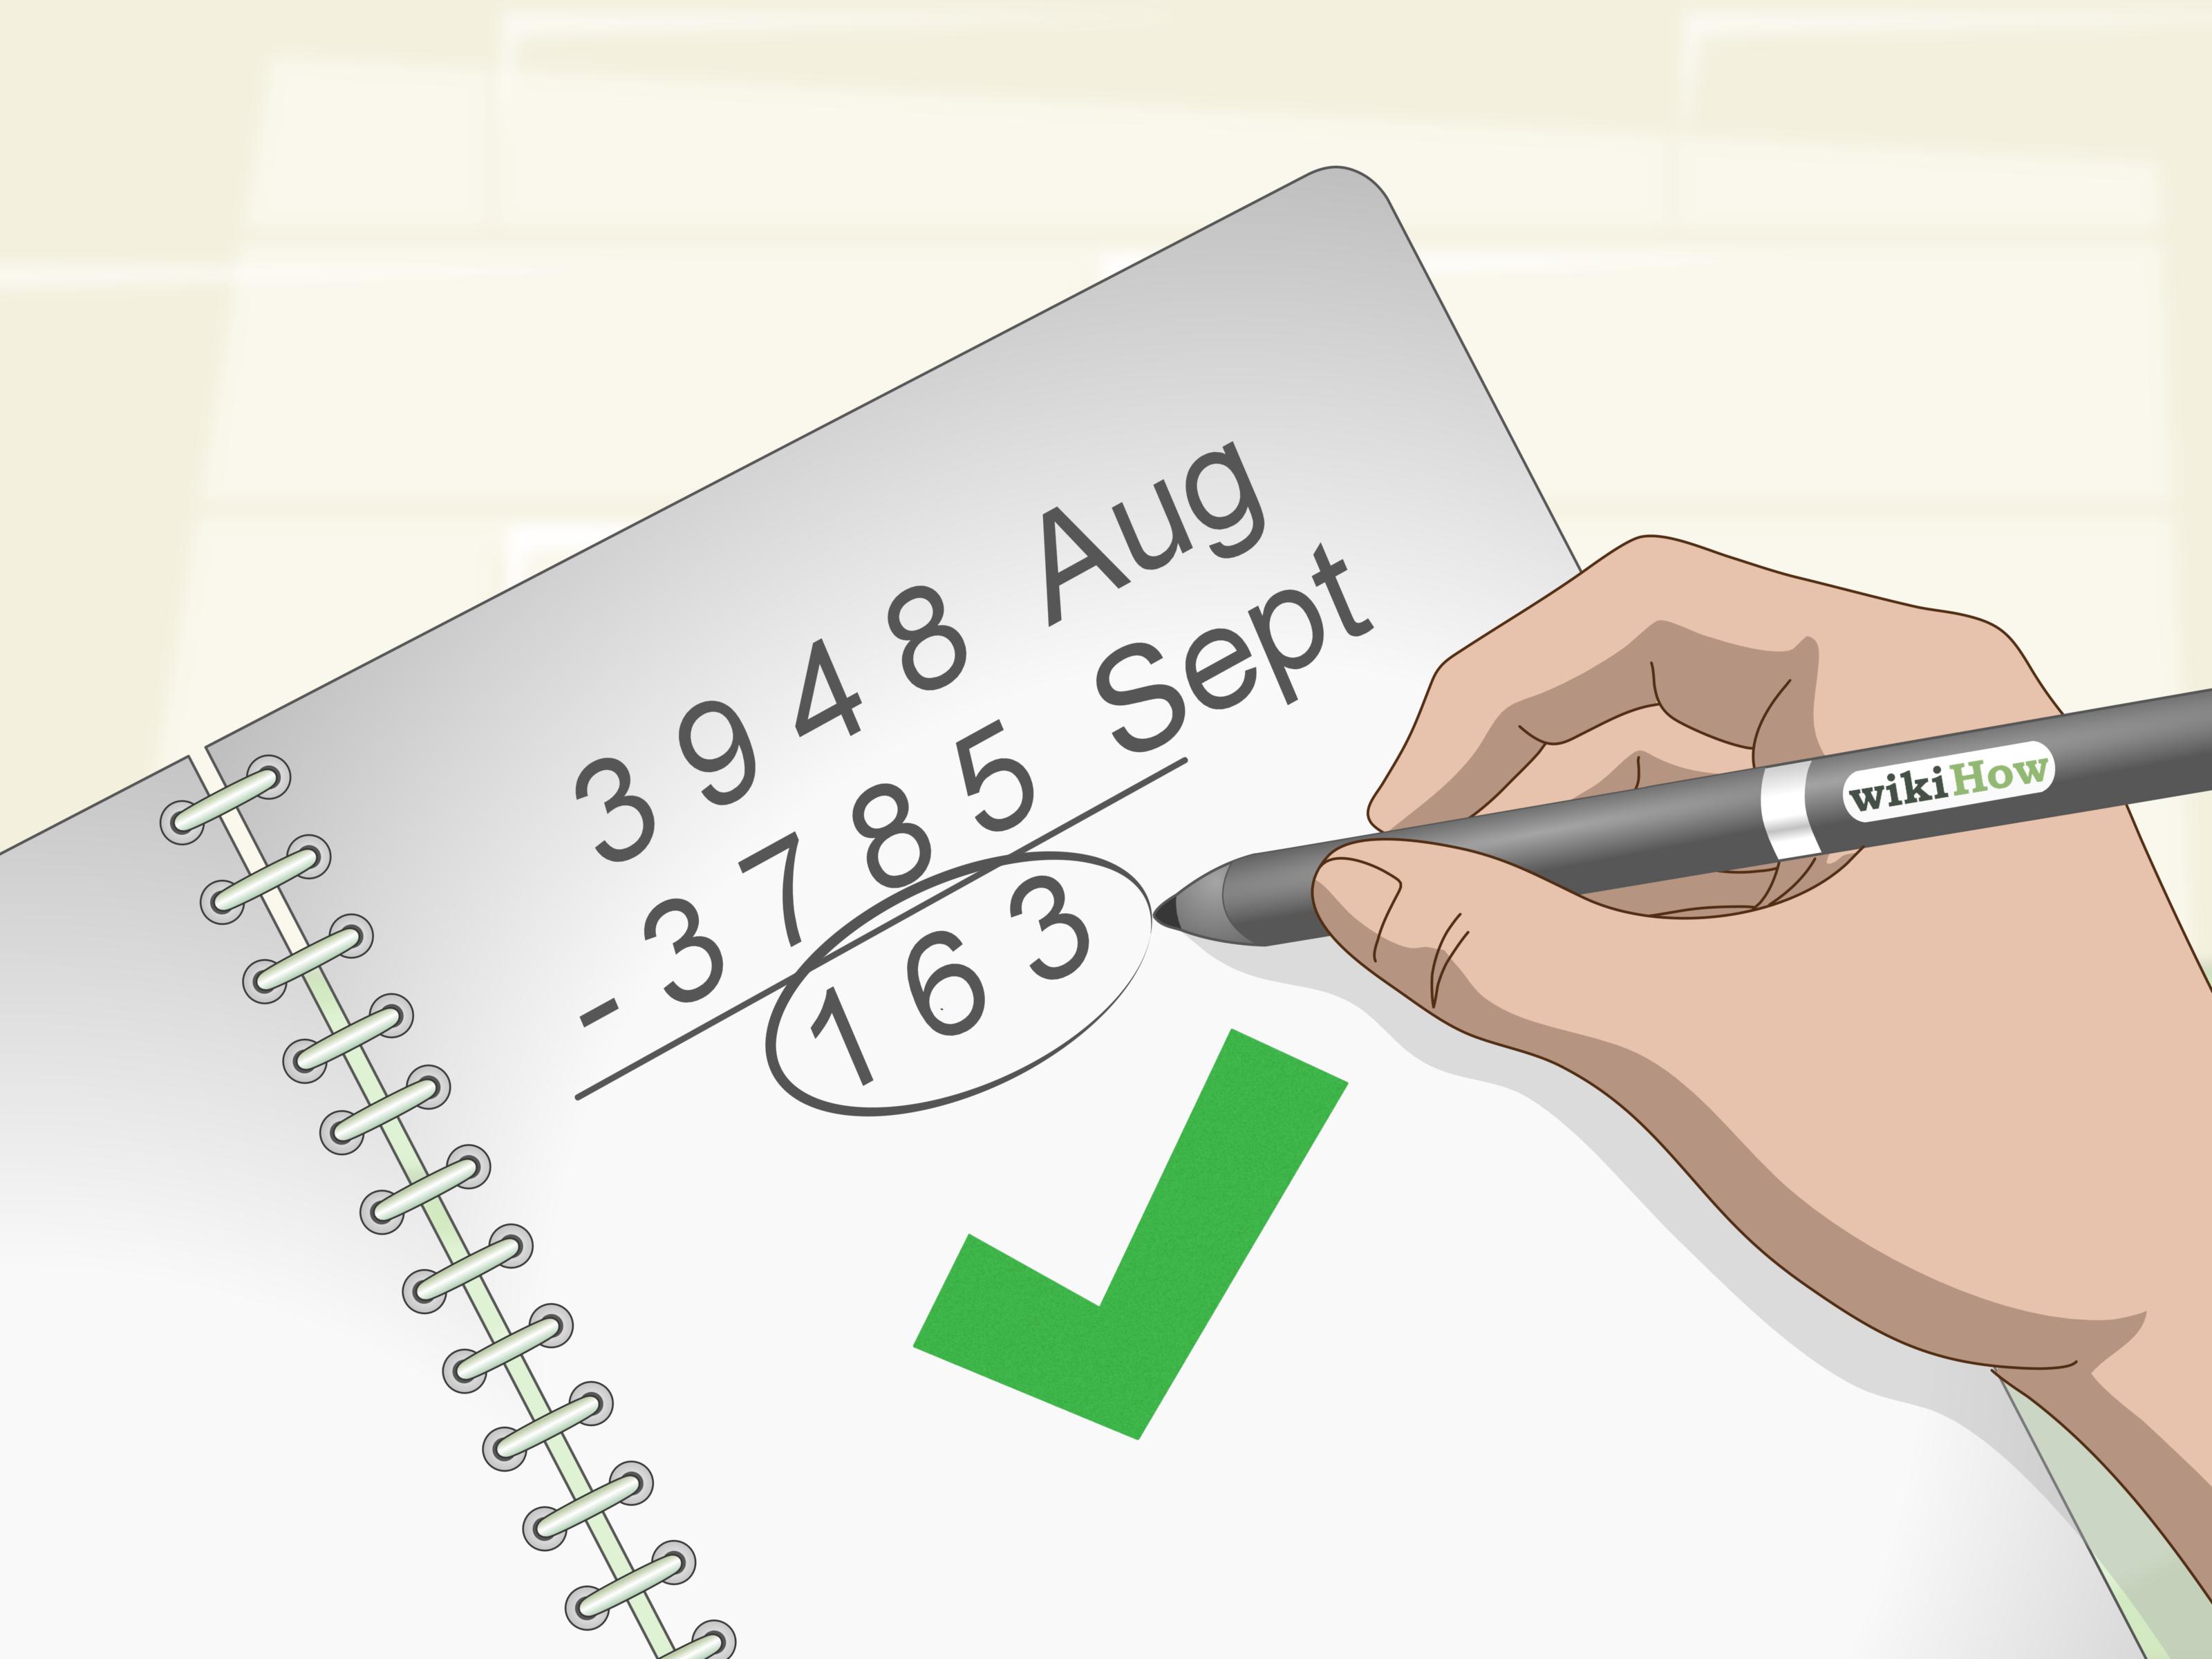
To calculate consumption for a particular period, subtract the earlier reading from the later reading:
Current meter reading − Previous meter reading = Gas used
For example, suppose the meter showed 4,798 on June 1 and 4,869 on July 1:
4,869 − 4,798 = 71 meter units
The meaning of those 71 units depends on the meter register and your utility’s billing system. Residential gas use may appear on a bill as cubic feet, hundreds of cubic feetoften abbreviated CCFthousands of cubic feet, or therms. A therm is a measure of heat energy equal to 100,000 British thermal units, while the physical meter commonly measures volume. Utilities may apply a heat-content factor, pressure adjustment, temperature adjustment, or meter multiplier when converting the recorded volume into billable energy.
That is why a quick meter calculation is excellent for checking usage trends but may not reproduce the final bill down to the penny. The meter tells you how much volume passed through it; the bill tells you how the utility converted and priced that volume.
Before You Take a Reading
Locate the correct meter
Gas meters are commonly installed outside near a side wall, foundation, driveway, or service entrance. In older homes and some multifamily buildings, the meter may be in a basement, utility room, garage, or dedicated meter area.
If several meters are grouped together, do not guess which one serves your home. Compare the meter identification number with the number printed on your utility account or bill. A beautifully recorded reading from your neighbor’s meter is still the wrong reading.
Check the unit and multiplier
Look for labels such as “cubic feet,” “CF,” “CCF,” “M³,” or a multiplier such as “×100.” Also review your gas bill for a meter multiplier or conversion factor. The visible number alone does not always reveal the billing quantity.
Bring a phone or notepad
Write down the date and reading, or take a clear photograph straight in front of the display. A photo creates a useful record if you later need to compare the number with an estimated bill. Avoid photographing at a steep angle because pointer positions can become surprisingly ambiguousrather like asking a cat whether it is sitting on the table or merely hovering one whisker above it.
Way 1: Read a Traditional Dial Gas Meter
A dial gas meter has four or five large circular dials that resemble tiny clocks. Adjacent pointers usually rotate in opposite directions because of the gearing inside the register. That alternating motion looks complicated, but the reading procedure remains consistent.
Step 1: Use only the main numbered dials
Read the large dials that form the main row. Ignore small test dials, fractional dials, unlabeled circles, or dials marked for proving or testing unless your utility specifically instructs you to include them.
Step 2: Read from left to right
Start with the far-left main dial and move one dial at a time toward the right. Do not read according to the direction in which each pointer rotates. The pointers alternate direction, but your eyes should continue marching from left to right.
Step 3: Record the number the pointer has passed
If a pointer rests between two numbers, record the lower number. There is one important-looking exception that is really the same rule in disguise: when the pointer is between 9 and 0, record 9. On a circular dial, zero follows nine, so the pointer has not yet completed its trip to zero.
Examples:
- If the pointer is between 2 and 3, record 2.
- If it is between 7 and 8, record 7.
- If it is between 9 and 0, record 9.
Step 4: Handle a pointer sitting directly on a number
A pointer may appear to rest exactly on a digit. Before recording that digit, inspect the dial immediately to its right. If the right-hand dial has passed zero, use the number on which the first pointer appears to rest. If the right-hand dial has not yet passed zero, subtract one from the first pointer’s apparent number.
This extra check matters because mechanical gears do not always line up with picture-perfect precision. One dial may appear to reach its next number a moment before the dial to its right completes its revolution.
Dial meter example
Imagine four pointers with the following positions:
- First dial: between 6 and 7
- Second dial: between 1 and 2
- Third dial: between 8 and 9
- Fourth dial: between 9 and 0
The correct reading is 6189. You record 6, 1, 8, and 9the number each pointer has already passed.
Common dial-reading mistakes
The most frequent error is choosing the number closest to the pointer. Gas dials are not rounded to the nearest digit. You generally record the lower number. Other common mistakes include reading from right to left, including a small test dial, treating zero as lower than nine on a circular dial, or forgetting to verify a pointer that appears to be exactly on a number.
Way 2: Read a Direct-Read or Digital Gas Meter
A direct-read meter displays a row of digits in small windows. Mechanical versions resemble an automobile odometer, while electronic versions show numbers on a screen. These meters are generally easier to read than clock-style dials because the register has already translated the internal movement into a number.
Reading a mechanical odometer-style register
Read the visible digits from left to right. Preserve leading zeros when submitting the reading if your utility’s form requests the full number.
For example:
Display: 004827
Reading: 004827
Some registers include differently colored digits, small digits, fixed zeros, or decimal positions. Do not automatically include every symbol you can see. Record only the digits your utility identifies as the meter reading. The unit label and sample shown on your provider’s submission page should be your guide.
Reading an electronic display
An electronic gas meter may have a button that wakes the screen or cycles through several displays. Press only the normal display button if the manufacturer or utility instructions permit it. Do not remove covers or attempt to enter service menus.
The screen may show a meter reading, test pattern, identification number, status code, or decimal value. Look for the total consumption screen described by your utility. If the display shows digits after a decimal point, many providers ask customers to report only the whole-number portion.
For example:
Display: 00153.742
Submitted reading: 00153
That example is not universal. Some utilities use metric meters, different decimal rules, or a specific number of required digits. Always follow the instructions printed on your bill or provided in your online account.
When a number appears halfway between digits
On a mechanical direct-read register, one wheel may be turning from one digit to the next. Read the lower digit unless the wheel has clearly completed the change. A clear photo can help you zoom in without pressing your nose against a cold metal box in January.
Direct-read example
Suppose the meter shows 03726 today and your previous documented reading was 03681:
3,726 − 3,681 = 45 meter units used
Next, check the bill to determine whether those units represent cubic feet, hundreds of cubic feet, cubic meters, or another registered quantity. Apply a multiplier only when the meter label or utility bill instructs you to do so.
Way 3: Read Usage Through a Smart Meter or Utility Account
Many gas utilities use automated meter reading, advanced metering equipment, or radio transmitters attached to conventional meters. These systems allow the utility to collect readings without requiring a worker to inspect the register manually every month.
Depending on the provider, customers may be able to view monthly, daily, or more detailed consumption information through an online account or mobile app. This creates a third practical way to “read” the meter: review the transmitted data and compare it with the physical totalizer.
Step 1: Open the usage section of your account
Sign in to your utility account and look for labels such as “Energy Usage,” “Meter Readings,” “Usage History,” or “My Energy.” Note whether the displayed figures are actual readings, estimated readings, or calculated consumption.
Step 2: Confirm the reading date
A bill may cover more or fewer days than the previous bill. Compare both the quantity used and the length of the billing period. A 35-day bill will often show more gas than a 28-day bill even when daily habits remain unchanged.
Step 3: Compare cumulative readings
If the account displays current and previous meter readings, subtract them to verify the reported volume. If the account shows only daily consumption, add the relevant days or compare the utility’s total with your own photographs.
Step 4: Check whether the reading was estimated
Estimated bills are normally identified with words or codes such as “estimated,” “EST,” or “E.” An estimate may be based on prior consumption, seasonal patterns, and weather. When an actual reading is later obtained, the utility generally adjusts for the difference between estimated and recorded use.
What smart-meter data can reveal
Usage data can help identify patterns that one monthly number may hide. A homeowner might notice that consumption rises sharply on cold mornings, remains elevated after guests arrive, or drops after lowering the thermostat overnight. A sudden unexplained increase does not automatically prove a leak or defective meter, but it gives you a reason to investigate appliances, weather, billing dates, and household changes.
Remember that the utility portal may not update in real time. Transmitted readings can appear after a delay, and the displayed usage may have been processed through billing conversions. For the most meaningful comparison, match the dates and units rather than expecting the online value and physical register to look identical at every moment.
How to Estimate Your Gas Consumption
Use readings taken on comparable dates
For monthly tracking, photograph the meter on approximately the same date and at the same time each month. Better yet, use the scheduled meter-reading date printed on your bill. Consistent intervals make comparisons more useful.
Calculate average daily use
Divide total consumption by the number of days between readings:
Total gas used ÷ Number of days = Average daily use
If you used 71 CCF over 31 days:
71 ÷ 31 = approximately 2.29 CCF per day
Average daily use is often more informative than comparing billing totals because billing periods can vary in length.
Compare similar weather periods
Natural gas consumption often changes dramatically with outdoor temperature when a home uses gas heating. Comparing January with July tells you that winter is colda discovery unlikely to earn a scientific medal. Comparing this January with last January, while considering average temperatures and billing days, offers much more useful information.
Do not confuse usage with total cost
Your gas bill may include delivery charges, supply charges, taxes, riders, customer fees, and other items. A 10% reduction in meter usage does not always produce a 10% reduction in the total bill because some charges are fixed.
Troubleshooting Unusual Readings
The current reading is lower than the previous one
First, check for a transcription error. You may have reversed two digits, included the wrong dial, or read another unit’s meter. Also determine whether the utility recently replaced the meter. A new meter may restart at or near zero.
Mechanical registers can eventually roll over after reaching their maximum displayed value. If you have confirmed a rollover, calculate the remaining amount before zero and then add the new reading. Contact the utility when you are uncertain rather than inventing a heroic piece of meter mathematics.
The bill and meter do not match
The meter will normally show a higher cumulative number than the reading printed on an older bill because gas has continued flowing since the billing date. Match the physical reading with the bill’s reading date, not the date on which you happen to open the envelope.
Also check whether the bill used an estimate, multiplier, heat-content factor, or conversion to therms. Contact the provider if the difference remains unexplained.
The reading rises when everything appears off
Some appliances maintain pilot lights, water temperature, standby heating, or automatic cycles, so apparently idle equipment may still use a small amount of gas. Never use the meter as your only method of testing for a leak. If you smell gas, hear hissing, see physical damage, or feel unsafe, leave immediately and report the situation from a safe location.
Practical Experiences: What Reading a Gas Meter Is Really Like
The following field-style observations are compiled from common homeowner and utility situations rather than presented as personal firsthand experiences.
Experience 1: The dial that seems to point at two numbers
The first surprise for many homeowners is how imprecise a perfectly functional analog dial can look. In bright sunlight, the pointer seems to rest on 4. In the phone photo, it looks slightly below 4. Five minutes later, after staring too long, both 3 and 4 begin to seem emotionally persuasive.
The reliable approach is to stop judging which number is closest. Ask which number the pointer has already passed. If it is moving from 3 toward 4 but has not fully reached 4, record 3. When the pointer appears directly on 4, check the dial to the right. That neighboring dial acts like a witness confirming whether the transition is complete.
Taking two photographs also helps: one wide shot showing the meter number and one close shot showing the dials. The wide image proves you read the correct meter; the close image makes the pointers easier to inspect.
Experience 2: A “huge” increase caused by billing dates
A household may compare two bills and become alarmed because the newer bill shows 20% more gas. After checking the details, the mystery sometimes shrinks considerably: the first bill covered 27 days, while the second covered 34 days.
Suppose one period used 81 units over 27 days, or 3 units per day. The next used 98 units over 34 days, or about 2.88 units per day. Total consumption increased, but average daily use actually fell. The longer bill merely wore a more frightening costume.
This is why a simple tracking sheet should include the date, meter reading, units used, number of days, and average daily consumption. Outdoor temperature and major household changes are also useful notes. A new gas dryer, visiting relatives, a water-heater adjustment, or a week of freezing weather can explain changes that the raw number cannot.
Experience 3: The estimated bill that corrects itself later
Another common situation occurs when the utility cannot obtain an actual reading. The bill is estimated from historical use and other factors. If the estimate is too high, the customer may feel overcharged; if it is too low, the next bill can look unusually large after an actual reading catches up with the missing consumption.
Keeping dated meter photos makes this situation easier to understand. If the utility accepts customer-submitted readings, the photo supplies the number and creates a record. When the next actual bill arrives, compare the previous reading, current reading, read type, and billing dates before focusing only on the dollar amount.
Experience 4: Discovering that the meter and bill use different units
A homeowner may subtract two readings correctly and still fail to reproduce the therms listed on the bill. The arithmetic is not necessarily wrong. The meter may be recording volume while the utility bills for heat energy. A multiplier or heat-content factor may sit between the two values.
The practical lesson is to treat the bill as a conversion worksheet. Find the current reading, previous reading, meter difference, multiplier, measured volume, conversion factor, and billed therms. Once those fields are identified, the billing process becomes much less mysterious.
Experience 5: Building a useful long-term habit
The most effective meter-reading routine is modest: take one photograph per month and enter the number in a spreadsheet or notebook. After several months, patterns become visible. Heating season forms a recognizable curve, vacations produce dips, and efficiency improvements can be evaluated against similar weather periods.
The goal is not to patrol the meter every hour like a security guard in a low-budget detective movie. It is to create enough consistent data to recognize normal household behavior. When a reading looks unusual, you then have a reliable history against which to compare it.
Final Takeaway
There are three practical ways to read a gas meter: interpret the pointers on a traditional dial meter, copy the digits from a direct-read or electronic register, or review readings transmitted through a smart-meter system and utility account. In every case, identify the correct meter, read from left to right, record the date, confirm the units, and subtract the previous reading from the current one to calculate consumption.
Reading your own meter will not replace the utility’s official billing process, but it can make that process far easier to understand. A monthly photograph and a few lines of arithmetic can help you verify estimates, compare daily use, investigate changes, and make smarter energy decisionswithout treating the meter like an ancient artifact that requires translation by moonlight.
SEO Information
Note: Meter designs, units, multipliers, online reporting procedures, and emergency contact instructions vary by utility. Confirm the requirements shown on your meter, gas bill, or provider’s official customer-service materials. Never alter, open, disconnect, or attempt to repair utility-owned gas equipment.