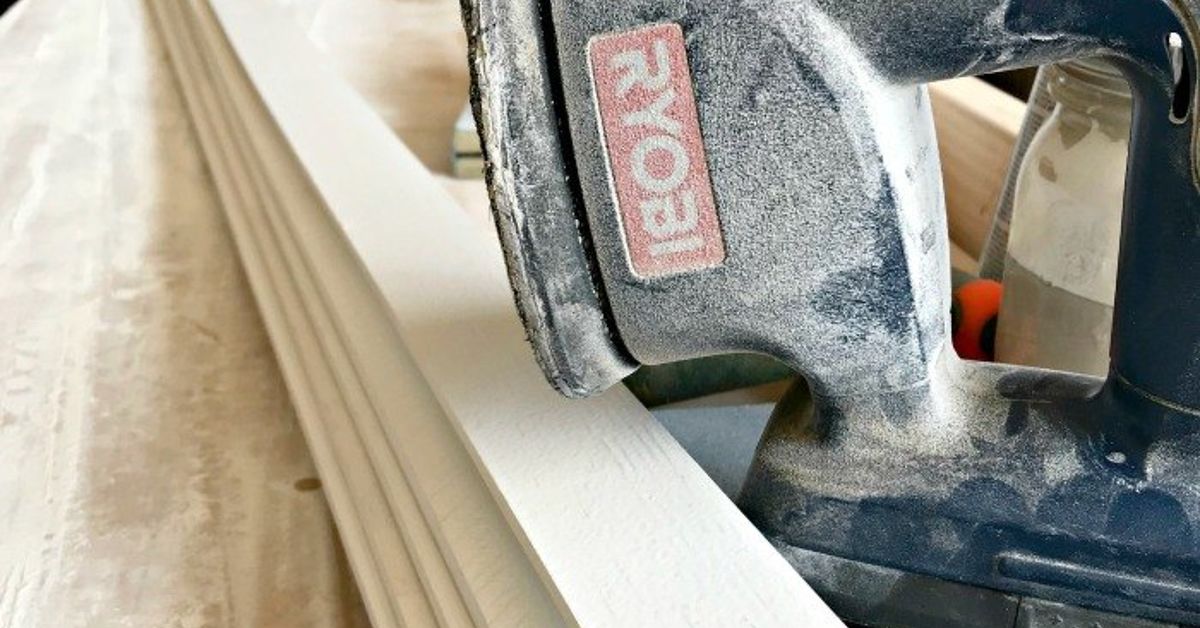
Board and batten lattice wainscoting is what happens when classic wall trim puts on a crisp shirt, combs its hair, and decides to make the whole room look more expensive. It gives plain drywall architectural detail, adds rhythm to long walls, protects the lower portion of the room, and creates that “custom home” feeling without requiring you to sell a kidney to a finish carpenter.
The best part? This project is very DIY-friendly when you plan the layout carefully. The not-so-best part? The wall will absolutely expose every tiny measuring mistake like a dramatic reality show contestant. But do not panic. With a level, a tape measure, a nail gun, construction adhesive, paintable caulk, and a little patience, you can install board and batten lattice wainscoting that looks clean, balanced, and intentionally designed.
This guide walks through the full process: choosing materials, calculating spacing, preparing the wall, installing rails and battens, creating the lattice pattern, finishing seams, painting, and avoiding the mistakes that make trim projects look “homemade” in the wrong way.
What Is Board and Batten Lattice Wainscoting?
Traditional board and batten uses wide boards or smooth wall sections separated by narrow vertical strips called battens. Wainscoting refers to decorative paneling on the lower portion of a wall, commonly topped with a cap rail or chair rail. Lattice wainscoting adds another layer: a grid or crisscross pattern created with horizontal and vertical trim pieces, sometimes with diagonal details depending on the style.
In modern interiors, many homeowners skip full wood panels and install trim directly over smooth drywall. The drywall becomes the “board,” while the added wood or MDF strips become the battens. This keeps the cost lower and reduces project weight. If your wall is heavily textured, damaged, or uneven, you may want to install a thin smooth hardboard or MDF backer first so the finished squares look crisp instead of bumpy, like the wall had a rough morning.
Where Board and Batten Lattice Wainscoting Works Best
This wall treatment works beautifully in dining rooms, entryways, hallways, powder rooms, bedrooms, staircases, mudrooms, and home offices. It is especially useful in spaces that need character but not clutter. A small hallway can feel more intentional. A dining room can feel more finished. A builder-grade powder room can suddenly act like it has a trust fund.
For a classic look, install the wainscoting at about one-third of the wall height. For an 8-foot ceiling, that usually means around 32 to 36 inches tall including the cap. For a taller or more dramatic look, go 48 to 60 inches. In a dining room, align the top rail with nearby window stools, door trim, or furniture lines when possible. Good trim design should feel connected to the room, not randomly taped to the wall by a sleep-deprived raccoon.
Tools and Materials You Will Need
Basic Tools
- Tape measure
- Stud finder
- Level or laser level
- Miter saw or circular saw
- Brad nailer or finish nailer
- Caulk gun
- Pencil and painter’s tape
- Sanding sponge or orbital sander
- Putty knife
- Paint roller and angled brush
Materials
- Pre-primed MDF or pine boards for battens
- Top rail, bottom rail, and cap molding
- Construction adhesive
- Brad nails or finish nails
- Paintable acrylic latex caulk
- Wood filler or lightweight spackle
- Primer, if boards are raw or patched heavily
- Interior paint in satin, eggshell, or semi-gloss finish
MDF is popular because it is smooth, affordable, and easy to paint. Pine is stronger and handles small impacts better, but it may have knots and grain that need more prep. For bathrooms or damp areas, use moisture-resistant MDF, PVC trim, or properly sealed wood. Regular MDF and moisture are not best friends. They are more like coworkers who keep smiling while planning separate lunch breaks.
Step 1: Plan the Height and Layout
Before buying boards, decide how tall the wainscoting should be. Measure from the floor to your desired top point and mark it lightly on the wall. Use a level or laser line to continue that height across the room. Floors and ceilings are often not perfectly level, so trust your level line more than your baseboard. Your house may have settled. Your trim does not need to emotionally settle with it.
Next, decide the lattice pattern. The simplest layout is a rectangular grid: vertical battens divided by horizontal rails. For a more decorative lattice style, you can create smaller squares or elongated rectangles. In narrow spaces, taller rectangles often look elegant. In wide dining rooms, evenly spaced squares can feel formal and balanced.
Measure the full width of the wall and subtract the width of the outside battens. Then divide the remaining space by the number of openings you want. Remember to account for the width of each batten. Many DIY mistakes happen because people divide only the wall width and forget that trim pieces also take up space. Math is not trying to ruin your weekend; it is trying to save your wall.
Step 2: Sketch the Design Before Cutting
Create a simple drawing with exact measurements. Include the base rail, top rail, vertical battens, horizontal lattice pieces, cap molding, door casing, outlets, vents, and inside corners. If an outlet lands awkwardly in the middle of a batten, adjust the spacing slightly before installation. A layout that avoids electrical conflicts will look cleaner and save time.
Painter’s tape is also helpful. Tape the pattern on the wall before cutting anything. Step back and look at it from the doorway. If the design feels too busy, increase the spacing. If it feels empty, add another vertical division. This five-minute test can prevent a five-hour regret spiral.
Step 3: Prepare the Wall
Remove outlet covers, wall hooks, old chair rails, and anything else in the project area. Clean the wall with a damp cloth to remove dust and grease. If the wall has holes or dents, patch them and sand smooth. For glossy paint, lightly scuff the surface so adhesive and paint bond better.
If your existing baseboard is thin or decorative, decide whether to remove it. Many board and batten installations look best with a flat, square baseboard because the vertical battens can die cleanly into it. If you keep the existing baseboard, you may need to bevel or angle-cut the bottom of each batten so it meets the trim neatly. This works, but it takes more patience and possibly more snacks.
Step 4: Locate and Mark Studs
Use a stud finder to mark wall studs with small pieces of painter’s tape above the project area. Whenever possible, nail rails and battens into studs. Drywall alone does not hold nails securely over time, especially with trim that may get bumped by chairs, backpacks, kids, dogs, or that one guest who leans like a tired bookshelf.
When a batten does not land on a stud, use construction adhesive on the back and secure it with angled brad nails until the adhesive cures. Do not overdo the glue. A thin zigzag bead is usually enough. Too much adhesive can squeeze out and create cleanup work.
Step 5: Install the Bottom Rail or Baseboard
If replacing the baseboard, install the new base rail first. Choose a board that is at least as thick as the battens or slightly thicker. For example, if your battens are 1/2 inch thick, a 3/4-inch-thick baseboard gives a nice reveal. Attach it level, not necessarily tight to a wavy floor. Small gaps at the bottom can be handled with shoe molding if needed.
Apply construction adhesive to the back, press the board into position, and nail into studs. Use a level as you go. If you are working around a room, check corners carefully so the base rail continues smoothly from wall to wall.
Step 6: Install the Top Rail
The top rail defines the upper boundary of the wainscoting. Place it along the level line you marked earlier. Apply adhesive, align the board, and nail into studs. At outside corners, miter the rail for a finished look. At inside corners, a butt joint is often acceptable because caulk and paint will hide minor gaps.
If you plan to add a cap shelf or small ledge, install it after the top rail is secure. A cap molding gives the wainscoting a polished stopping point and can visually connect with nearby window trim or chair rail height.
Step 7: Install the Vertical Battens
Start with the left and right outside battens, then work inward. Cut each batten to fit snugly between the bottom and top rails. Dry-fit every piece before adding adhesive. Walls are rarely perfectly square, so each vertical piece may vary slightly in length.
Use a level to make sure each batten is plumb. Even a small lean becomes obvious once the grid is painted. Attach with adhesive and nails. Wipe away any squeeze-out immediately with a damp cloth. If the battens are narrow, keep the nailer straight so nails do not shoot out the side. That little surprise is exciting only once.
Step 8: Add the Horizontal Lattice Pieces
Once the vertical battens are installed, measure the spaces between them for the horizontal pieces. Do not assume each opening is identical. Measure each section individually and cut to fit. This is one of the secrets to professional-looking trim: measure the real wall, not the fantasy wall you wish you had.
For a simple lattice wainscoting design, place one horizontal rail midway between the base and top rail. For a more detailed grid, use two horizontal rails to create three rows. Keep spacing consistent unless you are intentionally matching an architectural feature such as a window sill or stair angle.
Use a scrap spacer block to maintain consistent height across the wall. Apply adhesive to each piece, set it in place, check level, and nail it securely. If your wall has outlets, cut the lattice trim around them rather than trapping the outlet behind trim. Electrical boxes should remain accessible and properly extended if paneling changes wall depth.
Step 9: Add Cap Molding or Decorative Trim
A cap rail can be as simple as a 1×2 board sitting on top of the top rail, or it can include decorative molding for a traditional profile. In a modern farmhouse room, a clean square cap looks great. In a formal dining room, a small cove, ogee, or chair rail molding adds detail.
Keep scale in mind. Large trim in a small room can look bulky, while tiny trim on a tall wall may look timid. The goal is proportion. Think tailored suit, not Halloween costume.
Step 10: Fill, Caulk, Sand, and Prime
This is the stage where the project transforms from “I nailed sticks to a wall” into “custom millwork.” Fill nail holes with wood filler or lightweight spackle. Let it dry, then sand smooth. Caulk the seams where trim meets the wall and where trim pieces meet each other. Use paintable caulk, not pure silicone, because paint needs to bond to it.
Cut a small opening in the caulk tube tip. A smaller bead is easier to control and cleaner to smooth. Run the bead along the seam, smooth it with a damp finger or caulk tool, and wipe away excess. Let the caulk cure according to the product directions before painting.
If you used raw wood or heavily patched MDF, apply primer. Primer helps create an even finish and reduces flashing, which happens when filled spots absorb paint differently from the surrounding surface.
Step 11: Paint the Wainscoting
For the cleanest look, paint the wall and trim the same color. This makes the lattice pattern feel built-in rather than pasted on. Satin and semi-gloss finishes are good choices for durability, especially in dining rooms, hallways, and mudrooms. Eggshell can work for a softer, more modern look.
Use an angled brush for inside corners and seams, then roll the flat areas with a small foam or microfiber roller. Watch for drips along the lower edges of battens. Trim loves to hide drips until the light hits them later and they wave at you like tiny paint icicles.
Two coats usually give the best result. Let the first coat dry fully, lightly sand any rough spots, remove dust, and apply the second coat. Reinstall outlet covers after the paint has cured enough to avoid sticking.
Common Mistakes to Avoid
Ignoring Wall Texture
Smooth drywall works well as the background panel. Heavy orange peel, knockdown texture, or damaged plaster may need skim coating or a thin backer board. Otherwise, the “panel” areas can look rough beside the crisp trim.
Skipping Layout Math
Uneven spacing is the fastest way to make a lattice wall look amateur. Plan every opening and account for batten width. Always check the design with painter’s tape before cutting.
Using the Wrong Caulk
Use paintable acrylic latex or siliconized acrylic caulk for interior trim. Avoid pure silicone because most interior paints will not adhere to it properly.
Forgetting About Outlets
Outlets should remain safe, visible, and accessible. If the trim or paneling changes wall depth, use appropriate electrical box extenders. When in doubt, call a qualified electrician.
Painting Too Soon
Caulk and filler need time to dry. Painting too early can cause cracks, shrinking, or uneven sheen. Patience is not glamorous, but neither is repainting the same seam three times.
Design Ideas for Board and Batten Lattice Wainscoting
For a classic dining room, paint the wainscoting warm white and pair it with a muted wall color above. For a moody home office, use deep green, navy, charcoal, or brown on the wainscoting and keep the upper wall lighter. In a kids’ room or mudroom, choose a durable satin finish that can handle fingerprints, scuffs, and mysterious marks no one admits making.
You can also pair lattice wainscoting with wallpaper above the cap rail. This combination works especially well in powder rooms and dining rooms. The trim grounds the space while the wallpaper adds personality. It is like letting the lower wall wear a tuxedo while the upper wall tells jokes at the party.
Estimated Difficulty, Time, and Cost
For an average 10- to 12-foot wall, a beginner-friendly board and batten lattice wainscoting project may take a weekend: one day for layout and installation, and another day for caulking, sanding, priming, and painting. A full room can take several days depending on corners, doors, outlets, and the number of lattice sections.
Cost depends on materials and room size. MDF trim is usually more budget-friendly than solid wood, while decorative molding, moisture-resistant materials, and premium paint increase the total. The biggest savings come from doing the labor yourself. Finish carpentry is time-consuming, and professional installation can cost much more than the materials.
Extra Experience Notes: What I Wish Every DIYer Knew Before Installing Board and Batten Lattice Wainscoting
The first real lesson is that walls are not straight. They may look straight because they are polite from a distance, but once you put a level, long rail, or perfectly cut trim piece against them, the truth comes out. Expect small gaps. Expect corners that are not exactly 90 degrees. Expect baseboards that rise and fall like a gentle roller coaster. This does not mean your house is broken. It means your trim strategy needs flexibility.
One of the best experiences-based tips is to cut slightly long and sneak up on the final fit. You can always shave off a little more; you cannot stretch MDF unless you have access to wizardry, and most home centers keep that aisle hidden. When fitting horizontal lattice pieces between vertical battens, measure each opening separately. Even if your layout says every box should be 18 inches wide, real-life openings may differ by 1/16 or 1/8 inch. Those tiny differences matter when you want tight joints.
Another practical tip is to paint or prime the wall before installing trim if you are changing colors dramatically. For example, if your existing wall is dark gray and the finished wainscoting will be white, rolling one coat onto the wall first saves time later. After the battens are installed, painting inside every little rectangle takes longer. Pre-painting is not mandatory, but it can reduce frustration, especially with a dense lattice pattern.
Caulk is magical, but it is not a structural repair product. Use it for small seams, not giant gaps. If a gap is too wide, recut the piece or use a thin shim where appropriate. Overfilled caulk lines can shrink, crack, or look rounded after paint. The goal is crisp shadow lines, not frosting a wall cake.
For beginners, a laser level is worth borrowing or buying. It speeds up layout and helps keep horizontal rails consistent across a room. If you only use a small handheld level, check often and mark carefully. Small errors can multiply across a long wall. By the time you reach the opposite corner, the grid may look like it is quietly walking uphill.
When choosing paint color, sample it on both the upper wall and the wainscoting area. Trim creates shadows, so the same color may look darker in recessed spaces and lighter on raised battens. Whites can look creamy, gray, blue, or yellow depending on light. Dark colors look dramatic but reveal dust and caulk texture more easily, so prep matters even more.
Finally, do not judge the project before paint. During installation, the wall may look chaotic: raw boards, pencil lines, filler spots, caulk seams, and nail holes everywhere. This is normal. Trim projects have an awkward teenage phase. Once the nail holes are filled, seams are caulked, and the final coat of paint goes on, the entire design suddenly clicks. That is the moment when you step back, nod proudly, and briefly consider adding wainscoting to every room in the house. Please measure first.
Conclusion
Installing board and batten lattice wainscoting is one of the most rewarding DIY wall upgrades because it delivers a high-end architectural look with simple materials and careful planning. The keys are layout, proportion, straight lines, clean seams, and patient finishing. Choose the right height for your room, map the lattice pattern before cutting, secure trim properly, fill and caulk every joint, and paint with a durable finish.
Whether you want a traditional dining room, a polished hallway, a charming powder room, or a modern accent wall, board and batten lattice wainscoting can make ordinary drywall look custom-built. It is not the fastest project, and yes, you may develop strong opinions about caulk by the end. But when the room finally looks taller, richer, and more finished, the effort is absolutely worth it.