Requesting a ride on Uber is one of those modern life skills that feels simple after you do it once, but slightly mysterious before that first tap. The app asks where you are, where you are going, which type of ride you want, how you want to pay, and whether you are emotionally prepared to walk outside before the driver arrives. That last part is not official, but it should be.
The good news is that learning how to request a ride on Uber is easy. Whether you need a quick trip to work, a late-night ride home, an airport pickup, a larger vehicle for your group, or a scheduled ride for tomorrow morning, the process follows the same basic pattern: open the Uber app, enter your destination, choose your ride, confirm the details, and meet your driver safely.
This guide explains the full process in clear American English, with practical examples, safety reminders, common mistakes, and real-world rider experience. By the end, you will know how to book an Uber ride without panic-tapping every button on your screen like you are defusing a tiny digital bomb.
What You Need Before Requesting an Uber Ride
Before you request a ride, make sure you have the Uber app installed on your smartphone. Uber is available through the Apple App Store and Google Play Store, and the app is the main place where riders enter pickup locations, compare ride types, view estimated prices, contact drivers, and manage trip support.
You also need an Uber account. Creating one usually requires a phone number, email address, name, and payment method. Depending on your area and account status, Uber may also ask you to verify your identity. Verification helps protect both riders and drivers, especially when payment options or safety features require an extra layer of trust.
Set Up Your Payment Method
In most cities, Uber works as a cashless service. That means your selected payment method is charged automatically after the trip ends. Common payment options include credit cards, debit cards, PayPal, digital wallets, gift cards, and Uber Cash. In some areas, verified riders may also see cash as an available payment option, but availability varies by city, time, trip type, and Uber policy.
To add or update a payment method, open the app, go to your account or wallet section, and add the card or payment option you want to use. Do this before you are standing outside in the rain, holding a suitcase, and whispering, “Why is technology like this?” Future you will be grateful.
Turn On Location Services
Uber works best when your phone can detect your location. Location services help the app suggest your pickup point and track your trip. Still, do not rely on the pin blindly. GPS can be a little dramatic near tall buildings, shopping centers, stadiums, airports, hotels, and apartment complexes. Always check that the pickup pin is exactly where you want the driver to meet you.
How to Request a Ride on Uber: Step-by-Step
Step 1: Open the Uber App
Open the Uber app on your phone and sign in. The home screen usually shows a map, your current location, and a box asking where you want to go. This is your starting line. No whistle, no starting pistol, just a very powerful little map.
If the app does not show your correct location, check your phone’s location permissions or manually move the pickup pin. You can also type a specific address, landmark, building name, or business name into the pickup field.
Step 2: Enter Your Destination
Tap the “Where to?” box and enter your destination. For example, you might type “Los Angeles International Airport,” “Empire State Building,” “Target on Main Street,” or a complete street address. The more specific you are, the better. If your destination has several entrances, choose the one closest to where you actually want to arrive.
Uber may show suggested locations as you type. Check the city, street name, and map location before selecting one. Accidentally choosing the wrong branch of a restaurant chain is a classic way to turn a simple ride into a mini road trip nobody ordered.
Step 3: Confirm Your Pickup Location
After entering your destination, confirm where the driver should pick you up. This is one of the most important parts of requesting an Uber ride. A pickup point that is even half a block off can lead to confusion, canceled trips, and awkward phone calls where both people say, “I’m right here,” while neither person is right there.
Pick a safe, legal, and easy-to-identify location. Good pickup points include hotel entrances, designated rideshare pickup zones, storefronts with clear signs, office lobbies, or street corners where stopping is allowed. Avoid busy intersections, bus stops, fire lanes, private driveways, and places where the driver cannot safely pull over.
Step 4: Choose Your Ride Type
Uber usually shows several ride options, depending on your city and availability. The exact names and prices may vary, but common options include UberX for everyday rides, UberXL for larger groups, Uber Comfort for extra room, Uber Black for premium service, and Uber WAV in some cities for riders who need wheelchair-accessible vehicles.
Choose based on your needs, not just the lowest price. If you are traveling alone with one backpack, UberX may be perfect. If you have five people and enough luggage to suggest you are moving out of your apartment, UberXL is the smarter choice. If you want extra legroom after a long flight, Uber Comfort may be worth considering.
Step 5: Review the Fare, Time, and Payment
Before confirming, review the estimated fare, pickup time, destination, and payment method. Uber often shows upfront pricing before you request the ride. The price can be affected by distance, estimated time, demand, route, tolls, fees, and available drivers. During busy times, prices may rise because more people are requesting rides than usual.
Check your payment method before tapping the request button. If you have a personal card, business profile, Uber Cash balance, gift card credit, or promo code, make sure the right one is selected. Nobody wants to explain to accounting why a Saturday night pizza rescue mission landed on the corporate card.
Step 6: Tap Confirm and Wait for a Driver
When everything looks right, tap the button to confirm your ride. The app will search for a nearby driver. Once a driver accepts, you will see their name, profile photo, vehicle make and model, license plate number, estimated arrival time, and route to your pickup spot.
Stay near your pickup location and watch the driver’s progress in the app. If you need to give extra details, use the in-app messaging or calling feature. Keep your message short and helpful, such as “I’m by the hotel lobby entrance” or “I’m wearing a blue jacket near the pharmacy sign.” This is more useful than “I’m here,” which, while emotionally true, does not help much.
How to Request an Uber Ride in Advance
If you need a ride later, Uber may offer scheduled rides or Uber Reserve in your area. This feature lets you request a ride in advance, which is useful for airport trips, early meetings, doctor appointments, weddings, and any situation where being late would cause your nervous system to start playing drums.
To schedule a ride, open the app, look for the scheduling or Reserve option, enter your pickup and destination, choose the date and time, select a ride type, and confirm. Availability, ride options, cancellation rules, and advance booking windows can vary by city. For important trips, still give yourself extra time. A scheduled ride is helpful, but traffic remains undefeated.
How to Add Stops to an Uber Ride
Uber allows riders to add stops in many areas. This is useful when you need to pick up a friend, grab something quickly, or make a short stop on the way to your final destination. To add stops, tap the plus symbol near the destination field before confirming your trip. In some cases, you can also add, remove, or change stops during the ride through the app.
Keep stops short. Uber recommends quick stops because drivers are paid for time and distance, and long waits can affect the fare. A coffee pickup is usually fine. A full grocery shopping adventure involving coupons, produce inspection, and a philosophical debate over cereal brands is not a “quick stop.”
Safety Tips Before Getting Into the Car
Safety should be part of every Uber ride request. Before entering the vehicle, check the driver’s name, photo, car make and model, and license plate number in the app. Make sure all details match. If they do not match, do not get in.
Ask the driver to confirm your name instead of asking, “Are you here for me?” A safer question is, “Who are you picking up?” The driver can see your first name in their app. Uber also offers safety features in many areas, including trip sharing, emergency assistance, audio recording where available, and PIN verification for riders who want an added check before the trip starts.
Whenever possible, sit in the back seat, especially if you are riding alone. Wear your seat belt, keep your belongings with you, and avoid sharing unnecessary personal information. You can share your trip status with a friend or family member directly from the app so they can follow your route in real time.
What to Do During the Ride
Once your ride begins, the Uber app displays your route and estimated arrival time. If you need to change your destination, add a stop, or contact support, use the app rather than trying to negotiate a totally different trip verbally. Drivers follow the route and destination shown in their app, and app-based changes help keep pricing, navigation, and trip records clear.
Good rider etiquette makes the experience smoother. Be ready when the driver arrives, avoid eating messy food in the vehicle, take your trash with you, and treat the driver with respect. If you are traveling with luggage, pets, children, or a large group, choose the appropriate ride type and follow local rules. For children, bring the required car seat when applicable. Uber drivers generally do not provide child seats unless a specific local product offers that option.
After the Ride: Payment, Rating, Receipt, and Support
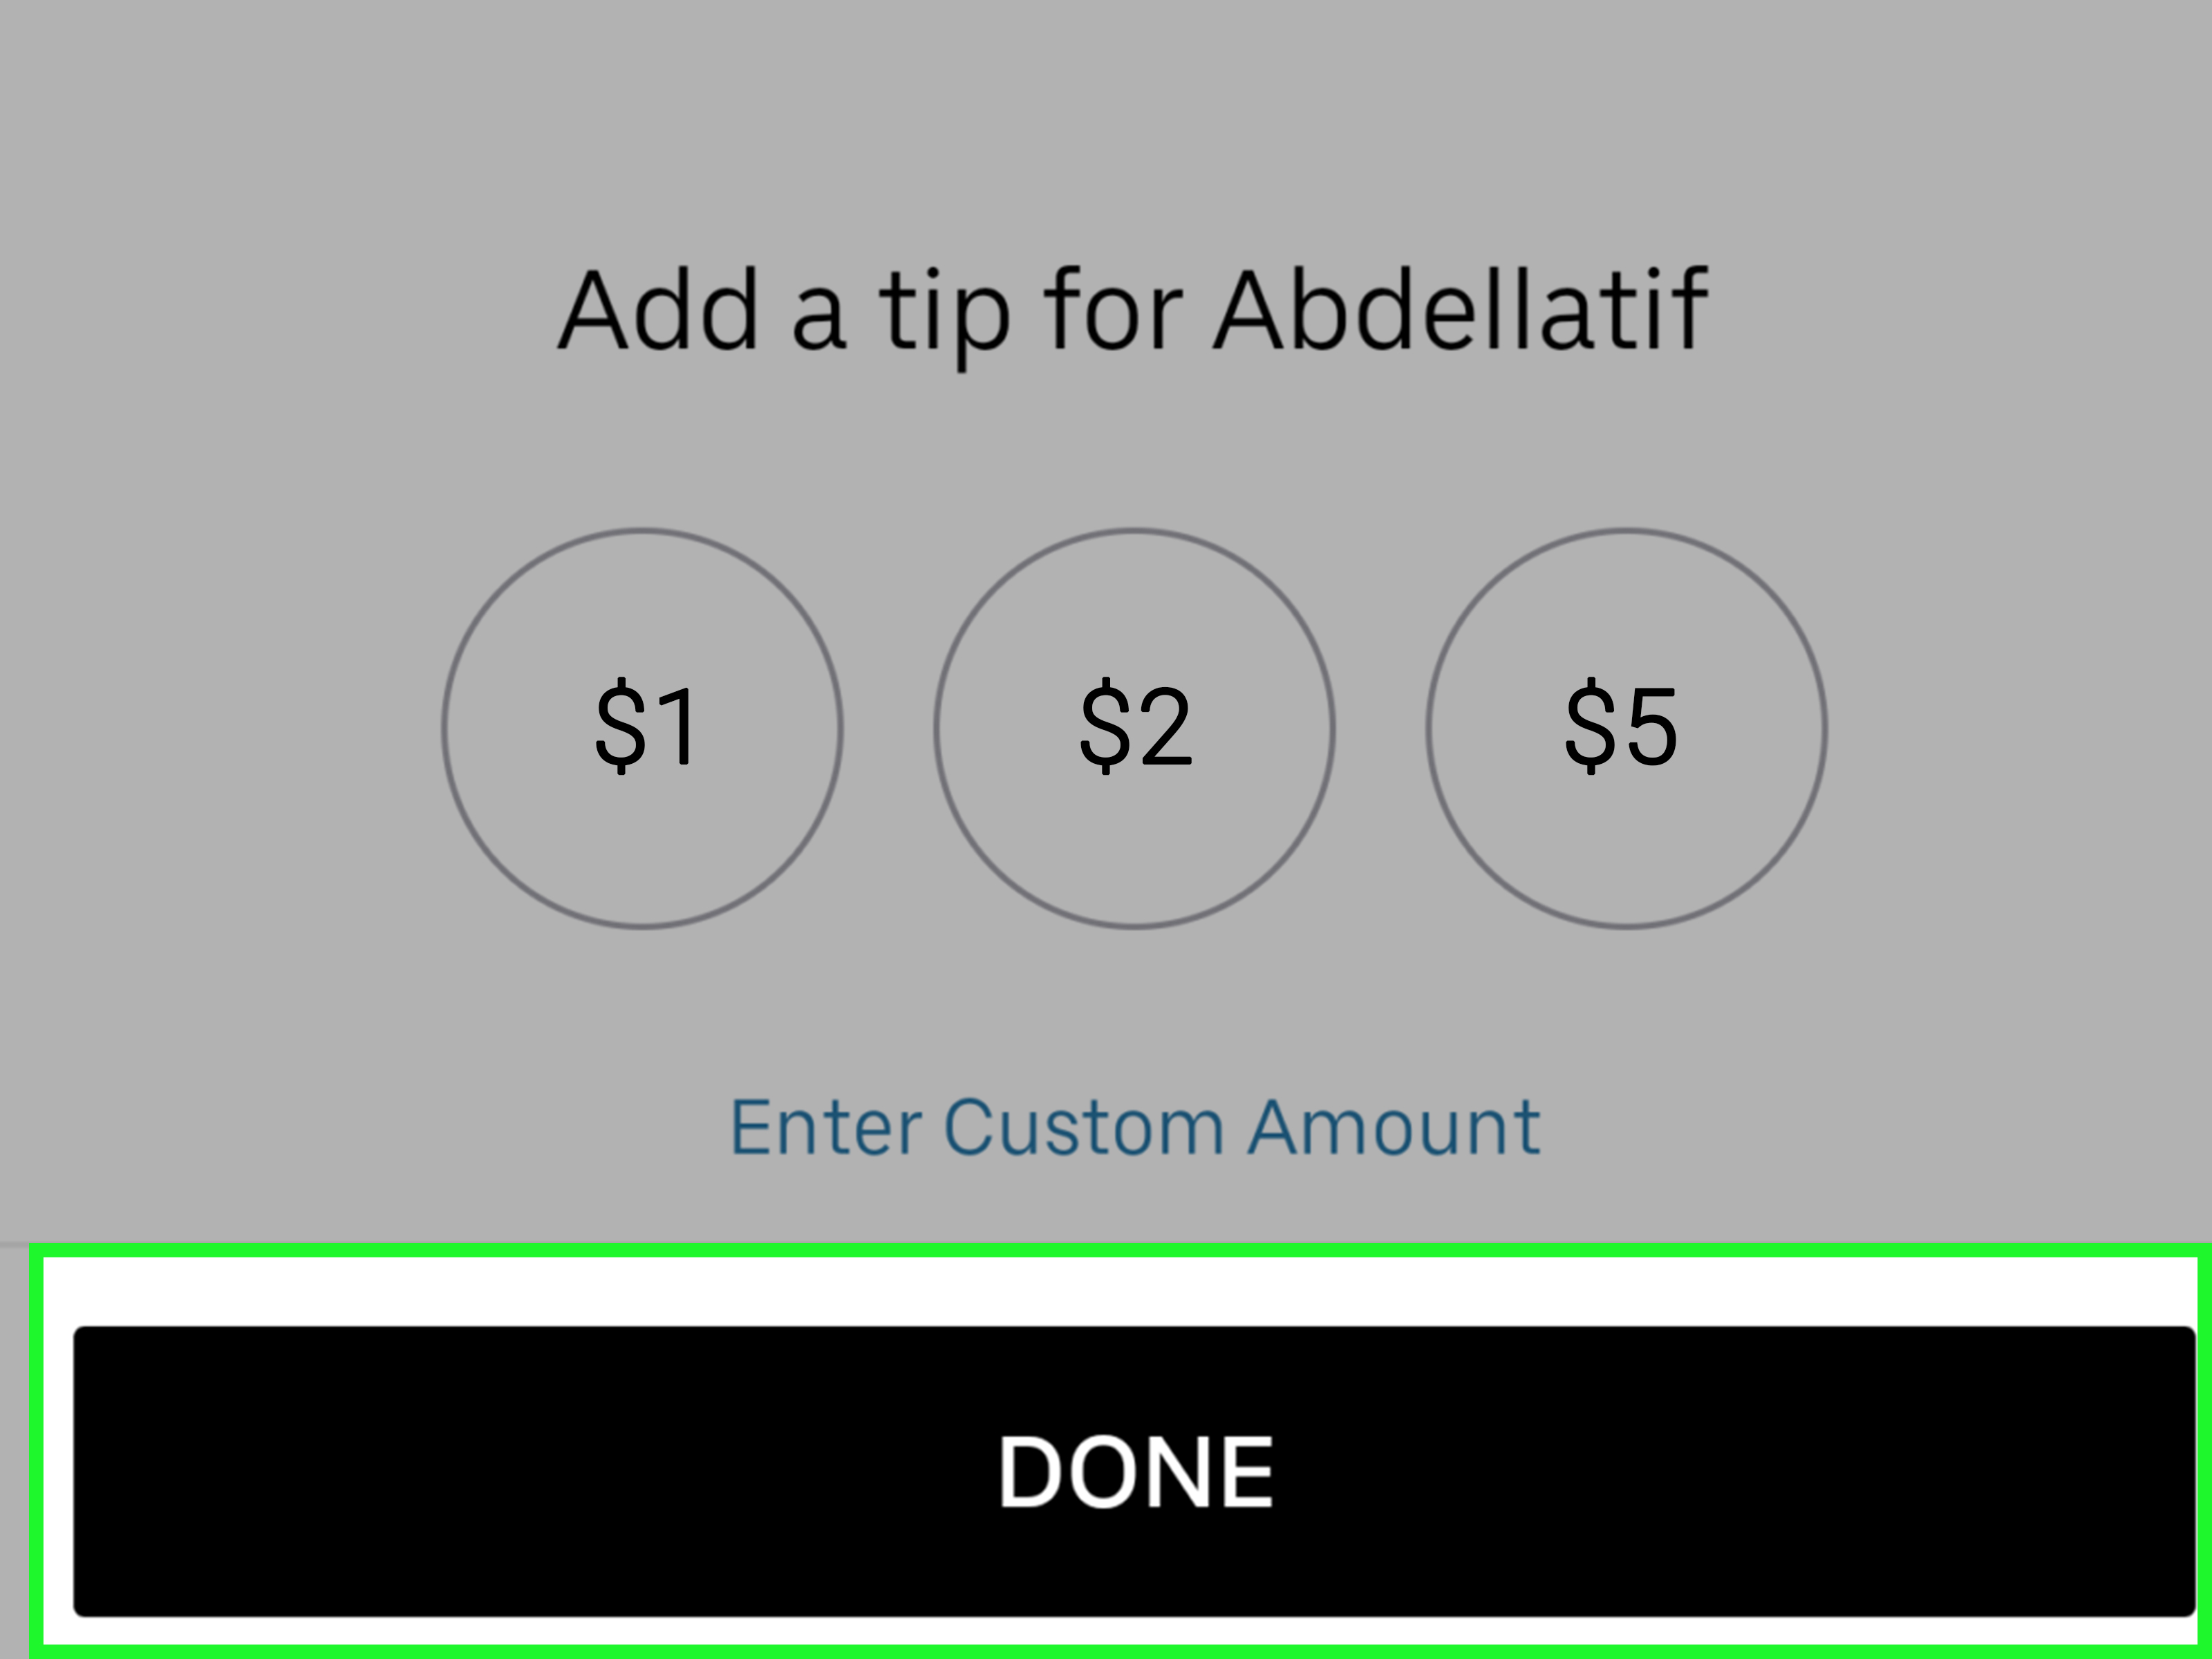
When you arrive, the ride ends in the driver’s app, and your selected payment method is charged automatically unless you are using an approved cash trip where available. You can rate your driver, add a tip, and review the receipt in the app or by email.
Ratings help Uber maintain quality on the platform. A five-star rating usually means the driver was safe, polite, and professional. If something went wrong, use the trip support tools in the app. You can report fare issues, route problems, safety concerns, cleanliness issues, or lost items.
If you leave something behind, open the app, go to your trip history, select the ride, and choose the lost item option. Uber generally encourages riders to contact the driver directly first. Be patient because the driver may be on another trip and unable to answer immediately. Leave a clear message describing the item and the best way to reach you.
Common Mistakes When Requesting an Uber Ride
Choosing the Wrong Pickup Spot
The most common mistake is setting the pickup pin in the wrong place. This often happens at airports, shopping malls, apartment buildings, college campuses, hospitals, and event venues. Always zoom in on the map and confirm the exact pickup point before requesting the ride.
Ignoring the Ride Type
Do not choose the smallest ride if you have a big group or lots of luggage. Drivers are not magicians, and compact cars do not become SUVs just because everyone breathes in. Select UberXL or another larger option when space matters.
Not Checking the License Plate
Never rely only on the color of the car. Many vehicles look alike, especially at airports and nightlife areas. The license plate is the best quick identifier. Check it every time.
Waiting Too Long to Come Outside
Drivers may wait only a limited time before cancellation fees apply. Watch the app, be ready, and move toward the pickup point when the driver is close. This keeps the trip pleasant and prevents the driver from circling the block like a confused shark.
Real-World Examples of Requesting an Uber Ride
Example 1: Requesting an Uber to the Airport
Suppose your flight leaves at 9:00 a.m. and you need to arrive at the airport by 7:00 a.m. You can open Uber the night before, check Reserve or scheduled ride availability, enter your home address and airport terminal, choose a ride type with enough luggage space, and confirm the time. On the day of travel, keep your phone charged, watch the driver’s arrival, and be outside early. Airport rides often involve traffic, terminal rules, and designated pickup or drop-off zones, so extra time is your best friend.
Example 2: Requesting an Uber After Dinner
After dinner downtown, open the app before walking into the street. Enter your home address, choose a nearby pickup point where a driver can safely stop, compare UberX and Comfort if both are available, and confirm. If the area is crowded, message the driver with a specific landmark. “I’m outside the restaurant under the red awning” is excellent. “I’m near people” is less excellent.
Example 3: Requesting an Uber for a Group
If you are traveling with four or more people, check the seating capacity of each option. UberXL is often designed for larger groups and extra luggage. Requesting a standard ride for too many passengers can cause delays or cancellations because drivers must follow passenger limits and local safety rules.
Extra Experience: Practical Lessons From Requesting Uber Rides
One of the biggest lessons about requesting an Uber ride is that the app is simple, but the real world is messy. Maps are neat. Streets are not. A pickup point that looks perfect on your screen may actually be a locked gate, a hotel back entrance, a bus-only lane, or the exact location where twelve other riders are also waving at twelve other cars. The best riders learn to think like drivers for a moment: “Can a car safely stop here? Can the driver see me? Is there a better landmark nearby?”
Another useful experience is checking the fare before and after small changes. Adding a stop, changing the destination, waiting longer than expected, or traveling during heavy demand can affect the final cost. This does not mean you need to become a ride-hailing accountant, but it does mean you should glance at the details before confirming. When you are comparing ride options, look beyond price. A cheaper ride that takes longer to arrive may not be worth it if you are trying to catch a train, make a meeting, or rescue a melting ice cream cake from the laws of physics.
Communication also matters more than many new riders expect. Drivers cannot read minds, even though some of them navigate traffic with supernatural confidence. A short message can solve many pickup problems. For example, “I’m at the north entrance near the valet stand” is far better than calling and saying, “I’m by the door,” especially when the building has six doors and every one of them has a human looking at a phone.
For airport rides, the experience is different from a normal street pickup. Airports often have designated rideshare areas, specific terminal rules, and confusing signs. Follow the app’s instructions and airport signage. If you are being picked up, do not assume the driver can stop directly outside baggage claim. If you are being dropped off, confirm the airline and terminal before the ride starts. A tiny terminal mistake can turn into a long sidewalk workout with luggage, and nobody looks elegant dragging a suitcase at full speed.
For late-night rides, safety habits become even more important. Request the ride while indoors when possible, wait in a well-lit area, check the license plate, confirm the driver, and share your trip status with someone you trust. Keep your phone charged enough to follow the route and contact support if needed. If something feels wrong before you get in, do not get in. Canceling and requesting another ride is better than ignoring your instincts.
Rider etiquette improves the experience, too. Being ready when the driver arrives shows respect for the driver’s time. So does keeping the car clean, not slamming doors, avoiding loud speakerphone calls, and asking before opening food or drinks. If the driver was helpful, safe, and professional, leave a good rating and consider tipping. Ratings and tips are small actions, but they can mean a lot to drivers who spend the day dealing with traffic, construction, weather, and passengers who believe “I’ll be right there” means “I may appear sometime before winter.”
The final lesson is to use the app’s support tools instead of trying to solve every issue outside the system. If there is a fare concern, lost item, route question, or safety issue, select the trip in your activity history and follow the help prompts. Keeping everything connected to the trip record makes the process clearer and easier to track. In short, requesting a ride on Uber is not just about tapping a button. It is about choosing the right pickup spot, confirming the details, riding safely, and using the app wisely from start to finish.
Conclusion
Learning how to request a ride on Uber is simple once you understand the flow: open the app, enter your destination, confirm your pickup location, choose the right ride type, review the fare and payment method, then request the ride. The smartest riders also check the license plate, communicate clearly, wear a seat belt, and use Uber’s built-in safety and support features.
Uber can be convenient for everyday errands, airport transfers, nights out, work trips, and group travel. The key is not just requesting a ride quickly, but requesting the right ride correctly. Choose a safe pickup point, pick the vehicle option that fits your needs, and review the trip details before confirming. Do that, and your Uber experience becomes much smootherless confusion, fewer cancellations, and no unnecessary sidewalk drama.
Note: This article is written for web publication and is based on current Uber rider guidance, app functionality, safety recommendations, payment information, and common real-world rider practices. Features, prices, ride types, and availability may vary by city, account, time, and local regulations.