Contact paper is one of those home products that seems wonderfully harmless at first. It promises instant style, budget-friendly makeovers, and shelves that look like they belong in a tidy magazine kitchen. Then, a few years later, you try to peel it off and discover it has emotionally bonded with your cabinet like a dramatic character in a soap opera.
The good news is that learning how to remove contact paper is not complicated. The not-so-good news is that it rewards patience more than brute force. Pull too fast, and you may tear the paper into confetti. Use the wrong solvent, and you could dull a finish, stain wood, or leave behind an even stickier mess. But with the right tools, gentle heat, and a smart residue-removal plan, you can remove old contact paper from shelves, cabinets, drawers, countertops, and furniture without turning the project into a home-improvement horror story.
This guide explains how to remove contact paper in 10 practical steps, including how to loosen adhesive, peel without damage, clean sticky residue, and prepare the surface for paint, stain, liner, or a fresh new look.
What Is Contact Paper and Why Is It So Hard to Remove?
Contact paper is a self-adhesive covering often made with paper, vinyl, or plastic film. People use it to line kitchen shelves, refresh cabinet interiors, cover tabletops, decorate drawers, and fake a marble countertop without taking out a small loan. It is popular because it is inexpensive, easy to apply, and available in endless patterns.
The problem appears later. Over time, the adhesive can cure, dry out, soften, or become gummy depending on heat, humidity, sunlight, and the surface underneath. Old contact paper inside kitchen cabinets may absorb cooking oils and moisture. Paper on countertops may get baked by appliances or sunlight. Shelf liner in drawers may stick more firmly at corners and seams. In other words, the longer it sits, the more it behaves like it has signed a lifetime lease.
The key to removing contact paper cleanly is to soften the adhesive bond before peeling. A hair dryer, warm water, mild soap, plastic scraper, rubbing alcohol, vinegar, mineral oil, or a citrus-based adhesive remover can all help depending on the surface. The secret is choosing the gentlest method that works.
Tools and Supplies You May Need
Before you begin, gather your tools. You do not need a garage full of gadgets. In fact, the best contact paper removal kit is simple, inexpensive, and gentle.
- Hair dryer or low-heat heat source
- Plastic scraper, old credit card, or plastic putty knife
- Microfiber cloths or soft rags
- Warm water and mild dish soap
- Spray bottle
- White vinegar
- Rubbing alcohol
- Mineral oil, cooking oil, or baby oil
- Citrus-based adhesive remover
- Painter’s tape for protecting edges
- Gloves, especially when using adhesive remover
- Small trash bag for sticky scraps
A quick warning before the fun begins: avoid metal blades on soft wood, painted cabinets, laminate, plastic, or finished furniture unless you are very experienced and willing to risk scratches. A plastic scraper may not look heroic, but it is usually the safer champion.
How to Remove Contact Paper: 10 Steps
Step 1: Identify the Surface Under the Contact Paper
Before you attack the paper like it insulted your kitchen, figure out what is underneath. The right removal method depends heavily on the surface.
Contact paper on glass or metal is usually easier to remove because these surfaces are less porous. Contact paper on finished wood, painted cabinets, particleboard, laminate, or old shelving requires more caution. Unfinished wood can absorb oils and solvents. Painted surfaces may peel if the paint bond is weak. Laminate can scratch or dull if treated too aggressively.
Look at an exposed edge or corner. Is the surface glossy, painted, raw, swollen, chipped, or already damaged? If the cabinet shelf is made from particleboard and the contact paper is ancient, peeling may lift loose fibers. That does not mean the project is doomed, but it does mean you should move slowly and avoid soaking the material.
Step 2: Clear and Clean the Area First
Empty the drawer, shelf, cabinet, or countertop completely. Crumbs, dust, and old mystery flakes will only get in the way. Wipe the surface lightly with a dry cloth so you can see the seams, bubbles, and lifted corners.
If the contact paper is in a kitchen cabinet, remove food containers, dishes, pans, and anything that might pick up adhesive remover smells. If you are working near a wall, hinge, trim piece, or painted edge, use painter’s tape to protect the surrounding area.
This step feels boring, but it saves time. Trying to remove contact paper around spice jars and mixing bowls is like trying to fold laundry during a windstorm: technically possible, deeply annoying.
Step 3: Start at a Loose Corner or Edge
Find a corner that is already lifting. If there is no loose edge, gently slide a fingernail, plastic scraper, or old credit card under one corner. Do not gouge. The goal is to create a small tab you can grip.
If the paper tears immediately, stop pulling and switch to heat. Tearing is a sign that the adhesive is stronger than the paper or that the top film has become brittle. Pulling harder usually makes the job worse because you end up removing the paper in tiny strips.
When you have a small corner lifted, hold it close to the surface at a low angle. Pulling straight upward increases the chance of tearing or lifting paint. Pulling back slowly, almost parallel to the shelf or cabinet, gives you better control.
Step 4: Use Gentle Heat to Soften the Adhesive
A hair dryer is one of the best tools for removing contact paper because heat softens the adhesive and makes the paper easier to peel. Set the hair dryer to warm or medium, hold it a few inches from the surface, and move it back and forth over a small section for 20 to 30 seconds.
Do not keep the heat in one spot for too long. Too much heat can soften paint, warp thin plastic, loosen laminate edges, or damage a delicate finish. A hair dryer is usually safer than a heat gun, especially for beginners. If you use a heat gun, choose the lowest setting and keep it moving.
Once the adhesive warms up, gently pull the contact paper back while continuing to warm the area just ahead of the peel line. Think of it as convincing the paper to leave, not evicting it with a dramatic speech.
Step 5: Peel Slowly in Sections
Work in small sections rather than trying to remove the entire sheet at once. Peel a few inches, warm the next section, peel again, and repeat. If the paper begins to tear, pause and reheat. If it stretches, let it cool for a moment, then try again with a lower angle.
Old contact paper may come off in layers. Sometimes the decorative vinyl film peels away while the paper backing remains glued down. If that happens, do not panic. Warm the backing, dampen it slightly with warm soapy water if the surface can handle moisture, and scrape gently with a plastic scraper.
For drawers and cabinet shelves, start from the front edge and work toward the back. This gives your hands more room and keeps removed scraps from sticking to your arms. Contact paper scraps have a strange talent for attaching themselves to sleeves, socks, and dignity.
Step 6: Scrape Residue With a Plastic Tool
After the top layer is gone, you may see sticky adhesive residue. This is normal. Use a plastic scraper, plastic putty knife, or old credit card to lift as much residue as possible. Hold the scraper at a shallow angle and push gently.
Avoid aggressive sanding at this stage. Sticky adhesive can clog sandpaper almost instantly, creating gummy smears instead of a clean surface. Sanding may be useful later after the surface is dry and mostly clean, but it should not be your first move.
If the residue is thick, warm it briefly with the hair dryer and scrape again. Heat often turns stubborn adhesive into something more workable. Wipe the scraper frequently with a paper towel so you are not simply spreading glue around like frosting on the world’s worst cake.
Step 7: Try Warm Soapy Water for Mild Residue
For light adhesive residue, warm water and mild dish soap may be enough. Mix a few drops of dish soap with warm water, dampen a cloth, and rub the sticky area in small circles. Let the damp cloth sit on the residue for a minute or two if the surface is sealed and moisture-safe.
This method works best on sealed laminate, finished metal, glass, plastic, and some painted surfaces. Use less water on wood, especially unfinished wood or particleboard. Too much moisture can cause swelling, raised grain, or edge damage.
After rubbing, wipe the area with a clean damp cloth, then dry it thoroughly. If the surface still feels tacky, move on to a slightly stronger method.
Step 8: Use Vinegar, Alcohol, Oil, or Adhesive Remover
Different adhesives respond to different cleaners, so start mild and work upward. Always test in a hidden area first. This is not optional. A spot test is the tiny insurance policy that keeps your cabinet from becoming a cautionary tale.
White vinegar can help soften some adhesive residue and is useful on many nonporous surfaces. Dampen a cloth with vinegar, lay it over the sticky area for a few minutes, then rub gently. Avoid vinegar on natural stone, waxed wood, or surfaces that may be sensitive to acid.
Rubbing alcohol can work well on many sticky residues. Apply a small amount to a cloth, rub the adhesive, and wipe clean. Do not pour alcohol directly onto wood or painted surfaces. Use ventilation and keep it away from flames.
Oil can also loosen adhesive. Mineral oil, baby oil, or a small amount of cooking oil may help dissolve gummy residue. Apply sparingly, let it sit for several minutes, then scrape and wipe. Be careful with unfinished wood because oil can darken or stain it.
For stubborn contact paper adhesive, a citrus-based adhesive remover can be effective. Follow the label instructions, use gloves if recommended, ventilate the area, and keep the product away from surfaces the label says to avoid. After using any remover, wash the area with mild soap and water to remove oily or chemical residue.
Step 9: Wash, Rinse, and Dry the Surface
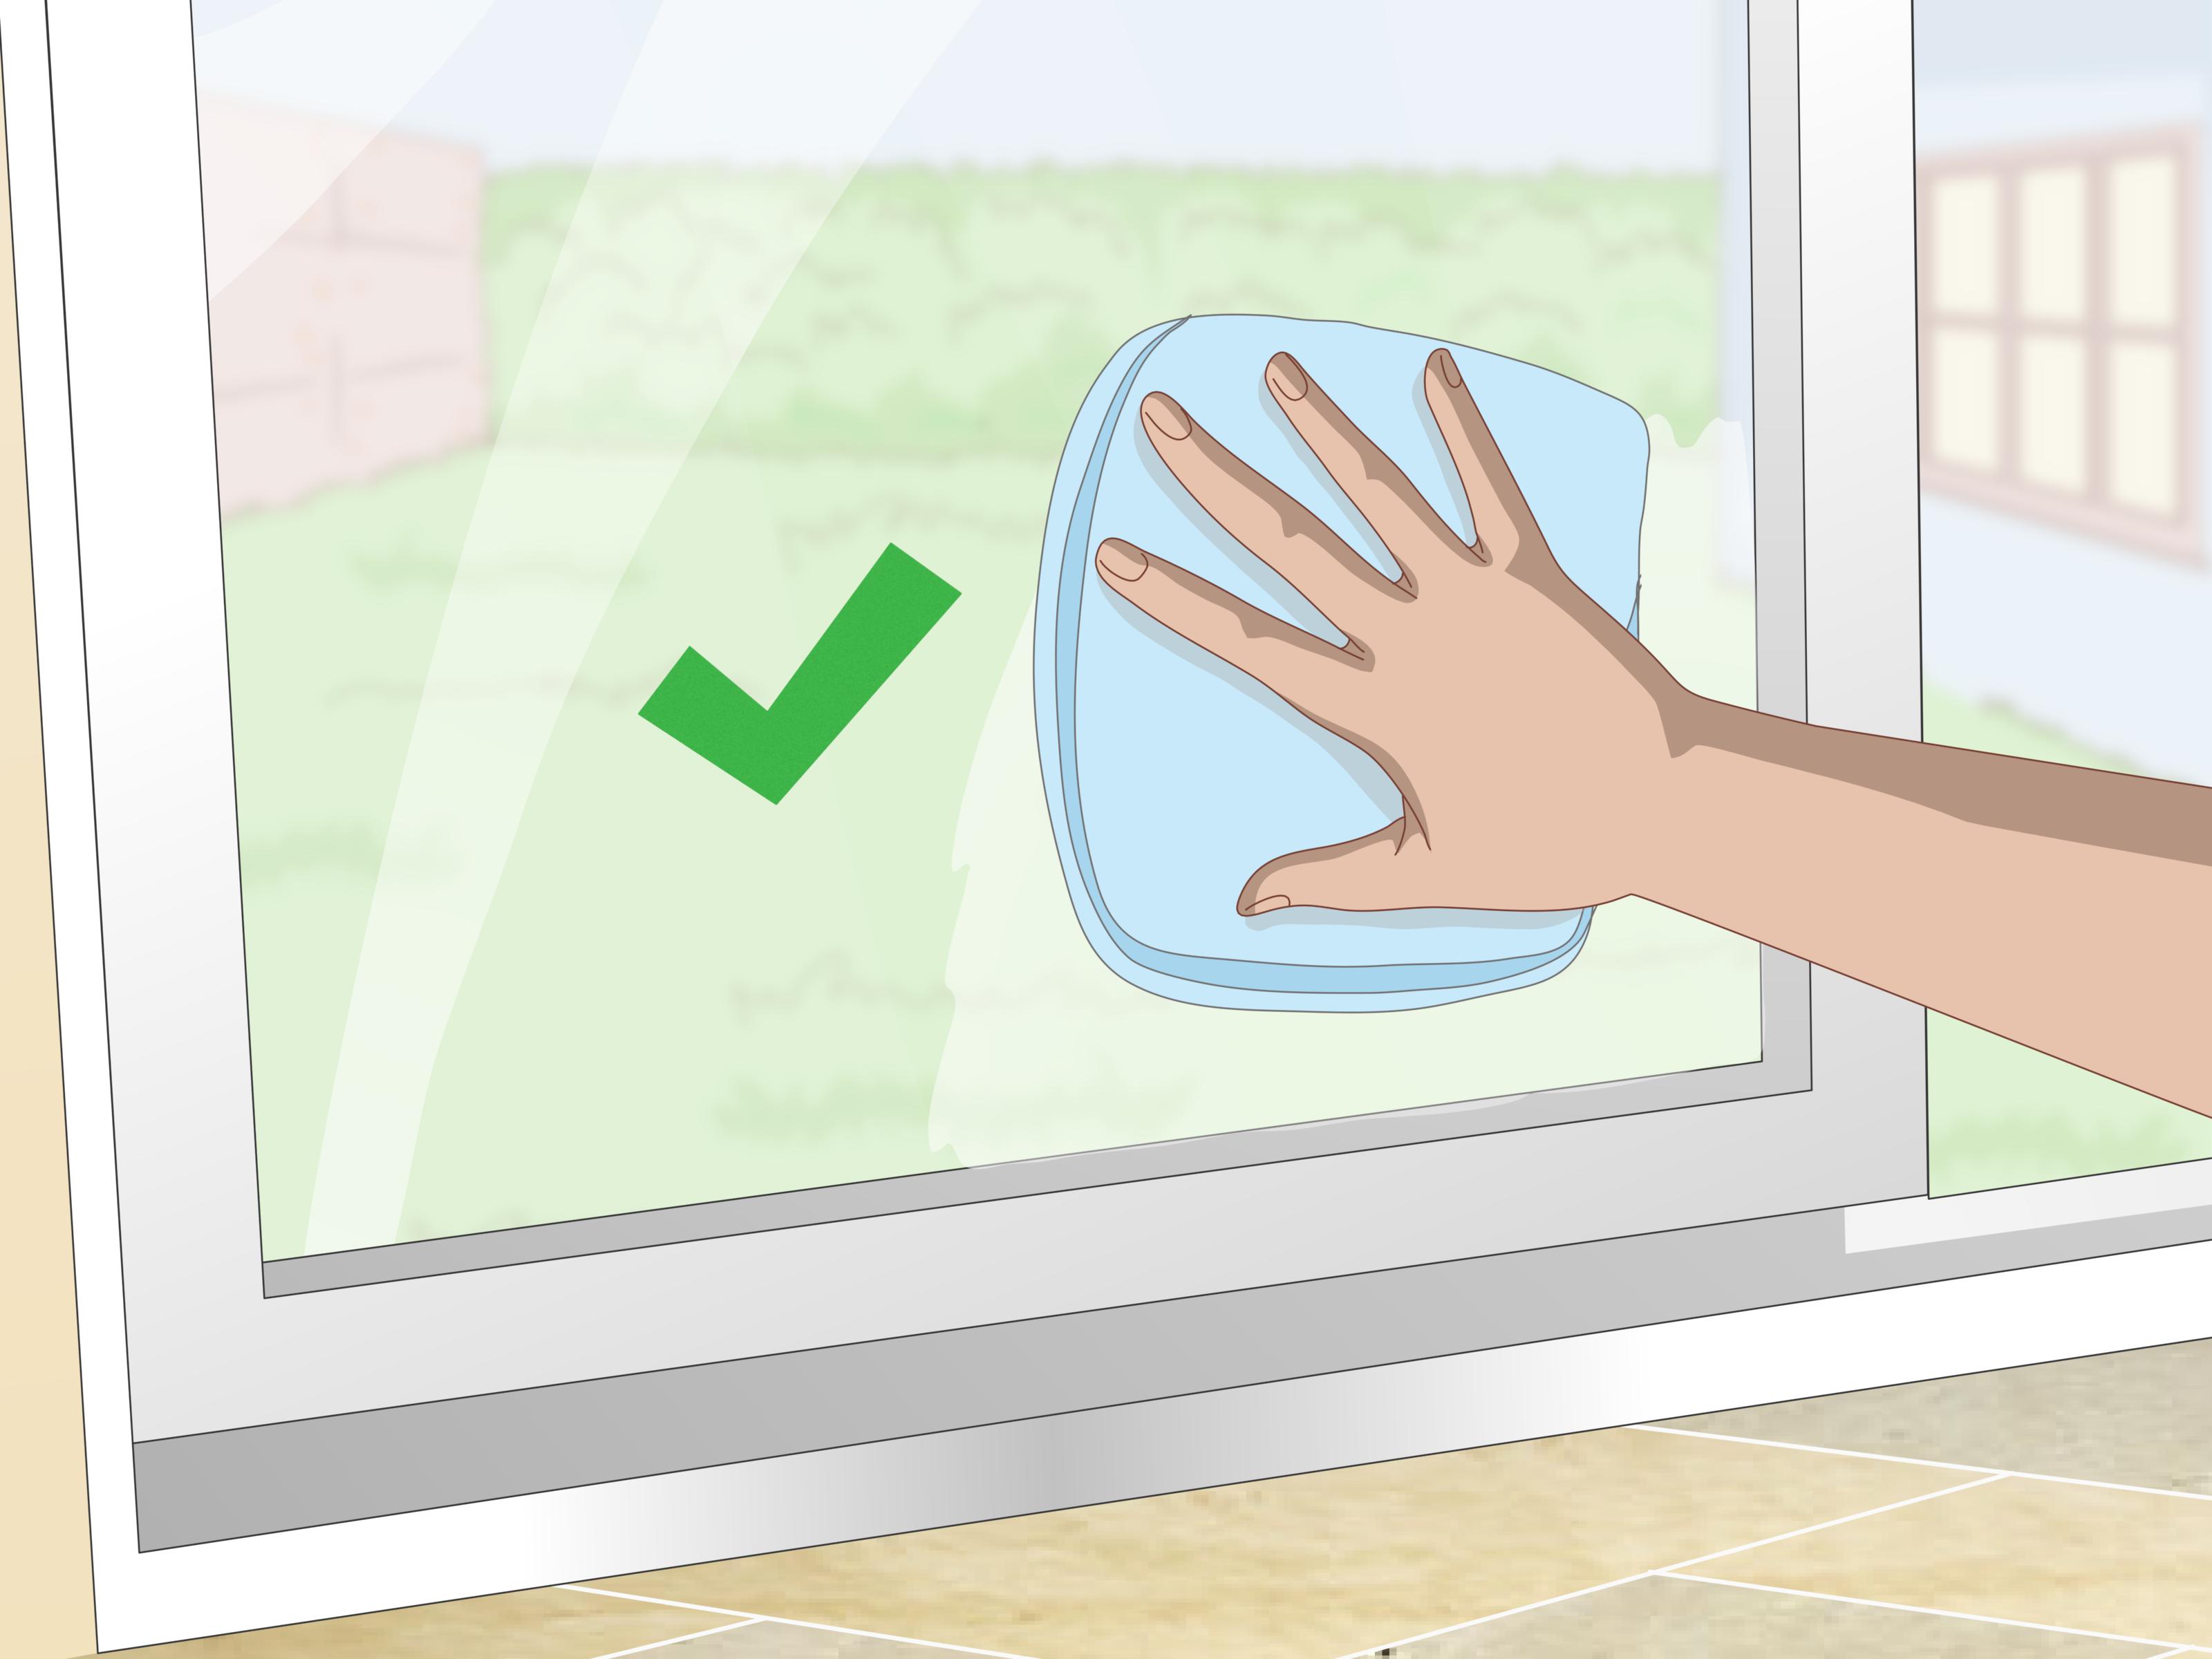
Once the contact paper and adhesive are gone, clean the surface thoroughly. Use warm soapy water on a damp cloth, then wipe again with a clean cloth dampened with plain water. Dry the area immediately with a microfiber towel.
This final cleaning step matters because leftover solvent, oil, vinegar, or adhesive remover can interfere with new shelf liner, paint, primer, stain, or sealant. Even if the surface looks clean, run your hand over it after it dries. If it feels tacky, repeat the cleaning process.
For cabinet interiors, leave doors and drawers open for airflow. If you plan to reline the shelves, wait until everything is completely dry. New contact paper applied over damp or oily surfaces will not stick well, and then you will be right back here reading removal guides again. Nobody wants a sequel that soon.
Step 10: Repair, Refinish, or Replace the Liner
After removing old contact paper, inspect the surface. Small bits of lifted paint, rough wood fibers, or dull patches are common, especially if the liner was old. If the surface is wood and mostly clean, light sanding may smooth rough spots. If the cabinet interior is raw or stained, you may want to seal it before placing dishes or food containers back inside.
If you plan to paint, make sure all adhesive residue is gone. Paint does not bond well to sticky residue, and primer will not magically solve a glue problem. Clean first, dry fully, sand lightly if needed, then prime according to the surface type.
If you want to install new shelf liner, consider using non-adhesive liner instead of contact paper. It is easier to remove, clean, and replace. Adhesive contact paper still has its place, especially for decorative projects, but inside cabinets and rental spaces, removable options can save future-you a weekend of scraping.
Best Methods by Surface Type
Removing Contact Paper From Wood Cabinets
Use gentle heat and slow peeling first. Avoid soaking wood. For residue, start with warm soapy water on a barely damp cloth, then try a small amount of rubbing alcohol or citrus adhesive remover only after a hidden spot test. Avoid heavy oil on unfinished wood because it may leave dark spots.
Removing Contact Paper From Laminate
Laminate usually handles gentle heat well, but too much heat can loosen edges. Peel slowly, use a plastic scraper, and clean residue with dish soap, rubbing alcohol, or a label-safe adhesive remover. Avoid abrasive pads that can dull the surface.
Removing Contact Paper From Glass
Glass is more forgiving. Heat, rubbing alcohol, vinegar, and adhesive remover usually work well. A razor blade can be used carefully on glass, but keep it flat and avoid scratching nearby frames or finishes.
Removing Contact Paper From Painted Surfaces
Painted surfaces are tricky because the adhesive may be stronger than the paint bond. Use low heat, peel slowly, and avoid strong solvents unless tested. If paint lifts, stop and consider whether repainting will be part of the project.
Common Mistakes to Avoid
The biggest mistake is rushing. Contact paper removal is a slow project, especially when the liner is old. Fast pulling often creates more tearing, more residue, and more frustration.
Another mistake is using harsh chemicals too soon. Strong solvents may remove adhesive, but they may also remove shine, paint, or finish. Begin with heat, scraping, and mild cleaners. Move to stronger products only when necessary.
Do not soak particleboard or raw wood. Water can swell these materials quickly. Use damp cloths, not puddles. Also, avoid metal scrapers on delicate surfaces. A plastic scraper may take longer, but it is much less likely to leave permanent marks.
When Should You Replace the Surface Instead?
Sometimes removal reveals that the surface underneath is not worth saving. If cabinet shelves are swollen, crumbly, badly stained, moldy, or deeply damaged, replacing the shelf panel may be faster and cleaner than trying to restore it.
For rental homes, check with the landlord before making permanent changes. For older cabinets, consider sealing raw interior surfaces after removing contact paper. This creates a cleaner, more washable surface and makes future liner changes easier.
Extra Experience: Real-World Lessons From Removing Contact Paper
Anyone who has removed old contact paper learns one thing quickly: the first five minutes are optimistic, and the next hour is character development. The job looks simple because contact paper is thin. But the adhesive underneath can behave differently from one inch to the next. One corner may peel beautifully, while the next section clings like it heard a rumor you were replacing it.
The most useful experience-based tip is to divide the project into zones. Do not tell yourself, “I’ll remove all the contact paper from the kitchen today,” unless you enjoy bold lies. Instead, choose one drawer, one cabinet shelf, or one countertop section. Finish that area completely: peel, remove residue, wash, dry, and inspect. Small wins keep the job manageable and prevent your kitchen from looking like a sticky paper tornado passed through.
Another practical lesson is that heat works best when paired with patience. Many people wave a hair dryer over the surface for a few seconds, tug once, and decide the method failed. Usually, it did not fail; it simply needed more time. Warm a small section until the adhesive softens, pull slowly, and keep the heat moving ahead of the peel line. When the paper cools, it stiffens again. That is why steady, section-by-section heating works better than blasting the entire shelf once.
Residue removal also benefits from experimentation. Some adhesive responds to soap and water. Some laughs at soap and waits for rubbing alcohol. Some needs oil or citrus remover. The trick is not to mix products wildly. Try one method, wipe it clean, dry the surface, then try the next. This prevents mystery chemical soup and gives you a clearer idea of what is actually working.
In older homes, contact paper often hides surprises. You may find unfinished wood, old paint, stains, water damage, or another layer of liner underneath. Yes, sometimes there is contact paper under the contact paper, because apparently one layer of regret was not enough. If you uncover multiple layers, remove them one at a time. The top vinyl layer may need heat, while the older paper backing may need dampening or adhesive remover.
For cabinet interiors, the final feel test is important. A surface can look clean but still feel slightly tacky. Run clean fingers over the dry shelf. If it grabs, squeaks, or feels gummy, keep cleaning. Sticky residue attracts dust and crumbs, and it can make new liner bubble or slide. A truly clean shelf should feel smooth, dry, and boring. In home maintenance, boring is often victory wearing comfortable shoes.
One more lesson: do not apply new adhesive contact paper immediately after using oil-based remover. Even if the surface looks clean, tiny traces of oil can prevent the new liner from sticking evenly. Wash with dish soap, rinse with a damp cloth, dry thoroughly, and give the area extra air time. If possible, wait several hours before relining.
Finally, decide whether you really need adhesive liner again. For drawers and shelves, non-adhesive liner is often easier to live with. It can be removed for cleaning, replaced without scraping, and adjusted without a wrestling match. Adhesive contact paper is still great for decorative surfaces when applied carefully, but for high-use cabinets, removable liner may be the kinder choice for your future self.
Conclusion
Removing contact paper is not about strength; it is about strategy. Start by identifying the surface, then loosen the adhesive with gentle heat, peel slowly, scrape carefully, and clean residue with the mildest effective method. Warm soapy water, vinegar, rubbing alcohol, oil, and citrus adhesive remover can all help, but every surface deserves a spot test first.
Whether you are rescuing kitchen cabinets, refreshing drawers, removing old shelf liner, or preparing furniture for a makeover, the best approach is simple: slow down, protect the finish, and clean thoroughly before moving on. Your cabinets may not applaud, but they will look better. And honestly, after dealing with old contact paper, a non-sticky shelf feels like a standing ovation.
Note: Always test heat, water, oil, alcohol, vinegar, or adhesive remover in a hidden area before using it widely. When in doubt, use the gentlest method first and avoid soaking wood or particleboard.