At some point, every computer decides it’s had enough of your productivity and starts acting like a drama
student in finals week: blue screens, endless boot loops, “Repairing disk errors” for three hours… you get the idea.
If you’re using an HP laptop or desktop, the HP Cloud Recovery Tool can be your “factory reset with manners”:
it helps you create an official HP recovery USB that reinstalls Windows and the original HP drivers/software for your model.
This guide walks you through the full processplanning, creating the USB, booting into recovery, restoring your system,
and cleaning up afterwardplus practical troubleshooting for the stuff that tends to go wrong in real life (because it always does).
What the HP Cloud Recovery Tool actually does (and when it’s the best choice)
The HP Cloud Recovery Tool downloads a recovery image from HP’s cloud and writes it to a USB flash drive.
That USB can then reinstall your PC back to its original factory software setupWindows, HP drivers, and HP utilities
that shipped with your model.
Use it when…
- Your HP PC won’t boot properly and you need a clean, reliable reinstall.
- You replaced the SSD/HDD and the old recovery partition is gone.
- You want the “HP factory image” experience (drivers and model-specific software included).
- You’re fixing a family member’s laptop and want a predictable, repeatable recovery path.
Consider alternatives when…
- You only need to roll back a bad driver/update (System Restore or Startup Repair may be faster).
- You want a “pure Windows” install with zero manufacturer apps (Windows installation media may be better).
- The device is managed by work/school IT (ask IT firstrecovery images and encryption policies may apply).
Cloud Recovery Tool vs. Cloud Recovery Client vs. Windows reset
HP uses similar names for different tools depending on whether you have a consumer PC or a business-class device.
Here’s a quick way to tell which lane you’re in.
| Option | Best for | What you get | Common downside |
|---|---|---|---|
| HP Cloud Recovery Tool (consumer) | Most HP home laptops/desktops | Factory image for your model (Windows + HP drivers/apps) | Only works on supported models; requires a large USB and stable internet |
| HP Cloud Recovery Client (business) | HP Pro/Elite/Z business lines | Recovery media aligned to supported business platforms | Compatibility is stricter; may be tied to specific OS editions |
| Windows “Reset this PC” | Quick repair when Windows still boots (or WinRE works) | Reinstall Windows (keep files or remove everything) | May not reinstall HP-specific drivers/utilities the way the factory image does |
Before you start: a 10-minute prep that can save your whole weekend
1) Back up what you can
Recovery is often a wipe-and-reinstall operation. If your system is still bootable, copy personal files to an external drive
or cloud storage. If it’s not bootable, consider removing the drive and backing up from another computer (or use professional help if needed).
2) Find your device info (especially if you’ll create the USB on another PC)
The tool may detect the model automatically if you run it on the affected HP PC. If you’re building recovery media on a different computer,
you may need your HP Product ID/Product Number from the label on the device (or in system information if it still starts).
3) Get the right USB drive (and treat it like it’s about to be erasedbecause it is)
- Use a blank USB flash drive with at least 32 GB capacity.
- Anything on the USB will be deleted during media creation.
- Use a good-quality drive (this is not the moment for the free promo USB shaped like a taco).
4) Plug in power and plan time
Keep the PC on AC power. Also plan for the fact that downloading and creating the recovery media can take a while,
depending on your internet speed and USB performance.
5) If your drive is encrypted, prepare for BitLocker
If BitLocker/device encryption is enabled, Windows recovery environments and resets may request a recovery key.
Make sure you know where your recovery key is stored (Microsoft account, work/school account, or printed/saved copy)
before you start a recovery path that could lock you out of data you still need.
Step-by-step: Create the recovery USB with the HP Cloud Recovery Tool
You’ll do this on a Windows PC with a solid internet connectionideally, the HP computer you’re trying to recover.
If that PC won’t boot, you can often create the USB on another Windows computer and enter the affected system’s Product ID.
Step 1: Install the tool
- Open the Microsoft Store on Windows (or use HP’s official support path to locate the Cloud Recovery tool).
- Search for HP Cloud Recovery Tool and install it.
Step 2: Insert the USB drive
- Plug in your blank 32 GB+ USB drive.
- If File Explorer pops up, close it. (We’re about to do something more serious than moving vacation photos.)
Step 3: Run as administrator
- Open the Start menu, type Cloud Recovery.
- Right-click HP Cloud Recovery Tool and choose Run as administrator.
Step 4: Let the tool detect your PC (or enter Product ID)
- Follow the prompts to continue from the welcome screen.
- If the tool is running on the same HP PC you’re recovering, it may auto-detect your device details.
- If you’re using a different computer, choose the option that lets you enter the Product ID for the affected HP system.
Step 5: Network/proxy step (only if your network is fancy)
On corporate or secured networks, you might need proxy details. If you’re on a normal home network, you can typically proceed without touching this.
Step 6: Create the recovery media
- Select the correct USB drive when prompted (double-check the drive letter).
- Confirm that you understand the USB will be erased.
- Let it download and write the image to the USB.
- When it finishes, safely eject the USB.
Specific example: You replaced the SSD in an HP Pavilion and now it boots to “No boot device found.”
Use another Windows PC to create the recovery USB, enter the Pavilion’s Product ID, then boot the Pavilion from the USB to reinstall the factory image.
Step-by-step: Boot your HP computer from the USB and recover
1) Boot to the Startup Menu / Boot Options
- Insert the recovery USB into the HP computer you want to restore.
- Power on (or restart) the computer.
- Press the Startup Menu key (often Esc) as soon as the computer powers on.
- Choose Boot Device Options (commonly F9) and select the USB drive.
2) Start recovery from the USB
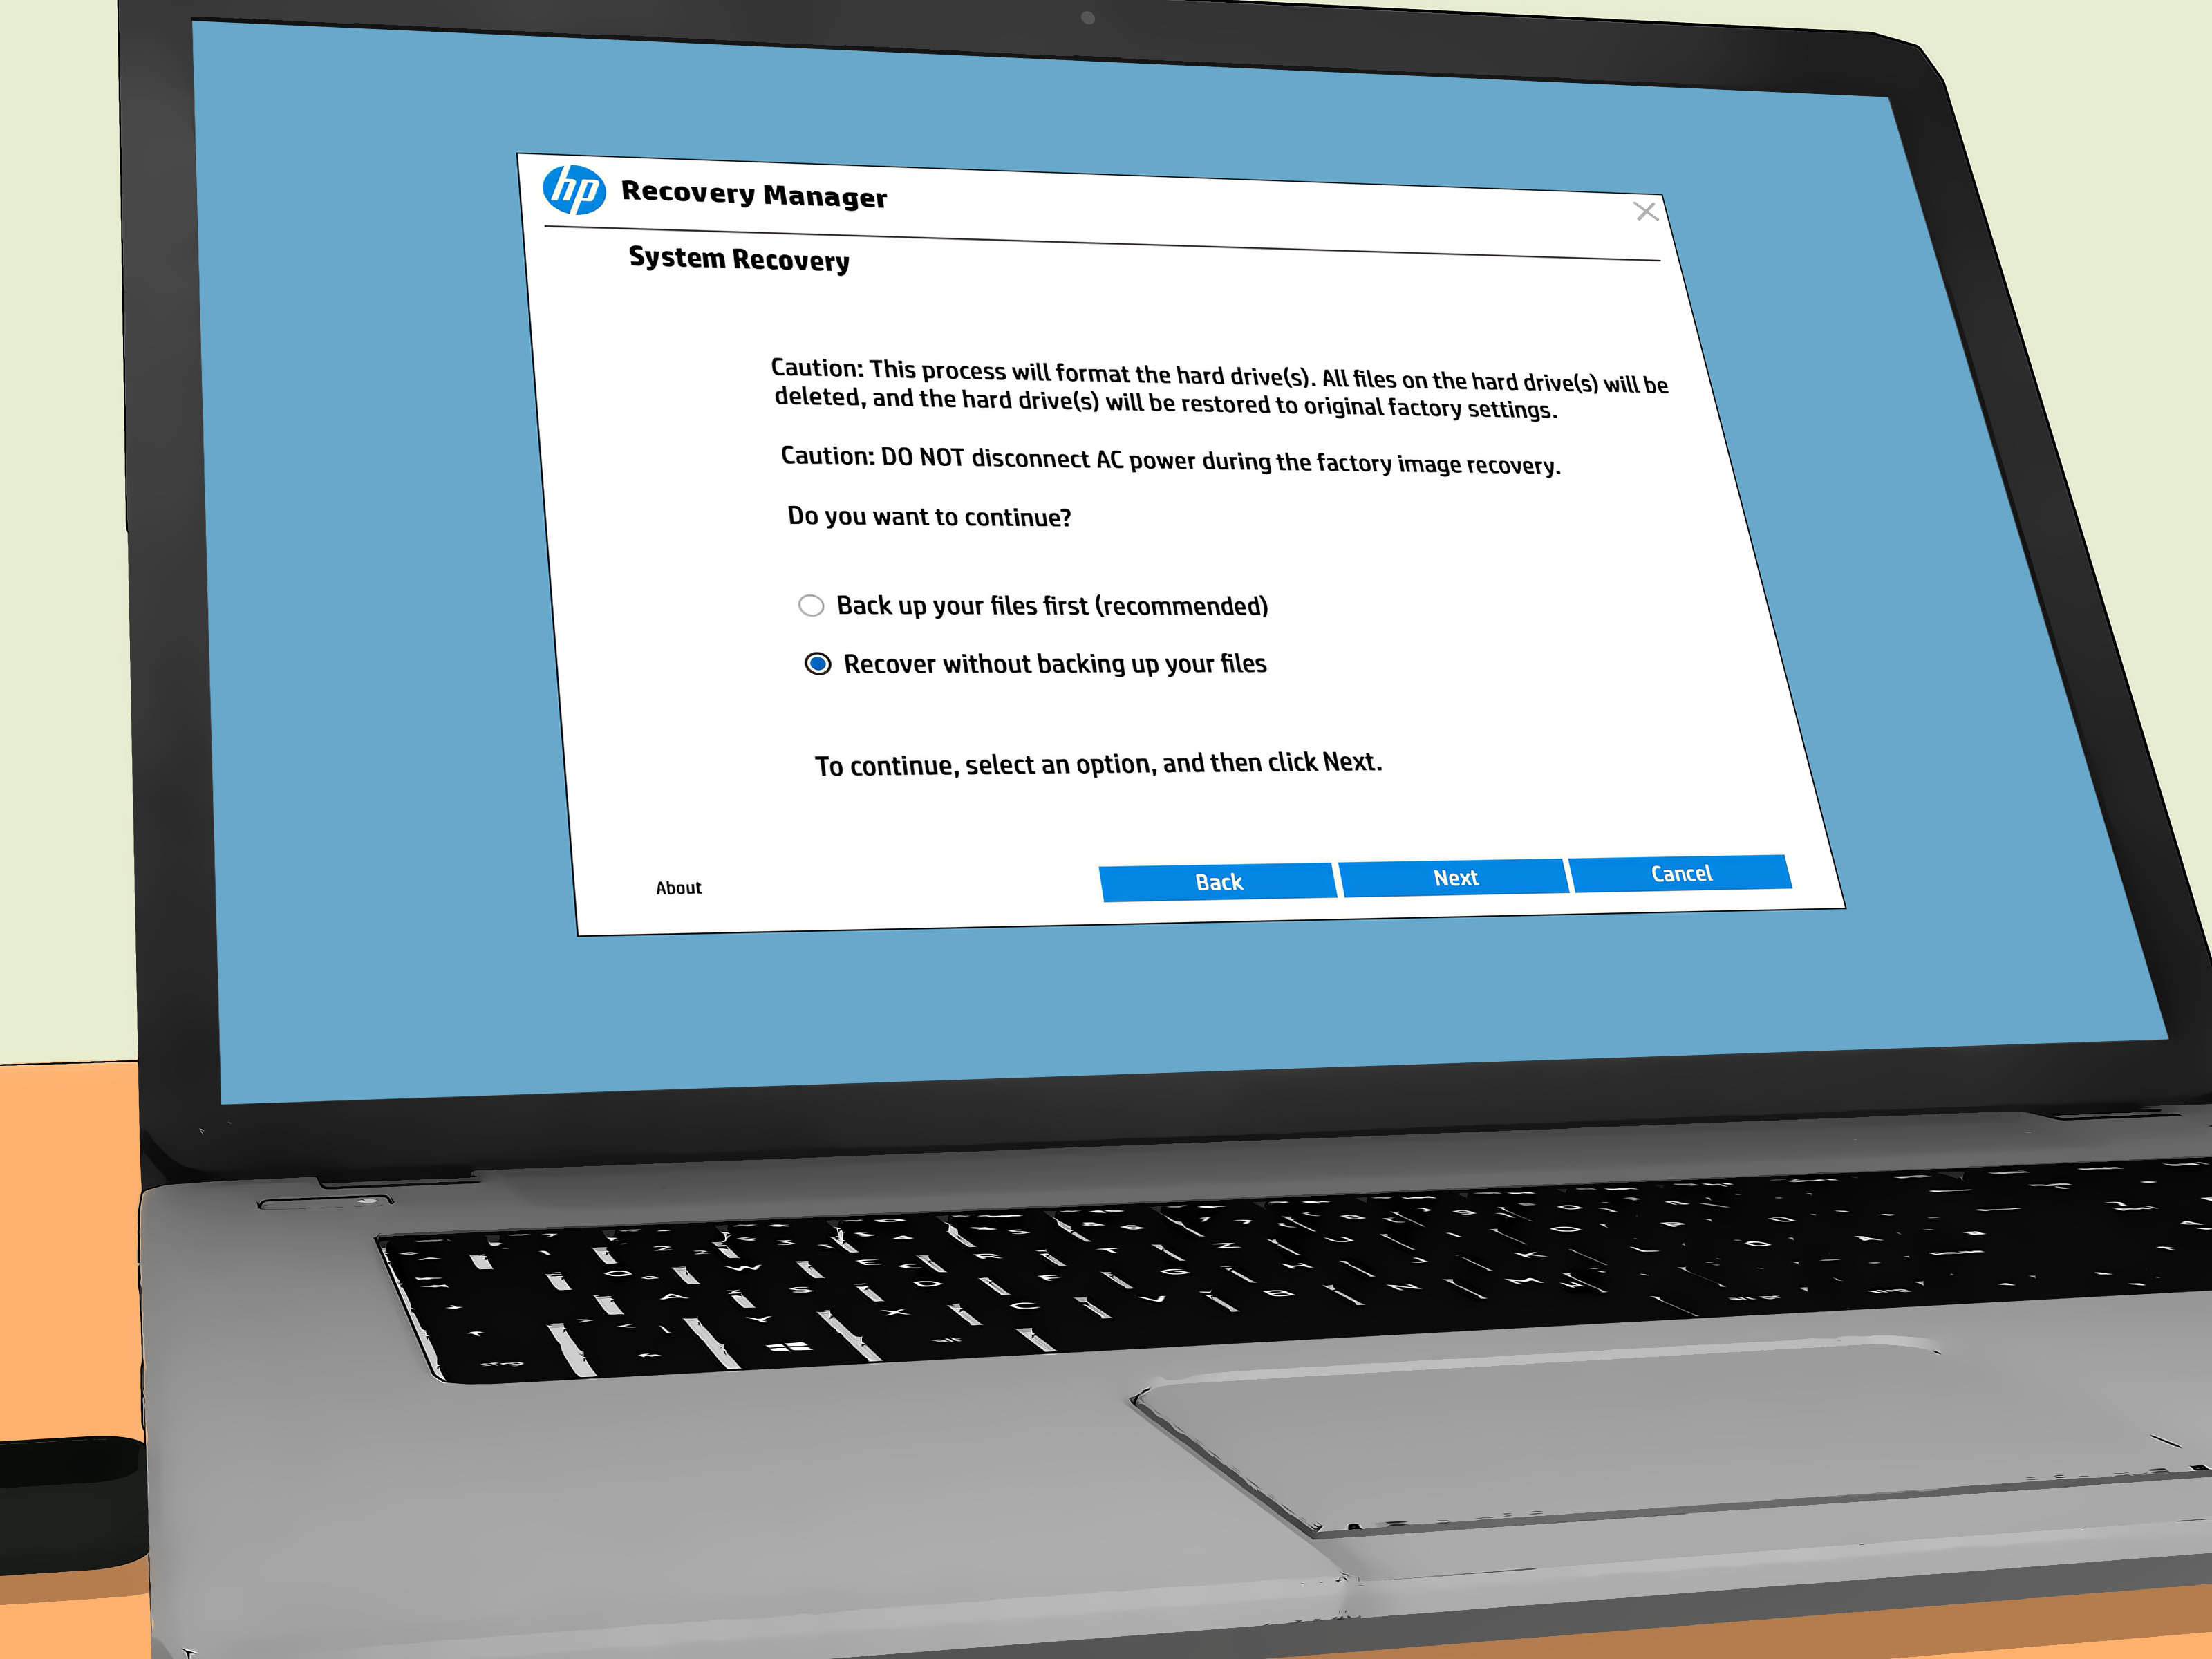
Once the PC boots from the USB, you’ll be guided through HP’s recovery environment. You’ll typically see options like
System Recovery or “run program from media.” Follow the prompts to restore the system.
3) Choose your recovery approach
- Full recovery (wipe): Best when Windows is corrupted, you’re selling the PC, or you want a clean slate.
- Backup-first options: Some HP recovery flows offer a chance to back up files before wiping (when possible).
4) Let it finish (and don’t interrupt)
During recovery, your PC may restart multiple times. Keep it plugged in. Don’t pull the USB until the tool tells you to,
or until you’re clearly back into Windows setup.
After recovery: what to do first so you don’t “recover” into new problems
Run Windows Update
The factory image might not be fully current. Run Windows Update until there are no more important updates.
This can take multiple restarts.
Update HP drivers the sane way
- Install/update HP Support Assistant (if included) and let it check drivers and firmware.
- Be cautious with BIOS updates: do them only if needed, and never on low battery.
Restore your files and re-secure the device
- Copy your backup files back.
- Reinstall your apps.
- Turn on security features (Windows Security, device encryption/BitLocker if appropriate).
Troubleshooting: the most common “why is this happening to me?” errors
The tool says my device isn’t supported / Product ID invalid
- Double-check you entered the correct Product ID from the label (a common typo is confusing O/0 or I/1).
- Some older models may not be eligible for cloud recovery. In that case, look for alternative HP recovery options or use Windows installation media.
- If it’s a business-class HP device, you may need the Cloud Recovery Client and must verify the model is on the supported platforms list.
USB drive not detected or creation fails
- Try a different USB port (avoid unpowered hubs).
- Try a different USB drive (some cheap drives fail during large sustained writes).
- Make sure the USB is large enough and truly empty (copy off files firstcreation will wipe it).
Download is slow or keeps failing
- Use a stable connection; if possible, prefer Ethernet over Wi-Fi.
- Avoid switching networks mid-download.
- Pause other heavy downloads/streaming in your home.
It won’t boot from the USB
- Use the Startup Menu and explicitly choose the USB device (don’t rely on boot order guesses).
- If Secure Boot/UEFI settings block booting, you may need to review BIOS settings carefully (or use the HP recovery method designed for your device).
- Try recreating the USB if you suspect it’s corrupted.
BitLocker prompts appear during recovery
If Windows recovery asks for a BitLocker key, it’s usually because the drive is encrypted and Windows can’t automatically unlock it in the recovery environment.
Retrieve the key from the account where it was saved (Microsoft account or organization account). If you can’t find it and you still need the encrypted data,
stop and consider professional recovery support before wiping the drive.
FAQ
Will HP Cloud Recovery delete everything?
Typically yes for a full recovery path. Expect installed apps, settings, and personal files to be removed unless you’ve chosen a backup-first option.
Always back up what matters first.
Does this reinstall the original HP apps (“bloatware”)?
It often restores the factory image, which usually includes HP utilities and sometimes trialware depending on the model and region.
The good news: you can uninstall what you don’t want after you’re back in Windows.
Is this better than Windows “Reset this PC”?
“Better” depends on your goal. Windows Reset can be quicker and more generic. HP Cloud Recovery is better when you want the model-correct
HP drivers/software bundle or when the machine is very unstable and you want the vendor’s recovery image.
Real-world experiences: what recovery actually feels like (and what people wish they knew)
Most guides make recovery sound like a tidy 12-minute chore. Real life is messiermore like “I started this at 8 PM and suddenly it’s midnight,
and my snack supply has mysteriously vanished.” Here are the most common experiences people report when recovering HP computers with cloud recovery media,
plus the lessons that typically come with them.
First surprise: the USB drive matters more than you think. People often grab the nearest flash drive, only to discover it’s 16 GB,
painfully slow, or unreliable. When the tool has to download and write a large recovery image, a low-quality drive can fail mid-way or take forever.
A “real” brand-name USB 3.x drive often cuts creation time dramatically. Another common facepalm moment: using a USB that still has files on it.
Cloud Recovery doesn’t negotiateit wipes. Folks who didn’t back up the USB first sometimes lose old school projects, photos, or installers they forgot were there.
Second surprise: internet stability beats raw speed. A fast connection is great, but a stable one is better.
Many people start the download on Wi-Fi, then move the laptop to a different room, or the router reboots, or someone starts streaming 4K video on every device in the house.
Result: errors, retries, or a stalled download. The most successful setups are boring: laptop plugged into AC power, internet steady, and nobody touching anything.
It’s not glamorous, but neither is repeating a two-hour download because the network hiccupped at 97%.
Third surprise: boot menus are a timing game. People frequently miss the Startup Menu window on the first attempt.
The trick is to tap the key early and repeatedly right after powering onnot once, not later, not “after the logo loads completely.”
Once they get the Boot Device Options screen and choose the USB explicitly, things usually move forward. If they don’t, they may accidentally boot right back into the broken Windows install,
then conclude the USB “doesn’t work,” even though it’s fine.
Fourth surprise: encryption and accounts can pop up at the worst time. If the drive is encrypted, people sometimes meet the BitLocker recovery screen during repair or reset steps.
The ones who had their recovery key saved (often tied to a Microsoft account or an organization account) get through with minor annoyance.
The ones who don’t have it learn an unpleasant truth: encryption is doing its job, and it won’t unlock just because you’re stressed.
A common “wish I knew” is to check for encryption and key location before starting, especially if the goal is to preserve any data.
Final surprise: the “recovery is done” moment is only the halfway point. After the reinstall, Windows updates can take a while,
drivers may update in waves, and some settings need to be reconfigured. People often feel like recovery “failed” because the laptop is slow right after reinstall
but it’s frequently just updates, indexing, and background setup doing their thing. A good real-world routine is: let it finish setup, run updates until fully current,
verify Wi-Fi/touchpad/audio work, and only then start reinstalling apps and restoring files. Done in that order, recovery usually ends with a stable, usable system,
instead of a new set of mysteries.
Conclusion
The HP Cloud Recovery Tool is one of the most straightforward ways to get an HP computer back to a known-good factory stateespecially when Windows won’t boot,
a drive has been replaced, or you want the model-specific drivers and software bundle. If you prep properly (backup, power, solid internet, correct device info),
the process is mostly guided and predictable. And when it isn’t, the troubleshooting steps above will help you handle the usual suspects: USB issues,
boot-menu timing, compatibility messages, and encryption prompts.