Mixing plaster for sculpture sounds simple until your bucket turns into a chalky lava flow, your beautiful pour traps a galaxy of air bubbles, or the whole thing sets faster than your brain can say, “I should have measured that.” The good news is that plaster is wonderfully cooperative when you treat it right. Whether you are making a cast, building a sculptural form, creating texture art, or preparing a mold, the difference between a silky, reliable mix and a tragic lumpy mess usually comes down to a few small habits.
This guide walks you through how to mix plaster for sculpture in 9 practical steps, with real-world tips for beginners and experienced makers alike. You will learn how to choose the right tools, measure the right ratio, avoid clumps, reduce bubbles, pour cleanly, and clean up without sacrificing your plumbing. Think of it as equal parts studio know-how, kitchen chemistry, and “please do not freestyle this part” energy.
Why Proper Plaster Mixing Matters
If you want strong casts, crisp detail, and fewer surprises, mixing matters just as much as sculpting. A sloppy plaster mix can cause weak edges, pitting, lumps, pinholes, fast setting, slow setting, and that delightful moment when your sculpture looks like the moon. A well-made mix, on the other hand, gives you a smooth slurry, good working time, better strength, and a cleaner surface finish.
The tricky part is that plaster is not one-size-fits-all. Plaster of Paris, casting plaster, pottery plaster, and harder gypsum cements all behave a little differently. That is why smart sculptors do not memorize one magic number and call it a day. They understand the basics, then follow the product instructions for the exact plaster they are using.
What You Need Before You Start
- Plaster for sculpture or casting
- Clean, cool to room-temperature water
- A clean mixing bucket or bowl
- A scale or measuring container
- A mixing tool or your gloved hand for small batches
- Dust mask or respirator for powdered materials
- Gloves, apron, and eye protection
- A drop cloth or protected work surface
Pro tip: use clean tools and a clean container every single time. Old bits of cured plaster act like tiny troublemakers and can cause your new batch to set too quickly. Plaster loves drama. Do not give it any.
How to Mix Plaster for Sculpture: 9 Steps
Step 1: Prepare Your Workspace Like a Person Who Enjoys Sanity
Before you open the bag, set up your workspace. Cover the table, gather your tools, and make sure your mold, armature, or sculpting surface is ready. Plaster does not wait politely while you search for a stir stick under a stack of sketchbooks.
Ventilation matters too. Powdered plaster can irritate your eyes and respiratory system, especially in a dusty studio. Wear a mask when handling dry plaster, keep drinks away from the work area, and avoid creating airborne clouds unless your artistic goal is “Victorian attic ghost.”
Step 2: Measure Water First
Always start by measuring the water first and pouring it into a clean container. This is one of the most important plaster mixing rules. Adding water to a pile of plaster usually creates stubborn lumps that are annoying to break apart and even more annoying when they show up in your finished sculpture.
How much water should you use? It depends on the product. Many basic craft and hobby plasters are commonly mixed at about 2 parts plaster to 1 part cold water by volume. Some pottery and mold plasters are closer to a 60/40 plaster-to-water balance or a measured weight-based ratio. For sculpture work, the right answer is not “whatever looks right,” but “whatever your product label recommends.”
If you want a smoother workflow and more consistent results, weigh your materials when possible. Weight-based measuring is less romantic than eyeballing it, but it is far more reliable.
Step 3: Sift the Plaster Slowly into the Water
Now add the plaster to the water slowly and evenly. Sprinkle it across the surface rather than dumping in a giant chalk bomb. This helps every particle absorb water more evenly and reduces dry clumps.
You will notice the plaster beginning to sink as it wets out. That is exactly what you want. Keep adding it in a steady shower until you reach the measured amount. For small sculpture batches, this step often takes less than a minute, but the calm, patient approach pays off later with a smoother slurry.
This is the stage where many beginners panic and stir too soon. Resist. Your future self, your sculpture, and your sandpaper budget will thank you.
Step 4: Let It Soak, Also Known as Slaking
Once all the plaster is in the water, let it sit undisturbed for a short time. This soaking stage is often called slaking. It gives the plaster particles time to hydrate, release trapped air, and become easier to mix.
For many small batches, a minute or two may be enough. Larger batches often benefit from a little longer. In practical studio use, sculptors often wait until the plaster is mostly wetted and no longer floating like dry islands across the surface.
Skipping this step can lead to poor dispersion, more lumps, and a rougher mix. In other words, slaking is not laziness. It is strategy.
Step 5: Mix Gently Until Smooth
After soaking, begin mixing. For small batches, hand mixing works beautifully because you can feel lumps and crush them with your fingers. For larger batches, use a mixing tool and keep the motion controlled. The goal is to create a smooth, creamy plaster slurry, not to whip up plaster cappuccino.
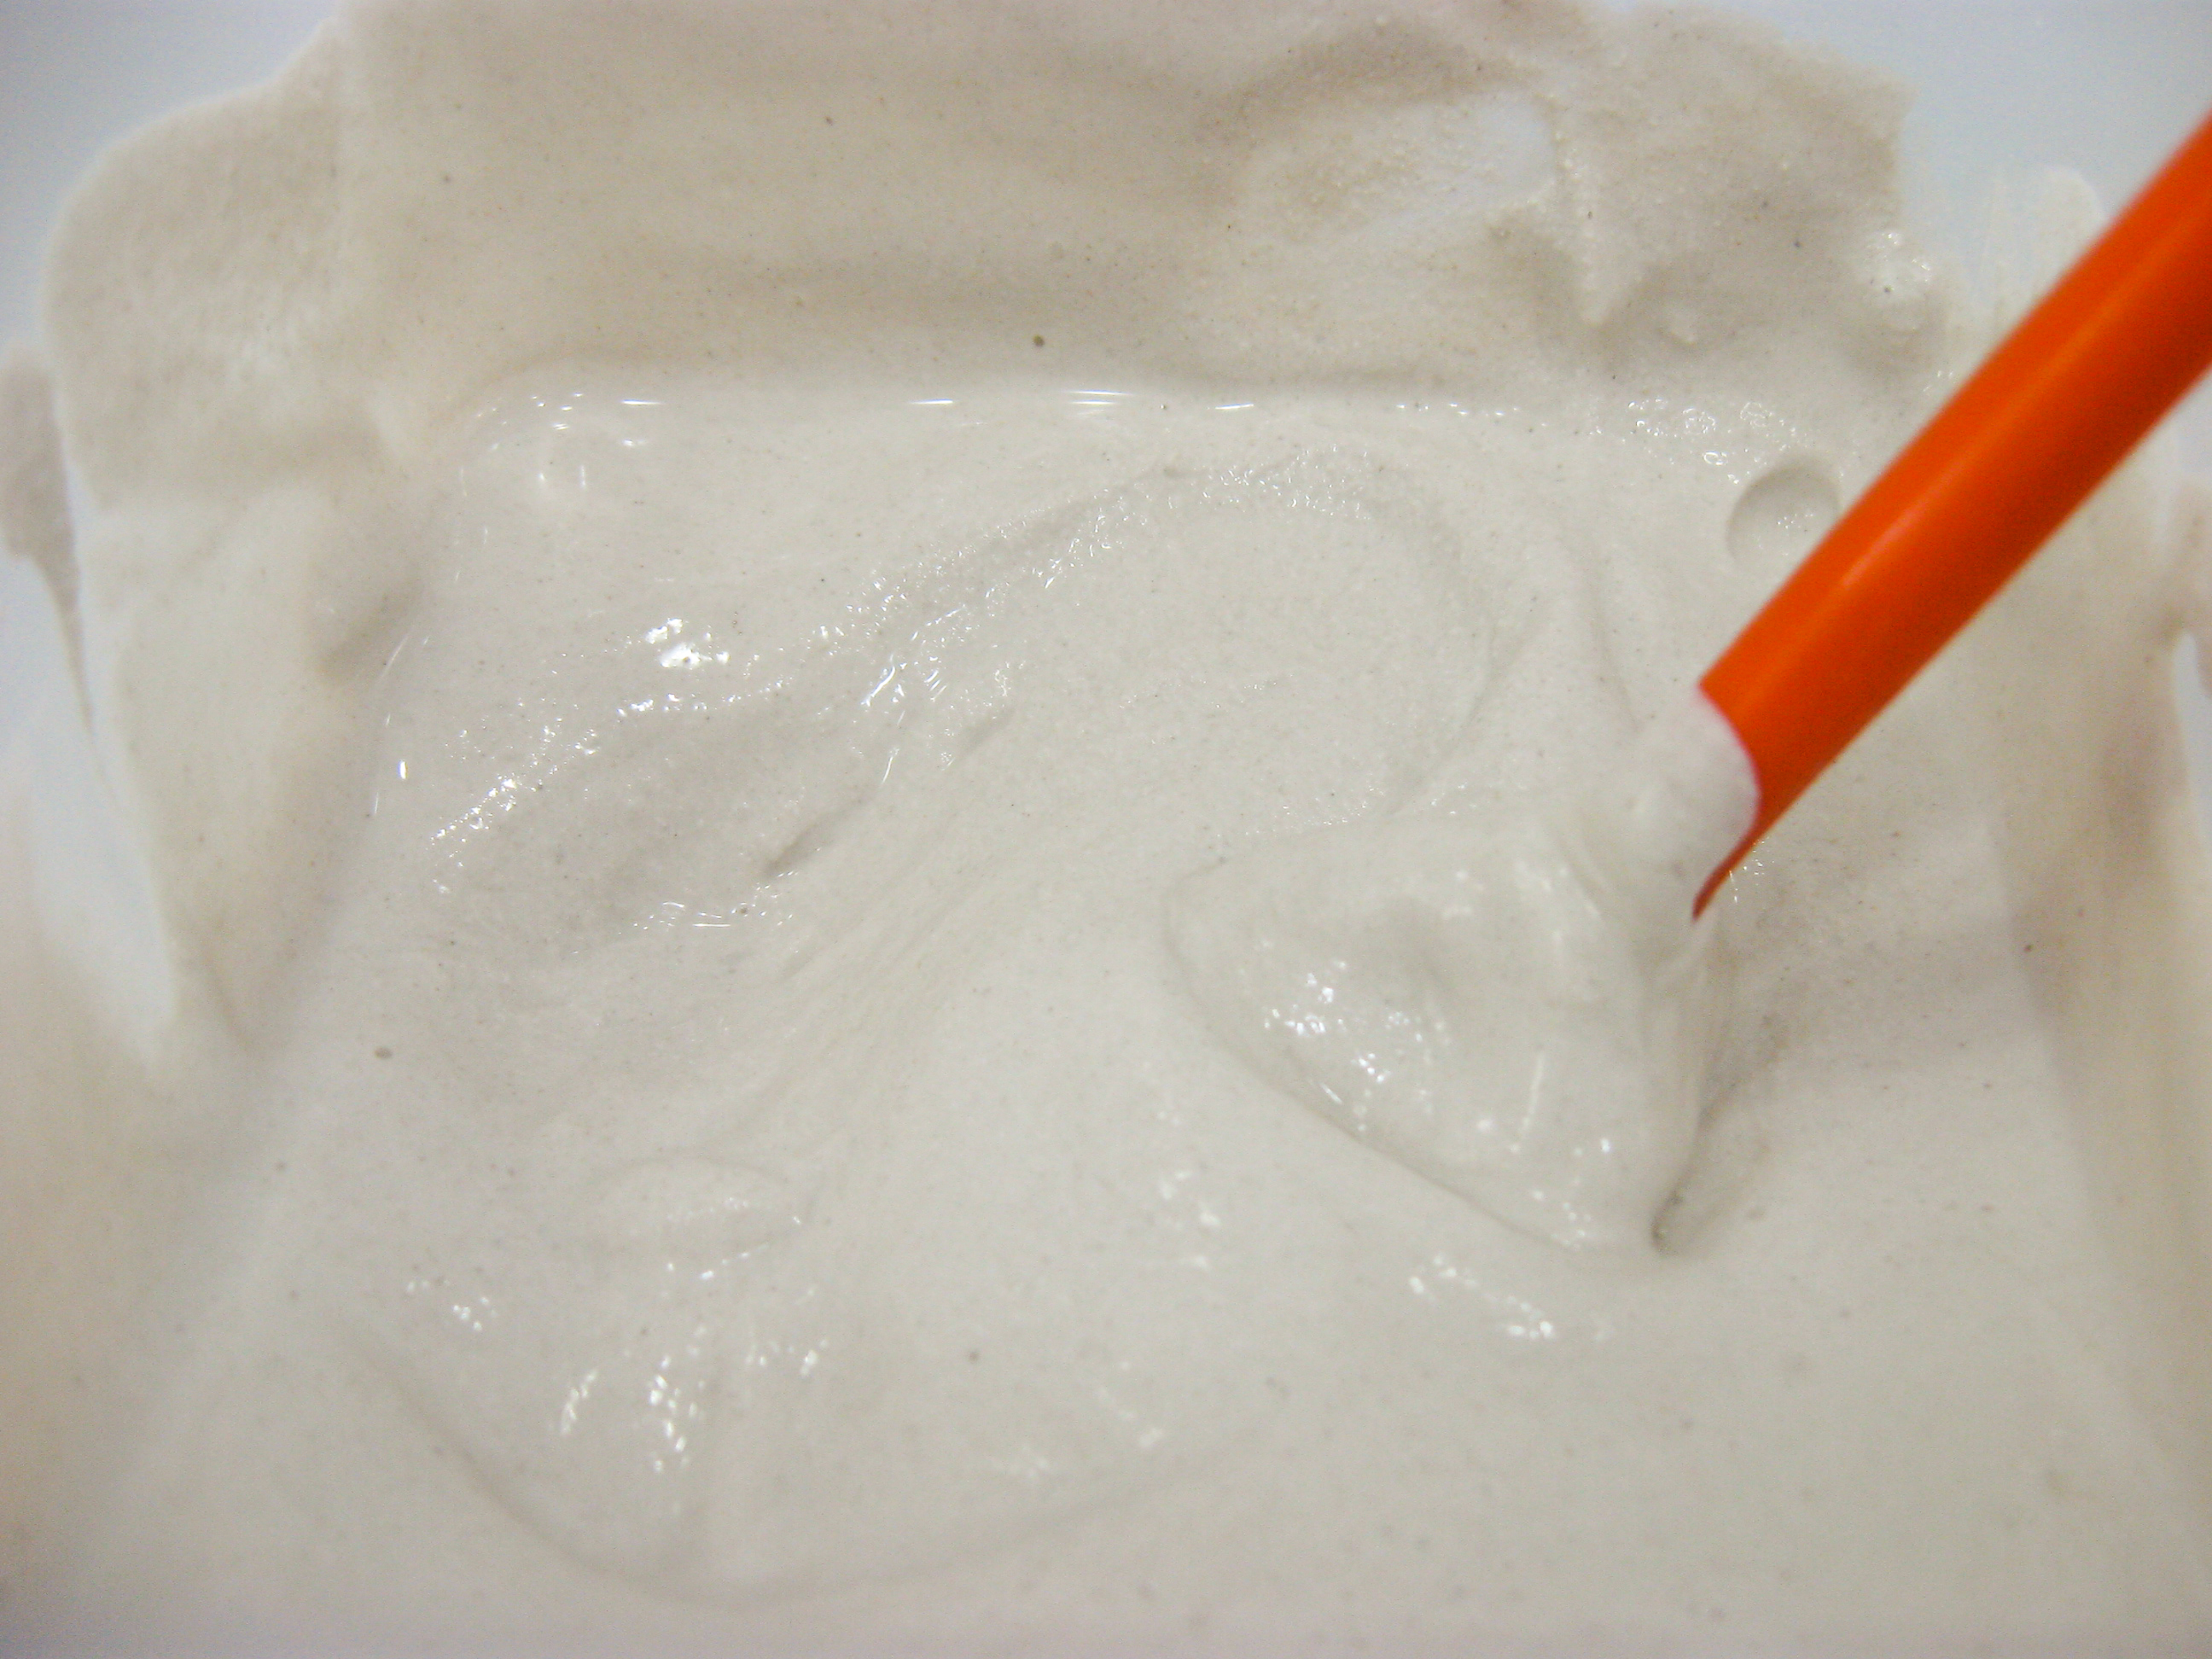
Mix just long enough to break up clumps and reach a uniform consistency. Overmixing can introduce air bubbles and may affect how the plaster sets. Under-mixing leaves lumps and weak spots. The sweet spot is usually a short, steady mix until the texture resembles heavy cream or pancake batter, depending on the task.
If your batch feels sandy, dry, or weirdly chunky, do not convince yourself it is “probably fine.” It is not probably fine.
Step 6: Watch the Consistency and Working Time
Plaster begins changing almost immediately once mixed. It starts fluid, then slowly thickens as the setting reaction gets underway. This is why experienced sculptors pay attention to consistency, temperature, and timing.
If you use warmer water, plaster tends to set faster. Cooler water usually gives you more working time. A thicker mix may build texture and body more quickly, while a thinner mix may pour better into molds and fine details. You want the plaster to be fluid enough to work, but not so watery that it becomes weak, runny, or disappointing.
Most basic plaster products give you a fairly short working window, so only mix what you can actually use. This is not the moment for optimism. Be realistic. Small, repeatable batches beat one giant panic bucket every time.
Step 7: Knock Out Air Bubbles Before You Pour
Air bubbles are the glitter of sculpture mistakes: they get everywhere and no one invited them. Once your plaster is mixed, gently tap the container on the table or floor to help trapped bubbles rise. Some artists give the side of the bucket a few firm slaps. Others stir very gently for a few extra seconds and then tap again.
If you are pouring into a mold, pour in a thin stream into the deepest or lowest area and let the plaster flow across the surface instead of splashing directly onto every detail. You can also tap the table or gently vibrate the mold after pouring to release more trapped air.
This simple step makes a major difference in surface quality, especially if your sculpture includes texture, facial detail, botanical impressions, or fine relief work.
Step 8: Pour, Shape, or Apply the Plaster
Now use the plaster for its intended purpose. If you are pouring into a mold, fill gradually and carefully. Some makers prefer to fill in stages and tap between pours to reduce trapped air. If you are applying plaster to an armature or flat support, spread it with a spatula, putty knife, or your gloved hand.
For textured sculpture, work while the plaster is still plastic but beginning to gain body. This is the sweet phase for carving marks, combing texture, dragging tools, or building subtle ridges. For casting, leave the piece undisturbed while it sets. Moving it too early can damage the surface and ruin detail.
As it cures, plaster often warms up. That is normal. Let it harden fully before demolding, trimming, or sanding. Then let it dry thoroughly before painting, sealing, or finishing.
Step 9: Clean Up the Right Way
Here is the unglamorous but essential studio truth: do not pour leftover plaster down the sink. Not even a little. Not even if it looks thin. Not even if your plumbing has “been through worse.” Plaster hardens in pipes and can create a plumbing disaster worthy of its own cautionary museum exhibit.
Instead, let leftover plaster settle or harden in a disposable container or cleanup bucket. Scrape out the solids and throw them away according to your local rules. Wash tools in a separate rinse bucket if possible, and keep plaster waste out of drains. Your landlord, studio manager, or future self will be deeply grateful.
Common Plaster Mixing Mistakes to Avoid
- Dumping plaster in all at once: This creates lumps and uneven wetting.
- Adding water to plaster instead of plaster to water: Classic beginner mistake, classic bad result.
- Skipping the soak: Less hydration, more frustration.
- Overmixing: More air, faster set, less joy.
- Using dirty tools: Old plaster speeds up setting and can contaminate the batch.
- Mixing too much at once: You will lose the race. The plaster will win.
- Pouring leftovers into the sink: Please do not turn your plumbing into sculpture.
Best Uses for a Well-Mixed Plaster Batch
When you get the mix right, plaster becomes incredibly versatile. You can use it for:
- Sculpture casting
- Relief panels and wall art
- Mold making
- Textured mixed-media work
- Armature coating
- Decorative art objects
- Prototype forms for ceramics or design
A clean plaster mix is one of those foundational studio skills that quietly improves everything else. It makes details sharper, surfaces smoother, and finishing easier. It also cuts down on waste, which is good for your budget and your blood pressure.
Final Thoughts
Learning how to mix plaster for sculpture is one of those art skills that looks humble on paper but makes an enormous difference in practice. Once you understand the rhythm, measure the water, sift the plaster, let it slake, mix gently, tap out bubbles, and pour with intention, the process becomes much less intimidating.
The real secret is consistency. Good sculptors are not lucky. They are repeatable. They know that a smooth plaster mix starts before the stirring even begins. They prepare the space, respect the timing, and avoid shortcuts that lead straight to Lumpsville.
So the next time you open a bag of plaster, channel calm, move with purpose, and remember: the goal is a creamy, workable mix, not a chalky crisis in a bucket.
Studio Experience: What Mixing Plaster Actually Feels Like in Real Life
The first time I mixed plaster for sculpture, I treated it like pancake batter with ambition. I moved too slowly, stirred too enthusiastically, and somehow ended up with a bucket full of lumps that looked less like casting material and more like haunted cottage cheese. That was the day I learned that plaster is not difficult, but it is very honest. It immediately tells you whether you prepared well or wandered in with chaotic energy.
One of the biggest lessons artists learn through experience is that plaster rewards routine. When I started measuring everything before opening the bag, the process became dramatically easier. The workspace was protected, the water was ready, the mold was ready, and the cleanup bucket was waiting. Suddenly, the session no longer felt like a race against time. It felt like a sequence. And sculpture loves sequence.
Another thing experience teaches you is how much the material communicates through touch. A good plaster mix changes in your hand. At first it feels loose and watery. Then it becomes creamy, almost silky, and finally you can sense it beginning to gain body. That moment matters. If you pour too soon, the mix may be too thin. If you wait too long, it starts heading toward “surprisingly solid object.” After a few batches, you stop guessing and start recognizing the feel.
Air bubbles are another rite of passage. Nearly every sculptor has had that moment of demolding a piece, seeing a beautiful surface, and then spotting ten tiny craters right where everyone will notice them first. Experience teaches patience here too. Slow sifting, brief slaking, gentle mixing, tapping the bucket, pouring in a thin stream, and tapping the mold afterward all seem small, but together they save a shocking amount of repair work.
Cleanup is where experienced makers become almost evangelical. Beginners sometimes think, “This little bit in the sink cannot matter.” Experienced artists know that this is how plumbing legends are born. Once you deal with one clogged studio drain, you become the kind of person who points dramatically at a rinse bucket and says, “Use that.” Wisdom comes in many forms.
Most of all, working with plaster teaches humility in a useful way. You cannot bully it, rush it, or improvise forever. You learn to respect timing, repetition, and material behavior. And once you do, plaster becomes one of the most satisfying materials in the studio. It captures texture beautifully, supports experimentation, and can feel almost magical when a clean cast slips from the mold with sharp detail and a smooth finish. That moment never gets old.