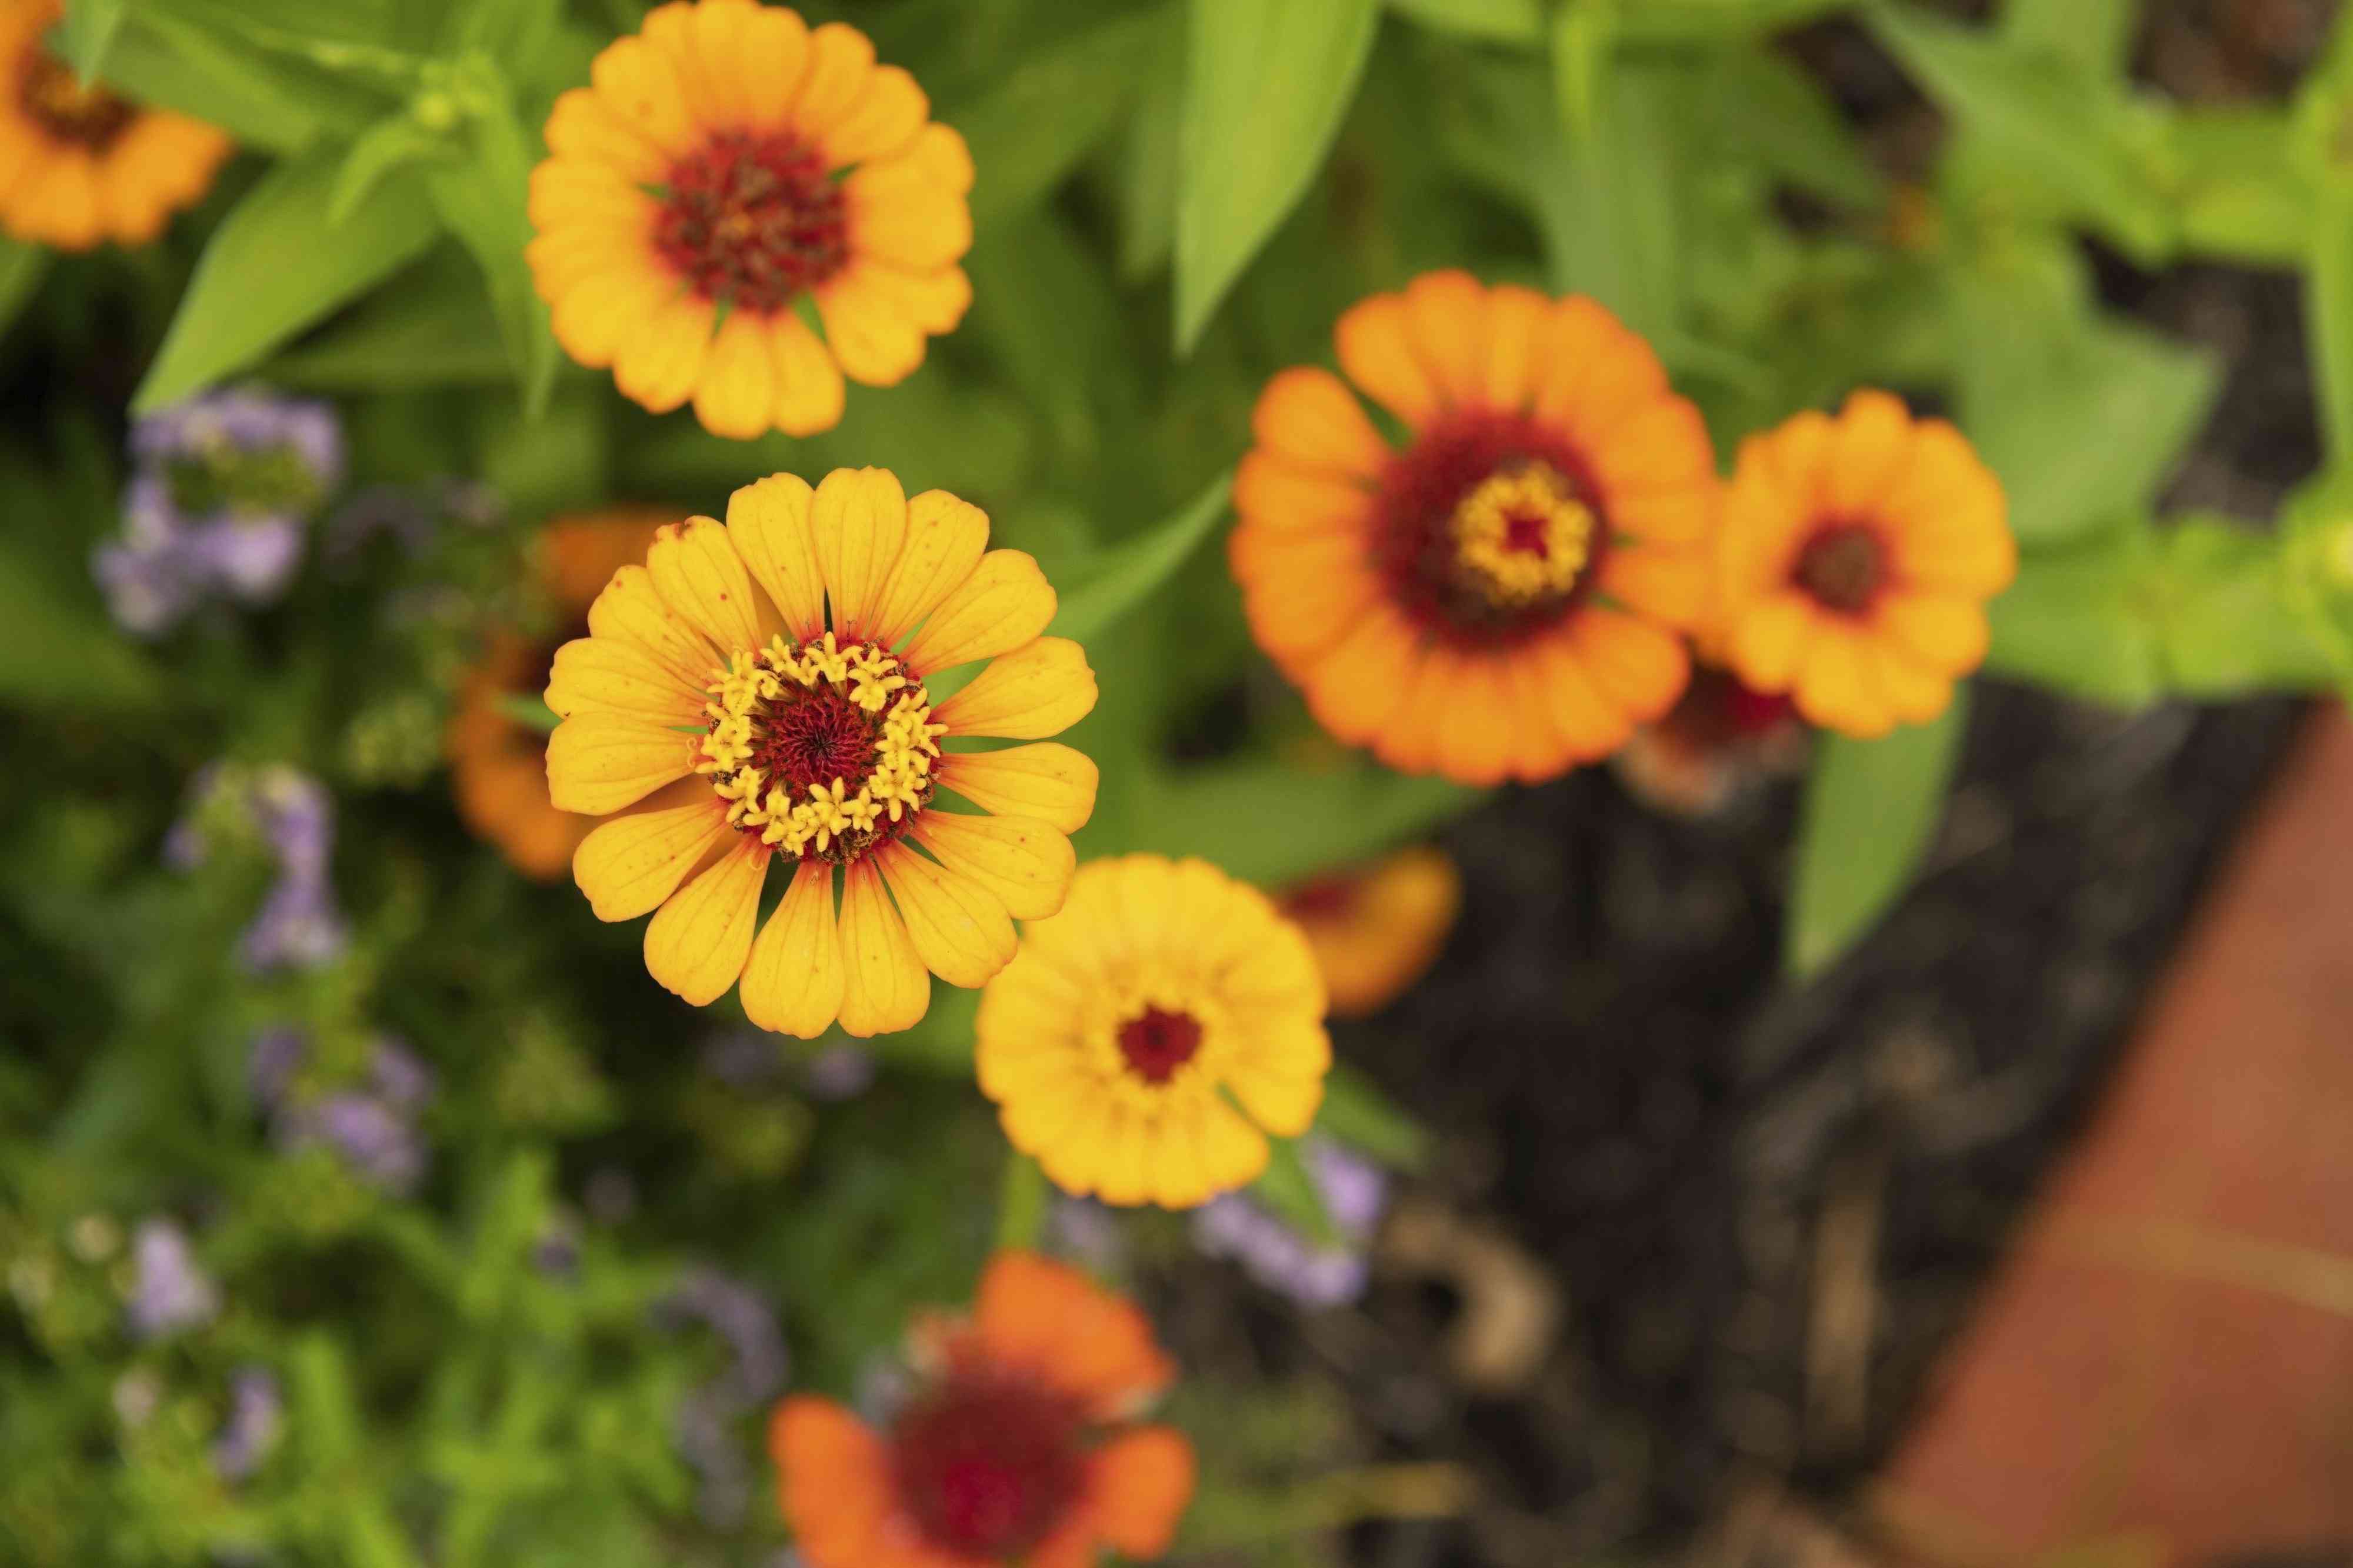
Zinnias are the overachievers of the summer garden. They bloom like they are trying to win a trophy, they attract pollinators, and they keep going until frost finally tells them to knock it off. The best part? You do not have to buy fresh seed every year if you know how to harvest and save zinnia seeds properly.
Seed saving sounds fancy, but zinnias make it wonderfully approachable. These flowers produce lots of seed, the seed heads are easy to handle, and the process does not require a lab coat or a dramatic gardening montage. With a few simple steps, you can collect seed from your best blooms, store it the right way, and give yourself a colorful head start next season.
In this guide, you will learn when zinnia seeds are ready, how to separate good seed from garden fluff, how to store them so they stay viable, and what to expect if you are saving seed from hybrids or mixed plantings. By the end, you will be looking at those dried flower heads like tiny savings accounts for next year’s garden.
Why Save Zinnia Seeds?
Saving zinnia seeds is practical, affordable, and strangely satisfying. Instead of tossing spent blooms at the end of the season, you turn them into free plants for next year. That alone is a solid gardening victory.
There are a few other benefits, too:
- You save money. A handful of dried zinnia heads can produce plenty of seed for beds, borders, containers, and cutting gardens.
- You can select your favorite plants. Save seed from the healthiest, most vigorous, or most beautiful flowers in your garden.
- You may gradually improve your home-grown strain. Over time, selecting your best-performing plants can help you keep traits you love, such as strong stems, long bloom periods, or standout colors.
- You keep the garden going. Seed saving makes your garden feel less like a one-season event and more like an ongoing story.
Zinnias are especially friendly for beginners because they are annual flowers with obvious seed heads. Unlike wet-seeded crops that need fermentation or special cleanup, zinnia seeds are a dry-seed project. In gardener terms, that means less mess and fewer reasons to mutter at the kitchen counter.
Know This Before You Start: Open-Pollinated vs. Hybrid Zinnias
Before you collect seed from every faded flower in sight, it helps to know what kind of zinnias you grew. This matters because saved seed does not always produce an exact copy of the parent plant.
Open-pollinated zinnias
If your zinnias are open-pollinated or heirloom varieties, the seedlings are more likely to grow true to type, especially if only one variety was grown nearby. That means the flowers next year should look fairly similar to the ones you loved this year.
Hybrid zinnias
If your plants came from hybrid seed packets, saved seed can still germinate and grow, but the flowers may vary in color, shape, height, or overall performance. Sometimes that is a disappointment. Sometimes it is a garden surprise party. It depends on your tolerance for mystery.
Cross-pollination
Zinnias are pollinator magnets, which is wonderful for bees and butterflies and slightly less helpful if you are trying to preserve one exact flower color. If multiple varieties are growing close together, insects can cross-pollinate them. So even open-pollinated zinnias may create variation in the next generation.
If you want seeds that stay as true as possible to one specific variety, grow only one variety or isolate selected blooms. If you are happy with a colorful mix and a little unpredictability, save away with confidence.
When to Harvest Zinnia Seeds
The biggest rule of zinnia seed saving is simple: do not harvest too early. Immature seeds usually will not germinate well, no matter how lovingly you label the envelope.
Zinnia seeds are ready when the flower head is fully mature and dry on the plant. Look for these signs:
- The flower head turns brown, dry, and papery.
- The petals are faded, crisp, or mostly fallen away.
- The stem below the seed head is brown and dry.
- The head feels brittle or begins to break apart when rubbed.
In many gardens, this happens toward late summer or fall, often after the flower has been left on the plant longer than your tidy-garden instincts prefer. Yes, it can look a little scruffy. Think of it as delayed gratification with petals.
Choose a dry day for harvesting if possible. Wet seed heads need extra drying time and are more likely to develop mold in storage. Also, avoid harvesting right after watering or rain unless you plan to dry the heads very thoroughly indoors.
How to Harvest Zinnia Seeds Step by Step
1. Select the best flowers
Do not save seed from weak, diseased, or disappointing plants. Choose blooms from healthy zinnias with strong stems, good branching, reliable flowering, and the colors or shapes you want to repeat. If a plant struggled with disease, especially powdery mildew, skip it and move on.
2. Leave a few blooms on the plant to mature
Gardeners often deadhead zinnias to keep flowers coming, so you may need to intentionally leave a few blossoms alone at the end of the season. Set aside these blooms for seed production and let them stay on the plant until fully dry.
3. Snip or pull off the dry seed heads
Once the heads are dry and brown, cut them off with pruners or pinch them off by hand. Place them into a paper bag, bowl, basket, or other breathable container. Avoid sealed plastic while the heads are still holding moisture.
4. Let the heads finish drying indoors if needed
If the seed heads are mostly dry but not perfectly crisp, spread them in a single layer on a tray, screen, plate, or cookie sheet in a well-ventilated indoor space. Keep them out of direct sun and let them dry for several days to a week or more, depending on humidity.
5. Break apart the seed heads
Once dry, rub or crumble the flower heads between your fingers or gloved hands. You can do this over a plate, tray, or large sheet of paper. The seeds will loosen from the chaff, which is the papery dried plant material that comes apart with them.
Zinnia seeds are usually narrow, pointed, and arrowhead- or spade-shaped. Some may still be attached to the base of dried petals. That is normal. Separate as much plant fluff as you reasonably can, but do not stress about making them look professionally packaged.
6. Separate seed from chaff
You can pick out the better-looking seeds by hand or use a simple winnowing method. Pour the mixture gently between two bowls outdoors or in front of a light fan so the lighter chaff blows aside while the heavier seeds fall down. It is a low-tech trick, but it works.
The goal is not perfection. The goal is to remove excess debris, moisture-holding material, and obviously immature pieces so you improve storage quality and germination odds.
What Do Good Zinnia Seeds Look Like?
This is where gardeners often pause and squint suspiciously at a pile of dried plant bits.
Good zinnia seeds are typically:
- Firm and dry
- Tan, grayish, or brownish rather than green
- Flat but substantial, not papery-thin
- Arrowhead- or spear-shaped
Very pale, soft, green, or flimsy pieces are more likely to be immature. That does not mean every odd-looking seed is useless, but in general, plumper and fully dried seed is a better bet.
If you are unsure, save more than you think you need. Zinnias usually produce plenty, and having extra seed gives you room for a germination test later.
How to Dry Zinnia Seeds the Right Way
Drying is the step that separates successful seed saving from a future envelope of regret. Even if the flower heads looked dry in the garden, the extracted seeds still benefit from extra air drying before storage.
Spread the cleaned seeds in a thin layer on a plate, tray, screen, or coffee filter. Keep them in a warm, dry, well-ventilated room out of direct sunlight. Stir or move them around once or twice a day if you want to be thorough.
Let them dry for at least several days, and longer if your home is humid. Many gardeners play it safe and dry seeds for one to three weeks before long-term storage. The seeds should feel crisp, not bendable, and never cool or damp to the touch.
Do not rush this part. Moisture trapped in storage is one of the fastest ways to ruin saved flower seeds.
How to Store Zinnia Seeds
Once the seeds are fully dry, storage is refreshingly simple.
Best storage containers
- Paper envelopes
- Small paper seed packets
- Glass jars with tight-fitting lids
- Airtight containers with the seeds first tucked into labeled paper packets
What to write on the label
- Zinnia variety or color mix
- Date harvested
- Any notes such as plant height, bloom form, or favorite traits
Where to store them
Keep the seeds in a cool, dark, dry place. A closet, drawer, or basement shelf can work if humidity stays low. A refrigerator is also a good option if the seeds are in a sealed container and truly dry before storage. When removing seeds from cold storage, let the container reach room temperature before opening it so condensation does not form on the seeds.
If you want to be extra careful, place the labeled paper envelope inside a glass jar. Some gardeners add a desiccant packet or a separate packet of silica gel nearby to help manage moisture.
How Long Do Saved Zinnia Seeds Last?
Under good storage conditions, zinnia seeds commonly remain viable for three to five years. That said, fresh seed usually gives the best results, and storage conditions matter a lot. Heat, humidity, and temperature swings shorten seed life fast.
If your saved seed is more than a year old and you are not sure how well it was stored, run a germination test before planting. It is easy, and it saves you from sowing an entire bed with crossed fingers.
How to Test Germination Before Planting
Testing older zinnia seed is simple:
- Count out at least 10 to 20 seeds.
- Place them on a damp paper towel.
- Fold or roll the towel so the seeds stay separated.
- Put the towel into a plastic bag or covered container.
- Keep it in a warm place.
- Check over the next several days to a week.
If 8 out of 10 seeds sprout, you have an 80% germination rate. That is perfectly usable. If only a few germinate, sow more heavily or replace the seed with fresher stock.
Common Mistakes to Avoid
Harvesting too soon
If the flower head still looks alive, pretty, or even mildly hopeful, it is probably too early. Mature seed heads should be fully brown and dry.
Saving seeds from diseased plants
Always choose healthy plants. Weak or infected plants may pass along problems or simply give poor results next season.
Storing seeds before they are dry
This is the big one. Damp seeds can mold, rot, or lose viability in storage.
Forgetting to label
Every gardener believes they will remember which mystery envelope holds the giant coral zinnia seeds. Every gardener is also, eventually, humbled.
Expecting hybrids to repeat perfectly
Saved seed from hybrid zinnias can be fun, but it may not produce the same bloom shape or color as the parent plant. Save them anyway if you enjoy surprises.
Best Practices for Better Seed Saving Results
- Save seed from your earliest, healthiest, and most vigorous plants.
- Harvest only on dry days when possible.
- Keep varieties separate if you care about color or form.
- Use breathable containers during collection and early drying.
- Finish drying seeds indoors before sealing them up.
- Store in a cool, dark, dry place and test older seeds before sowing.
These simple habits make a noticeable difference. Seed saving does not need to be complicated, but it does reward patience and attention.
Final Thoughts on Saving Zinnia Seeds
Learning how to harvest and save zinnia seeds is one of those gardening skills that pays off immediately and keeps paying off later. You get free plants, a stronger connection to your garden, and the satisfaction of carrying a season forward instead of starting from scratch every spring.
The process is straightforward: let the flowers dry fully on the plant, collect the brown seed heads, separate the seeds, dry them well, and store them properly. That is the whole system. No drama. No expensive tools. Just good timing, good drying, and a little labeling discipline.
And next year, when your saved zinnias pop up and start blooming, you will get to enjoy one of gardening’s quieter thrills: proof that past-you actually knew what they were doing.
Real-World Experience: What Gardeners Learn After Saving Zinnia Seeds for a Few Seasons
In real gardens, saving zinnia seeds becomes less about following a perfect checklist and more about learning small patterns that repeat year after year. One common experience is that the best seeds usually come from the flowers you almost forgot to deadhead. Early in the season, most gardeners cut spent blooms quickly to keep the display looking fresh. Later, when a few flowers are left alone, those same blooms become the ones that dry down properly and offer the easiest seed harvest. It is a funny shift: the flowers that look the least impressive by October are often the most valuable for next spring.
Another practical lesson is that seed saving teaches patience. Zinnia heads can seem ready one week and still be slightly immature the next. Many gardeners harvest too soon the first time, only to discover that the seeds are soft, pale, or poorly formed. After that, they learn to wait for the flower head to become truly brown, brittle, and almost lightweight. It feels late, but that extra time often makes the difference between a weak seed stash and a strong one.
Gardeners also notice how much variety shows up when different zinnias are grown close together. A patch planted with reds, pinks, limes, oranges, and doubles may produce next-year seedlings that do not follow the original color plan at all. Some people find that annoying. Others end up loving it. In fact, many backyard growers start out wanting exact repeats and later discover they enjoy the unexpected combinations. The garden becomes part design, part experiment, and part harmless chaos.
Storage habits matter more than people think. A lot of first-year seed savers tuck seeds into an envelope, forget them in a humid shed, and then wonder why germination drops. By contrast, gardeners who keep seeds indoors, well labeled, and protected from moisture usually have much better luck. Even something as simple as storing envelopes inside a sealed jar in a closet can improve results noticeably. The difference often shows up months later when spring sowing begins.
There is also an emotional side to the process. Saving zinnia seeds creates a sense of continuity that buying a fresh packet does not quite match. You are not just planting flowers again. You are planting descendants of flowers you already grew, admired, cut for bouquets, and watched through heat, storms, and late-season decline. That gives next year’s planting a personal history. For many gardeners, that is what turns seed saving from a useful trick into a favorite ritual.
And perhaps the most relatable experience of all: once you realize how easy it is, you start saving more zinnia seeds than any reasonable person could ever plant. Suddenly there are envelopes in drawers, jars on shelves, and little handwritten notes promising “salmon mix, tall, great stems.” It is not exactly a problem. It is more like a cheerful gardening habit with storage implications.