Note: This article is educational and is not a substitute for care from an exotic-pet veterinarian. Pet mice are tiny, fast-metabolizing animals, and guessing the wrong medication or dose can turn a mite problem into a much bigger emergency.
Pet mice are adorable little roommates. They build nests like tiny architects, snack like professional food critics, and somehow look both suspicious and innocent at the same time. But when mites move in, the cozy mouse mansion can quickly become an itchy, scabby, fur-flying disaster zone.
If your mouse is scratching nonstop, losing hair, developing scabs around the shoulders, neck, face, or back, or suddenly looking greasy, patchy, or miserable, mites may be the culprit. The good news: mites on pet mice are treatable. The better news: with the right veterinary care and a serious cage-cleaning mission, you can usually stop the infestation and prevent it from making a comeback like a bad sequel.
This guide explains how to get rid of mites on pet mice in 9 steps, including how to spot symptoms, when to call a vet, how treatment usually works, how to clean the habitat, and how to protect your mice from reinfestation.
What Are Mites on Pet Mice?
Mites are tiny external parasites that can live on the skin or fur of mice. Some are so small that you may never see them with your eyes. Others may look like tiny white specks or dust-like particles near the hair follicles. The most common issue in pet mice is fur mites, although other mites can occasionally affect rodents depending on environment, exposure, and contact with other animals.
Here is the tricky part: a mouse can carry a small number of mites without showing obvious signs. Under stress, illness, poor nutrition, overcrowding, age, or weakened immunity, the mite population can increase. Suddenly your mouse is scratching like it has a full-time job in demolition.
Mouse fur mites are generally species-specific, meaning they do not usually infest humans, dogs, cats, or other household pets. Still, mites are uncomfortable for your mouse, and scratching can create open wounds, bacterial infection, pain, and stress. So while you do not need to panic, you do need to act.
Common Signs of Mites in Pet Mice
Pet mice are prey animals, so they often hide illness until the problem is advanced. That means small changes matter. Watch for these mite symptoms:
- Frequent scratching, rubbing, chewing, or over-grooming
- Hair loss, especially around the head, neck, shoulders, back, or trunk
- Scabs, crusts, flaky skin, or small wounds
- Greasy, dull, or rough-looking coat
- Red, irritated, or thickened skin
- Restlessness, hiding, reduced activity, or loss of appetite
- White dust-like specks near the skin or hair follicles
- Worsening skin damage after scratching
Not every itchy mouse has mites. Bedding allergies, fungal infections, bacterial skin infections, barbering by cage mates, wounds, poor diet, and ulcerative dermatitis can look similar. That is why diagnosis matters. You want to treat the actual problem, not throw random products at a creature that weighs less than a cookie.
How to Get Rid of Mites on Pet Mice: 9 Steps
Step 1: Separate the Sick Mouse Only If Necessary
When you notice itching or scabs, your first instinct may be to isolate the affected mouse immediately. Sometimes that is helpful, but sometimes it causes more stress. Mice are social animals, and sudden separation can make a nervous mouse feel worse.
Separate a mouse if it has open bleeding wounds, is being bullied, is too weak to compete for food, or if your veterinarian tells you to isolate it. Otherwise, keep the group stable until you receive veterinary advice. Since mites can spread between mice in the same enclosure, all cage mates usually need to be checked and may need treatment together.
If you do move a mouse, use a clean hospital cage with paper-based bedding, a hide, food, water, and warmth. Keep the setup simple. This is not the time to build Mouse Disney World; it is the time to make observation easy and stress low.
Step 2: Call an Exotic-Pet Veterinarian
The safest way to treat mites on pet mice is with help from a veterinarian who sees rodents or exotic pets. Mice are extremely small, and many parasite medications are dosed by body weight. A dose that looks like “barely anything” to a human can be far too much for a mouse.
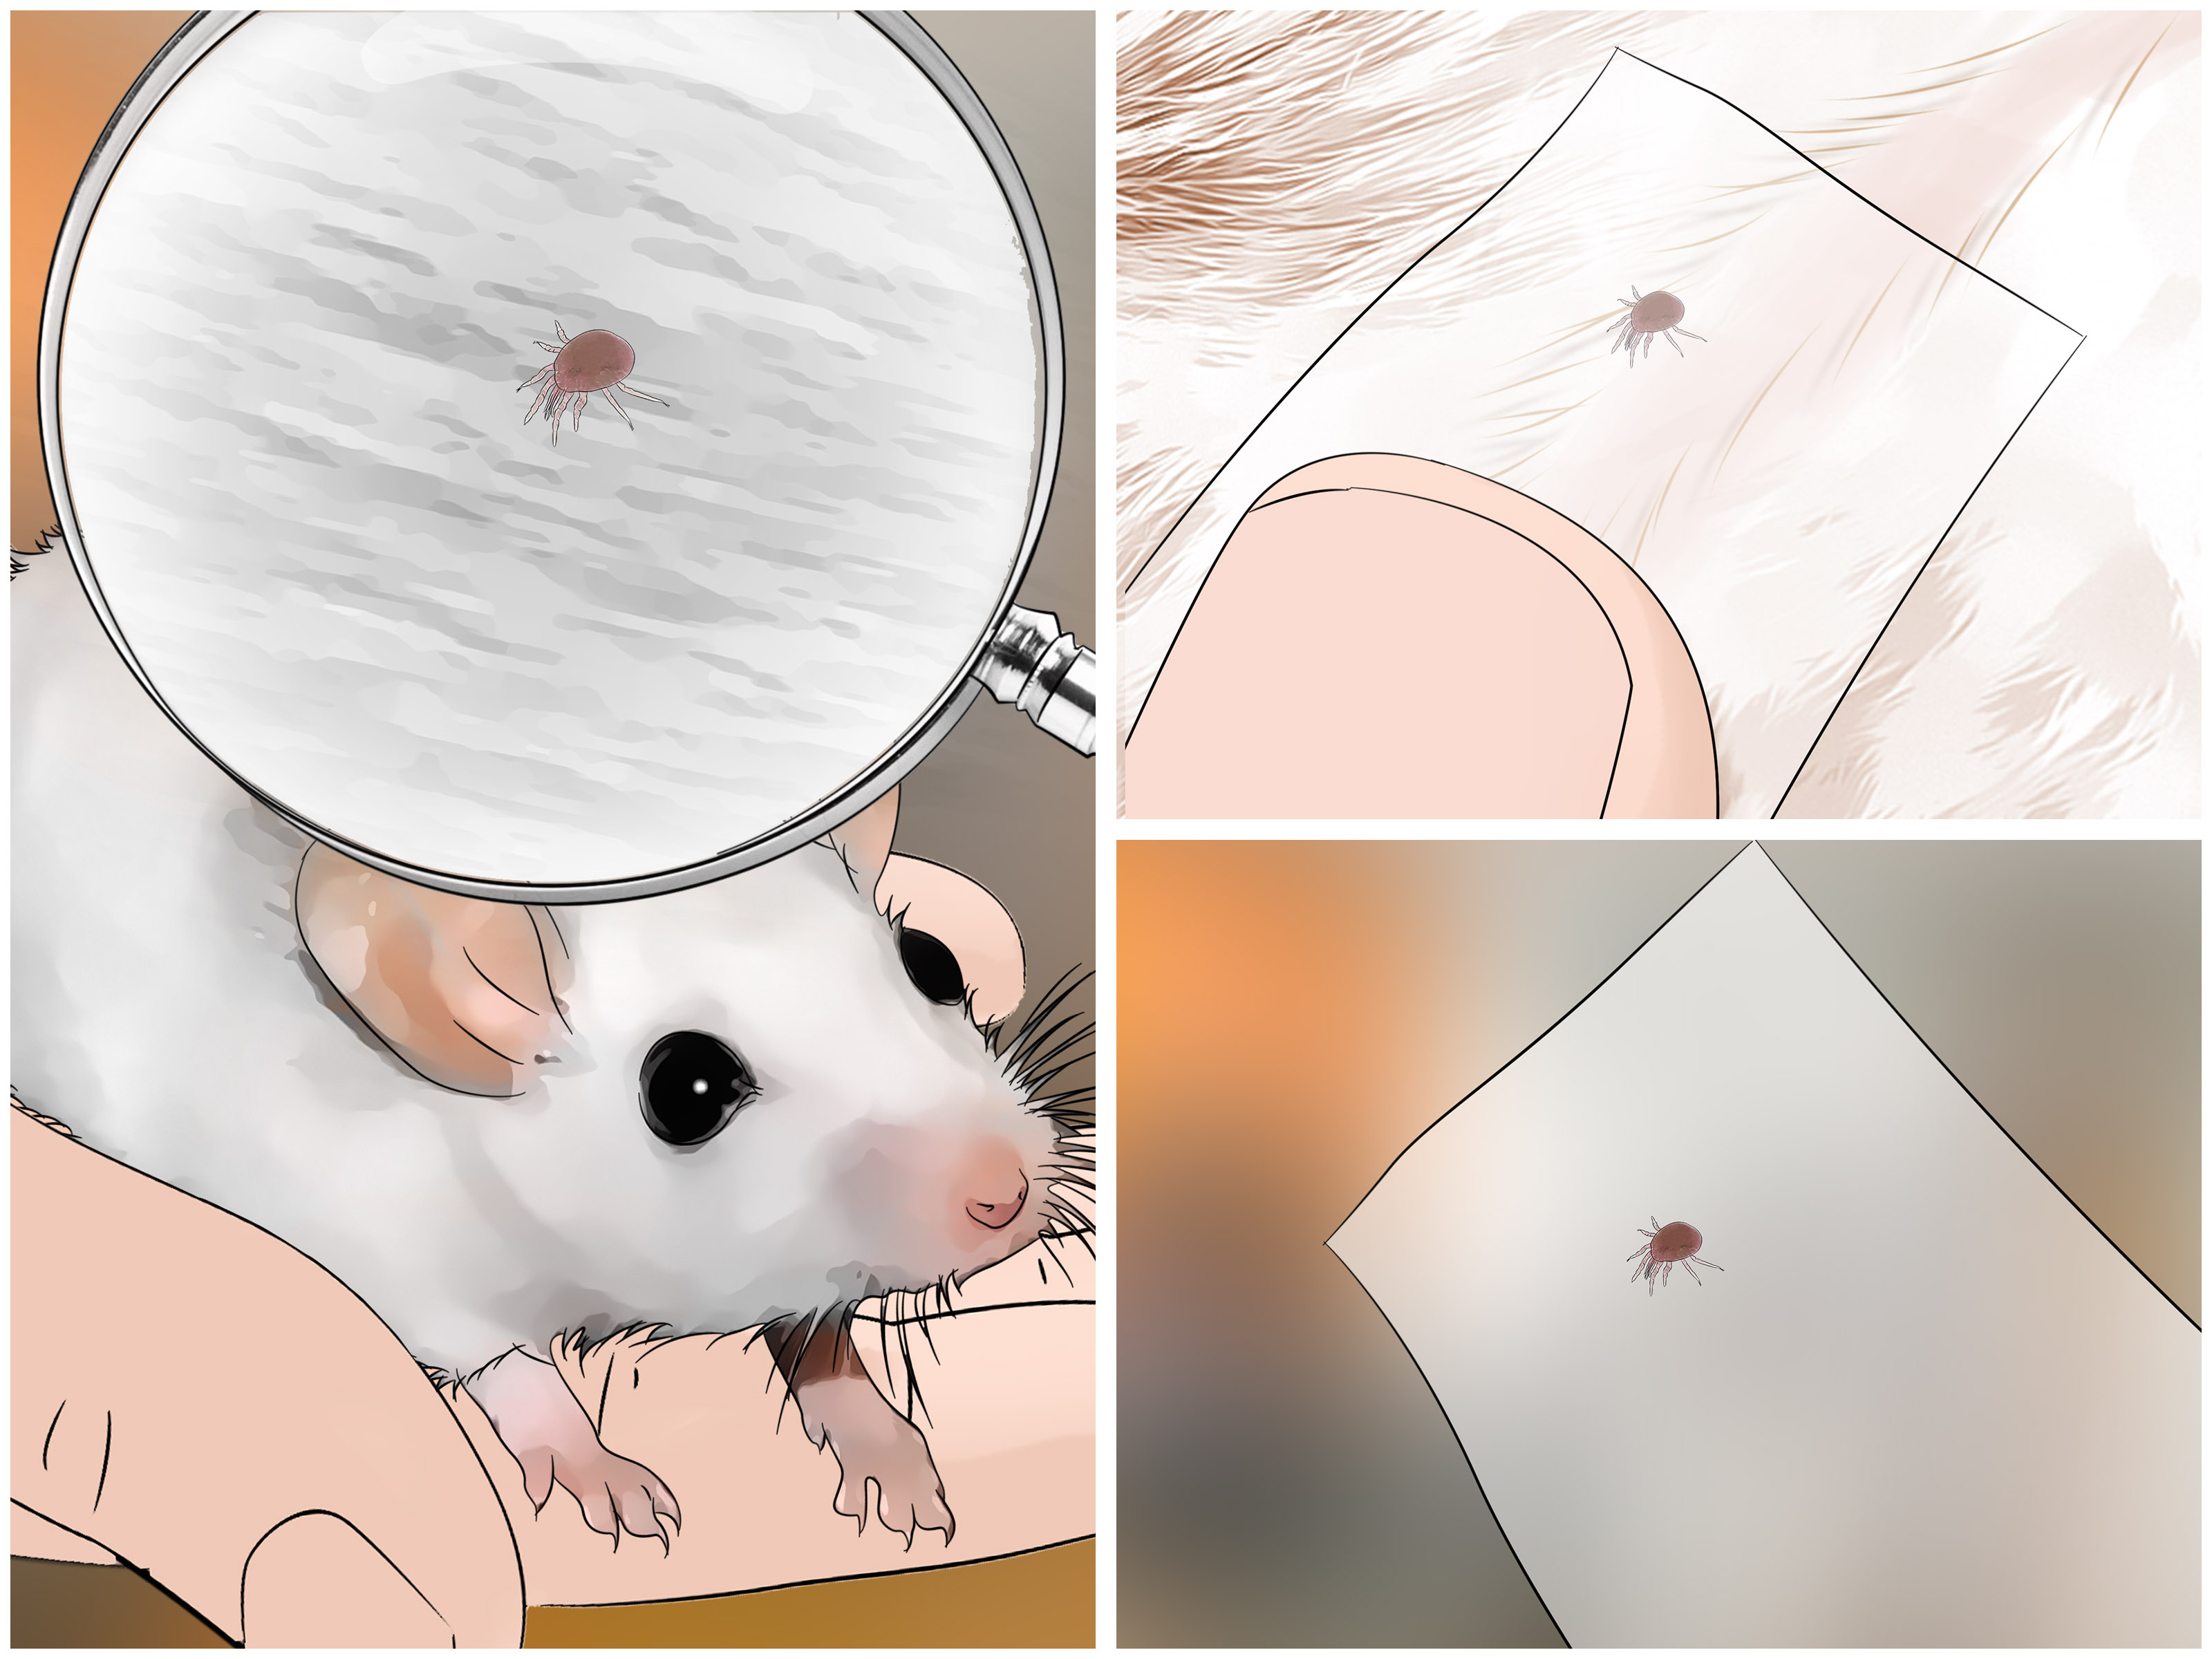
A vet may examine the skin, part the fur, use a magnifying lens, perform a skin scraping, check hair samples, or look under a microscope. Sometimes mites are difficult to find even when they are present, so a veterinarian may diagnose based on symptoms, exposure history, and response to treatment.
Call promptly if your mouse has open sores, rapidly spreading scabs, reduced appetite, lethargy, weight loss, a bad smell from the skin, swelling, or breathing problems. Mice can decline quickly, so waiting “just one more week” is rarely a winning strategy.
Step 3: Do Not Use Random Flea Sprays, Powders, or Dog-and-Cat Products
This step deserves its own spotlight because it can save lives. Do not use over-the-counter flea sprays, flea collars, essential oils, pesticide powders, dog products, or cat products on your mouse unless a veterinarian specifically instructs you to do so.
Many products designed for larger animals are too strong for mice. Some ingredients can be toxic, irritating, or dangerous when absorbed through the skin or inhaled. Essential oils may sound “natural,” but natural does not automatically mean safe. Arsenic is natural too, and nobody is sprinkling that on the salad.
Also avoid bathing your mouse unless your veterinarian recommends it. Bathing can chill and stress mice, and it does not reliably eliminate mites living close to the skin or in the environment. Treatment should be targeted, measured, and appropriate for rodents.
Step 4: Follow the Vet’s Medication Plan Exactly
Veterinarians commonly use antiparasitic medications such as ivermectin or selamectin for mite infestations in small rodents. These medications may be given orally, topically, or by injection depending on the case, the mouse’s condition, and the vet’s preference. Some uses are “off-label,” which is common in exotic-pet medicine because many drugs are not specifically manufactured for mice.
Follow the schedule exactly. Do not stop early just because the scratching improves after a day or two. Mite eggs may hatch after the first treatment, so repeat dosing is often needed. Your veterinarian may schedule multiple treatments spaced days or weeks apart to break the life cycle.
If you have several mice in one enclosure, ask whether all mice should be treated. In many cases, treating only the visibly itchy mouse allows silent carriers to restart the infestation. Mites do not care about your cleaning calendar; they care about survival.
Step 5: Clean the Cage Thoroughly
Medication treats the mouse, but the habitat can still harbor mites, eggs, contaminated bedding, shed fur, and skin debris. To get rid of mites on pet mice completely, cage cleaning is not optional. It is half the battle.
Move your mice to a safe temporary container. Throw away all old bedding, nesting material, cardboard toys, chew items, and anything porous that cannot be washed well. Clean the cage with hot water and mild soap first to remove grime. Then disinfect according to your veterinarian’s recommendation or the cage manufacturer’s safety instructions.
Some small-pet resources recommend a diluted bleach solution for habitat disinfection, followed by extremely thorough rinsing and complete drying. If you use any disinfectant, remember: fumes and residue can harm mice. Rinse like your mouse is a tiny health inspector with a clipboard.
Wash ceramic bowls, water bottles, plastic hides, wheels, and washable toys. Dry everything completely before adding fresh bedding. Damp cages encourage other problems, including mold and respiratory irritation.
Step 6: Replace Bedding and Nesting Material
Old bedding is one of the biggest reinfestation risks. Replace it with clean, dust-free, mouse-safe bedding. Paper-based bedding is often a good choice because it is soft, absorbent, and less dusty than many wood shavings. Avoid cedar and strong-smelling aromatic woods, which can irritate small animals.
Give your mice fresh nesting material such as plain unscented tissue, shredded paper, or other safe paper nesting products. Mice need nesting material for warmth, comfort, and stress reduction. A stressed mouse may groom poorly, scratch more, and recover more slowly.
During treatment, keep the enclosure simpler than usual. Too many cardboard tunnels, hay piles, and cluttered accessories make it harder to clean thoroughly. Once the mites are gone, you can return the enrichment gradually. Your mice will forgive the temporary minimalist interior design.
Step 7: Check Every Mouse in the Group
Even if only one mouse looks itchy, inspect every mouse. Look for hair thinning, scabs, flakes, greasy fur, wounds, or behavior changes. Pay attention to the shoulders, neck, face, back, and rump. A weekly hands-on health check is one of the best habits a mouse owner can build.
Use gentle handling. Scoop the mouse rather than grabbing from above, because being grabbed from above can feel like an owl audition. Let the mouse sit on your hand or a towel, part the fur, and look closely. Weighing each mouse weekly with a small digital kitchen scale can also help you catch illness early.
If your mouse is too wiggly to inspect safely, use a clear container for a visual check from underneath and the sides. You may not see mites, but you can often spot thinning fur, wounds, or poor body condition.
Step 8: Reduce Stress and Support Recovery
Mites often become worse when a mouse is stressed, sick, elderly, crowded, or unable to groom properly. Treatment works better when the mouse’s overall care is solid.
Keep the enclosure in a quiet area away from drafts, direct sun, smoke, strong odors, and loud household chaos. Provide a balanced rodent diet, fresh water, safe chew items, hiding places, and appropriate enrichment. Avoid overcrowding. If cage mates are fighting, barbering, or bullying, ask your vet or an experienced mouse rescue for help with group management.
Do not over-clean to the point that all familiar scent disappears every day. Mice rely heavily on scent, and constant total cage resets can increase stress. During mite treatment, deep cleaning is necessary, but after the infestation is controlled, return to a sensible routine that balances hygiene with comfort.
Step 9: Prevent Mites From Coming Back
After treatment, keep watching for recurring scratching or new scabs. Some infestations need follow-up care, especially if there are eggs in the environment, untreated cage mates, or an underlying health problem.
To prevent future mite infestations:
- Quarantine new mice before introducing them to your group.
- Wash hands before and after handling mice from different households.
- Clean cages regularly and replace soiled bedding.
- Store bedding and food in sealed containers.
- Keep wild rodents away from pet supplies and living areas.
- Schedule veterinary care for recurring itchiness, wounds, or hair loss.
- Avoid bringing used wooden toys, hides, or porous cage accessories into the habitat unless they can be safely sanitized.
Prevention is not about creating a sterile bubble. Mice are animals, not museum artifacts. The goal is a clean, low-stress environment where parasites have fewer chances to settle in and throw a tiny unwanted house party.
When Mites Are Not the Real Problem
It is tempting to blame every scratch on mites, but pet mice can develop skin problems for several reasons. If treatment does not help, or if the symptoms look unusual, your vet may consider other causes.
Ulcerative Dermatitis
Ulcerative dermatitis can cause intense itching, open sores, scabs, and skin damage, especially around the head, neck, and shoulders. It may be linked to genetics, immune problems, diet, trauma, or chronic irritation. It needs veterinary management because the scratching can become severe.
Bedding or Environmental Irritation
Dusty bedding, scented products, ammonia buildup from urine, cleaning residues, and poor ventilation can irritate the skin and respiratory tract. If your mouse improves after switching to dust-free bedding and improving cage hygiene, mites may not have been the only issue.
Fungal or Bacterial Infection
Ringworm and bacterial infections can cause hair loss, crusting, redness, and sores. Some skin infections can spread or worsen quickly. A vet may need to prescribe antifungal or antibiotic treatment.
Barbering or Fighting
Cage mates may chew fur from another mouse, creating patchy hair loss. Fighting can cause bite wounds and scabs. Behavioral causes require different solutions than parasites, so careful observation matters.
How Long Does It Take to Get Rid of Mites on Pet Mice?
Many mice begin to feel better within days after appropriate veterinary treatment, but complete control may take several weeks. The timeline depends on the type of mite, the severity of infestation, whether all affected mice are treated, and how thoroughly the environment is cleaned.
Scabs and hair loss may take longer to heal than the mites take to die. Do not assume treatment failed just because the fur does not look perfect immediately. Skin needs time to repair. However, if scratching continues, wounds spread, or your mouse seems weak, schedule a follow-up appointment.
Can Humans Catch Mites From Pet Mice?
Most mouse fur mites do not infest humans. They are adapted to mice and usually stay with their preferred host. That said, some parasites associated with rodents or contaminated environments may bite people temporarily, especially when wild rodents are involved.
Practice basic hygiene: wash your hands after handling mice or cleaning cages, keep the habitat clean, and prevent contact between pet mice and wild rodents. If people in the home develop unexplained bites or rashes, contact a medical professional and tell them there are pet rodents in the household.
Common Mistakes to Avoid
Getting rid of mites on pet mice is not complicated in theory, but a few mistakes can make the problem drag on.
- Treating only one mouse: Cage mates may carry mites without obvious signs.
- Skipping cage disinfection: The environment can cause reinfestation.
- Using unsafe products: Dog, cat, bird, or livestock parasite products may be dangerous for mice.
- Stopping treatment early: Eggs and newly hatched mites may survive the first round.
- Ignoring wounds: Open sores can become infected and painful.
- Assuming all hair loss is mites: Other skin diseases can look similar.
Practical Experience: What Mouse Owners Often Learn the Hard Way
One of the most common experiences among pet mouse owners is that mites seem to appear “out of nowhere.” A mouse may look perfectly fine for weeks, then suddenly develop scabs along the shoulders or start scratching so often that it interrupts eating and sleeping. Owners often feel guilty, as if mites are proof of poor care. In reality, mites can affect well-kept mice too. Stress, age, illness, a new cage mate, or contaminated bedding can shift the balance.
The first lesson many keepers learn is that you cannot always see the enemy. People expect mites to look like fleas crawling through the fur. With mice, the signs may be easier to see than the mites themselves: rough coat, tiny scabs, thinning hair, and a mouse that keeps twisting around to scratch. A magnifying glass may help, but a vet’s microscope is far better.
The second lesson is that cage cleaning must be serious but not chaotic. A good mite cleanup usually means throwing out old bedding and cardboard, washing the cage, disinfecting safely, rinsing thoroughly, and drying everything before the mice return. Owners sometimes clean the mouse but forget the wheel, hide, water bottle holder, or favorite cardboard tunnel. Unfortunately, mites do not respect sentimental objects. If an item cannot be cleaned, it is often better to replace it.
The third lesson is that tiny animals need tiny, accurate medicine. Many experienced keepers have stories about almost using a product that was “safe for small pets” before realizing it was not safe for mice specifically. Mice are not miniature cats, miniature rabbits, or miniature dogs. They are mice, with mouse-sized bodies and mouse-specific risks. This is why an exotic vet is worth the effort.
The fourth lesson is patience. Even after successful mite treatment, the skin may look ugly for a while. Scabs do not vanish overnight, and shaved or missing fur takes time to grow back. Owners may worry that treatment is failing when the mouse is actually healing. The better signs are reduced scratching, improved appetite, more normal activity, and no new wounds.
The fifth lesson is prevention. Quarantining new mice may feel inconvenient, especially when everyone is excited to introduce the new fluffy potato to the group. But quarantine can prevent mites, respiratory infections, and fighting problems from spreading. A few weeks of caution can save weeks of treatment later.
Finally, many mouse owners learn to trust small details. A mouse that hides more than usual, looks puffed up, loses weight, or stops grooming is sending a message. Mice do not file formal complaints. They whisper symptoms. The more often you observe your mice when they are healthy, the faster you will notice when something is wrong.
Conclusion
Getting rid of mites on pet mice takes two coordinated efforts: veterinary treatment for the mouse and thorough cleaning for the environment. Start by recognizing the signs, call an exotic-pet veterinarian, avoid unsafe home remedies, follow the medication schedule, disinfect the cage, replace bedding, check all cage mates, reduce stress, and prevent reinfestation.
Mites may be tiny, but they can cause major discomfort. With quick action and proper care, your mouse can get back to the important business of nesting, snacking, climbing, and looking personally offended when you clean the cage it spent all week arranging.