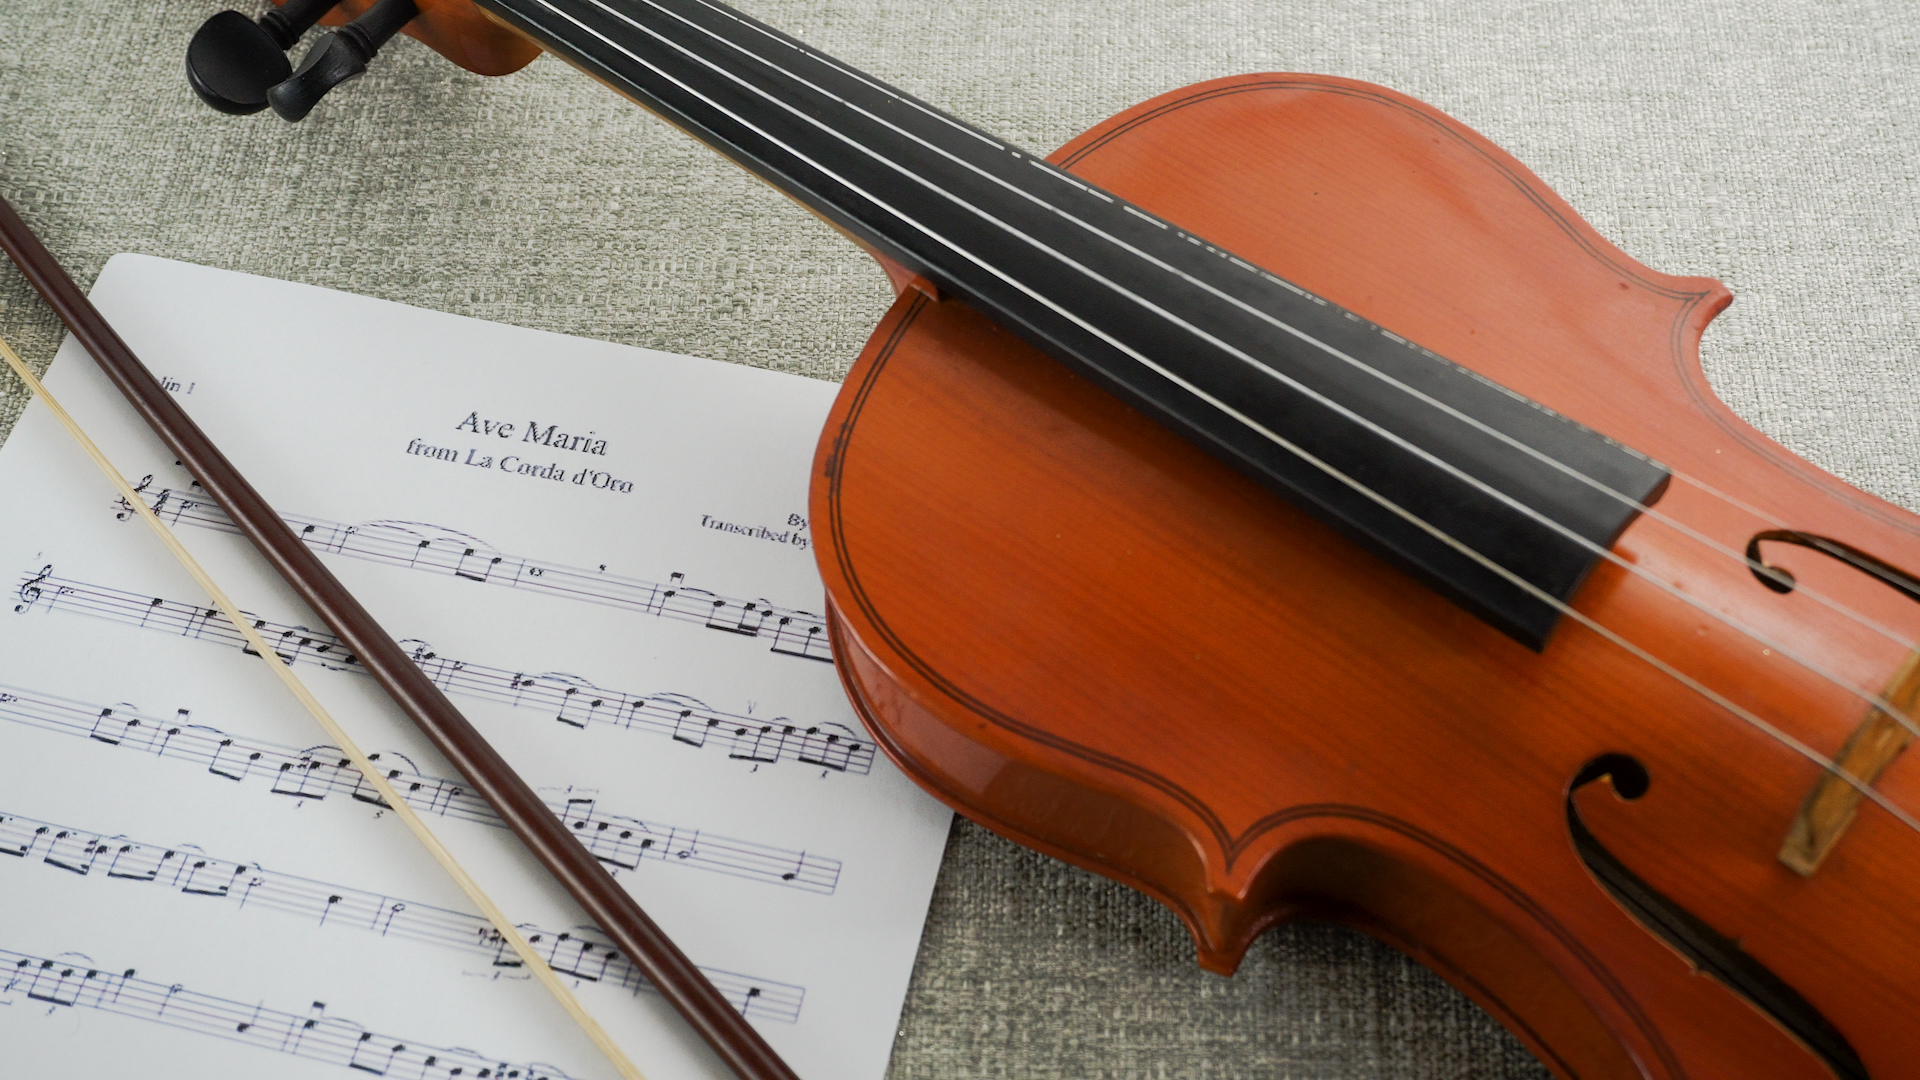
Learning how to do vibrato on a violin can feel like trying to teach a butterfly to do push-ups: delicate, mysterious, and slightly unreasonable at first. One day your note sounds plain, the next day you hear a beautiful shimmer from an advanced player and wonder, “Wait, is that legal?” Yes, it is. Vibrato is one of the violin’s most expressive techniques, and while it looks effortless from the audience, it is built from small, patient, repeatable movements.
For beginners, violin vibrato is not about shaking the hand wildly or making every note sound like it just drank too much coffee. It is a controlled, relaxed rocking motion of the fingertip that gently varies the pitch below and back toward the main note. The goal is warmth, not wobble; expression, not emergency siren.
This guide explains how to do vibrato on a violin step by step, including beginner techniques, warm-ups, exercises, common mistakes, and practice routines. Whether you are learning wrist vibrato, arm vibrato, or simply trying to stop your left thumb from gripping the neck like it owes you money, this article will help you start safely and musically.
What Is Violin Vibrato?
Violin vibrato is a subtle oscillation in pitch created by rocking the left-hand finger on the string. The fingertip stays in contact with the string while the hand, wrist, arm, or finger joint moves backward and returns toward the original pitch. This creates a pulsing, singing quality that gives long notes emotional color.
In most classical violin playing, vibrato usually moves slightly below the center pitch and returns to it. That means you should first place the note in tune, then let the vibrato decorate it. Vibrato does not fix bad intonation. It is seasoning, not a fire extinguisher. If the note starts out sour, vibrato simply makes it sour with confidence.
When Should a Beginner Start Learning Vibrato?
Many violin students want to learn vibrato as soon as possible, which is understandable. It is one of the sounds that makes the violin feel alive. However, beginners should build a few fundamentals first. Before practicing vibrato, you should be able to hold the violin comfortably, play with a relaxed left hand, place fingers accurately in first position, and maintain a steady bow on long notes.
A good readiness test is simple: can you play a slow scale in tune without squeezing the neck? Can your thumb stay soft? Can your wrist remain straight rather than collapsed against the violin? If yes, you may be ready for pre-vibrato exercises. If not, spend more time on posture, finger placement, and bow control. Vibrato grows best in relaxed soil.
The Three Main Types of Violin Vibrato
Violinists often talk about three types of vibrato: wrist vibrato, arm vibrato, and finger vibrato. In real playing, many musicians blend them. You do not need to pick a team and wear a jersey. The goal is to develop freedom and control so your sound matches the music.
Wrist Vibrato
Wrist vibrato, sometimes called hand vibrato, begins with a flexible motion at the wrist. The hand rocks backward toward the scroll and returns forward. The finger remains on the string while the fingertip rolls slightly. This type of vibrato is popular for beginners because it teaches a clear, visible movement without requiring the entire arm to swing.
Arm Vibrato
Arm vibrato comes from a larger motion, usually involving the forearm and elbow. The hand travels with the arm as one loose unit. This can create a broader, warmer vibrato, especially useful for expressive playing and higher positions. For some students, arm vibrato feels more natural than wrist vibrato; for others, it feels like trying to parallel park a canoe. Both reactions are normal.
Finger Vibrato
Finger vibrato is the smallest and most refined type. It depends on flexibility in the finger joints, especially the last joint closest to the fingertip. Beginners usually do not start here because finger vibrato requires a relaxed hand and strong awareness of fingertip motion. However, finger flexibility exercises are useful from the beginning because they prepare the hand for a smoother sound later.
Before You Start: Set Up a Relaxed Left Hand
The secret to beginner violin vibrato is not speed. It is relaxation. A tense hand cannot vibrate freely. If your thumb squeezes, your wrist locks, or your index finger clamps against the neck, the vibrato motion becomes stiff and uneven.
Check these basics before every vibrato practice session:
- Your left thumb is soft and lightly touching the neck.
- Your wrist is straight, not collapsed inward.
- Your fingers are curved and placed on the fingertips.
- Your shoulder and jaw are not gripping the violin.
- Your bow arm can move independently from the left hand.
If you feel pain, stop. Mild awkwardness is normal; discomfort from tension is a warning sign. Vibrato should feel loose, springy, and controlled, not forced.
Beginner Exercise 1: The Tabletop Rock
This is a simple off-instrument exercise that teaches the rolling motion of the fingertip. Place your left-hand fingertips on the edge of a table with your fingers curved. Let the hand hang naturally. Now gently rock the hand backward and forward while keeping the fingertip in contact with the table.
Start with your third finger because it is usually the easiest to control. Then try the second, first, and fourth fingers. The fourth finger may behave like a tiny rebellious noodle. Be patient. The point is not perfection; the point is flexibility.
Practice this for one or two minutes at a time. Keep the movement slow and smooth. If the fingertip slides around, reduce the motion. If the hand stiffens, shake it out and begin again.
Beginner Exercise 2: The “Knocking” Motion
The knocking exercise is one of the most common ways to introduce violin vibrato. Hold your left hand in the air as if you are gently knocking on a door. Let the wrist act like a hinge. The hand moves forward and backward while the wrist remains loose.
Next, place the violin in playing position without the bow. Put one finger lightly on a string in first position. Move the hand in the same knocking motion, allowing the fingertip to roll. Do not press hard. The finger should feel connected to the string but not glued there by industrial machinery.
Try this rhythm silently:
- Four slow rocks on one finger
- Pause and release the hand
- Four slow rocks again
- Switch fingers
This builds the physical pattern before you add sound. Many students rush to bow too soon, but silent vibrato practice helps the left hand learn without the pressure of producing a beautiful tone immediately.
Beginner Exercise 3: The Peg Tap
For wrist vibrato, place your left hand in first position and gently let the knuckles move back toward the pegs. Some teachers use a “peg tap” or “peg knocker” motion to help students feel the hand releasing backward. The motion should be gentle. You are not trying to remodel the scroll.
Use the third finger on the A string, for example, and let the wrist move back and forward. Keep your thumb light. If your thumb squeezes, the hand cannot rock. This exercise teaches the feeling of releasing the hand backward from the pitch and returning forward.
Beginner Exercise 4: Sliding Vibrato Preparation
Place one finger on a string and slide it slowly up and down the fingerboard without lifting it. This is not real vibrato yet. It is a preparatory motion that trains the arm to move freely. Start with large, slow slides from first position toward third position and back.
After the movement feels easy, make the slide smaller. Then smaller again. Eventually, the motion becomes a controlled rocking around one pitch. Think of it as turning a big wave into a ripple.
This exercise is especially helpful for students who are learning arm vibrato. It encourages the left arm to move without locking the wrist or squeezing the thumb.
Beginner Exercise 5: Add the Bow on Long Notes
Once the silent motion feels relaxed, add the bow. Choose one note, such as third finger on the A string. Play a long, slow bow while moving the left hand in a relaxed vibrato motion. Use a clean, steady tone. Your bow should not panic just because your left hand is trying something new.
At first, the sound may be wide, uneven, or a little seasick. That is normal. Keep the bow simple. Use whole bows or half bows on one note. Listen for a smooth pulse. Avoid speeding up randomly. Vibrato is not a race, and no trophy is awarded for sounding like a mosquito on roller skates.
Beginner Exercise 6: Practice With Rhythms
Rhythm practice helps organize the vibrato motion. Set a slow metronome, such as 60 beats per minute. Rock the finger once per beat. Then try two rocks per beat. Later, try three or four. Keep the motion relaxed and even.
A simple rhythm ladder might look like this:
- Half notes: very slow, wide motion
- Quarter notes: steady and relaxed
- Eighth notes: smaller and smoother
- Triplets: flexible and flowing
- Sixteenth notes: controlled, not tense
Do not jump to fast vibrato too early. A beautiful vibrato usually begins with a slow, generous motion that becomes narrower and faster over time. If you start tight, it is much harder to loosen later.
How Wide Should Violin Vibrato Be?
Beginner vibrato often starts wider than the finished sound. That is acceptable as long as the hand remains relaxed and the pitch returns to the center note. Over time, you will learn to adjust the width. A slow romantic melody may use a warmer, wider vibrato. A lighter classical phrase may need a narrower, cleaner shimmer.
The important rule is this: vibrato should serve the music. If every note has the exact same vibrato, your playing may sound mechanical. If every note has giant vibrato, your violin may sound like it is auditioning for a soap opera. Variety is your friend.
How Fast Should Violin Vibrato Be?
Speed develops gradually. Beginners often try to vibrate quickly before the motion is coordinated. This creates tension and a shaky sound. Instead, practice slowly and evenly. Once the movement is natural, speed will come more easily.
Use your ear as the final judge. A fast vibrato is not automatically better. Some notes need a slow bloom. Others need a quicker sparkle. Listen to professional violinists and notice how their vibrato changes depending on phrase, style, register, and emotion.
Common Vibrato Mistakes Beginners Make
1. Squeezing the Thumb
A tight thumb is the enemy of vibrato. Keep the thumb soft and balanced. It should guide the hand, not clamp the neck like a crab at a seafood buffet.
2. Collapsing the Wrist
A collapsed wrist limits motion and can create tension. Start with a straight, natural wrist. Let the hand rock from a balanced position.
3. Pressing Too Hard With the Finger
You need enough pressure to stop the string, but not so much that the finger cannot roll. Try reducing pressure slightly while keeping the tone clear.
4. Moving Above the Pitch
Most beginner vibrato practice should rock below the pitch and return to it. If the note bends sharp, slow down and reset the finger placement.
5. Adding Vibrato to Everything
Vibrato is expressive, but silence and straight tone matter too. Practice notes with and without vibrato so you can choose intentionally.
A Simple 10-Minute Beginner Vibrato Practice Routine
You do not need to practice vibrato for an hour. In fact, beginners often improve faster with short, focused sessions. Try this 10-minute routine:
- Minute 1: Shake out both hands and check posture.
- Minutes 2–3: Do tabletop rocks with each finger.
- Minutes 4–5: Practice silent knocking motion on the violin.
- Minutes 6–7: Try slow finger slides on one string.
- Minutes 8–9: Add the bow on long notes.
- Minute 10: Play one easy melody and add vibrato only to long notes.
Repeat this routine daily or several times per week. Consistency matters more than intensity. Vibrato is muscle coordination, and the muscles learn through calm repetition.
Where to Use Vibrato in Music
When you first learn violin vibrato, do not try to use it on every note. Start with long notes at the ends of phrases. These notes give your hand enough time to settle into the motion. Slow songs, hymns, folk melodies, and lyrical études are excellent practice material.
For example, if you are playing “Amazing Grace,” add vibrato to the longer notes rather than the quick passing notes. If you are playing a scale, hold each note for four beats and vibrate only after the pitch is centered. This teaches control and musical timing.
How to Make Vibrato Sound Musical
Beautiful vibrato begins in the ear before it appears in the hand. Listen to violinists with different styles. Notice the warmth of a slow vibrato, the intensity of a fast one, and the elegance of a narrow shimmer. Then try to imitate one sound at a time.
Record yourself, even if you would rather hear a smoke alarm perform scales. Recordings reveal what your ear misses while you are busy playing. Listen for three things: Is the pitch centered? Is the pulse even? Does the vibrato match the character of the music?
Should You Learn Vibrato Without a Teacher?
You can begin with safe pre-vibrato exercises on your own, but feedback from a qualified teacher is extremely helpful. A teacher can spot tension, adjust your hand shape, and prevent habits that are hard to undo later. If you are self-taught, move slowly and use video recordings to check your wrist, thumb, and finger motion.
Never force the movement. If something hurts, stop and reassess. Violin technique should feel efficient, not heroic. You are learning an expressive motion, not arm wrestling a squirrel.
of Practical Experience: What Learning Vibrato Really Feels Like
The first experience many violin beginners have with vibrato is disappointment. They watch a professional violinist move one finger and produce a sound that seems to glow. Then they try it at home and produce something closer to a nervous goat. This is not failure. It is simply the first stage of learning a motion that your hand has probably never done before.
In real practice, vibrato often improves in small, almost invisible steps. On Monday, your finger may barely move. On Tuesday, it moves too much. On Wednesday, your wrist suddenly understands the assignment for three seconds and then forgets everything. That tiny three-second success is valuable. Your job is to notice it, repeat it, and not scare it away by trying too hard.
One useful experience is to separate “motion practice” from “music practice.” During motion practice, the sound does not need to be beautiful. You are teaching the hand to rock freely. During music practice, you use only the amount of vibrato you can control. This removes pressure. It also keeps your pieces from turning into a science experiment with strings.
Another practical lesson is that the third finger is often the best starting point. It tends to feel stable and natural. The second finger usually follows well. The first finger can feel slightly restricted because of its position near the nut, and the fourth finger may need extra patience. Do not judge your entire vibrato future by your pinky’s first attempt. The fourth finger is small, dramatic, and easily offended.
Students also discover that bowing affects vibrato more than expected. If the bow is shaky, tense, or too light, the vibrato may sound worse than it really is. Practicing long bows on open strings helps. Then, when you add left-hand vibrato, the right hand already knows how to keep the tone steady. Think of the bow as the floor and vibrato as the dancing. If the floor is wobbling, nobody dances gracefully.
A helpful weekly routine is to record one long note on the same finger every few days. Do not record everything. Just choose one note, such as third finger D on the A string, and play it with slow vibrato. After two or three weeks, compare recordings. You may hear smoother motion, better tone, or less tension. Progress is easier to believe when your phone provides evidence.
Finally, remember that vibrato is not a decoration you paste onto music at the end. It is part of your voice. Some notes need no vibrato. Some need a gentle shimmer. Some need a wider, more emotional sound. As your technique improves, your taste becomes more important. The best violin vibrato is not the fastest or widest. It is the one that makes the listener feel something without noticing how hard you worked to create it.
Conclusion
Learning how to do vibrato on a violin takes patience, relaxation, and careful listening. Start with a healthy left-hand position, practice silent rocking motions, develop wrist and arm freedom, and add the bow only when the movement feels comfortable. Use slow exercises, long notes, and short daily routines. Most importantly, let vibrato grow gradually. A warm, expressive sound is built one relaxed motion at a time.
Beginner violin vibrato may feel strange at first, but with steady practice, it becomes one of the most rewarding techniques in your musical toolkit. Keep your thumb soft, your wrist free, your ear curious, and your sense of humor nearby. The violin is demanding, but when that first real vibrato appears, it feels like your instrument finally learned how to smile.