Note: This guide is for general hair-styling education. Thick hair can vary from straight and dense to wavy, curly, coarse, color-treated, or fragile, so always adjust heat and products to your own hair condition.
Curling thick hair with a curling iron can feel like trying to convince a stubborn housecat to take a bath: technically possible, but only if you have patience, the right tools, and a strategy that does not involve panic. Thick hair is beautiful, full, and naturally dramatic, but it can also be heavy, resistant to curl, slow to heat through, and impressively talented at falling flat five minutes after you leave the bathroom.
The good news? You do not need a salon appointment, a suitcase full of products, or supernatural wrist strength. You need a smart routine. When you prep your hair properly, work in smaller sections, use the correct curling iron temperature, and let the curls cool before touching them, thick hair can hold soft waves, bouncy curls, or polished spirals beautifully.
This step-by-step guide explains how to curl thick hair with a curling iron in nine practical steps. You will learn how to choose the right barrel size, protect your strands from heat damage, section your hair like a pro, curl in a way that lasts, and avoid the most common mistakes that make thick hair droop, frizz, or rebel.
Why Thick Hair Needs a Different Curling Strategy
Thick hair is not “difficult”; it is simply abundant. That abundance changes the curling process. Dense hair often needs more time to dry, more careful sectioning, and a curling iron that can maintain steady heat. If your sections are too large, the outer layer of hair may heat while the inner strands barely get warm. The result is a curl that looks nice for approximately eight seconds, then quietly resigns from duty.
Another challenge is weight. Thick hair can pull curls downward, especially if the hair is long. That is why smaller sections, proper cooling time, and lightweight styling products matter. A heavy cream or oily serum before curling may make hair shiny, but it can also flatten curls faster than humidity at an outdoor wedding.
What You Need Before You Start
Before curling, gather your tools and products. Preparation makes the process faster and helps protect your hair from unnecessary damage.
- A curling iron with adjustable temperature settings
- A barrel size that matches your desired curl pattern
- Heat protectant spray or cream
- Wide-tooth comb or detangling brush
- Sectioning clips
- Lightweight mousse or styling spray, if your hair struggles to hold curl
- Flexible-hold hairspray
- Optional: shine spray or anti-frizz finishing serum
For thick hair, an adjustable curling iron is especially useful because it lets you fine-tune the heat. Healthy, coarse, or hard-to-curl hair may need a higher temperature than fine or fragile hair, while color-treated or damaged thick hair should stay on the gentler side.
How to Curl Thick Hair With a Curling Iron: 9 Steps
Step 1: Start With Clean, Completely Dry Hair
Thick hair must be fully dry before you use a curling iron. This is not negotiable. Curling damp hair can cause sizzling, frizz, weak curls, and damage. If your hair takes forever to dry, wash it earlier in the day or the night before. You can also blow-dry it with a smoothing brush after applying heat protectant.
If your hair is freshly washed and very slippery, use a lightweight mousse or styling spray before blow-drying. Thick, silky hair sometimes needs a bit of grip so curls do not slide out. Avoid heavy oils, rich masks, or thick leave-in creams right before curling because they can weigh the hair down.
Step 2: Apply Heat Protectant Evenly
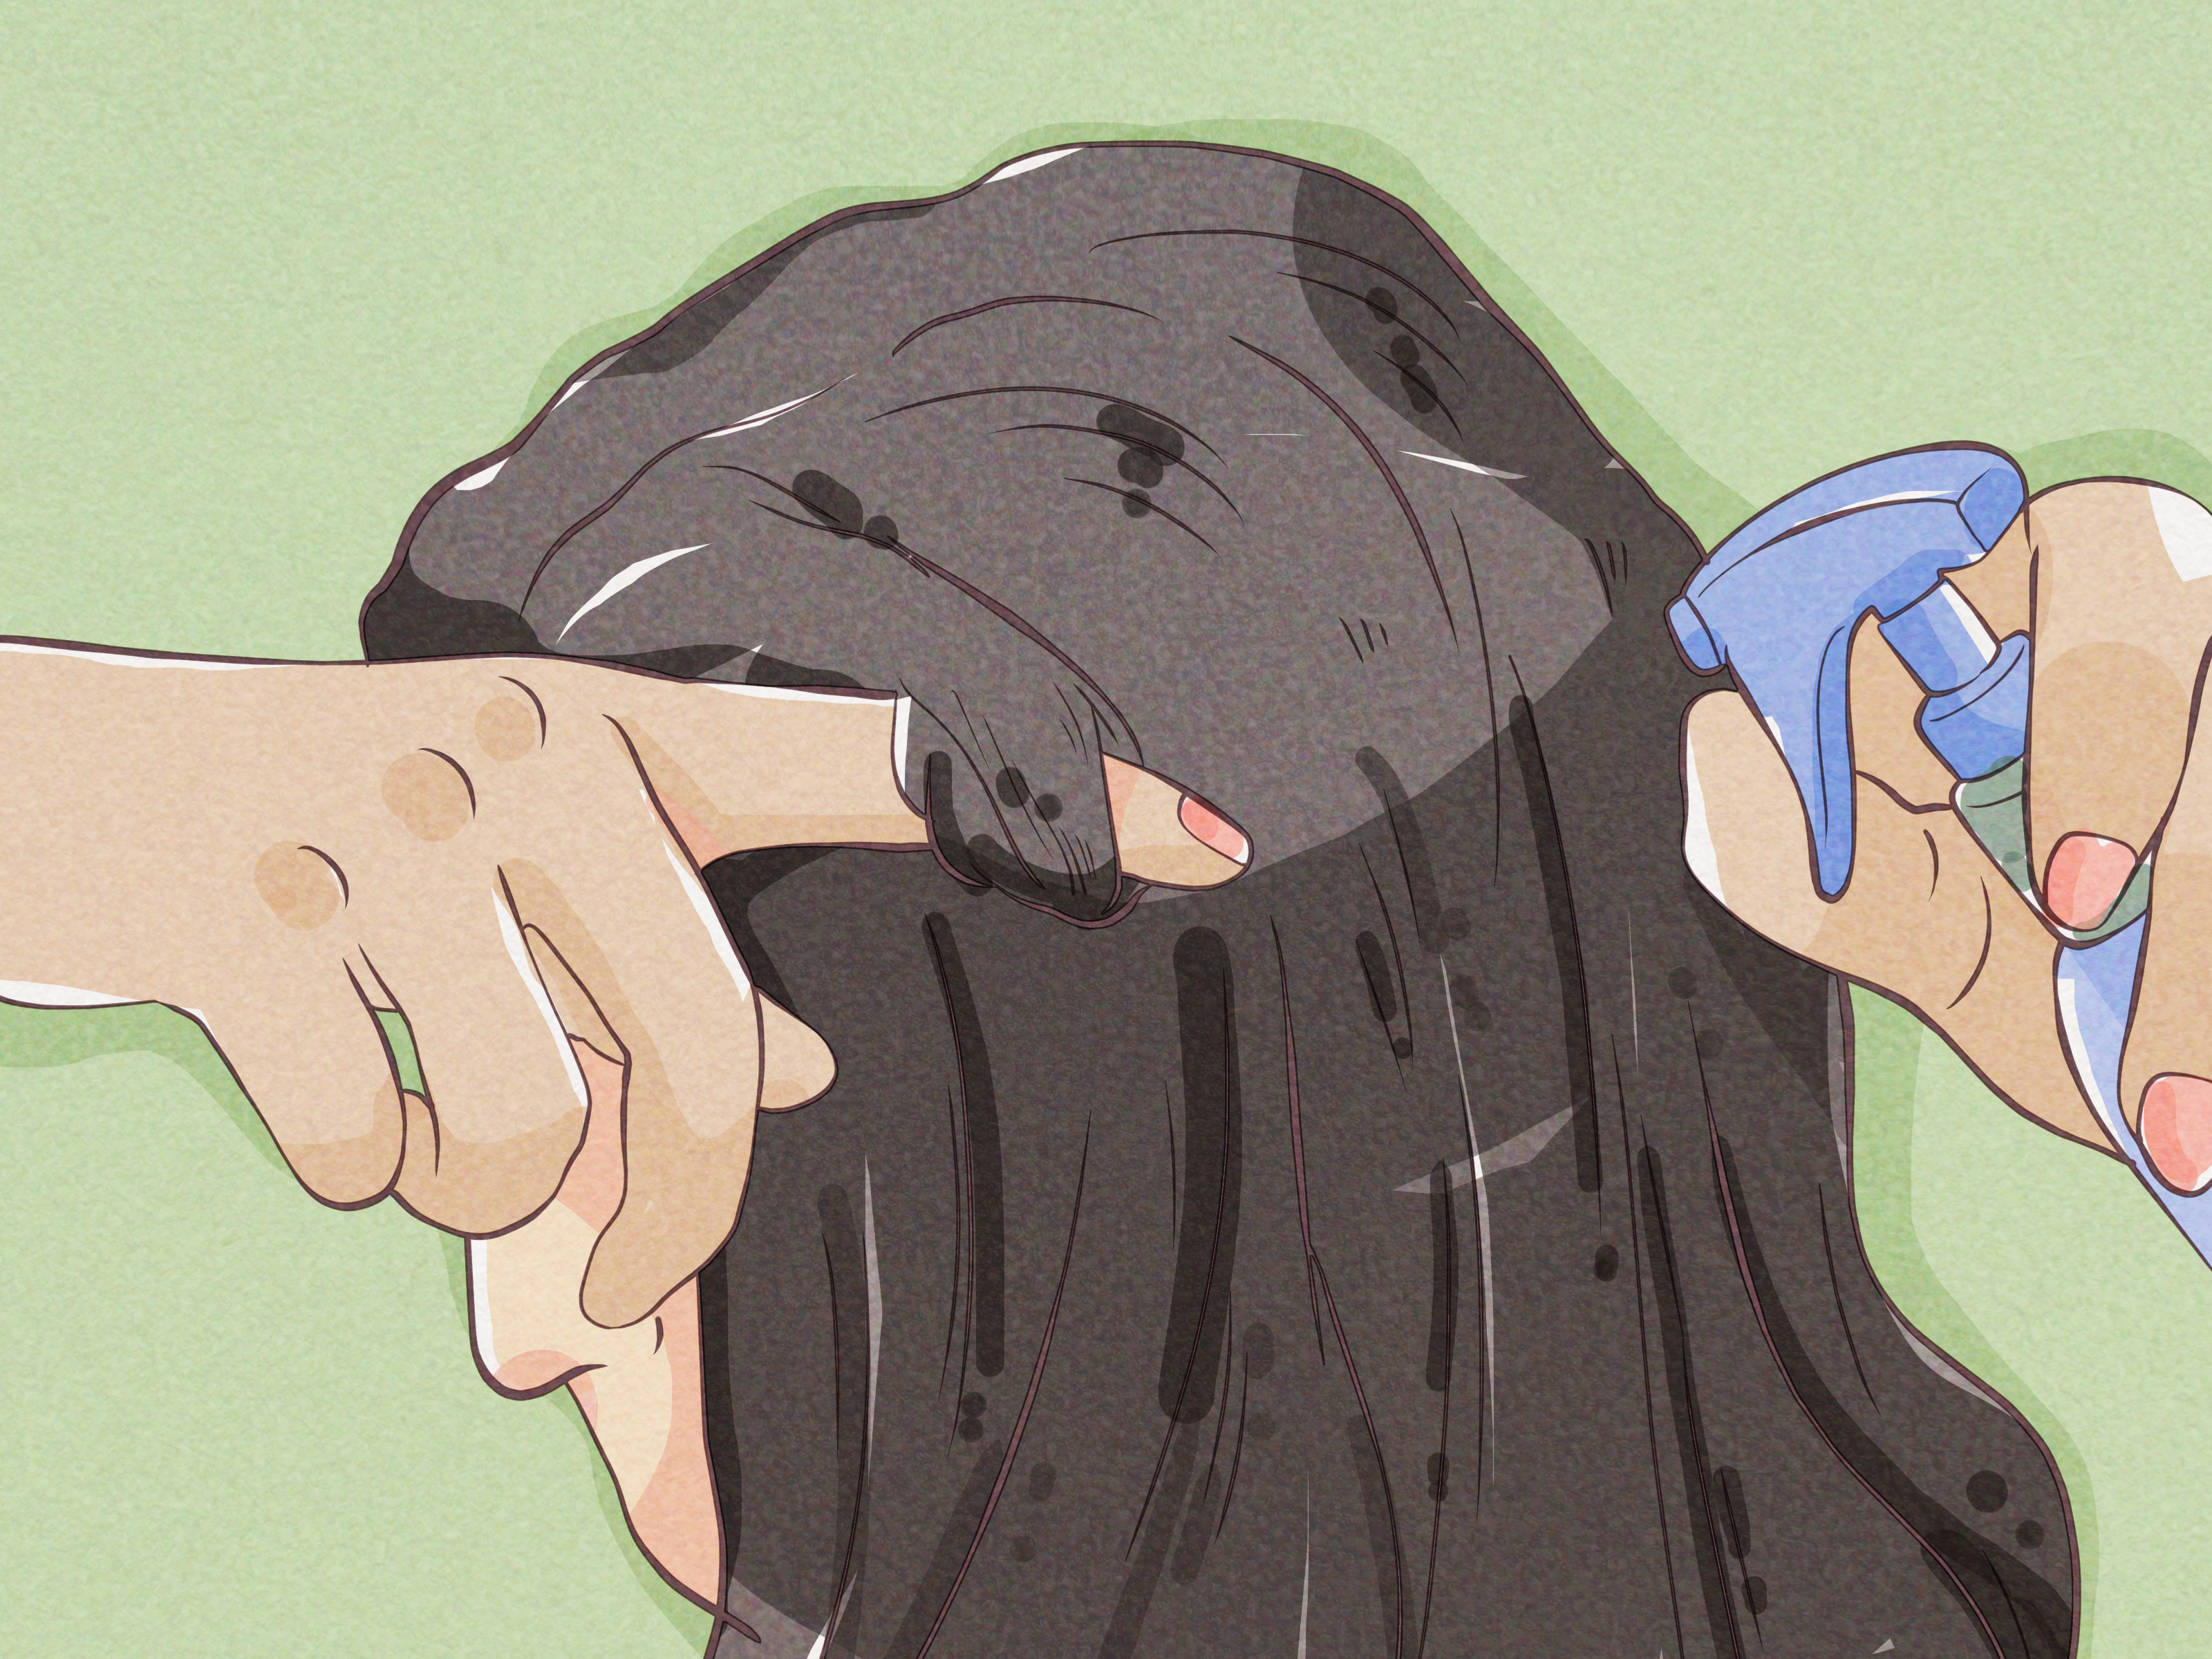
Heat protectant is your hair’s tiny bodyguard. It creates a protective layer that helps reduce moisture loss and surface damage from hot tools. Spray or apply it section by section instead of blasting only the top layer and hoping for the best. Thick hair hides a lot of interior strands, and those strands deserve protection too.
Hold the bottle several inches away from your hair and mist lightly. If the product makes your hair feel wet, wait until it dries before curling. A curling iron should touch dry hair only. Comb through gently so the product spreads from mid-lengths to ends, where hair is usually older and more fragile.
Step 3: Choose the Right Barrel Size
The curling iron barrel size determines the shape of your curl. For thick hair, the best size depends on your length and the final look you want.
- 3/4-inch barrel: Best for tighter curls, shorter layers, or hair that drops curl quickly.
- 1-inch barrel: A versatile choice for defined curls that can be brushed into waves.
- 1 1/4-inch barrel: Great for soft, modern waves on medium to long thick hair.
- 1 1/2-inch barrel: Good for loose volume and big bends, especially on long hair.
- 2-inch barrel: Better for a blowout effect than true curls.
If your thick hair refuses to hold curl, go slightly smaller than the curl size you actually want. A tight curl can relax into a soft wave, but a loose wave that falls flat has nowhere glamorous to go.
Step 4: Set the Curling Iron Temperature Carefully
Thick hair often needs more heat than fine hair, but “more” does not mean “maximum heat until smoke appears.” Start with a moderate setting and increase only if your curls are not forming. For many people with healthy thick hair, a medium-high setting works well. Coarse or very resistant hair may need a higher setting, while color-treated, bleached, relaxed, or damaged hair should use lower heat.
A practical rule: use the lowest temperature that creates a curl in one pass. If you have to clamp the same section again and again, the temperature may be too low, your section may be too large, or your hair may not be properly prepped. Repeated passes can be more damaging than one controlled curl at the right setting.
Step 5: Divide Hair Into Small, Manageable Sections
Sectioning is where thick-haired people win or lose the battle. Do not grab random chunks and hope for salon magic. Divide your hair into at least three horizontal layers: bottom, middle, and top. If your hair is extremely dense, create four or five layers.
Clip the upper layers out of the way and begin at the nape of your neck. Work with sections about one inch wide. If the section is too thick, heat will not distribute evenly. Smaller sections may take longer, but they create better curls and save you from redoing the same area later.
Step 6: Curl Away From the Face for a Flattering Shape
For the front pieces, curl away from your face. This opens up your features and gives the style a soft, polished shape. Clamp the curling iron near the middle of the section, roll upward toward the roots, and leave the ends slightly out if you want a modern, beachy finish. For more classic curls, include the ends, but do not fry them like tiny spaghetti noodles.
Hold the iron vertically for relaxed waves or horizontally for more volume and bounce. Keep the clamp gentle to avoid creases. If you are using a traditional curling iron with a clamp, make sure the ends are smooth inside the clamp before rolling.
Step 7: Hold Briefly, Then Release Gently
Thick hair may need a few seconds to form a curl, but do not leave the iron in one place for too long. Watch how your hair responds. If a section curls quickly, release it sooner. If it stays limp, try a slightly smaller section before increasing the heat.
When releasing the curl, open the clamp and let the hair slide out without tugging. For longer-lasting curls, catch the curl in your palm for a few seconds or clip it up while it cools. This helps the hair set in its new shape.
Step 8: Alternate Curl Directions for Natural Movement
After you curl the front pieces away from the face, alternate directions through the rest of your hair. Curl one section away from the face and the next toward the face. This prevents all the curls from clumping into one giant curl family reunion.
Alternating directions creates texture, volume, and a more natural finish. If you want polished Hollywood waves, curl every section in the same direction, let everything cool, then brush through gently. If you want casual, lived-in curls, alternate directions and leave the ends slightly straighter.
Step 9: Let Curls Cool Before Brushing or Styling
This step is the secret sauce. Do not touch the curls immediately. Warm hair is still setting, and brushing too soon can undo your work. Let your entire head cool for at least five to ten minutes. Use this time to do something productive, such as cleaning your counter, choosing earrings, or admiring the heroic amount of hair you just curled.
Once cool, gently separate curls with your fingers or a wide-tooth comb. For soft waves, brush lightly from mid-lengths to ends. Finish with flexible-hold hairspray. If you need extra shine, apply a tiny amount of serum to the ends only. Keep heavy products away from the roots unless you are intentionally auditioning for Flat Hair: The Musical.
Best Curling Techniques for Different Thick Hair Types
For Thick Straight Hair
Thick straight hair may resist curl because the strands naturally want to return to their smooth shape. Use mousse or light styling spray before blow-drying, choose a slightly smaller barrel, and pin curls while they cool. A 1-inch barrel is often a strong choice because it creates a curl that can relax into a natural wave.
For Thick Wavy Hair
Thick wavy hair usually curls well but may frizz if it is not prepped properly. Smooth the hair with a blow-dryer first if you want polished curls. If you prefer textured waves, enhance your natural pattern by curling only the pieces that need definition. This saves time and keeps the final style from looking too “done.”
For Thick Curly or Coily Hair
For curly or coily hair, decide whether you want to stretch the hair first or define individual curls. If you want elongated curls, blow-dry with a brush attachment or tension method before using the curling iron. If you are touching up curls, choose a barrel close to your natural curl size and curl only the pieces that need shaping.
For Thick Color-Treated Hair
Color-treated hair can be more vulnerable to dryness and breakage, especially if it has been bleached. Use lower heat, apply heat protectant carefully, and avoid curling the same section more than once. Deep conditioning on non-styling days can help keep the hair soft and flexible.
Common Mistakes to Avoid When Curling Thick Hair
Using Sections That Are Too Big
This is the most common reason curls fall flat. Thick sections do not heat evenly. The outside looks curled, but the inside remains nearly untouched. Keep sections small and consistent.
Skipping Heat Protectant
Skipping heat protectant may save thirty seconds, but it can cost you shine, softness, and healthy ends. If you use hot tools regularly, protection should be part of the routine every time.
Touching Curls Too Soon
Brushing curls while they are still warm is like taking cookies out of the oven and stacking them immediately. Something will collapse. Let the curls cool first.
Using Too Much Product
Thick hair can handle more product than fine hair, but it still has limits. Too much cream, oil, or hairspray can make curls heavy and crunchy. Use light layers and build only if needed.
Holding the Iron Too Long
More time does not always mean better curls. It can mean dry, stressed hair. If your hair will not curl, adjust your section size, prep, barrel size, or temperature instead of simply cooking the strand longer.
How to Make Curls Last Longer in Thick Hair
Long-lasting curls begin before the curling iron touches your hair. Use lightweight prep products, avoid overly slippery conditioners on styling day, and make sure your hair is completely dry. After curling, let each curl cool in place. For special events, clip curls up while they cool and release them only when you are ready to finish the style.
Humidity can make thick hair expand or lose shape, so use a humidity-resistant hairspray if you live in a damp climate. Sleep on a silk or satin pillowcase to reduce friction. At night, loosely gather curls into a high, soft ponytail or bun. The next day, refresh limp pieces with a curling iron on a lower setting rather than recurling your entire head.
How Often Should You Curl Thick Hair?
Even strong, healthy-looking thick hair can be damaged by too much heat. Try not to use a curling iron every day. Give your hair heat-free days between styling sessions when possible. Braids, heatless rollers, buns, and twist-outs can help you maintain waves without relying on hot tools constantly.
If you curl your hair often, pay attention to warning signs such as split ends, rough texture, increased frizz, dullness, or breakage. These signs may mean your hair needs lower heat, better conditioning, a trim, or fewer styling sessions.
of Real-Life Experience: What Curling Thick Hair Actually Teaches You
Curling thick hair at home teaches patience faster than almost any beauty routine. The first lesson is that shortcuts rarely save time. When someone with thick hair tries to curl giant sections, the process may seem quicker at first, but the curls usually fall before the hairspray cap is back on. Smaller sections feel slower, but they create curls that actually last. In the end, careful sectioning is not extra work; it is the work.
Another experience many people share is the “one perfect side” problem. One side of the head looks bouncy, glossy, and ready for a shampoo commercial. The other side looks like it filed a complaint. This usually happens because your dominant hand has better control on one side. A helpful trick is to practice the awkward side first, when your arms are fresh and your patience is still alive. Use a mirror, go slowly, and remember that even professional stylists learned through repetition.
Thick hair also teaches you that product balance matters. It is tempting to use more mousse, more spray, more serum, and more everything because there is simply more hair. But too much product can make thick hair feel heavy. The better approach is to layer lightly. Use heat protectant first, add a small amount of styling product if needed, then finish with flexible hairspray. If curls still fall, the answer may be a smaller barrel or better cooling time, not half a can of spray.
One of the biggest breakthroughs is learning to let curls cool. At first, it feels impossible not to touch them. Fresh curls can look too tight, too shiny, or too “prom hair from 2007.” But thick hair relaxes as it cools and settles. Waiting ten minutes before brushing can be the difference between elegant waves and a vague bend. If you want soft curls, let them cool first, then brush gently. If you brush too soon, the style may disappear before you even choose your outfit.
Another practical lesson is that thick hair does not need every strand curled perfectly. In fact, a slightly imperfect finish often looks more modern. Curl the visible layers carefully, define the front pieces, and make sure the crown has shape. Underlayers can be less precise because they mainly support volume. This approach makes the process less exhausting while still giving the final style a full, polished appearance.
Finally, curling thick hair teaches you to respect your own hair texture. Some thick hair holds curls for three days. Some drops to waves by lunch. Some needs high heat; some needs gentle handling because it is highlighted or dry. The goal is not to force your hair to behave like someone else’s. The goal is to find the curling routine that gives your hair shape, shine, and movement without sacrificing its health. Once you understand your hair’s personality, curling becomes less of a battle and more of a negotiationwith better lighting and much cuter results.
Conclusion
Learning how to curl thick hair with a curling iron is all about preparation, sectioning, heat control, and patience. Start with dry hair, protect it from heat, choose the right barrel size, and work in small sections. Curl the front pieces away from your face, alternate directions for natural movement, and let every curl cool before brushing. Thick hair may take a little longer to style, but it also rewards you with volume, bounce, and curls that can look beautifully full when done correctly.
The best routine is the one that protects your hair while helping your style last. Use the lowest effective heat, avoid repeated passes, and give your strands regular breaks from hot tools. With practice, curling thick hair becomes less intimidating and more like a beauty ritual with a very satisfying payoff.