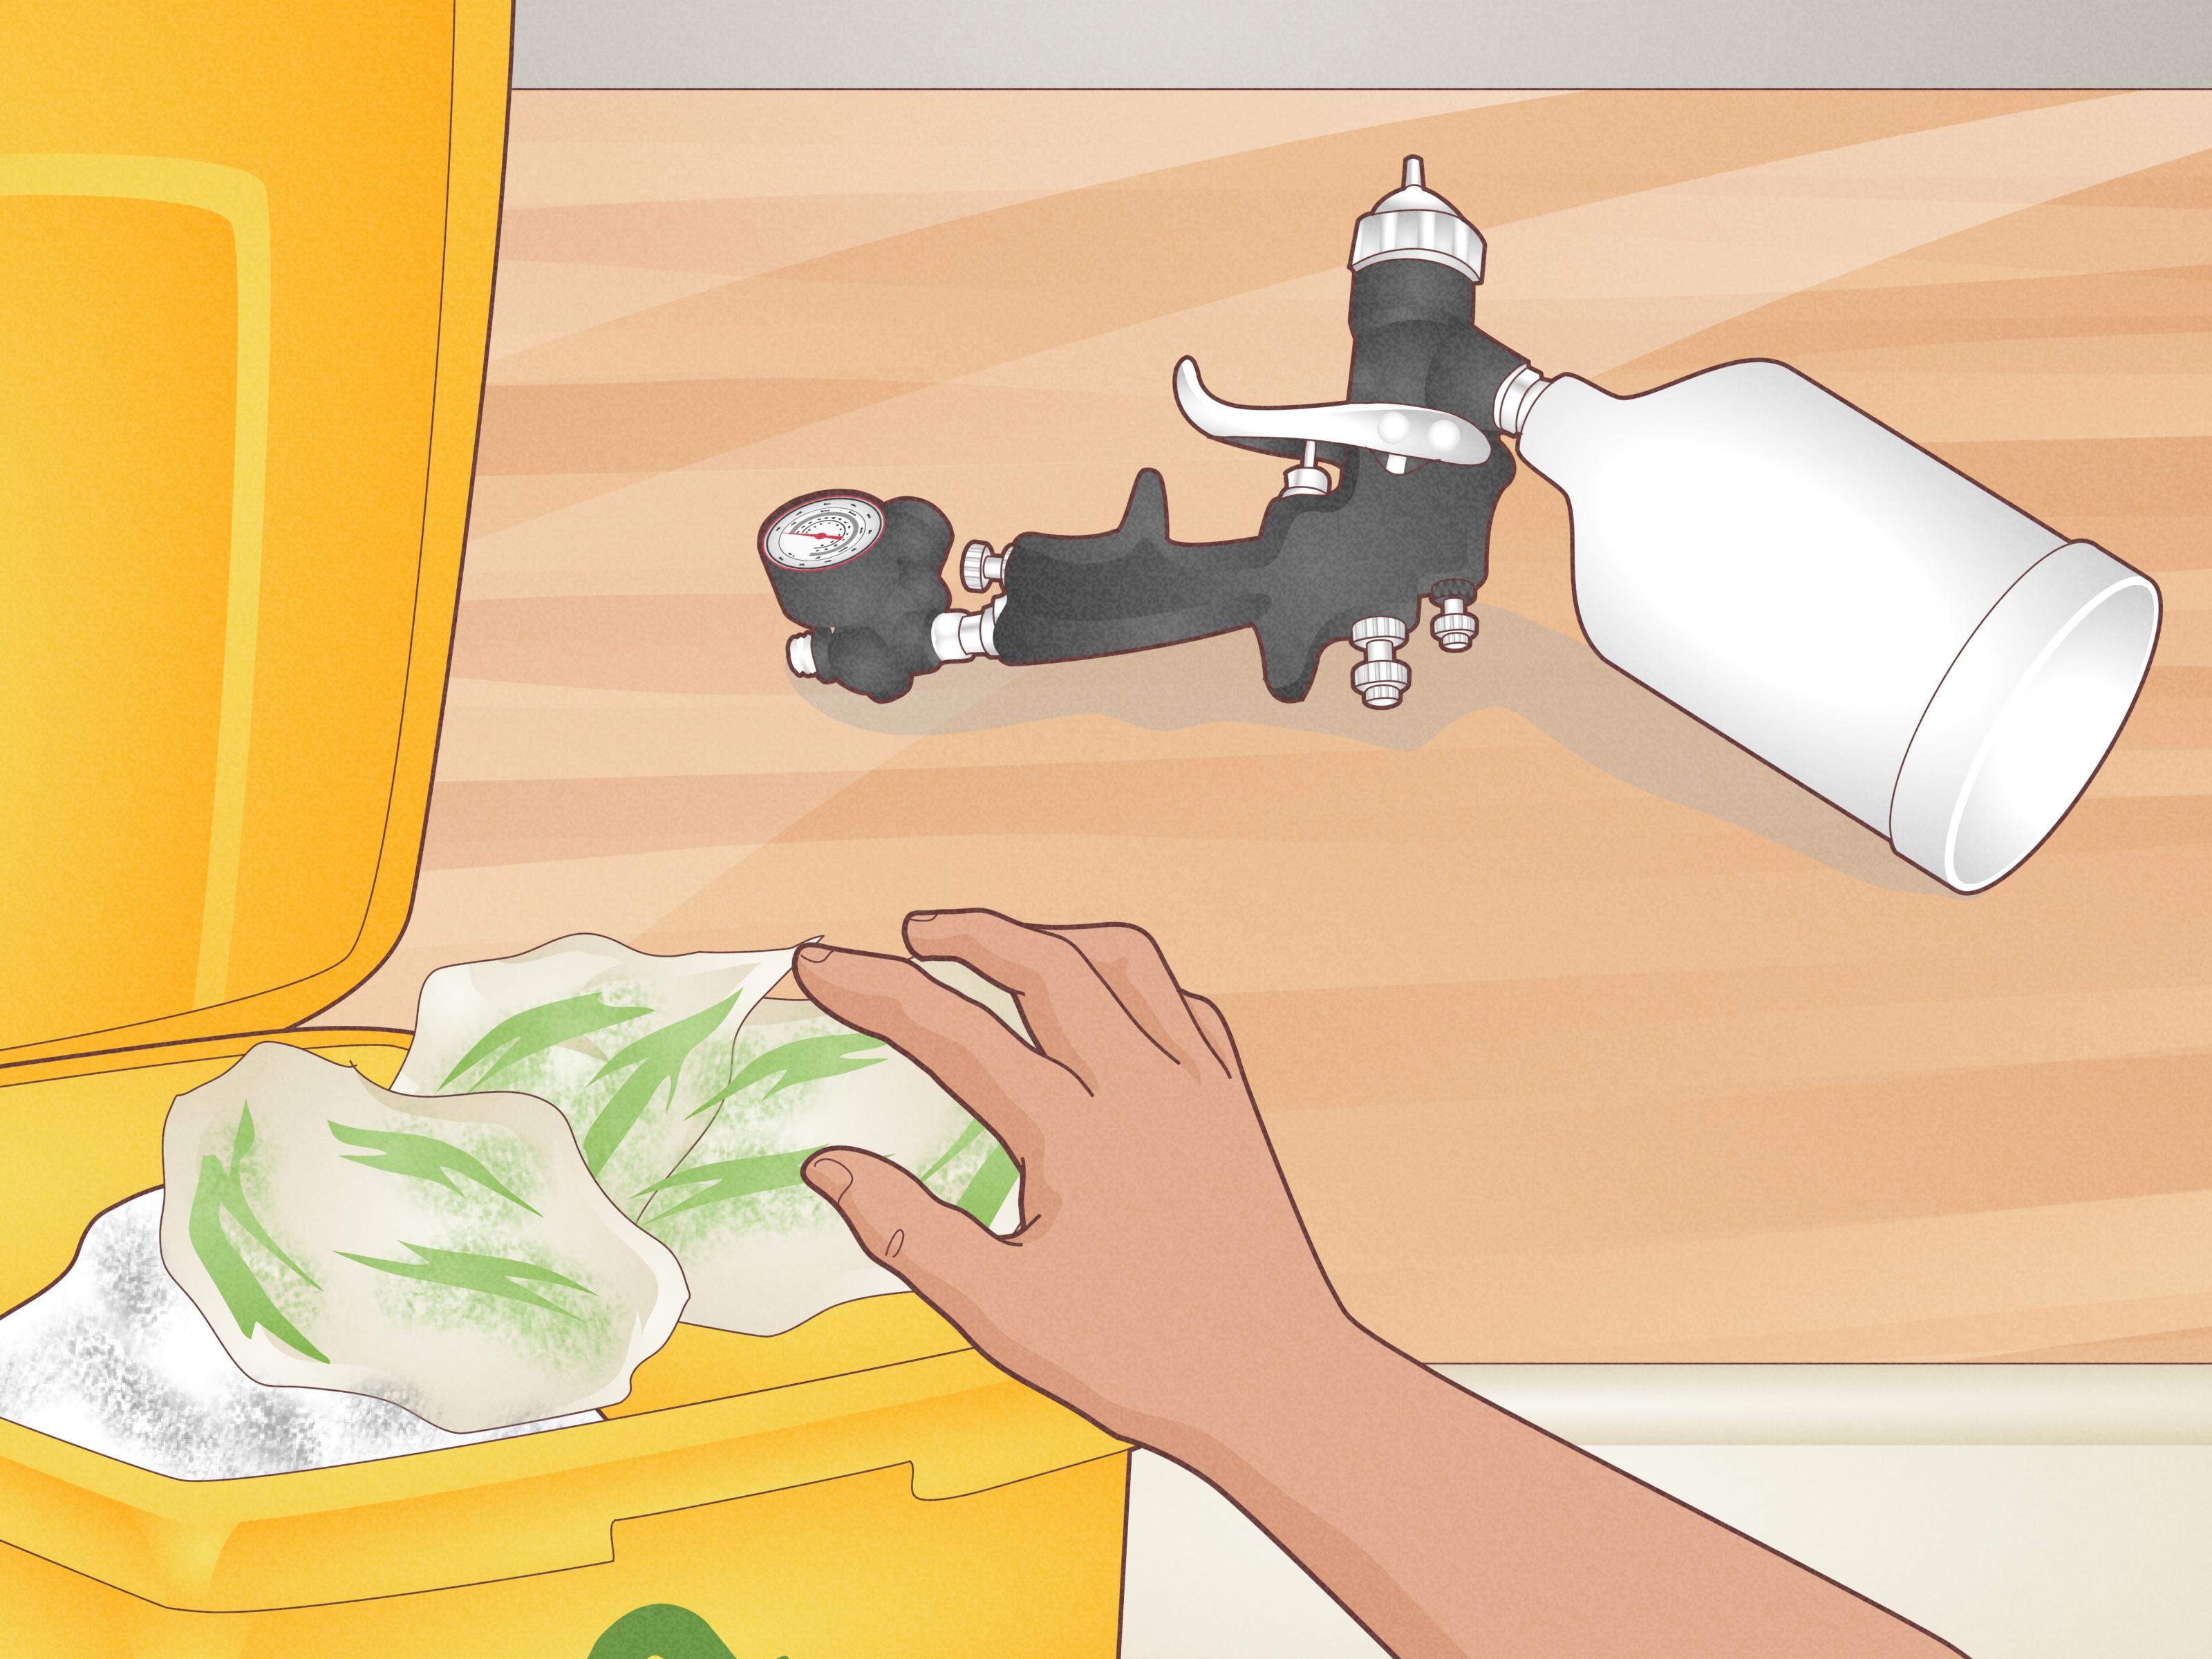
Cleaning an automotive paint gun is not glamorous. Nobody buys a shiny HVLP spray gun and daydreams about scrubbing the air cap with a tiny brush like a dental hygienist for robots. But here is the truth: the difference between a smooth, glassy finish and a sad, sputtering paint disaster often comes down to what happens after you spray.
An automotive paint gun is a precision tool. Paint, primer, clear coat, hardener, reducer, and even waterborne basecoat can dry inside small fluid passages, around the needle, on the fluid tip, and in the air cap holes. Once that buildup hardens, your spray pattern can go from “factory finish” to “garden sprinkler with commitment issues.” The good news is that learning how to clean an automotive paint gun is simple once you follow a consistent routine.
This guide walks you through the tools, solvents, safety steps, full cleaning process, troubleshooting tips, and real-world habits that keep spray guns working like they should. Whether you are painting a bumper, restoring a classic car, spraying primer, or laying down clear coat, a clean paint gun is your best friend in the booth.
Why Cleaning Your Automotive Paint Gun Matters
A spray gun atomizes coating through carefully matched parts: the needle, fluid nozzle, air cap, passages, and cup system. These parts are designed to meter material in a controlled way. If paint residue blocks even one small air horn hole or leaves a crusty ring on the fluid tip, the spray fan can become uneven, heavy on one side, pulsing, spitting, or dry around the edges.
That is why professional painters clean their spray guns immediately after use. Waiting too long allows material to cure inside the gun. Solventborne products can become gummy or hard. Waterborne paints can dry into stubborn deposits. Two-component coatings with activator can harden like they are applying for a job as concrete. Once that happens, cleaning becomes slower, riskier, and sometimes expensive.
Cleaning your automotive spray gun after every use helps prevent clogs, protects spray pattern quality, reduces contamination between colors, and extends the life of high-value parts. It also saves money because replacement needles, nozzles, and air caps are not exactly priced like vending machine candy.
Tools and Supplies You Need
Before you start, set up a small cleaning station. You do not need a laboratory, but you do need the right basics. A rushed cleanup with the wrong tools can damage delicate parts or leave residue behind.
Basic Cleaning Supplies
- Paint gun cleaning solvent or reducer recommended for the coating used
- Water or waterborne gun cleaner for waterborne basecoat systems
- Spray gun cleaning kit with nylon brushes and soft picks
- Lint-free rags or shop towels
- Small cleaning tub or solvent-safe container
- Wrench supplied with the spray gun
- Disposable gloves and eye protection
- Respirator or proper ventilation when working around solvent vapors
- Waste container approved for used solvent, paint, and contaminated wipes
What Not to Use
Avoid metal wires, drill bits, pocket knives, or anything that can scratch the air cap, fluid nozzle, or needle. Those tiny holes are not suggestions; they are engineered openings. If you enlarge or distort them, your spray pattern may never be the same. Also avoid soaking the entire gun body unless the manufacturer specifically allows it. Long soaking can damage seals, packing, gauges, and internal components.
Safety First: Solvents Are Not Aftershave
Most automotive paint gun cleaning involves flammable materials, strong vapors, and hazardous waste. Work in a well-ventilated area away from sparks, open flames, heaters, cigarettes, and grinding dust. Wear chemical-resistant gloves and eye protection. If you are using solvent, do not clean your hands with it. Your skin is not a shop rag, no matter how tough the day has been.
Used solvent, leftover paint, clear coat, primer waste, contaminated rags, and sludge may need to be handled as hazardous waste depending on your location and the material sprayed. Do not pour solvent down drains, dump it outside, or toss wet paint waste into regular trash. Store waste in a proper container and follow local, state, and federal disposal rules. For a home garage painter, this may mean contacting a local hazardous waste collection program. For a professional shop, it means following your shop’s waste management procedures.
Step-by-Step: How to Clean an Automotive Paint Gun
Step 1: Empty the Paint Cup
As soon as you finish spraying, empty the remaining paint into the correct container. If the material is still usable and your system allows storage, seal and label it properly. If it is waste, pour it into the approved waste container. Do not leave mixed paint sitting in the gun while you admire your work. Admire later. Clean now.
Step 2: Wipe the Cup and Lid
Remove the cup, lid, liner, or disposable cup system depending on your setup. Wipe away wet paint with a lint-free rag. If you use a disposable liner system, discard the liner and lid according to the product and local disposal requirements. Disposable cup systems can reduce cleaning time because the cup itself does not hold as much residue, but the gun passages still need attention.
Step 3: Add Cleaner and Shake Gently
Add a small amount of the correct cleaner to the cup. For solventborne paint, use the solvent or reducer recommended by the paint system. For waterborne basecoat, start with water or a dedicated waterborne gun cleaner. Swirl the cleaner around the cup to loosen residue. Do not shake like you are making a cocktail for a nervous race car driver; gentle agitation is enough.
Step 4: Flush the Fluid Passages
Reconnect the cup or attach a small amount of cleaner and spray it through the gun into an approved waste container or enclosed gun cleaning station. This flushes the internal fluid passage, needle area, and nozzle. Repeat until the cleaner comes out mostly clear. Trigger the gun fully so cleaner flows through the same path the paint used.
For pressure-fed or airless systems, follow the pressure relief and flushing procedure recommended by the equipment manufacturer before disassembly. Never remove parts from a pressurized system. Paint under pressure is not a personality test; it can be dangerous.
Step 5: Remove the Needle Carefully
Disconnect the air supply. Remove the fluid adjustment knob and spring, then carefully pull the needle straight out. Wipe the needle with a solvent-dampened rag. Pay close attention to the tip. Do not bend it, drop it, or scrape it with metal. A damaged needle can cause drips, poor shutoff, and inconsistent material flow.
Step 6: Remove the Air Cap and Fluid Nozzle
Unscrew the air cap by hand and set it aside. Then remove the fluid nozzle using the correct wrench. If your gun has a specific disassembly order, follow the manual. Many painters prefer removing the needle before removing the nozzle to avoid damaging the needle tip. Keep small parts organized so your bench does not become a treasure hunt with solvent fumes.
Step 7: Soak Small Parts Briefly
Place the air cap, fluid nozzle, and other removable metal parts in a small container with enough cleaner to cover them. Let them soak briefly to soften paint. A short soak is usually enough when the gun is cleaned immediately. Avoid long soaking unless the manufacturer approves it, especially for parts with seals or non-metal components.
Step 8: Brush the Air Cap and Fluid Tip
Use nylon brushes from a spray gun cleaning kit to clean the air cap holes, horns, fluid tip, and threads. Clean gently but thoroughly. The goal is to remove residue without changing the shape of any opening. If a hole is clogged, use a soft cleaning pick made for spray guns, not a welding tip cleaner or a random piece of wire from the drawer of bad decisions.
Step 9: Clean the Gun Body
Wipe the exterior of the gun body with a solvent-dampened rag. Use a brush to clean around the fluid inlet, cup connection, trigger area, and nozzle seat. Do not dunk the whole gun body unless the manufacturer says it is safe. Solvent can migrate into air passages, packing, seals, gauges, and adjustment controls.
Step 10: Rinse, Dry, and Blow Out Passages
After brushing, rinse parts with clean solvent or the appropriate cleaner. Dry them with a lint-free rag. If compressed air is available, use low pressure to blow cleaner out of passages and air cap holes. Wear eye protection because tiny droplets have excellent aim when they are least welcome.
Step 11: Inspect the Parts
Hold the air cap and fluid nozzle under good light. Look for dried material, burrs, scratches, cracked seals, worn threads, or uneven openings. Roll the needle gently on a clean flat surface to see if it is bent. If the spray gun has been giving you a crooked pattern, this inspection may reveal the culprit.
Step 12: Lubricate Moving Points Lightly
Use only spray-gun-safe lubricant recommended by the manufacturer. Apply a tiny amount to moving points such as the trigger pivot, air valve stem, or needle packing area if specified. Do not put lubricant on the fluid tip, nozzle opening, or air cap face. Silicone-containing products can create paint defects, so keep mystery lubricants far away from refinish work.
Step 13: Reassemble the Gun
Install the fluid nozzle, air cap, needle, spring, and adjustment knob in the correct order. Tighten parts snugly, not heroically. Over-tightening can damage threads or distort precision parts. Once assembled, pull the trigger to confirm smooth movement and proper needle return.
Step 14: Test the Spray Pattern
Before the next job, run a small amount of clean reducer, water, or test material through the gun and check the spray pattern on masking paper. A clean, even fan means the gun is ready. A split pattern, heavy side, sputter, or drip means something still needs attention.
Cleaning Solventborne vs. Waterborne Paint Guns
Not all coatings clean the same way. Solventborne basecoats, primers, sealers, and clear coats usually require the compatible solvent, reducer, or gun wash recommended by the coating system. Waterborne basecoats are different. Water is often the first rinse, and dedicated waterborne gun cleaners can help remove residue more efficiently.
Do not mix waterborne waste with solventborne waste unless your shop’s disposal procedure specifically allows it. In many professional environments, separate waste containers are used. Also, avoid chasing waterborne residue with strong solvent too early if the paint manufacturer recommends a water-based cleaning process first. Using the wrong cleaner can make residue clump, smear, or become harder to remove.
How Often Should You Deep Clean a Paint Gun?
A quick clean should happen immediately after every use. That means emptying the cup, flushing the passages, cleaning the air cap and nozzle, wiping the needle, and drying the gun. A deeper teardown should happen at the end of a painting session, after spraying high-build primer, after using catalyzed products, before storing the gun, or whenever the spray pattern changes.
If you spray multiple colors in one day, clean between colors enough to prevent contamination. A tiny bit of red hiding inside the gun can turn a white panel into a pink apology letter. For clear coat, be extra careful. Any leftover basecoat, primer dust, or old material can show up in the finish like it paid for VIP seating.
Common Paint Gun Cleaning Mistakes
Waiting Too Long
The biggest mistake is delay. Automotive coatings are designed to stick, cure, and resist chemicals. That is wonderful on a car panel and terrible inside your spray gun. Clean immediately after spraying.
Using the Wrong Cleaner
Always match the cleaner to the coating. Solventborne products need compatible solvent. Waterborne products usually need water or waterborne cleaner. Strong solvent is not automatically better, and the wrong chemical can damage seals or make residue harder to remove.
Soaking the Whole Gun
Dropping the entire gun into a bucket of solvent feels efficient, but it can shorten the life of seals, packing, regulators, and internal components. Clean removable parts separately and wipe the gun body instead.
Using Metal Tools on Precision Holes
Air cap holes and fluid tips are delicate. Scratching or enlarging them can ruin atomization. Use nylon brushes, soft picks, and manufacturer-approved tools.
Forgetting the Air Cap
The air cap controls the fan pattern. Paint buildup on the horns or clogged side holes can create a lopsided spray pattern. Clean the air cap every time, even if it looks “mostly fine.” Mostly fine is how orange peel gets invited to the party.
Troubleshooting After Cleaning
If your automotive paint gun still sprays poorly after cleaning, use the spray pattern as a clue. A fan heavy on one side often points to a clogged or damaged air cap horn. A split pattern may mean too much air pressure, not enough material, or a blockage. Spitting can be caused by a loose fluid nozzle, dried material near the tip, a damaged needle, or air entering the fluid path. Dripping from the tip may indicate a dirty or damaged needle and seat.
When troubleshooting, clean first, then inspect parts. Many spray problems are not caused by mystical booth gremlins. They are caused by dried paint in one tiny place. If cleaning does not solve the issue, check for worn seals, damaged needle packing, bent needles, mismatched needle-nozzle sets, or incorrect gun setup.
Storage Tips for a Clean Paint Gun
Once the gun is clean and dry, store it in a clean, dry cabinet or case. Leave adjustment knobs relaxed if your manufacturer recommends it. Keep the air cap protected so it does not get dropped, dented, or contaminated with shop dust. Do not store a gun with solvent sitting inside unless your equipment instructions specifically say to do so.
For long-term storage, make sure all parts are dry and lightly lubricated only where appropriate. Moisture can cause corrosion, and leftover solvent can attack seals. A clean spray gun stored properly will reward you later with smoother trigger action, better atomization, and fewer surprise problems when you are already wearing paint suit sleeves that make you feel like a marshmallow astronaut.
Experience Notes: Real-World Lessons From Cleaning Automotive Paint Guns
The first real lesson of cleaning an automotive paint gun is that the cleanup begins before the paint dries. In a busy garage, it is tempting to finish the last coat, step back, admire the shine, take a few photos, answer a text, drink half a soda, and then remember the gun. That little delay can be costly. Even fifteen or twenty minutes can make catalyzed primer or clear coat much more stubborn inside the nozzle. The best habit is to treat cleaning as part of the paint job, not the thing you do after the job.
Another useful habit is keeping a dedicated cleaning tray ready before spraying. Put gloves, rags, brushes, cleaner, and the gun wrench within reach. When the final pass is done, the cleanup station is already waiting. This small preparation saves time and prevents the classic “where did I put that wrench?” moment. Searching for tools while paint cures inside the gun is the automotive version of watching toast burn in slow motion.
Many painters also learn that cheap brushes can be expensive. A proper spray gun cleaning kit costs little compared with a quality gun, but it protects the air cap and fluid tip from damage. Using a metal pick or random wire may clear a clog once, but it can also scratch the opening. After that, the gun may spray unevenly no matter how carefully it is adjusted. Precision parts deserve precision cleaning.
One practical example is the air cap. A painter may flush the gun until clean solvent sprays out and assume the job is done. Then the next project has a fan pattern that is heavy on the left side. The problem may be a tiny bit of dried material in one air horn hole. The gun was flushed, but the air cap was not brushed carefully. That tiny clog can waste paint, time, and patience. The fix is simple: remove the cap, soak it briefly, brush the holes gently, dry it, and test again.
Waterborne paint teaches another lesson. Because waterborne basecoat can be cleaned with water or a waterborne cleaner, some people assume it is automatically easier. It can be, but it still dries in crevices and adapters. Cup systems, lids, and gun adapters need attention. If waterborne residue sits too long, it can become surprisingly stubborn. A quick rinse immediately after spraying is far better than a heroic scrub later.
Finally, good cleaning improves confidence. When a spray gun is clean, the painter can focus on overlap, distance, speed, temperature, reducer choice, and flash time. When the gun is questionable, every defect becomes suspicious. Is it technique? Air pressure? Contamination? A clogged cap? A damaged needle? Cleaning removes one major variable. In automotive refinishing, fewer variables mean better results. A spotless gun will not magically turn a beginner into a show-car legend overnight, but it gives every painter a fair chance. And in the world of paint, a fair chance is worth a lot.
Conclusion
Learning how to clean an automotive paint gun is one of the most important skills in auto body refinishing. A clean spray gun produces a more consistent fan pattern, reduces contamination, prevents clogs, protects expensive parts, and makes every paint job more predictable. The process is straightforward: empty the cup, flush the passages, disassemble key parts, clean the needle, air cap, and fluid nozzle, dry everything thoroughly, inspect for damage, and reassemble carefully.
The secret is consistency. Clean the gun immediately after every use, choose the correct cleaner for the coating, avoid harsh tools, and respect safety rules for solvents and waste. Your spray gun does not need pampering, but it does need disciplined maintenance. Treat it well, and it will repay you with smoother finishes, fewer defects, and much less muttering in the garage.