Note: This guide uses the classic foldingsives, and supervise younger builders when needed.
A ship in a bottle looks like a tiny act of maritime witchcraft. The glass neck is narrow, the sails are tall, and yet somehow a proud little vessel appears to be cruising peacefully inside, apparently unaware that it lives in a very strange aquarium.
The secret is less magic than planning. Traditional ship-in-a-bottle builders make the hull outside the bottle, attach masts that can fold flat, slide the model through the neck, and then pull thin control lines to raise the masts inside. It is a miniature engineering project disguised as folk art, with just enough suspense to make you question your eyesight.
This beginner-friendly guide explains how to build a simple two-masted sailing ship in a bottle. Start with a modest design, not a five-masted warship with enough rigging to qualify for its own tax return. Once you understand the method, you can move on to schooners, clippers, fishing boats, pirate ships, and anything else that looks good sailing across a glass-bound sea.
What You Need Before You Start
Gather your supplies before beginning. A ship in a bottle project becomes much easier when you are not trying to hold a tiny mast upright while searching the house for tweezers.
Materials
- A clear glass bottle with a smooth interior and a neck wide enough for the model hull
- Basswood, balsa wood, or a small pre-shaped wooden hull blank
- Thin wooden dowels, toothpicks, bamboo skewers, or straight wire for masts
- Fine thread, sewing thread, or fly-tying thread for rigging
- Thin paper, tracing paper, or lightweight fabric for sails
- White glue, clear-drying craft glue, or two-part epoxy for permanent mounting
- Oil-free modeling clay, epoxy putty, or acrylic gel medium for the water
- Acrylic paints in hull, sail, and sea colors
- A small cork, wood base, or display stand
Tools
- Craft knife or hobby knife
- Fine sandpaper or nail files
- Pin vise or tiny hand drill
- Tweezers
- Small paintbrushes
- Wire cutters and needle-nose pliers
- Long skewers, bent wire tools, or chopsticks for working inside the bottle
- Ruler, pencil, and scrap cardboard
How to Build a Ship in a Bottle in 13 Steps
Step 1: Choose a Bottle That Works With Your Design
Pick a clear bottle with a smooth, roomy body and as little distortion as possible. A wine, whiskey, or decorative glass bottle can work well, but the neck opening matters more than the label’s former social status.
Measure the inside diameter of the neck. Your finished hull must pass through that opening without force. The masts and sails can fold down, but the hull cannot negotiate. A bottle with a slightly wider neck is usually kinder to beginners than a dramatic narrow-neck bottle that looks like it was designed by a glassblower with a grudge.
Wash the bottle thoroughly, remove labels, rinse away residue, and let it dry completely. Inspect it under a bright light. Dust, lint, and smudges become surprisingly visible once the model is inside.
Step 2: Pick a Simple Ship Style
For a first project, choose a small schooner, fishing boat, sloop, or two-masted coastal vessel. A simple hull with two folding masts is easier to build, rig, insert, and repair than a detailed square-rigged ship with enough ropes to confuse a spider.
Sketch the side profile of your ship. Decide where the bow, stern, deck, cabin, masts, bowsprit, and sails will go. Keep the proportions bold and readable. Inside a bottle, tiny details are charming, but details that cannot be seen are simply overtime.
Step 3: Make a Full-Size Bottle Template
Lay the bottle on a sheet of paper and trace its outer profile. Then estimate the usable interior space by marking the bottle neck, shoulders, and curved base. This template helps you plan the maximum length, height, and width of the model.
Cut a small cardboard test hull and slide it through the bottle neck. This dry run is worth the extra few minutes. It is much better to discover that your hull is too wide while it is cardboard than while it is a carefully painted miniature masterpiece.
Step 4: Carve and Shape the Hull
Cut or carve the hull from lightweight wood. Keep the profile narrow enough to fit through the neck, but give it a visible bow and stern so it still reads as a ship rather than a suspiciously nautical potato.
Sand the hull smooth. A slightly curved underside helps it sit naturally on the simulated water. Add a shallow deck line, small raised cabin, railing suggestion, or painted windows if the scale allows. Do not make the hull too tall; the bottle neck must still accommodate it during insertion.
Step 5: Drill Mast Holes and Create Folding Hinges
The hinged mast system is the heart of the project. Drill small holes in the deck where each mast will sit. Drill a matching small hole near the bottom of each mast.
Cut short pieces of thin florist wire or brass wire. Pass each wire through the mast hole and bend it into a U-shaped hinge. Insert the two wire ends into the holes in the hull, then bend or glue the ends beneath the deck area. The mast should swing forward and backward without wobbling excessively.
Test every mast several times. Each one should lie nearly flat along the deck and rise cleanly to a vertical position. Fix a stubborn hinge now. Once the ship is inside the bottle, your repair options become limited and theatrical.
Step 6: Add the Bowsprit and Basic Deck Details
Glue a small bowsprit to the front of the hull. The bowsprit is important because it gives you a point for anchoring the rigging and control lines. Keep it slim but strong.
Add basic deck details such as a cabin block, tiny hatch, painted rails, or a small anchor shape. Use simplified details rather than bulky pieces. Anything that sticks out dramatically may catch on the bottle neck during insertion.
Step 7: Paint the Hull Before Rigging
Paint the hull outside the bottle, where your hands can still behave like hands. A dark hull with a lighter deck gives the model contrast. Common beginner combinations include black and cream, navy and white, brown and tan, or red below the waterline with a darker upper hull.
Use thin paint layers. Thick paint can soften crisp lines and make tiny details look lumpy. Allow the paint to dry fully before adding thread or glue. Wet paint plus thread is a reliable path to sadness.
Step 8: Prepare the Masts, Booms, and Sails
Cut your masts from dowels, toothpicks, skewers, or wire. Sand them smooth and paint or stain them if desired. Add a small horizontal boom to each mast with glue and thread.
Cut sails from thin paper or tracing paper. Keep them narrow enough to fold flat against the mast. A sail should look full when raised but should not become a crumpled curtain when folded. Trim the bottom edge slightly curved for a more natural silhouette.
Glue or tie the sails to the masts and booms. Let them dry fully. Test-fold each mast assembly against the deck to make sure the sails do not spread wider than the hull.
Step 9: Rig the Raising Lines
Attach a fine thread near the top of each mast. Run each thread forward toward the bowsprit. These are the control lines that will pull the masts upright after the ship enters the bottle.
When the mast lies down, the line should remain free and long enough to extend through the bottle neck. When you pull the line forward, the mast should rise. Trim, retie, and test until both masts stand upright at the proper angle.
Leave extra line. It is easier to trim a long thread than to explain to a mast why it must stand up using a thread that is two millimeters too short.
Step 10: Create the Sea Inside the Bottle
Use blue-green modeling clay, epoxy putty, or acrylic gel medium to create the water surface. For a first project, a thin layer of clay or putty works well because it grips the hull and lets you shape gentle waves.
Push the sea material into the bottom of the bottle using a long stick, bent wire tool, or narrow spoon handle. Build it slightly higher toward the sides so the ship appears to sit in water rather than on a flat blue floor.
Create small ridges and ripples with a toothpick or bent wire. Keep the waves modest. Your ship is crossing a charming harbor, not auditioning for a disaster movie.
Step 11: Fold the Ship and Insert It Carefully
Lay the masts flat along the deck. Fold the sails neatly. Arrange the control lines so they point toward the bottle opening and do not tangle under the hull.
Usually, it is easiest to insert the stern first so the bow, bowsprit, and control lines remain closest to the bottle neck. Guide the hull slowly through the opening. Rotate it gently if needed, but never force it. If the ship catches, pull it back out and identify what is snagging.
Once inside, lower the hull onto the prepared water surface. Use long tools to center it and press it gently into place.
Step 12: Raise the Masts and Finish the Rigging
With the ship seated in the water, pull the control lines one at a time. The masts should rise into position. Pull slowly and evenly. If a mast hesitates, stop immediately instead of yanking with the enthusiasm of someone starting a lawn mower.
When the masts are upright, secure the control lines near the bowsprit or deck with a small drop of glue applied using a wire tool. Trim the excess thread after the glue cures.
Add a few final rigging lines if desired. Keep them simple and symmetrical. Inside a bottle, a few clean lines look far better than a tangled storm cloud of thread.
Step 13: Seal, Display, and Protect Your Finished Model
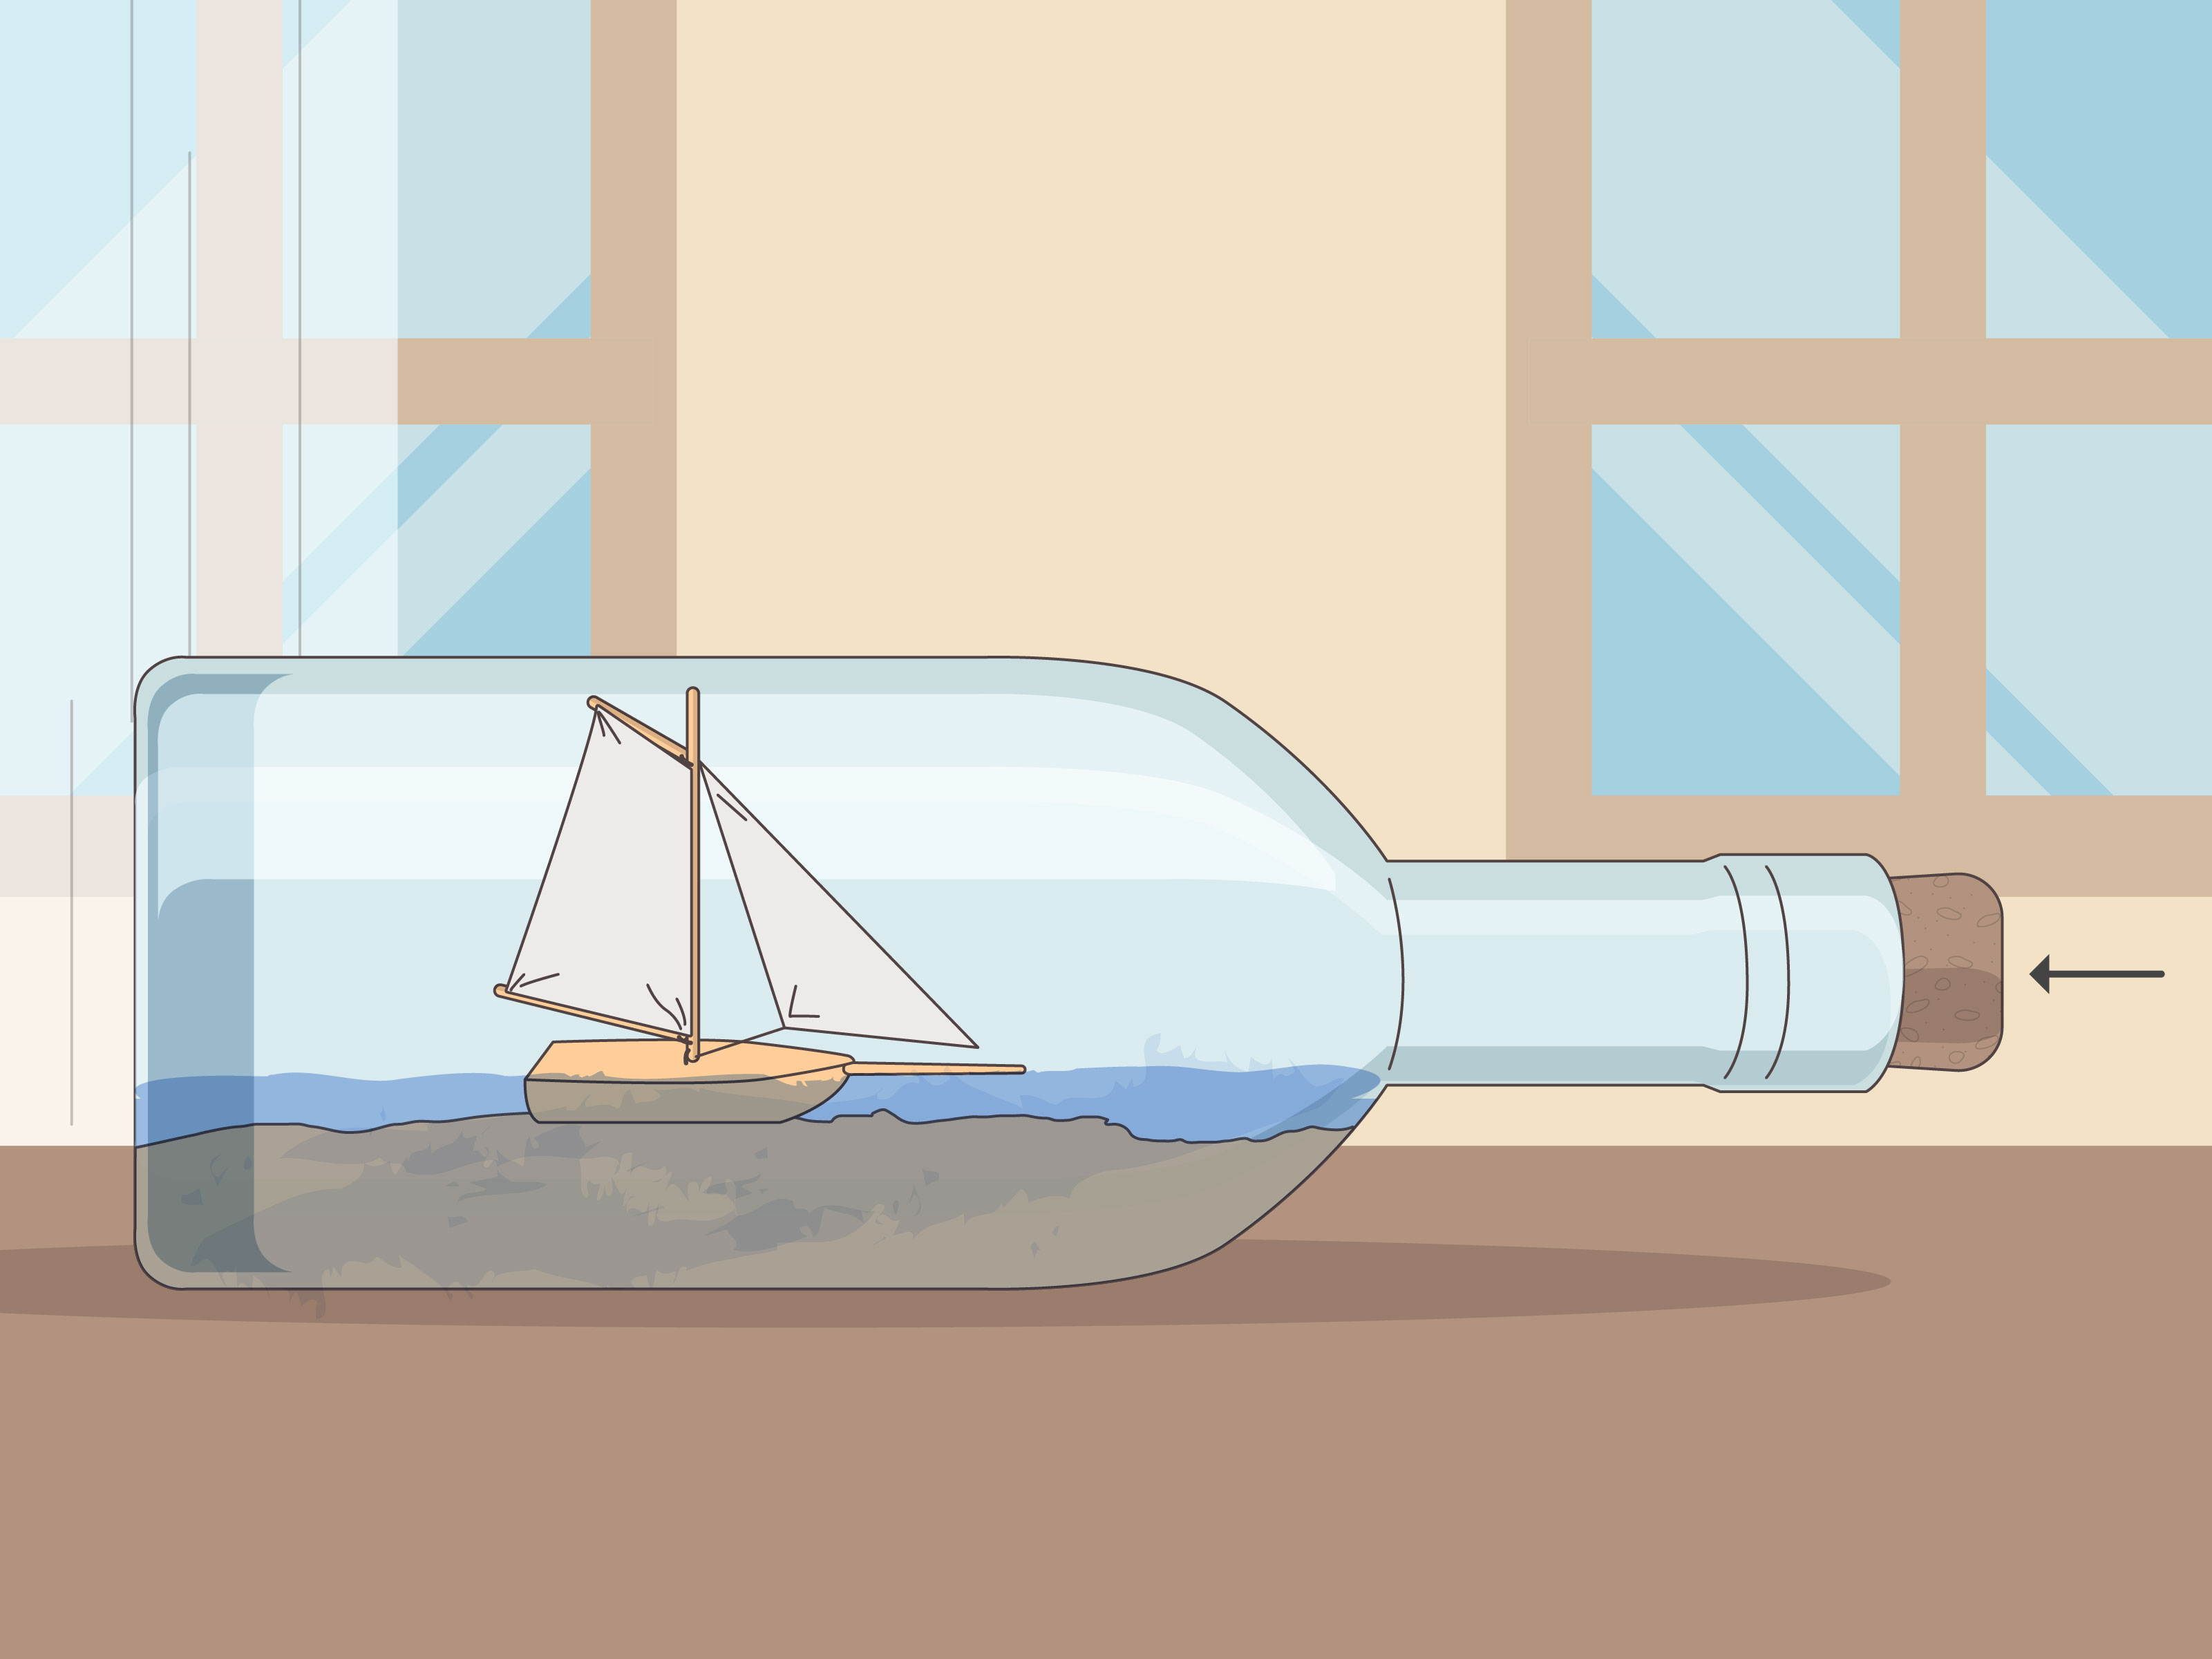
Inspect the bottle from every angle. Remove visible glue strings, dust, or stray thread before sealing it. Add a cork or stopper, then place the bottle on a wood stand, cradle, or simple padded base.
Display your ship away from direct sunlight, extreme heat, and places where it may be knocked over by enthusiastic pets, children, or adults gesturing dramatically during dinner. A ship in a bottle is sturdy enough to admire, but it is not designed for rough seas on a bookshelf.
Common Ship-in-a-Bottle Problems and Easy Fixes
The Hull Will Not Fit Through the Neck
Do not force it. Remove the model, sand the widest point, or choose another bottle. A tiny reduction in hull width can make a major difference.
The Mast Will Not Stand Upright
Check whether the hinge is binding, the control line is caught, or the line is attached at the wrong angle. A mast rises best when the pulling thread runs cleanly forward toward the bowsprit.
The Glass Looks Cloudy After Assembly
Cloudiness often comes from fingerprints, glue fumes, dust, or too much adhesive. Use minimal glue, let components cure before insertion, and clean the bottle thoroughly before starting.
The Rigging Looks Tangled
Simplify. A clean two-mast model with a few deliberate lines is more convincing than an overloaded model that resembles a tiny bowl of noodles having an identity crisis.
The Experience of Building a Ship in a Bottle
Building a ship in a bottle is one of those crafts that changes your relationship with patience. At first, the project seems to be about making a miniature boat. Then you discover that the boat itself is only one part of the challenge. The real task is sequencing: deciding what must happen before the hull goes inside, what can wait until the masts are raised, and what absolutely cannot be dropped into the bottle unless you enjoy inventing new words.
The first memorable experience usually comes during planning. A beginner often looks at the bottle and thinks the problem is physical size. In reality, clearance is only part of the puzzle. The hull needs to fit through the neck, the masts need room to fold, the sails need to collapse without tearing, and the raising lines need a clear path. That moment of realizing that every feature depends on every other feature is where the project becomes surprisingly satisfying.
The second experience is learning to work at a slower speed. Most modern hobbies reward quick results: click, print, assemble, post. A ship in a bottle has no interest in your schedule. Glue needs to dry. Paint needs to cure. Thread needs to be untangled. The bottle has a narrow neck and no sympathy. Working slowly is not a limitation; it is the skill.
There is also a small thrill when the folded ship first passes through the bottle opening. It looks wrong in the most fascinating way. The masts are down, the sails are compressed, and the hull appears to be entering a glass cave. Then the model settles onto the water, the control lines are pulled, and the masts rise one by one. Suddenly the whole object makes sense. That transformation is the payoff: a pile of tiny materials becomes a scene with movement, history, and a touch of impossibility.
Many builders find that mistakes become part of the experience rather than proof of failure. A crooked mast may teach you how to improve a hinge. A smudge on the glass may teach you to use less glue. A thread that snaps at the worst possible moment may teach you to leave more slack next time. Each small problem is a lesson in miniature engineering, and each completed model makes the next one less mysterious.
Most of all, a finished ship in a bottle becomes a conversation piece because people cannot resist asking how it got inside. You can explain the folding masts, the hinges, the control lines, and the carefully shaped water. Or you can smile mysteriously and say it sailed in during high tide. Either answer is acceptable. One is simply more likely to impress your guests.
Final Thoughts
Learning how to build a ship in a bottle is less about tiny tools and more about smart planning. Choose a simple vessel, test the hull size, build folding masts, keep the rigging tidy, and work patiently. Your first model may not look like it belongs in a maritime museum, but it will have something better: the unmistakable charm of a project you engineered through a very small opening.