Bolting into concrete sounds like one of those jobs where you simply drill a hole, shove in a bolt, tighten it, and walk away like a construction wizard. Sometimes it really is that simple. Other times, the concrete chips, the anchor spins, the bolt refuses to tighten, and your “quick Saturday project” suddenly needs emotional support and a second trip to the hardware store.
The good news: learning how to bolt into concrete is not complicated once you understand the basics. Concrete is strong in compression but unforgiving when drilled incorrectly. The right concrete fastener depends on what you are attaching, how heavy it is, whether the load pulls outward or pushes downward, whether the concrete is solid or hollow, and whether the anchor will live indoors, outdoors, or in a damp area where corrosion loves to throw a party.
This guide explains how to drill into concrete, how to install concrete anchors correctly, and which fasteners to use for common projects such as shelving, base plates, handrails, equipment brackets, sill plates, framing, posts, and light fixtures. We will keep it practical, specific, and slightly less dry than a bag of Portland cement.
Before You Start: Know What You Are Drilling Into
Not all “concrete-looking” surfaces behave the same. Solid poured concrete, concrete block, brick, mortar joints, and hollow masonry units require different anchors. A wedge anchor that works beautifully in solid concrete may be a terrible choice in hollow block. A light-duty concrete screw may be perfect for a conduit strap but not for a deck ledger or a heavy steel bracket.
Start by identifying the base material. Solid concrete usually feels dense and uniform when drilled. Concrete block may have hollow cores. Brick can be softer or more brittle than concrete. Mortar joints are easier to drill but usually weaker than the masonry units around them. If you are fastening anything structural, overhead, load-bearing, safety-related, or code-regulated, do not guess. Check the fastener manufacturer’s technical data or ask a qualified professional.
Tools You Need to Bolt into Concrete
For most concrete anchoring jobs, gather the following:
- Hammer drill or rotary hammer
- Carbide-tipped masonry bit sized for the anchor
- Concrete anchors or concrete screws
- Vacuum, compressed air, or hole-cleaning brush
- Wrench, socket, or impact driver, depending on fastener type
- Hammer
- Tape measure and marker
- Safety glasses, hearing protection, gloves, and dust control
A regular drill may work for a tiny hole in soft masonry, but it is not the right tool for most concrete jobs. A hammer drill both rotates and pounds, helping the bit chip its way into concrete. A rotary hammer is stronger and better for larger holes, deeper embedment, or repeated drilling. If concrete drilling were a gym, the regular drill is stretching, the hammer drill is cardio, and the rotary hammer is deadlift day.
How to Bolt into Concrete: Step-by-Step
Step 1: Choose the Right Anchor First
Do not drill before choosing the anchor. Concrete anchors require specific hole diameters and embedment depths. If you drill a random hole and then go shopping for a fastener that “looks about right,” you are asking for trouble. The drill bit size usually matches the anchor diameter for wedge anchors and sleeve anchors, while concrete screws use a manufacturer-specified pilot bit.
Step 2: Mark the Hole Locations
Place the fixture where it belongs and mark the holes clearly. For steel brackets or base plates, use the fixture as a template. Keep anchors away from concrete edges unless the manufacturer allows the spacing. Placing expansion anchors too close to an edge can crack or spall the concrete because the anchor expands outward as it tightens.
Step 3: Drill Straight and Deep Enough
Install the correct masonry bit and drill perpendicular to the surface. A crooked hole makes the fastener harder to seat and can reduce holding power. Drill to the required depth, usually slightly deeper than the anchor embedment to allow room for dust and the anchor tip. Many concrete screw and wedge anchor instructions call for extra hole depth beyond the embedment, commonly around 1/4 inch or more, but always follow the specific product instructions.
Step 4: Clean the Hole Thoroughly
This is the step people skip, and it is also the step that quietly ruins many installations. Concrete dust left in the hole can prevent the anchor from seating fully, reduce thread engagement, block adhesive bonding, or cause a wedge anchor to tighten poorly. Use a vacuum, blow-out bulb, compressed air, or a hole brush according to the fastener instructions. Clean holes are not glamorous, but neither is a wobbly handrail.
Step 5: Insert the Anchor or Screw
For concrete screws, drive the screw through the fixture and into the pilot hole until the head is snug against the fixture. Do not overdrive it. Concrete screws cut threads into the base material, and if you strip those threads, the screw can lose grip.
For wedge anchors, place the nut and washer on the anchor first, leaving the nut near the top to protect the threads. Tap the anchor through the fixture and into the hole until the washer sits against the fixture. Then tighten the nut to expand the clip inside the concrete.
For sleeve anchors, insert the anchor through the fixture into the hole, tap it into place, and tighten the nut or head so the sleeve expands against the hole wall.
Step 6: Tighten Correctly
Tight is good. Brutally tight is not. Over-torquing can strip threads, crack concrete, deform fixtures, or damage the anchor. For structural or heavy-duty anchors, use the manufacturer’s torque specification. For light-duty projects, tighten until snug and secure without forcing it like you are trying to win a wrench-based arm-wrestling contest.
Which Concrete Fasteners Should You Use?
Here is the practical breakdown of common concrete fasteners and when each one makes sense.
Concrete Screws
Concrete screws are excellent for light- to medium-duty fastening. They are commonly used for electrical boxes, furring strips, framing, conduit straps, small brackets, wood strips, and temporary fixtures. They require a predrilled pilot hole and cut their own threads into concrete, brick, or block.
The biggest advantage of concrete screws is convenience. They are removable, relatively fast to install, and do not expand the hole the way wedge anchors do. That can make them friendlier near edges, although edge distance still matters. Use coated or stainless versions for exterior or damp locations.
Best for: light framing, electrical fixtures, small shelves, brackets, furring strips, HVAC straps, and removable attachments.
Wedge Anchors
Wedge anchors are heavy-duty mechanical anchors for solid concrete. They consist of a threaded stud, nut, washer, and expansion clip. As the nut tightens, the clip expands inside the drilled hole and locks the anchor in place.
These anchors are strong, reliable, and widely used for base plates, machinery, posts, railing plates, sill plates, and structural steel connections. However, they are not designed for hollow block, brick, or weak masonry. Once installed, wedge anchors are considered permanent. You may remove the nut and fixture, but the stud usually stays in the concrete unless cut off or driven deeper into an overdrilled hole.
Best for: heavy loads in solid concrete, steel base plates, railings, posts, machinery, and permanent installations.
Sleeve Anchors
Sleeve anchors are versatile expansion anchors that can work in concrete, brick, and block, depending on the product. They include a bolt or screw, a sleeve, a nut, and a washer. Tightening the fastener pulls the internal cone upward and expands the sleeve against the hole wall.
They are useful when you need moderate to heavy holding power but are not always working in perfect solid concrete. Sleeve anchors are popular for handrails, light structural supports, signs, brackets, and masonry attachments. They are more forgiving than wedge anchors in some masonry applications, but their holding power still depends heavily on the base material.
Best for: concrete, brick, or block projects; handrails; brackets; fixtures; and medium-duty fastening.
Drop-In Anchors
Drop-in anchors are internally threaded anchors installed flush inside solid concrete. After drilling and cleaning the hole, you insert the anchor and use a setting tool to expand it. Then you thread a machine bolt or threaded rod into the anchor.
Drop-in anchors are common for overhead threaded rod, suspended equipment, pipe supports, and situations where the bolt may need to be removed while the anchor remains in place. They require proper setting tools and are usually for solid concrete only.
Best for: threaded rod, removable bolts, overhead supports, pipe hangers, and flush anchor points in solid concrete.
Adhesive Anchors
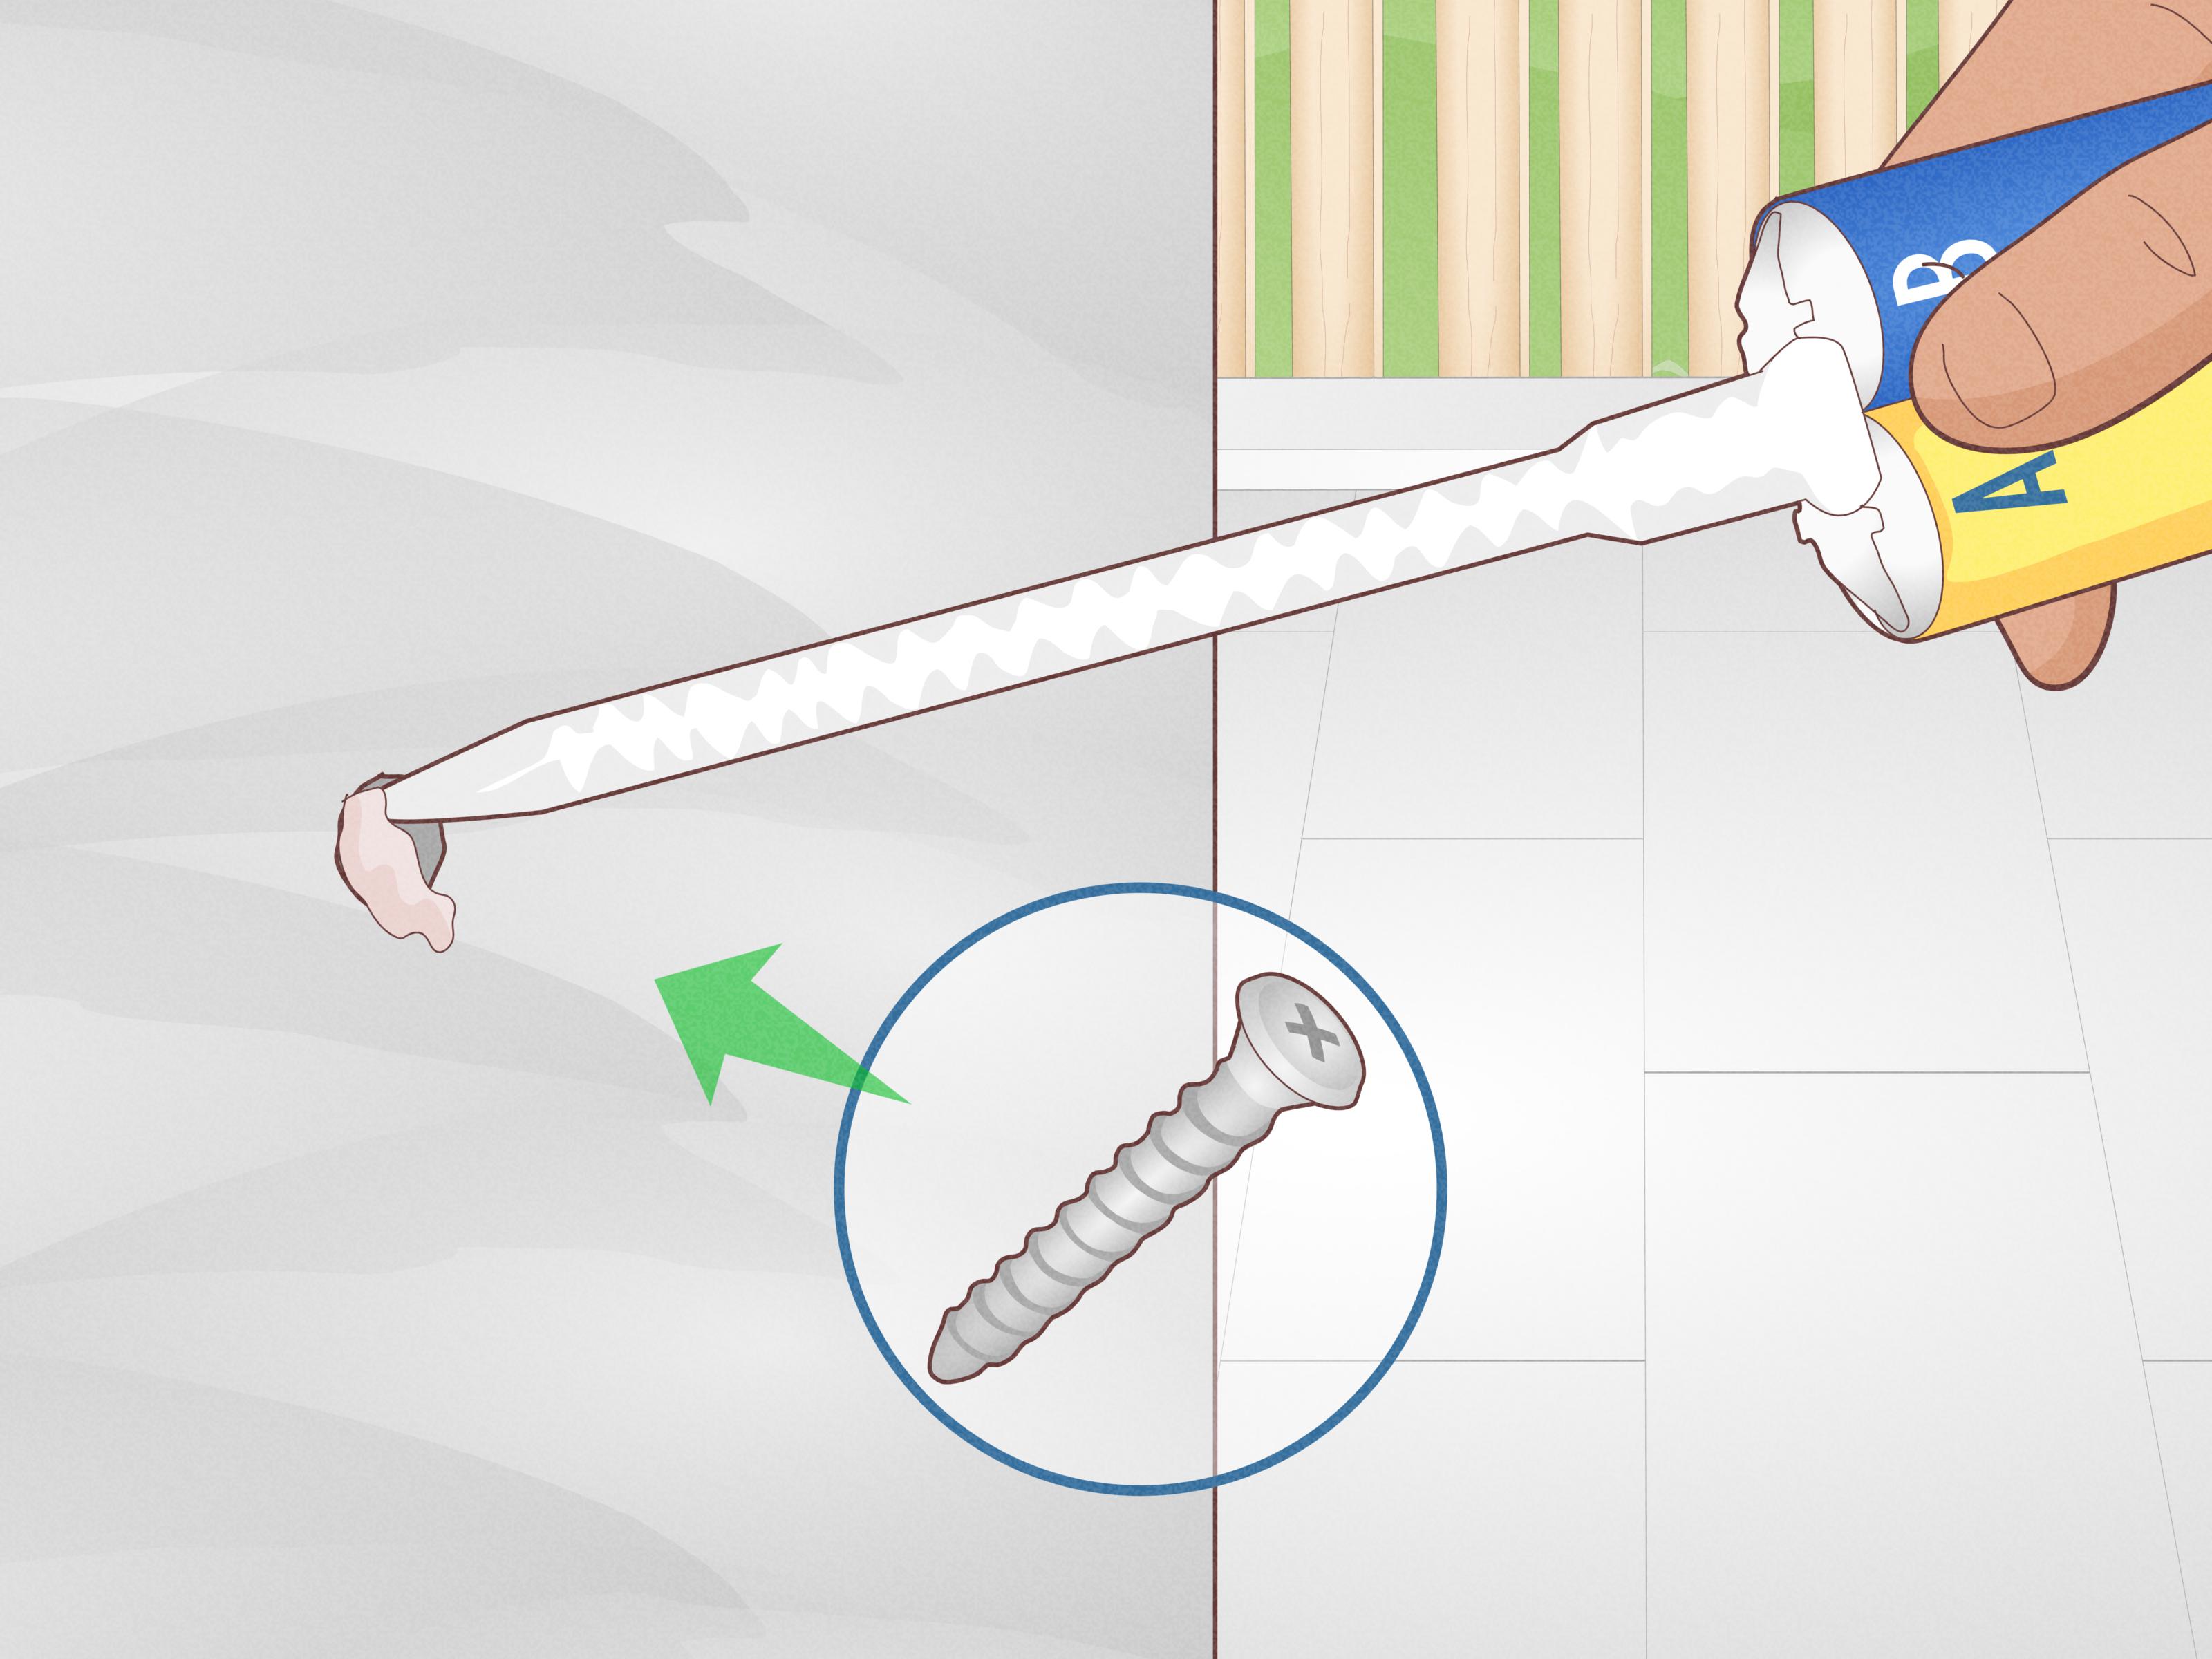
Adhesive anchors use epoxy or hybrid adhesive with threaded rod or rebar. They are often used for high-load applications, cracked concrete, close-to-edge installations, or situations where expansion pressure is undesirable. The hole must be drilled, cleaned meticulously, filled with adhesive, and fitted with the rod according to the manufacturer’s instructions.
Adhesive anchoring is powerful, but it is less forgiving. Temperature, hole moisture, cure time, hole cleaning, rod diameter, embedment depth, and adhesive expiration date all matter. For structural work, use approved products and follow code requirements exactly.
Best for: structural rods, rebar dowels, close edge conditions, high loads, and professional or engineered installations.
Hammer-Set and Drive Anchors
Hammer-set anchors are fast and simple. You drill a hole, insert the anchor through the fixture, and hammer the pin or nail to expand it. These are useful for light-duty tasks such as attaching small brackets, metal track, or thin material to concrete.
They are not ideal when you need removability or high strength. Think of them as the “quick handshake” of concrete fastening, not the “signed contract.”
Best for: light-duty fastening, track, small clips, and non-structural attachments.
Concrete Fastener Selection Chart
| Project | Recommended Fastener | Why It Works |
|---|---|---|
| Attach furring strips to basement wall | Concrete screws | Fast, removable, good for light to medium loads |
| Install a steel post base on slab | Wedge anchors or engineered adhesive anchors | Strong holding power in solid concrete |
| Mount handrail brackets into masonry | Sleeve anchors or approved masonry anchors | Versatile in concrete, brick, or block |
| Hang threaded rod from concrete ceiling | Drop-in anchors or rod-hanging anchors | Flush internal threads for rod and bolts |
| Secure light electrical box | Concrete screws or hammer-set anchors | Quick installation for light fixtures |
| Anchor heavy machinery | Wedge anchors or adhesive anchors | Heavy-duty fastening with proper embedment |
Common Mistakes When Bolting into Concrete
Using the Wrong Drill Bit
Masonry anchors are designed around precise hole sizes. A hole that is too large can make the anchor spin or pull out. A hole that is too small can prevent seating or damage the anchor during installation. Use the bit size specified by the fastener manufacturer.
Skipping Dust Removal
Concrete dust acts like unwanted packing material. It blocks full embedment and reduces grip. For adhesive anchors, poor hole cleaning can be especially serious because the adhesive bonds to dust instead of concrete.
Installing Too Close to an Edge
Expansion anchors press outward against concrete. If the anchor is too close to an edge, the concrete can crack or break away. This is one reason adhesive anchors or screw anchors may be better in some edge-sensitive situations.
Choosing Indoor Plating for Outdoor Use
Zinc-plated anchors may be fine indoors in dry conditions, but exterior, coastal, pressure-treated lumber, or wet environments often require hot-dipped galvanized, mechanically galvanized, or stainless steel fasteners. Corrosion is sneaky. It waits until everything looks finished, then starts making bad decisions on your behalf.
Over-Tightening
More torque does not always mean more strength. Over-tightening can strip threads, crack concrete, or deform the fixture. If the anchor has a required torque value, use it. If not, tighten firmly and stop when the fixture is secure.
Safety Tips for Drilling Concrete
Concrete dust may contain respirable crystalline silica, which is hazardous when inhaled. Use dust collection, a HEPA-filtered vacuum, wet methods where appropriate, and respiratory protection when required. At a minimum, wear safety glasses, hearing protection, and a dust mask suitable for the job. For repeated drilling, indoor work, or jobsite conditions, follow OSHA-compliant dust-control practices.
Also watch for embedded utilities. Concrete slabs and walls can hide electrical conduit, plumbing, radiant heating lines, or post-tension cables. If you see warning stamps on a slab or suspect post-tension construction, stop and verify before drilling. Hitting a post-tension cable is not a “whoops” moment; it is a very expensive and potentially dangerous event.
How Deep Should Concrete Anchors Go?
Embedment depth depends on anchor type, diameter, load, and base material. As a general concept, deeper embedment usually increases holding power up to the limits of the anchor design, but deeper is not automatically better if it violates product instructions or concrete thickness requirements.
For wedge anchors, length is usually calculated by adding the fixture thickness, required embedment, and extra room for the nut and washer. For example, fastening a 1-1/2-inch-thick wood plate with a 1/2-inch wedge anchor might require the fixture thickness plus the minimum embedment plus space for the nut and washer. For concrete screws, the screw must be long enough to pass through the fixture and achieve the required embedment without bottoming out in the hole.
Always check the manufacturer’s chart. Guessing anchor embedment is like guessing tire pressure by kicking the tire: traditional, confident, and not very reliable.
Best Fastener by Load Type
Concrete anchors experience different forces. Shear load acts sideways across the anchor, such as a wall bracket supporting downward weight. Tension load pulls the anchor straight out of the hole, such as a ceiling-mounted rod or a post base resisting uplift. Combined loading includes both.
For light shear loads, concrete screws often work well. For heavy shear in solid concrete, wedge anchors are common. For tension loads, especially overhead or safety-critical loads, use anchors specifically rated for that purpose. For close-edge tension, adhesive anchors may be more appropriate because they do not expand in the same way as wedge or sleeve anchors.
of Real-World Experience: What Actually Makes the Job Go Smoothly
The biggest lesson from real concrete fastening work is that preparation beats muscle. A beginner often tries to solve every problem by pushing harder on the drill or tightening harder on the wrench. A pro usually stops, checks the bit, cleans the hole, confirms the anchor type, and saves the drama for lunch.
One practical trick is to mark the drill bit for depth before drilling. Wrap painter’s tape around the bit at the required depth, or use the depth stop on the hammer drill. This prevents shallow holes, which make anchors bottom out, and overly deep holes, which waste time and can weaken thin slabs. When drilling several holes for a base plate, drill one hole first, set one anchor loosely, recheck alignment, and then drill the remaining holes through the plate. Concrete has a funny way of making carefully measured layouts look slightly offended.
Another field-tested habit is to bring extra bits. Concrete can contain hard aggregate that dulls bits quickly. Once the bit gets tired, the hole becomes slower, hotter, and less accurate. If the drill starts smoking or the bit squeals like it has personal complaints, pause and inspect it. A sharp carbide bit makes cleaner holes and reduces the temptation to wobble the drill, which can oversize the hole.
Dust control is not just about health, although that is the most important reason. It also affects performance. A vacuum nozzle held near the bit while drilling keeps the work cleaner and helps visibility. After drilling, vacuum the hole. For demanding anchors, use the brush-blow-brush method recommended by many adhesive anchor systems. Yes, cleaning each hole feels fussy. No, the anchor does not care about your schedule.
For DIY projects, concrete screws are often the most forgiving place to start. They are removable, easy to test, and great for non-structural work. If one strips, you can often move slightly and try again with a new pilot hole. Wedge anchors, on the other hand, are commitment. Once installed, they are strong but not friendly to relocation. Use them when you are sure about the layout.
For outdoor projects, choose corrosion resistance early. It is frustrating to install a beautiful railing or bracket with fasteners that begin rusting after the first wet season. Stainless steel costs more, but in coastal, wet, or exposed locations, it often saves future repairs. When fastening pressure-treated wood, confirm fastener compatibility with the wood treatment.
Finally, respect old concrete. New, dense concrete often anchors predictably. Old slabs may be cracked, sandy, patched, thin, or full of mystery aggregate. If the hole crumbles, the anchor spins, or the concrete feels weak, do not force the same fastener and hope for a miracle. Move to sound concrete, use a larger approved anchor, consider adhesive anchoring, or consult a professional for structural loads. Concrete is strong, but only when you work with it instead of bullying it.
Conclusion
Bolting into concrete is a skill built on three decisions: choose the right fastener, drill the right hole, and install the anchor exactly as intended. Concrete screws are great for light and medium tasks. Wedge anchors are excellent for heavy-duty fastening in solid concrete. Sleeve anchors offer versatility in concrete, brick, and block. Drop-in anchors work well for threaded rod and removable bolts. Adhesive anchors are powerful for engineered, high-load, or edge-sensitive applications.
If you remember only one thing, remember this: the anchor is only as good as the hole it sits in. Drill straight, clean the hole, respect embedment depth, avoid over-tightening, and match the fastener to the base material and load. Do that, and your concrete project will feel less like a wrestling match and more like a job well done.