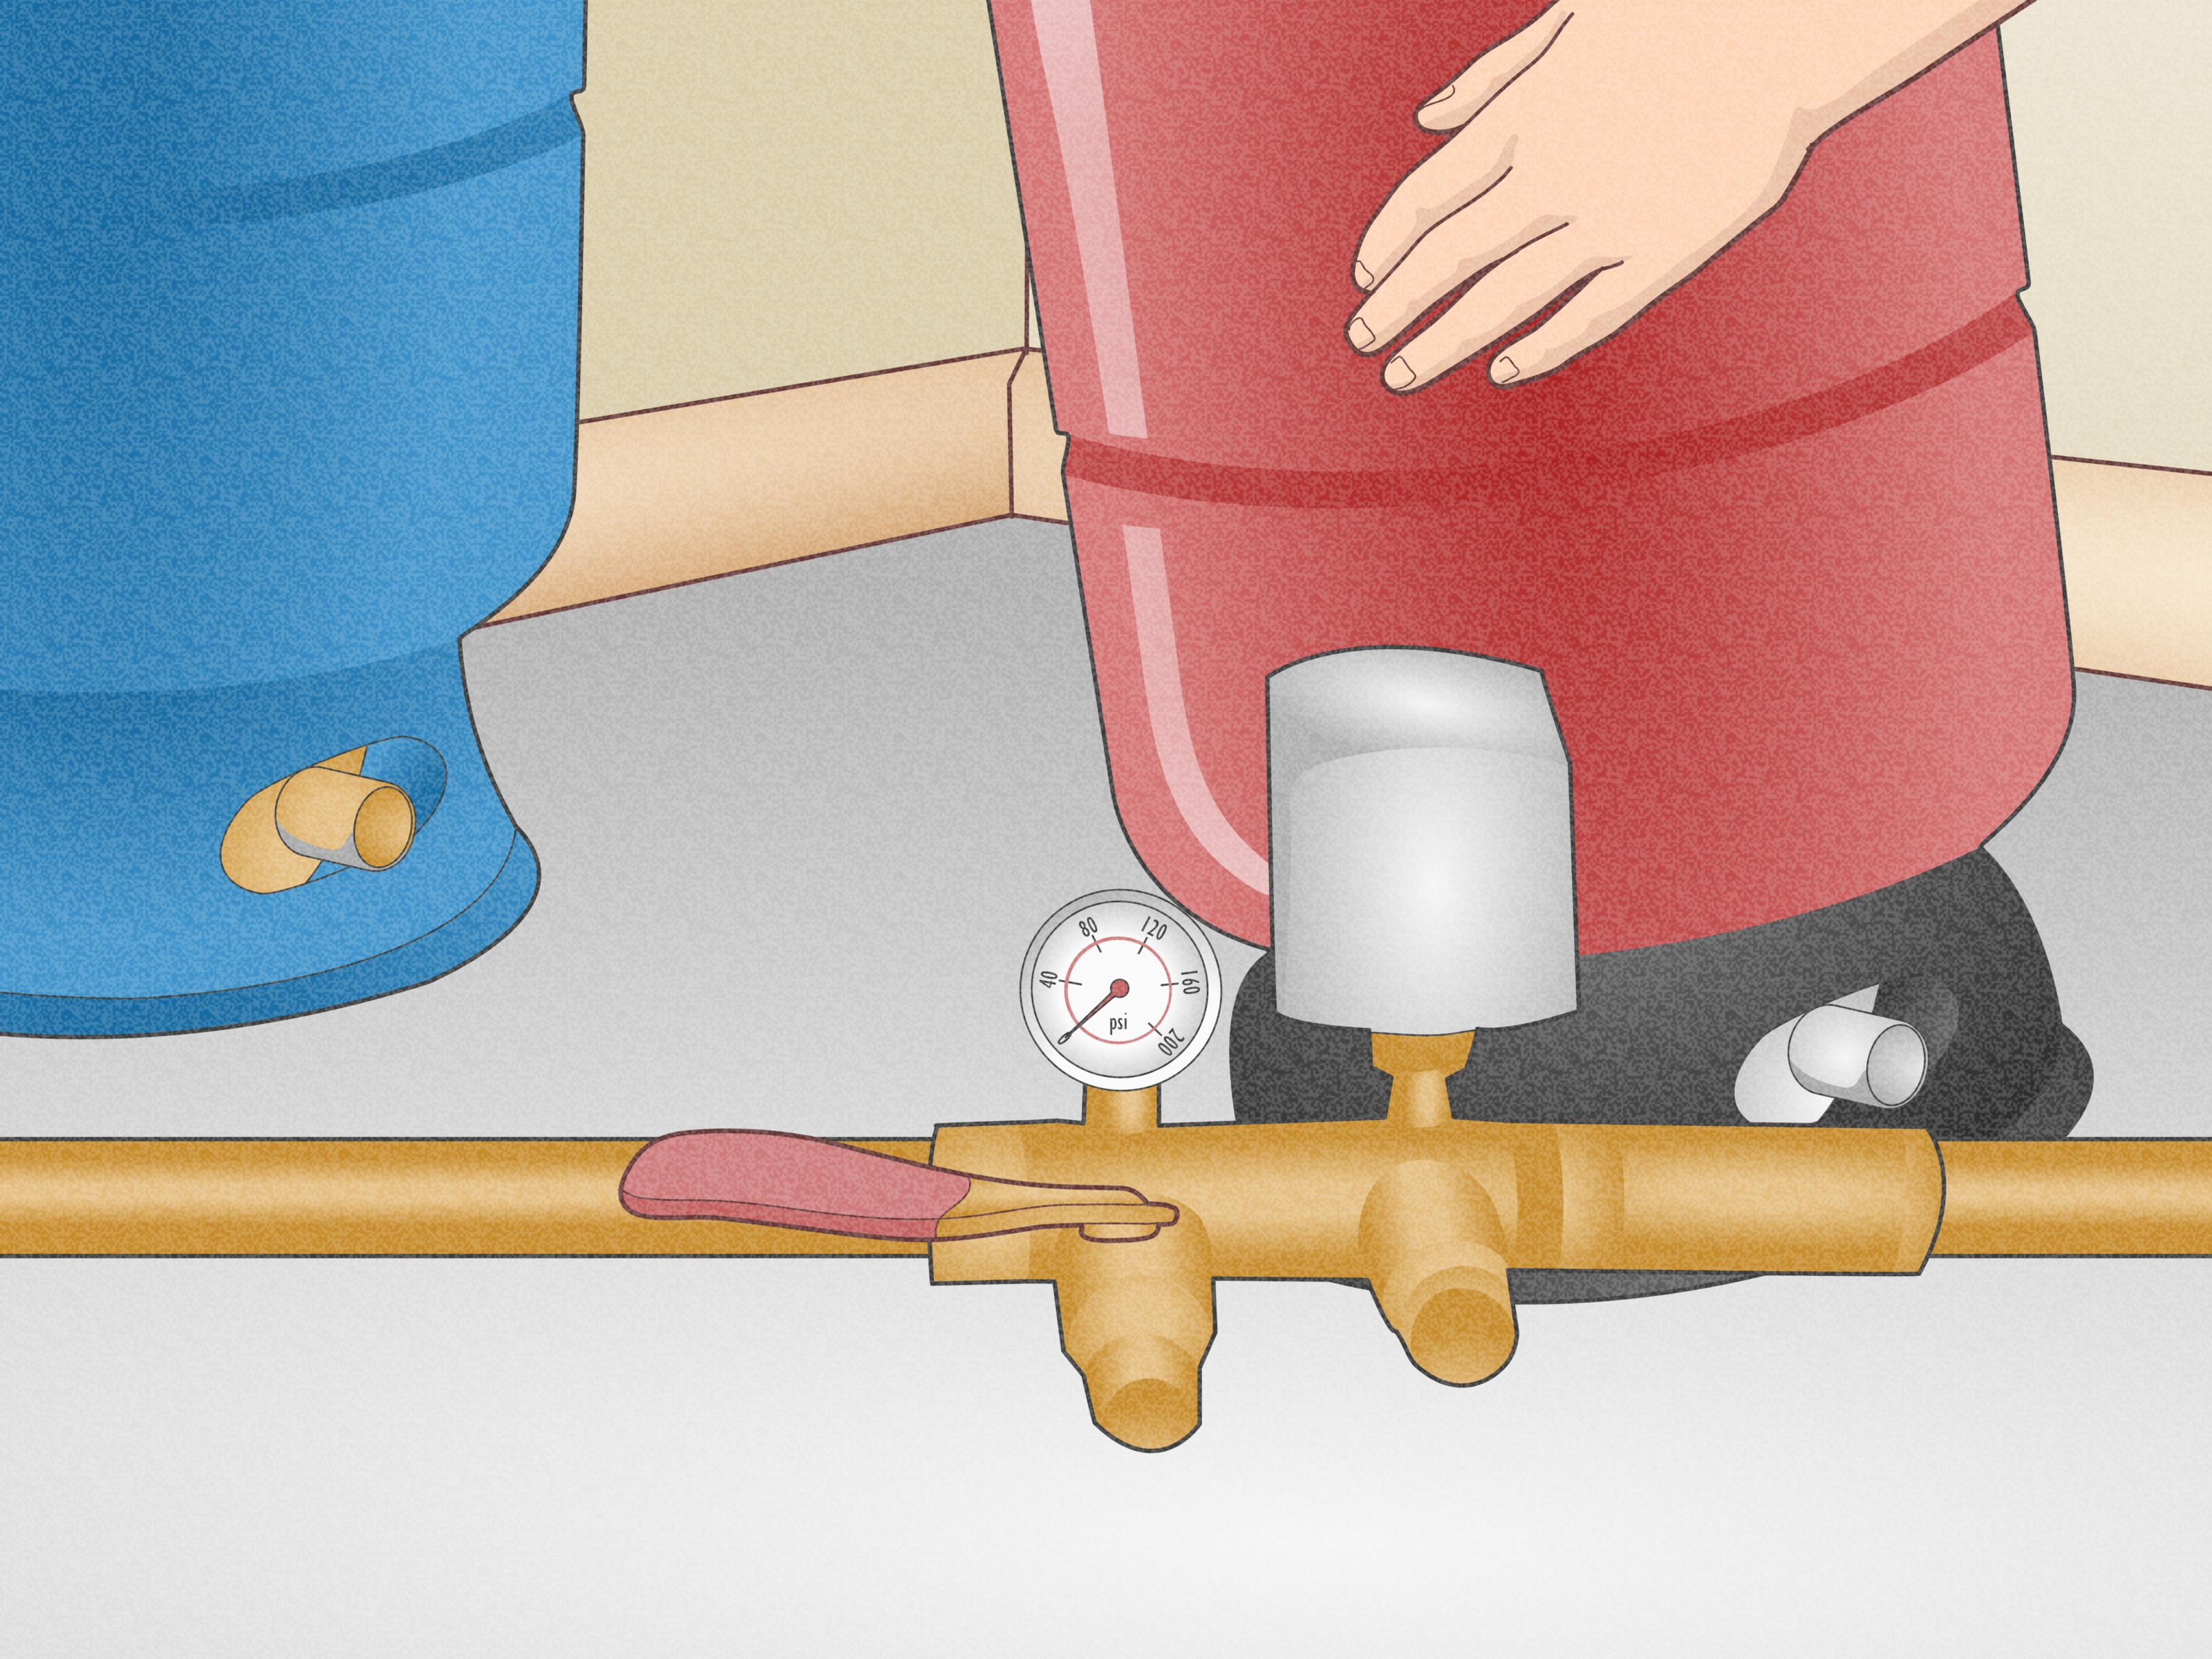
A pressure tank is one of those hardworking household parts nobody throws a party for. It sits quietly near your well system, minding its own business, until one day your water pressure starts acting dramatic. Maybe the pump clicks on and off like it is auditioning for a percussion section. Maybe the shower goes from “nice” to “why is this faucet sighing at me?” In many cases, the fix is not replacing the whole system. It is simply charging the pressure tank correctly.
For most homes with a private well, “charging” the pressure tank means checking and adjusting the air pre-charge inside a bladder or diaphragm tank. When that air pressure is off, the pump can short-cycle, pressure can feel uneven, and the whole system starts behaving like it skipped breakfast. The good news is that the job is usually straightforward when done carefully and safely.
This guide walks through the easy way to charge a residential well pressure tank in 12 clear steps. It also explains what to watch for, what mistakes to avoid, and when the problem is no longer a simple air adjustment but a sign that the tank itself may be failing.
What Charging a Pressure Tank Actually Means
In a standard pre-charged well tank, water and air are separated by a bladder or diaphragm. The compressed air creates the cushion that pushes water through your plumbing and reduces how often the pump needs to start. When the air charge is set properly, the system runs smoothly. When it is too high or too low, the tank cannot do its job efficiently.
The key idea is simple: the tank’s air pre-charge should match the pressure switch setting properly. In most residential systems, that means setting the empty tank to 2 psi below the cut-in pressure. So if your pressure switch is set to 30/50, the tank should usually be charged to 28 psi. If the switch is 40/60, the tank should usually be charged to 38 psi.
That tiny 2 psi gap matters more than it looks. It helps the system deliver water smoothly right as the pump is about to kick on. Think of it as giving your plumbing a gentle runway instead of a face-plant.
Before You Start
This article is about a residential well pressure tank, not an industrial compressed-air vessel. If you have an older galvanized air-over-water tank, the procedure can be different. If your system has damaged wiring, missing gauges, leaking fittings, or no clear pressure switch label, it is smarter to pause and bring in a licensed well or plumbing professional.
Here is what you will want nearby before you start:
- A reliable tire pressure gauge
- A bicycle pump, small air compressor, or portable inflator
- A flashlight
- A towel or bucket for minor drips
- Access to the pump breaker or disconnect switch
One important rule: never check or adjust the tank’s pre-charge while the system is still full of water pressure. That gives you a false reading. The tank needs to be empty of water first.
Easy Ways to Charge a Pressure Tank: 12 Steps
Step 1: Confirm the Tank Type
Take a quick look at the tank. Most modern residential systems use a blue, gray, or beige bladder/diaphragm tank with an air valve on top that looks like a tire valve. That Schrader valve is where you check and add air. If your tank is a very old galvanized model without a bladder, do not assume the same instructions apply. Those systems often need a different maintenance approach.
Step 2: Read the Pressure Switch Setting
Locate the pressure switch, usually mounted near the tank or pump controls. Many switches have the operating range printed inside the cover or listed in system paperwork. Common settings are 20/40, 30/50, and 40/60. The first number is the cut-in pressure, which is the point where the pump starts. The second number is the cut-out pressure, which is where it stops.
This number matters because your tank charge should be based on the lower number, not the higher one.
Step 3: Shut Off Power to the Pump
Turn off the breaker or disconnect for the well pump before doing anything else. This is the step that separates “careful homeowner maintenance” from “surprise mechanical chaos.” You do not want the pump starting while the system is open and draining.
If more than one breaker serves the well equipment, make sure the correct one is off. A quick glance at the pressure gauge should help confirm that the system is no longer actively cycling.
Step 4: Open a Faucet or Drain Valve
Open a nearby faucet, hose bib, or drain valve downstream from the tank. Let the water run until pressure drops away. The goal is to relieve the system so the tank can empty. In some setups, a laundry sink faucet or basement spigot is the easiest option.
If the pressure gauge is working properly, it should fall toward zero as the system drains. That is your clue that you are getting closer to a real pre-charge reading instead of a pretend one.
Step 5: Let the Tank Empty Completely
Give it a minute. Sometimes homeowners rush this step, then wonder why their readings make no sense. The tank needs to be empty of water when you measure the air side. If your tank still feels very heavy or water keeps flowing longer than expected, take note. That could hint at a waterlogged tank or a damaged bladder.
A fully emptied tank is the foundation for the rest of the job. Skip this part, and the numbers become fiction.
Step 6: Remove the Air Valve Cap and Check Pressure
Remove the cap from the Schrader air valve on top of the tank. Use your tire pressure gauge to check the air pressure. Write the number down. Now you know where you are starting.
If the reading is already correct, congratulations: your tank may be innocent, and your system issue may be elsewhere. If it is too low or too high, you have found your next move.
Step 7: Calculate the Correct Charge
Set the target pressure to 2 psi below the cut-in pressure of the switch. Here are the common examples:
- 20/40 system = charge the tank to 18 psi
- 30/50 system = charge the tank to 28 psi
- 40/60 system = charge the tank to 38 psi
This is the sweet spot for most standard residential bladder tanks. Not 5 psi below. Not “close enough.” Not “I’ll eyeball it and let destiny decide.” Two psi below cut-in is the target.
Step 8: Add Air Slowly or Bleed Excess Air
If the pressure is low, add air in short bursts using a bicycle pump or small compressor. Check the reading often. If it is too high, press the valve core gently to release air, then recheck. Slow and steady wins this little plumbing race.
Do not overpressurize the tank. A pressure tank is not the place for guesswork or bravado. Sneak up on the target pressure instead of blasting past it.
Step 9: Watch for Signs of Tank Failure
While you are at the air valve, pay attention to what comes out. If you get water from the air valve, that is a major warning sign. It often means the bladder or diaphragm has failed. In that situation, adding air will not truly solve the problem for long. The tank may need replacement.
Also be suspicious if the tank stays unusually heavy even after draining, or if the system has been rapid-cycling for a while. Those are classic signs that the tank may be waterlogged or no longer separating air and water correctly.
Step 10: Close the Faucet and Reassemble Everything
Once the pressure is set correctly, replace the air valve cap. Then close the faucet or drain valve you opened earlier. Double-check that any hoses, buckets, or towels are out of the way and that the work area is dry enough to be safe.
This is also a good time to look for other obvious issues like dripping fittings, corroded connections, or a pressure gauge that seems stuck. A bad gauge can make a healthy tank look guilty.
Step 11: Restore Power and Let the System Refill
Turn the power back on to the pump. Let the system pressurize until the pump shuts off at the normal cut-out pressure. You should hear the pump run, build pressure, and stop normally. Then open a faucet and watch how the system responds.
What you want is smooth pressure and a pump that does not start every few seconds. A properly charged tank should allow some water use before the pump cuts in again.
Step 12: Test Real-World Performance
Now for the practical test: use water the way you actually live. Flush a toilet. Run a sink. Try the shower. If the pressure feels steady and the pump cycles normally, you are in good shape. If the pump still chatters on and off rapidly, or the pressure drops sharply, the problem may involve a failing tank, a bad pressure switch, a clogged filter, a hidden leak, or a pump issue.
In other words, charging the tank is often the fix, but it is also an excellent diagnostic step. It tells you whether the tank just needed a tune-up or whether the system wants deeper attention.
Common Mistakes to Avoid
Checking Pressure with Water Still in the Tank
This is the most common mistake and the biggest reason DIY readings go wrong. If the system is still pressurized, the reading at the air valve will not reflect the true empty-tank pre-charge.
Using the Cut-Out Pressure Instead of the Cut-In Pressure
The correct target is based on the cut-in pressure, the lower number in the switch range. Charging to the cut-out pressure is a fast way to make the tank perform poorly.
Assuming Every Cycling Problem Is an Air Problem
Sometimes the tank is fine, and the real culprit is a leak, clogged sediment filter, failing pressure switch, worn pump, or damaged check valve. Charging the tank is step one, not magic.
Ignoring a Failed Bladder
If water comes out of the air valve, or the tank behaves like a giant iron watermelon no matter what you do, do not keep recharging it and hoping for a miracle. That is usually replacement territory.
How Often Should You Check the Charge?
For many homes, checking the pressure tank charge about once a year is a smart maintenance habit. It is also worth checking anytime you notice rapid cycling, weak pressure, pulsing flow, or a pump that seems to be working way too hard for ordinary household water use.
Routine attention can help the whole well system last longer. A properly charged tank reduces stress on the pump motor, switch contacts, and controls. That is a small maintenance task with a very respectable payoff.
Real-World Experiences: What Homeowners Usually Learn the Hard Way
In real life, charging a pressure tank rarely begins with someone cheerfully announcing, “Today I shall perform preventive well maintenance.” It usually starts with a clue. The shower sputters. The pump starts clicking more often. Someone doing laundry yells, “Why did the water pressure just disappear again?” That is when the pressure tank suddenly becomes the main character.
One of the most common experiences homeowners describe is how small the original problem seems. At first, the pressure only feels slightly inconsistent. Maybe the kitchen faucet pulses a little. Maybe the pump seems louder than usual. Because the system still technically works, people put it off. Then one morning the pump starts cycling every few seconds, and now the whole house sounds like a machine room with feelings. In many of those cases, the tank was simply low on air charge. A five-minute check would have caught it much earlier.
Another very typical experience is surprise at how exact the numbers matter. People often expect plumbing to tolerate broad guesses. But when someone discovers that a tank set just a few psi off can change how the whole system behaves, it feels almost unfairly dramatic. A homeowner might measure 22 psi on a 30/50 system, add air to 28 psi, restore power, and immediately notice the pump runs less often and the water flow feels steadier. It is one of those rare maintenance jobs where a small correction can make the house feel smarter.
Then there is the opposite experience: the tank charge is corrected, but the problem stays. Oddly enough, that is still useful. It tells the homeowner the issue is probably not just low pre-charge. Maybe the pressure switch is sticking. Maybe there is a clogged filter, a hidden leak, or a failing pump. In that sense, charging the tank becomes both a repair step and a diagnostic test. It narrows the mystery.
Many homeowners also remember the first time they press the air valve and get water instead of air. That is usually the moment the mood changes from “simple weekend fix” to “well, that explains a lot.” A failed bladder often reveals itself with rapid cycling, poor drawdown, and a tank that stays heavy even when drained. It is not the result anybody wants, but it is better to know than to keep adding air to a tank that has already retired from active duty.
There is also a practical lesson about tools. People who use a cheap, inconsistent tire gauge often wind up confused. The pressure seems to change every time they check it. Homeowners who use a decent gauge and add air slowly almost always have a smoother experience. That sounds boring, but boring is wonderful when your water system is involved.
Perhaps the biggest takeaway from real-world experience is this: pressure tank maintenance rewards calm, careful steps. Shut off the power. Drain the tank. Measure accurately. Set the charge correctly. Then test the system like a normal person, not like a scientist trying to impress a faucet. Most successful DIY fixes happen because the homeowner slowed down and followed the sequence instead of improvising halfway through.
So yes, charging a pressure tank is a technical task. But it is also a confidence-building one. Once you understand how the tank, pressure switch, and pump work together, the system stops feeling mysterious. It becomes a machine with rules. And machines with rules are much easier to live with than machines that seem cursed.
Conclusion
Charging a pressure tank is one of the simplest ways to improve a well system’s performance without replacing expensive equipment. When you shut off the pump, drain the tank, and set the air charge to 2 psi below cut-in pressure, you give the tank the right conditions to cushion the system, smooth out water delivery, and reduce unnecessary pump cycling.
The best part is that the process is logical. Find the pressure switch setting. Empty the tank. Measure the air. Adjust the charge. Test the system. That is it. And if the tank still misbehaves after a correct adjustment, you have learned something important: the issue is likely b:igger than simple pre-charge.
Handled carefully, this small maintenance job can help your water system run better, sound better, and feel better every day. Not bad for a tank that usually gets ignored until it starts throwing plumbing tantrums.