Fall decorating has a funny way of escalating. You begin with one tasteful pumpkin by the door, and three days later your porch looks as though a produce stand married a craft store. Fortunately, a whimsical pumpkin hanging basket delivers plenty of autumn personality without requiring a wagonload of gourdsor a second mortgage at the seasonal décor aisle.
This easy fall craft combines a woven hanging basket, lightweight pumpkins, colorful foliage, trailing vines, and a cheerful ribbon. The finished arrangement can brighten a front door, sheltered porch, entryway, kitchen wall, or fireplace area. Better still, it is reusable. When Thanksgiving arrives, remove any Halloween accents, add pinecones or berries, and the basket can keep working until winter décor politely takes over.
Why a Pumpkin Hanging Basket Works So Well
A hanging basket brings texture and dimension to a space without occupying a table, porch step, or narrow hallway. Woven fibers add warmth, while pumpkins immediately signal harvest season. Floral designers and fall-decor experts frequently combine baskets, faux foliage, pumpkins, berries, dried materials, and trailing greenery because the contrasting shapes create a layered display rather than one solid blob of orange.
The project is also wonderfully forgiving. A slightly crooked pumpkin looks charming. A bent leaf looks natural. A ribbon tail that refuses to cooperate can be called “organic movement,” which is decorating language for “it did what it wanted.”
Project Snapshot
- Skill level: Beginner-friendly
- Best location: Indoors or on a covered porch
- Primary materials: Hanging basket, floral foam, faux pumpkins, fall stems, ribbon, floral wire
- Recommended pumpkin type: Lightweight foam or hollow plastic
- Style options: Rustic, farmhouse, colorful, neutral, elegant, spooky, or storybook whimsical
Materials and Tools
You do not need every item listed below. Think of the supply list as a fall buffet: choose enough variety to make the basket interesting, but do not pile on everything simply because it is available.
Basic Supplies
- One wall basket, cone-shaped basket, half-round basket, or lightweight hanging planter
- Dry floral foam or a firm foam block
- Three to seven miniature faux pumpkins in mixed sizes
- Two or three faux fall foliage bushes
- Trailing eucalyptus, ivy, berry vines, or maple-leaf garland
- Small filler elements such as acorns, pinecones, seed pods, berries, or dried-look grasses
- Two wired ribbons in coordinating patterns or colors
- Floral wire, zip ties, or chenille stems
- Hot glue gun and glue sticks
- Wire cutters
- Craft knife
- Scissors
- Optional Spanish moss, raffia, burlap, or excelsior
- A properly rated door hanger, wall hook, ceiling hook, or shepherd’s hook
Choosing the Right Basket
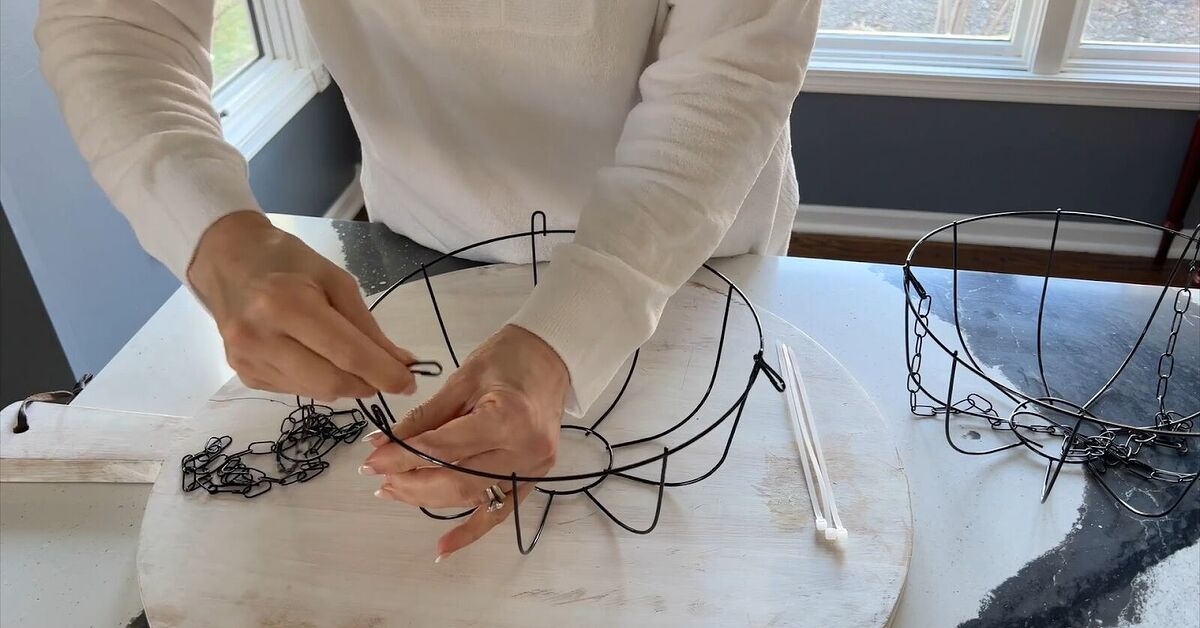
A wall pocket or half-basket is ideal for a door because it sits relatively flat. A cone basket creates a softer, cascading shape, while a round hanging planter works well on a porch hook. Thrifted wicker baskets can be especially attractive because a few scuffs make the project look collected rather than factory-fresh. Fall decorating guides often recommend repurposed baskets as affordable bases for pumpkins, foliage, hydrangeas, and other harvest materials.
For an exposed outdoor location, choose plastic-coated wire, metal, resin, or another weather-resistant material. Natural wicker can soften, fade, or develop mildew when repeatedly soaked. The Home Depot similarly recommends outdoor- and weather-resistant basket materials for planters exposed to the elements.
Faux Pumpkins Versus Real Pumpkins
Real miniature pumpkins are beautiful, but they add weight and eventually soften. A hanging project is usually more reliable with foam or hollow plastic pumpkins. Faux pumpkins are easy to pierce with floral wire, can be glued in place, and return for duty next fall without complaining about storage conditions.
Real pumpkins should be mature, undamaged, protected from rain, and kept in a cool, ventilated area for the best decorative life. Extension guidance also warns that damaged rinds, hard freezes, trapped moisture, and poor air circulation can shorten storage time.
How to Make a Whimsical Pumpkin Hanging Basket
Step 1: Choose a Color Story
Before cutting a single stem, decide how you want the basket to feel. A limited palette makes even inexpensive materials look intentional.
- Traditional harvest: Orange, burgundy, mustard, olive, and brown
- Soft farmhouse: Cream, sage, faded rust, tan, and dusty blue
- Storybook whimsy: Orange, plum, teal, gold, and moss green
- Elegant autumn: White pumpkins, bronze leaves, deep red berries, and black ribbon
- Playful Halloween: Orange, black, purple, striped ribbon, and tiny bats
Repeat each important color at least twice. For example, if you use one plum pumpkin, echo plum in a berry stem or ribbon. That repetition helps the arrangement feel coordinated instead of looking like the basket sneezed inside a craft store.
Step 2: Prepare and Secure the Floral Foam
Cut dry floral foam so it fits snugly inside the basket. The foam should sit slightly below the rim, leaving room for moss and greenery. Secure it with floral wire, a zip tie threaded through the basket, or a small amount of hot glue.
If the basket has large openings, line the interior with burlap or a piece of brown felt before inserting the foam. This keeps the green block from showing through and creates a tidier background.
Floral foam is commonly used as an internal structure for basket and pumpkin arrangements because it holds stems at different angles. Craft tutorials from Country Living, HGTV, Michaels, and Better Homes & Gardens use fitted foam to anchor seasonal flowers, leaves, berries, fruit, and decorative pumpkins.
Step 3: Establish the Overall Shape With Greenery
Begin with your largest leafy stems. Place one tall stem near the back or upper center. Add shorter stems on both sides, then insert trailing greenery near the bottom edge.
A useful formula is:
- One tall central element
- Two medium side elements
- Two or three trailing pieces
Do not make both sides identical. Whimsical arrangements look more lively when one side reaches slightly higher and the opposite side drapes slightly lower. However, check that the visual weight remains balanced. One enormous branch on the left paired with one shy acorn on the right is not asymmetry; it is a botanical argument.
Step 4: Add the Largest Pumpkin
Position the largest faux pumpkin slightly below the center. Avoid placing it perfectly in the middle unless you want a formal, symmetrical design. Tilting it a little makes the basket feel animated.
To secure a foam pumpkin, push a wooden floral pick or sturdy wire into its base. Add hot glue around the entry point, then insert the pick deeply into the floral foam. For hollow plastic pumpkins, make two small holes in the back, thread floral wire through them, and tie the pumpkin directly to the basket frame.
Shake the basket gently after attaching the pumpkin. If it wobbles, add another wire tie. A front-door decoration should greet visitors, not leap at them during a windy afternoon.
Step 5: Create a Pumpkin Cluster
Add two medium pumpkins around the focal pumpkin, followed by smaller ones. Clusters of three or five usually appear more relaxed than evenly spaced pairs. Vary their color, shape, direction, and height.
Try turning one pumpkin sideways so the stem points diagonally. Nestle another partly behind leaves. Let a tiny pumpkin peek from the lower edge. These small changes create depth, making the arrangement look fuller without requiring a mountain of supplies.
Step 6: Fill the Gaps
Insert berries, wheat-like grasses, seed pods, small pinecones, faux acorns, or dried hydrangea pieces between the pumpkins. Work from large fillers to small ones. Every item should help connect the arrangement rather than float alone.
Use Spanish moss or raffia to cover visible foam, but apply it lightly. Too much moss can make the basket resemble a squirrel’s vacation property.
Mixing foliage, pumpkins, pinecones, berries, dried flowers, and natural-looking textures is a recurring strategy in professionally styled autumn baskets, wreaths, porch displays, and floral projects.
Step 7: Make a Loose, Cheerful Bow
Wired ribbon is easiest to shape. Combine one patterned ribbon with one solid or subtly textured ribbon. Plaid with velvet, stripes with burlap, or polka dots with satin can create a playful layered effect.
- Cut several ribbon lengths rather than making one complicated florist’s bow.
- Pinch the pieces together at their centers.
- Secure them with floral wire or a chenille stem.
- Attach the bundle near the top, side, or lower corner of the basket.
- Trim the tails at different lengths.
- Fold and fluff the wired edges until the bow looks relaxed.
For a more natural design, skip the full bow and tie two narrow ribbon streamers to the handle. They will add movement without hiding the pumpkins.
Step 8: Add One Unexpected Detail
Whimsy comes from a surprise, not from cramming seventeen surprises into one basket. Choose one:
- A tiny wooden sign reading “Hello, Pumpkin”
- A miniature felt crow
- A pair of striped witch legs
- A velvet mushroom
- A small brass bell
- A few curly wire tendrils
- A battery-powered strand of micro lights rated for the intended location
This single playful detail gives the design personality while allowing the pumpkins and foliage to remain the main attraction.
Step 9: Inspect the Basket From Every Angle
Hang the basket temporarily and step back several feet. Tabletop arranging can be misleading because you see the design from above. Once hung, the lower sections become more visible and the upper sections may disappear.
Look for exposed foam, empty corners, loose pumpkins, tangled ribbon, and stems that point directly at eye level. Make adjustments while the basket is hanging whenever possible.
Step 10: Hang It Securely
Weigh or carefully estimate the completed basket before choosing hardware. Match the hook, anchor, bracket, door hanger, chain, and support surface to the total load. Lowe’s advises selecting plant-hanging hardware according to installation location and weight, while its installation guidance warns against exceeding a hook or anchor’s stated capacity.
For doors, make sure the basket does not interfere with opening, closing, locks, storm doors, or doorbells. Add felt pads to the back to prevent scratching and reduce banging. In windy areas, secure the lower portion with removable outdoor-rated adhesive hardware or a discreet length of clear line.
Design Variations to Try
Neutral Farmhouse Basket
Use white and pale green pumpkins, lamb’s ear, cream berries, beige ribbon, and natural wicker. Add a few rust-colored leaves so the arrangement does not disappear against a light door.
Colorful Storybook Basket
Paint foam pumpkins in teal, coral, golden yellow, plum, and orange. Add curly willow branches, velvet ribbon, berries, and oversized leaves. This version looks especially charming in a child’s room, craft room, or playful entryway.
Woodland Harvest Basket
Combine muted pumpkins with pinecones, mushrooms, acorns, moss, feathers, dried-look ferns, and twigs. Keep the palette earthy and let texture provide the drama.
Halloween-to-Thanksgiving Basket
Create a harvest base of pumpkins, leaves, and berries. For October, clip on a small bat, spider, or black bow. After Halloween, remove the spooky accent and replace it with pinecones, wheat, or a “Give Thanks” sign. This approach stretches the usefulness of the craft across the season.
Living Pumpkin Planter
For a different interpretation, place a hollow faux pumpkin planter inside a macramé or jute hanger and fill it with an appropriately potted plant. Existing pumpkin-planter projects commonly use hollow faux pumpkins because they are lighter and last longer than carved fresh pumpkins.
Common Mistakes and How to Fix Them
The Basket Looks Flat
Pull several leaves and berries forward. Angle pumpkins rather than lining them up against the foam. Add one trailing vine below the rim and one taller branch behind the focal point.
The Arrangement Looks Too Busy
Remove one entire category of decoration. For example, keep the pumpkins, leaves, and ribbon but remove the mushrooms, sunflowers, sign, bells, and tiny decorative tractor. Your basket does not need a supporting cast large enough for a Broadway production.
The Pumpkins Keep Falling
Do not rely on glue alone for heavy or smooth objects. Use wire, picks, or zip ties as the primary support, then apply glue only to prevent shifting.
The Basket Tilts Forward
Move heavy pieces lower and closer to the back. Shorten the largest stems and add an additional attachment point between the basket and hook.
The Colors Feel Random
Repeat dominant colors in three areas: near the top, through the middle, and near the bottom. Remove any isolated color that does not appear elsewhere.
Safety and Outdoor-Care Tips
Use wire cutters for floral stems rather than ordinary household scissors. Cut wire ends can be sharp, so bend them inward and cover exposed points. Keep hot glue away from skin, children, pets, fabric, and unstable work surfaces. Unplug the glue gun when you finish using it. The U.S. Consumer Product Safety Commission has documented fire and burn hazards associated with defective hot glue guns, making careful equipment use and inspection important.
Even faux arrangements benefit from protection. Display the basket under a roof when possible, avoid prolonged soaking, and bring it inside during strong wind or severe weather. Sunlight can fade inexpensive foliage and ribbon, while moisture may weaken natural basket fibers and encourage mildew.
At the end of fall, remove loose leaves and dust with a soft brush. Store the basket upright in a breathable box or large bag. Avoid crushing the ribbon. A few minutes of careful storage will save you from opening a container next September and discovering that your cheerful bow has become a plaid pancake.
A Realistic Craft-Table Experience: What You May Learn While Making It
The most surprising part of making a pumpkin hanging basket is how unimpressive it may look during the first ten minutes. You place floral foam in the basket, insert three leafy stems, and wonder whether you are creating seasonal décor or building a salad for a very large rabbit. This awkward phase is normal. The arrangement usually begins to make sense only after the main pumpkin is installed.
The first major lesson is that working vertically feels different from decorating a centerpiece. On a table, an arrangement can spread outward. A hanging basket needs a strong silhouette that can be understood from across the room or from the sidewalk. Long stems that seem elegant on the work surface may stick out strangely once the basket is on the door. Temporarily hanging the project several times during construction prevents a great deal of corrective surgery later.
Another common discovery involves weight. Miniature faux pumpkins appear almost comically light when held individually, yet several pumpkins, floral foam, thick stems, a woven basket, and a large bow can add up. Placing the heaviest pumpkin near the lower center keeps the arrangement from tipping. Wiring it to the basket frame creates far more confidence than adding another heroic blob of hot glue.
Color also behaves differently than expected. A basket filled entirely with orange materials may seem wonderfully autumnal at first, but from a distance the details merge into one orange mass. Adding cream pumpkins, burgundy berries, green leaves, or dark brown pinecones gives the eye places to pause. Contrast makes the orange pumpkins appear brighter rather than less important.
The ribbon often becomes the unofficial troublemaker. A bow that looks perfect in your hand can flatten when attached. Wired ribbon solves much of this problem because individual loops can be reshaped after installation. Short ribbon bundles are often easier than one elaborate bow, especially for beginners. They produce the same generous effect with considerably less muttering.
You may also find that the best detail is something you did not plan. A tiny crooked pumpkin, an oddly curled vine, or one berry stem leaning across the focal point can make the basket feel playful and handmade. Resist the urge to correct every irregularity. Whimsical décor benefits from movement and mild imperfection.
The final lesson arrives when you step away. Up close, you notice glue strings, wire, and individual stems. From six feet away, you see the overall shape, color, and personality. Most viewers will experience the basket from that distance. Make the big design decisions first, then tidy the small details.
Once the arrangement is hung, it often changes the entire entryway more than expected. A bare door suddenly feels welcoming. A quiet porch gains color without losing walking space. The basket can also inspire smaller coordinating touches, such as two pumpkins on a bench or a matching ribbon around a lantern. The trick is stopping before every object in the house receives a pumpkin.
That blend of easy construction, reusable materials, and room for improvisation is what makes this project so satisfying. It does not demand professional floral skills. It simply rewards patience, secure attachments, thoughtful color repetition, and the willingness to move one stubborn leaf seventeen times until it finally behaves.
Conclusion
A whimsical pumpkin hanging basket proves that memorable fall décor does not have to be complicated. Begin with a sturdy basket, establish the shape with foliage, anchor a cluster of lightweight pumpkins, fill the gaps with seasonal texture, and finish with ribbon and one unexpected detail.
The result can be rustic, elegant, colorful, spooky, or charmingly over-the-top. More importantly, it can be adjusted and reused year after year. Secure everything carefully, hang it from properly rated hardware, and give the basket a sheltered location. Then stand back and admire your workpreferably with something cinnamon-flavored nearby.