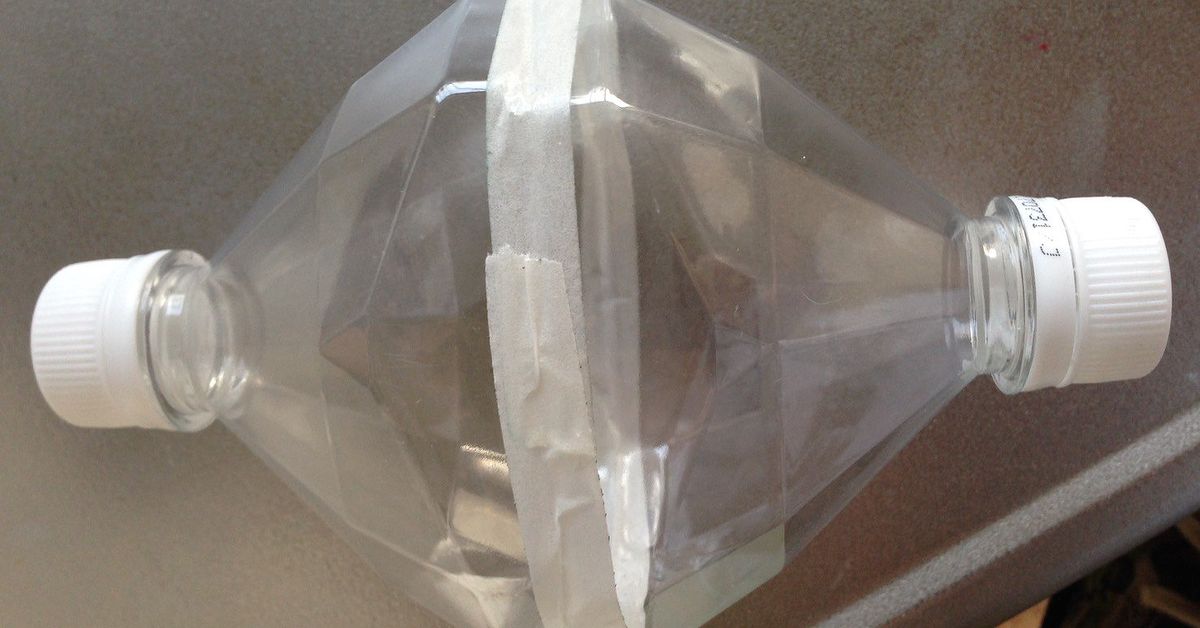
Christmas decorating has a magical way of turning normal people into glitter-powered interior designers. One minute you are buying milk, the next you are comparing garland textures like a museum curator. But here is the good news: you do not need a luxury holiday budget to make your home look cheerful, cozy, and proudly festive. Some of the best DIY Christmas decorations are already sitting in your recycling bin, wearing the humble disguise of empty water bottles.
Recycled water bottles are lightweight, clear, flexible, easy to cut, and surprisingly glamorous once you introduce them to paint, ribbon, LED lights, and a tiny amount of holiday imagination. They can become snowflakes, icicles, mini wreaths, bells, tree ornaments, lanterns, garlands, and even tabletop Christmas trees. Better yet, these projects are cheap, beginner-friendly, kid-adaptable with adult supervision, and satisfyingly eco-conscious.
This guide shows you how to make easy, cheap Christmas decorations from recycled water bottles using simple supplies you may already have at home. We will cover tools, safety tips, decoration ideas, design tricks, and real-life experience notes so your finished decorations look charming rather than “a raccoon got into the craft drawer.”
Why Recycled Water Bottles Make Great Christmas Decorations
Most single-use water bottles are made from clear PET plastic, which is useful for holiday crafts because it catches light beautifully. When cut into strips, petals, stars, or bottle-bottom shapes, the plastic can mimic glass, crystal, ice, or frosted acrylic. That means you can create sparkling winter decorations without buying expensive ornaments or fragile materials.
Using bottles for Christmas crafts also encourages the “reuse first” mindset. Recycling is important, but reuse gives an item one more job before it returns to the recycling stream. A bottle that might have become waste can become a glittery snowflake hanging in a window, a set of icicles on the tree, or a glowing mini lantern on a mantel. That is a pretty impressive career change for something that once held 16.9 ounces of water.
Basic Supplies You Will Need
You can make most recycled bottle Christmas decorations with a small list of inexpensive supplies. Start with clean, dry water bottles. Remove the labels and rinse away sticky residue. A little warm water and dish soap usually works; stubborn glue may need a gentle scrub. Let the bottles dry completely before cutting or painting.
Useful Tools and Materials
- Empty plastic water bottles in different sizes
- Sharp scissors or a craft knife for adult use
- Hole punch, awl, or heated needle used carefully
- Acrylic paint, paint pens, or spray paint made for plastic
- Glitter, faux snow, sequins, beads, or rhinestones
- Ribbon, twine, fishing line, yarn, or ornament hooks
- Hot glue gun or craft glue
- Battery-operated LED fairy lights
- Painter’s tape or masking tape for clean cutting guides
If children are helping, prepare the bottle pieces yourself first. Cut edges can be sharp, and craft knives should stay firmly in adult territory. Children can paint, decorate, glue pom-poms, thread ribbon, sprinkle glitter, and proudly announce that they are “basically professional Christmas designers now.”
Safety Tips Before You Start Crafting
Homemade decorations should be pretty, not risky. Keep recycled plastic decorations away from open flames, fireplaces, stovetops, space heaters, and hot incandescent bulbs. Plastic can warp or melt when exposed to heat, so battery-operated LED lights are the better choice for glowing bottle crafts. LEDs are also more energy-efficient and generally run cooler than old-fashioned incandescent bulbs.
For hanging decorations, make sure each piece is lightweight and secure. If you create a garland, avoid placing it where pets, toddlers, or holiday guests carrying large plates of cookies may snag it. If you use lights, inspect the strand first and do not use damaged wires. For tree decorating, place plastic bottle ornaments away from candle displays and keep all candles on stable surfaces where they cannot be knocked over.
Project 1: Plastic Bottle Snowflake Ornaments
The bottom of a water bottle already looks a little like a flower or snowflake. With a few snips and some white paint, it becomes a winter ornament that looks far more expensive than it is. This is one of the easiest recycled water bottle Christmas decorations because the bottle does most of the shaping work for you.
How to Make Them
- Cut off the bottom of a clean water bottle, leaving about one inch of plastic above the base.
- Trim the edges into points, scallops, or snowflake arms.
- Paint the inside or outside with white, silver, pale blue, or clear glitter paint.
- Add dots, lines, or tiny stars with a paint pen.
- Punch a small hole near the top and thread ribbon through it.
For a frosted look, dab white paint lightly with a sponge instead of brushing it on heavily. You want the plastic to stay slightly translucent so window light can shine through. Hang several snowflakes at different heights in a window and suddenly your kitchen has “winter cottage” energy, even if there are dishes in the sink.
Project 2: Recycled Water Bottle Icicles
Plastic bottle icicles are perfect for Christmas trees, garlands, stair rails, and window frames. They are lightweight, shimmering, and satisfyingly dramatic. The trick is to cut long curved strips from the bottle body and twist them slightly so they catch the light.
How to Make Them
- Remove the top and bottom of the bottle so you have a plastic cylinder.
- Cut the cylinder into long triangles or tapered strips.
- Round off any sharp corners with scissors.
- Twist each strip gently to create a spiral icicle shape.
- Brush the edges with glue and sprinkle with fine glitter.
- Punch a hole at the wide end and add clear fishing line or silver thread.
Clear bottles make classic icicles, while green or blue-tinted bottles create a whimsical icy effect. If you want a more elegant look, skip chunky glitter and use pearl paint, metallic markers, or a light coat of iridescent nail polish. Yes, nail polish can become a craft supply. Christmas is a season of miracles.
Project 3: Mini Bottle Christmas Trees
Small green plastic bottles can be turned into tiny Christmas trees, but clear bottles work too if you paint them. These mini trees are great for table centerpieces, office desks, classroom crafts, or a mantel display.
How to Make Them
- Cut a bottle into three or four ring sections of different widths.
- Snip fringe around each ring, cutting upward but not all the way through.
- Gently bend the fringe outward to create branches.
- Stack the rings from widest to smallest on a cardboard cone, skewer, or paper tube.
- Paint green if needed, then decorate with tiny beads, sequins, or paper stars.
For a rustic farmhouse version, use matte green paint and wrap the base with twine. For a kid-friendly version, let children add foam stickers, mini pom-poms, or star stickers. The final result is cheerful, slightly quirky, and far more personal than a store-bought plastic tree.
Project 4: Bottle-Bottom Christmas Bells
The curved top or bottom of a water bottle can become a sweet Christmas bell. These look beautiful on garlands, door handles, gift packages, and tree branches. They also use very little material, so one bottle can create several decorations.
How to Make Them
- Cut the top section of a bottle just below the shoulder, or use the bottom cup section.
- Trim the edge smoothly and decorate it with ribbon, lace, or washi tape.
- Paint the bell gold, silver, red, white, or leave it clear.
- Thread a bead or small jingle bell inside using string.
- Add a loop at the top for hanging.
If you use actual jingle bells, keep the decoration lightweight and secure. A set of three bells tied with plaid ribbon makes a charming ornament cluster. Add faux greenery or a cinnamon stick for a cozy traditional look.
Project 5: Water Bottle Lanterns With LED Fairy Lights
Clear water bottles make lovely mini lanterns when paired with battery-operated LED lights. These are excellent for shelves, entry tables, covered porches, or Christmas party centerpieces. The goal is to diffuse the light so the bottle glows softly rather than looking like, well, a bottle with lights shoved inside it.
How to Make Them
- Clean and dry the bottle thoroughly.
- Frost the outside with matte white spray paint, tissue paper, or watered-down acrylic paint.
- Cut a small opening in the back or bottom for inserting LED fairy lights.
- Add snowflake stickers, painted trees, ribbon, or tiny paper houses.
- Place battery-operated LED lights inside and close the opening if needed.
For a snowy village effect, line up several lanterns in different sizes and paint each one with simple silhouettes: pine trees, rooftops, stars, or reindeer. Keep the designs minimal. Too many details can make the lantern look crowded, and Christmas already has enough visual chaos thanks to wrapping paper, candy canes, and that one ornament nobody remembers buying.
Project 6: Recycled Bottle Wreath
A plastic bottle wreath is a bigger project, but it creates a bold decoration for a door, wall, or mantel. You can make it with bottle bottoms, flower shapes, leaves, or curled strips. The finished wreath can be elegant, playful, or full-on North Pole disco depending on your paint choices.
How to Make It
- Cut several bottle bottoms or leaf shapes from clean bottles.
- Paint the pieces in holiday colors such as green, red, white, gold, and silver.
- Use a cardboard ring, wire wreath frame, or sturdy paper plate with the center removed.
- Glue the plastic pieces around the frame in overlapping layers.
- Add ribbon, pinecones, bells, or a bow at the top.
For a classy version, use only two colors: matte white and champagne gold. For a child-friendly version, let every color attend the party. Both approaches work, but the final personality will be very different. One says “elegant winter lodge.” The other says “Santa’s craft room after espresso.”
Project 7: Plastic Bottle Garland
Garlands are ideal when you want maximum impact with minimal cost. A recycled bottle garland can be made from stars, circles, flowers, bells, or icicle strips. Hang it along a mantel, staircase, bookshelf, window, or classroom bulletin board.
Simple Garland Ideas
- Cut bottle plastic into stars and paint them metallic gold.
- Use bottle bottoms as snowflakes and string them with clear fishing line.
- Cut thin strips and curl them into spirals for a playful ribbon effect.
- Alternate plastic shapes with paper beads, felt balls, or pinecones.
- Paint each piece white and silver for a snowy modern look.
The best garlands use repetition. Choose one shape, one color palette, and one spacing pattern. Repetition makes recycled materials look intentional. Randomness can be fun, but too much randomness may look like the recycling bin exploded near your fireplace.
Design Tips to Make Recycled Decorations Look Expensive
The secret to beautiful DIY recycled Christmas decorations is not spending more money. It is editing. Pick a color palette before you start. White, silver, and clear create a frosty winter theme. Red, green, and gold feel classic. Kraft brown, twine, and matte white lean farmhouse. Blue, silver, and iridescent glitter create a modern snow-queen look.
Use thin coats of paint instead of thick blobs. Let each layer dry before adding another. Cover rough cut edges with ribbon, glitter glue, or metallic paint. Use clear fishing line for floating effects. Group decorations in odd numbers, such as three bells, five snowflakes, or seven icicles. Odd numbers tend to look more natural and styled.
Lighting also matters. Place clear or frosted bottle ornaments near windows, mirrors, or LED lights. The plastic will reflect and refract light, making the decorations look brighter. Even the simplest cut bottle base can look magical when sunlight hits it in the morning.
How to Prepare Bottles for Better Craft Results
Preparation makes a huge difference. Start by sorting bottles by size, color, and shape. Smooth-sided bottles are best for icicles, stars, and garlands. Bottles with flower-shaped bottoms are perfect for snowflakes and ornaments. Green bottles are useful for mini trees and wreath leaves.
Remove labels carefully and wash bottles before storing them. If adhesive remains, rub it gently with cooking oil or adhesive remover, then wash again with soap. Dry bottles upside down so moisture does not hide in the bottom. Water trapped inside a decoration can fog paint, loosen glue, or create a sad little swamp where holiday cheer goes to retire.
Budget Breakdown: How Cheap Are These Decorations?
The main material is free if you already have empty bottles. Most other supplies are low-cost and reusable across multiple projects. A bottle of acrylic paint, a roll of ribbon, a pack of ornament hooks, and a small container of glitter can decorate dozens of pieces. If you already own scissors, glue, and paint from previous crafts, your cost may be close to zero.
Compared with buying new ornaments, recycled bottle decorations offer more flexibility. You can match your home’s color palette, make custom sizes, and create large displays without paying for every single piece. The trade-off is time, but crafting time can be part of the holiday experience. Put on music, make cocoa, and accept that glitter will appear somewhere impossible three weeks later. That is not a problem. That is Christmas confetti.
Family-Friendly Ways to Turn This Into a Holiday Activity
DIY bottle decorations are excellent for family craft nights, school projects, scout meetings, church gatherings, and community recycling events. Adults can cut the bottles in advance, then set up decorating stations with paint, stickers, ribbons, and beads. Give younger children larger shapes because tiny details can be frustrating. Older kids and teens may enjoy designing themed sets, such as snowflakes for windows or mini trees for gifts.
You can also turn the project into a sustainability lesson. Talk about reducing waste, reusing materials, and checking local recycling rules. When children see a bottle become an ornament, the idea of reuse becomes practical and memorable. Plus, handmade decorations often become keepsakes. Years later, someone may pull out a slightly crooked plastic snowflake and say, “Remember when we made these?” That is the good stuff.
Common Mistakes to Avoid
The first mistake is rushing the cleaning step. Paint and glue do not love sticky label residue. The second mistake is cutting too close to your final shape too soon. Leave extra plastic around your design, then refine the edges slowly. The third mistake is using too much glitter or glue. A little sparkle looks magical; too much can turn your ornament into a festive meteor.
Another common issue is ignoring scale. Tiny ornaments can disappear on a large tree, while oversized bottle pieces may overwhelm a small tabletop tree. Make a few test pieces first. Hang them where you plan to use them and step back. If the shape reads clearly from a distance, you are on the right track.
of Hands-On Experience: What Actually Works Best
After making recycled water bottle Christmas decorations, one lesson becomes obvious very quickly: the bottle bottom is the beginner’s best friend. It already has structure, symmetry, and a built-in snowflake shape. If you want a craft that looks good even when your cutting skills are not exactly surgical, start there. Cut the base slightly higher than you think you need, then trim it down. It is much easier to remove more plastic than to reattach a piece you accidentally sacrificed to the craft gods.
The second useful experience is that clear plastic looks best when it is not completely covered. At first, it is tempting to paint everything solid white, red, or green. But the magic of water bottle plastic is its transparency. Leaving open areas lets light pass through, which makes ornaments sparkle in windows and on trees. A thin outline of white paint, a few silver dots, and a dusting of glitter often look better than a heavy coat of paint.
For icicles, long tapered strips work better than short chunky ones. The prettiest icicles usually come from the smooth middle section of the bottle. Cut the bottle into a flat sheet first, then cut triangles from that sheet. If the plastic curls naturally, use that curl instead of fighting it. The curve makes the icicle look more realistic. Add glitter only along the edges, because full glitter coverage can hide the icy effect.
Hot glue is convenient, but it can sometimes warp thin plastic. Use small dots and let the glue cool slightly before pressing delicate pieces together. For children’s projects, tacky craft glue is slower but safer and gives kids more control. If you are making decorations for a party or classroom, prepare pieces in batches: wash all bottles one day, cut shapes the next day, then decorate later. Batch crafting keeps the process from feeling chaotic.
Another practical discovery is that ribbon can rescue almost anything. Uneven edge? Add ribbon. Awkward hole punch? Add ribbon. Ornament looks plain? Add ribbon. Thin satin ribbon gives a polished look, while twine makes decorations feel rustic and cozy. Clear fishing line is perfect when you want snowflakes to look like they are floating.
Finally, the best recycled bottle decorations are the ones made with a clear purpose. Before cutting, decide where the piece will go. Window decorations need translucency. Tree ornaments need hanging balance. Table lanterns need stable bases. Garlands need repeated shapes. When you design for the final location, the finished craft looks intentional instead of improvised. And even if one piece turns out strange, keep it. Every Christmas decoration collection deserves at least one oddball ornament with personality.
Conclusion: Turn Trash Into Christmas Treasure
DIY easy cheap Christmas decorations from recycled water bottles prove that holiday beauty does not have to come from a crowded store aisle or an expensive ornament box. With clean bottles, basic tools, safe lighting choices, and a bit of imagination, you can create snowflakes, icicles, bells, lanterns, wreaths, garlands, and mini trees that feel personal and festive.
The key is to work safely, keep designs simple, and let the natural clarity of the plastic shine. Recycled water bottle crafts are budget-friendly, family-friendly, and surprisingly stylish when you use a consistent color palette and careful finishing touches. Best of all, every decoration tells a small story: something ordinary was saved, transformed, and invited to the Christmas party. Not bad for a bottle that started the week in the fridge.