Note: This guide is written for general home internet setup in the United States. Your exact modem installation may vary slightly depending on your internet service provider, modem model, and whether you have cable, DSL, fiber, or fixed wireless service.
Introduction: Installing a Modem Without Losing Your Mind
Installing a modem sounds like one of those tasks that should require a tiny screwdriver, a degree in networking, and at least three dramatic sighs. Good news: it usually does not. In most homes, modem installation is a straightforward process that involves connecting the right cable, powering the modem, waiting for the indicator lights, activating service, and testing the connection.
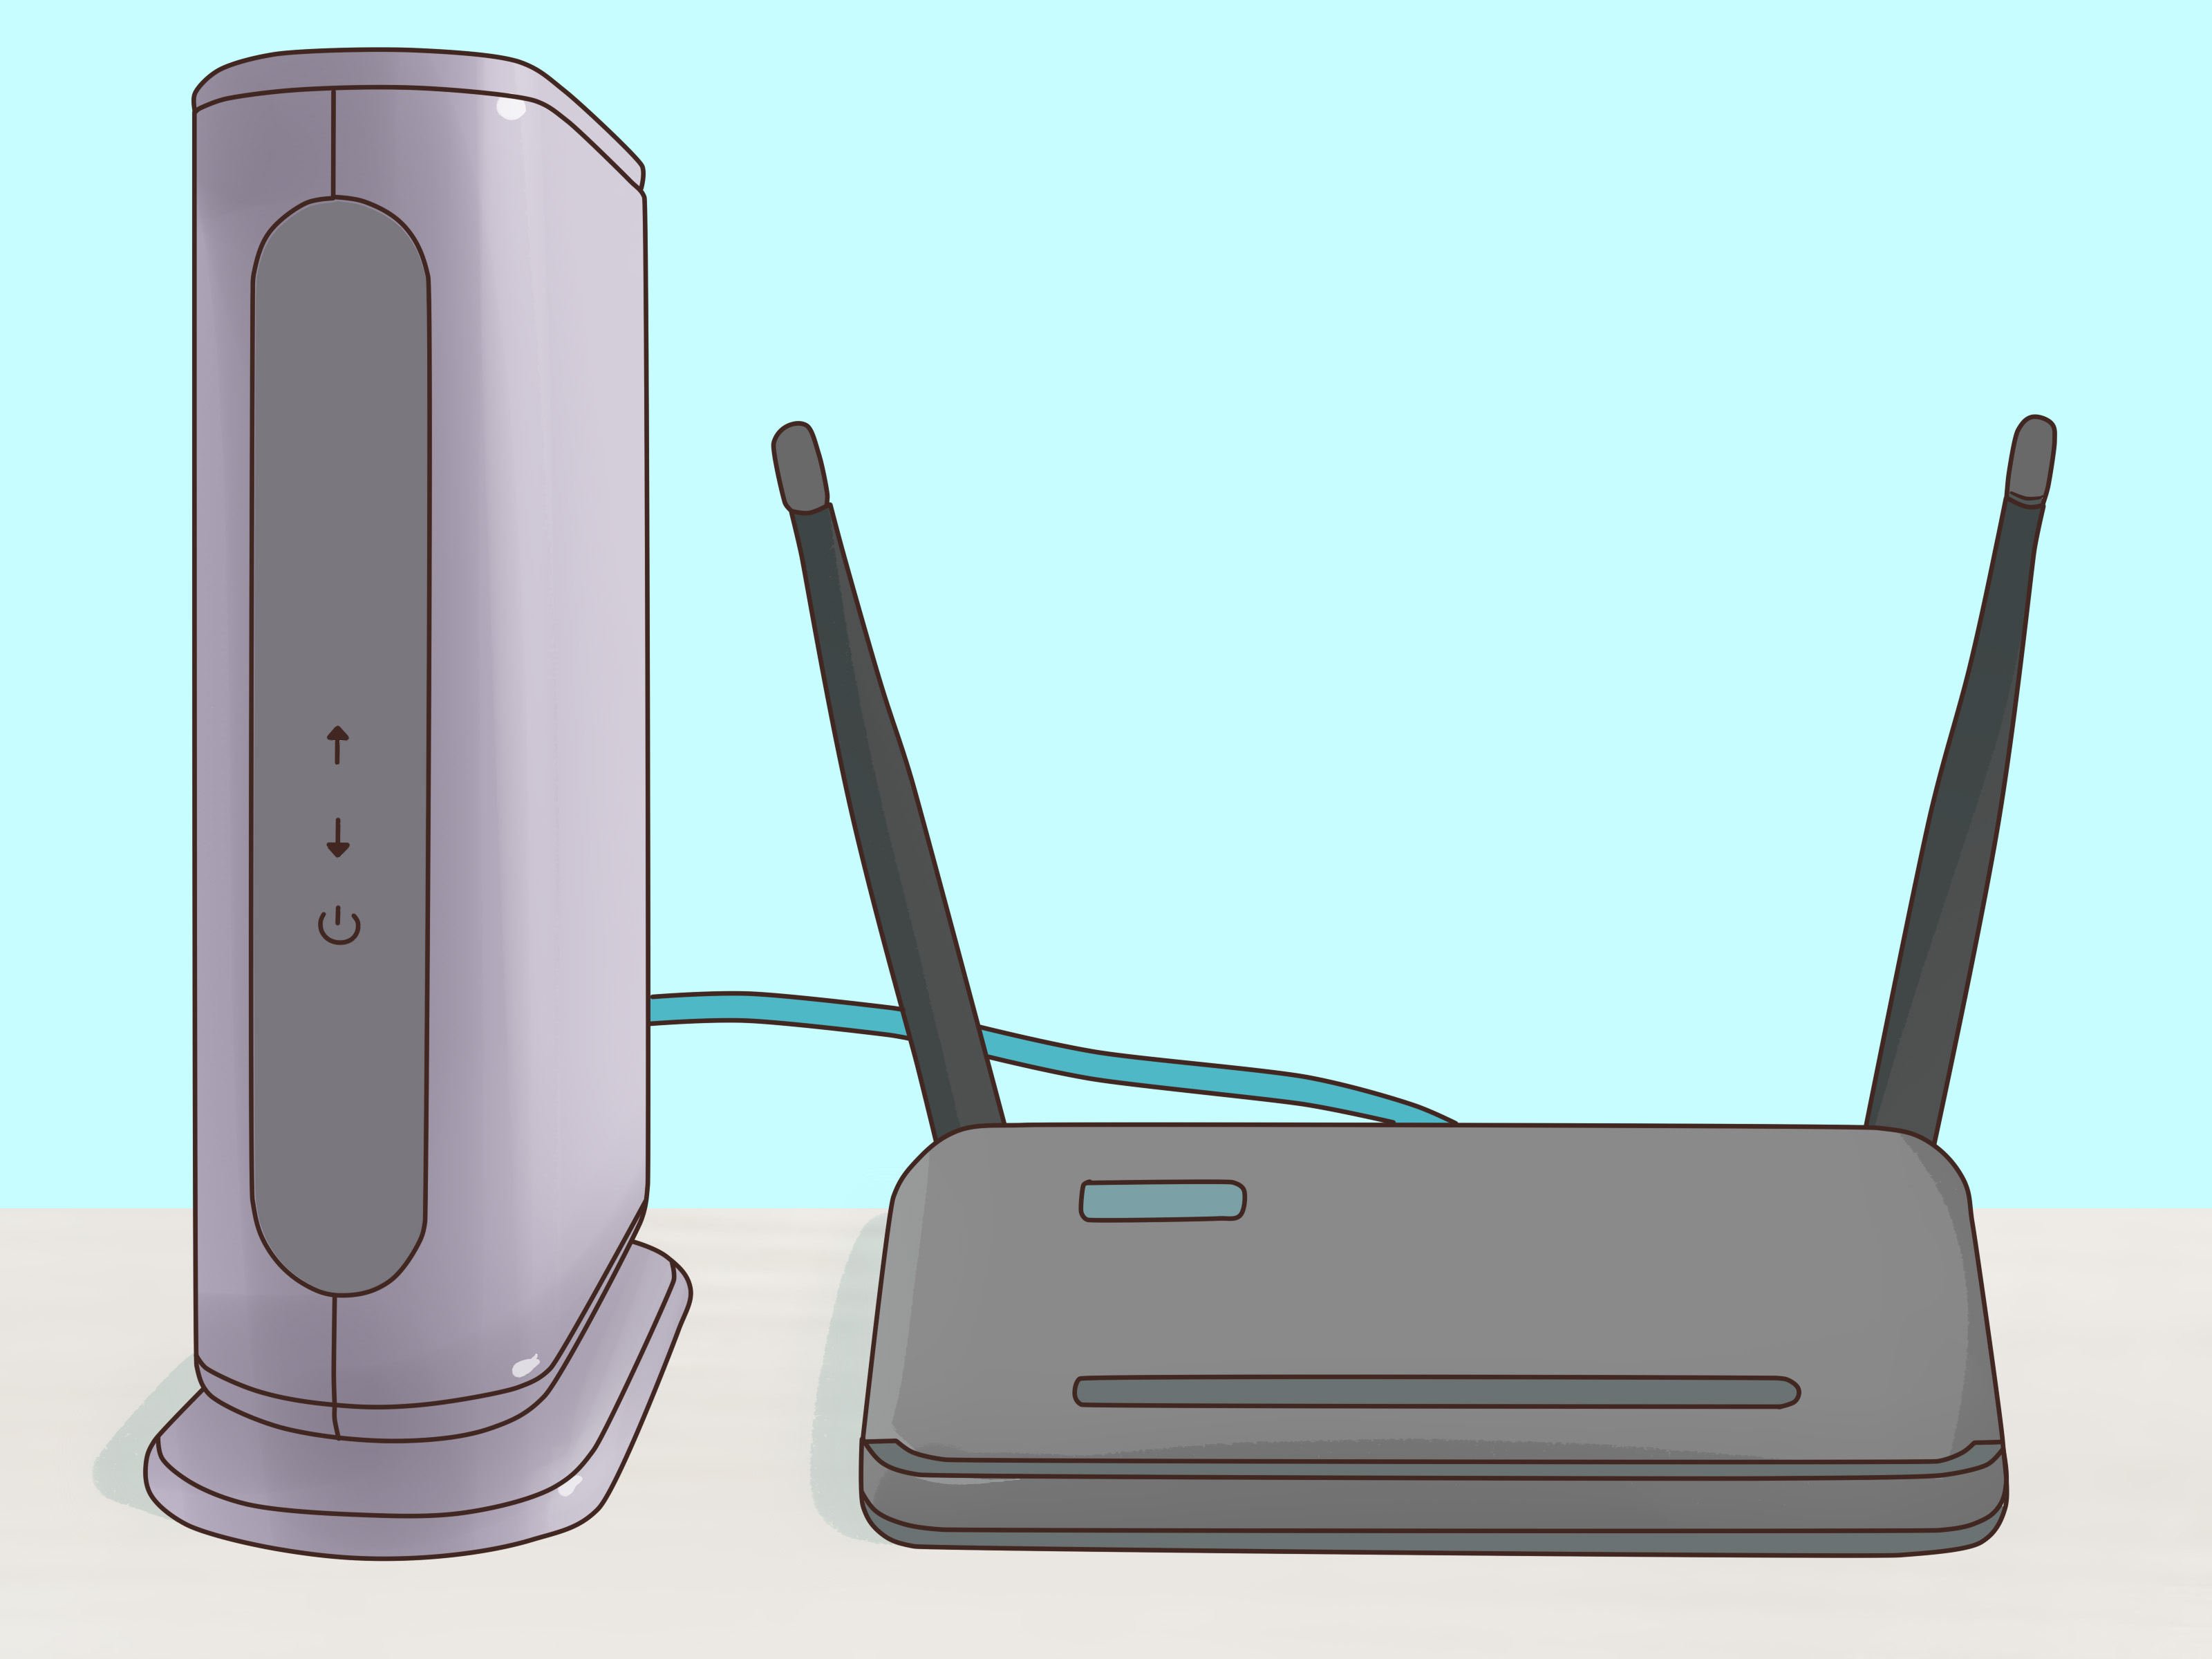
The modem is the device that brings internet service into your home. It translates the signal from your provider into a connection your devices can use. A router, on the other hand, shares that connection through Wi-Fi or Ethernet. Many modern internet providers supply a gateway, which combines a modem and router in one box. It is basically the internet version of a shampoo-and-conditioner combo, except much more important when your movie freezes at the worst possible moment.
This step-by-step guide explains how to install a modem safely and correctly, whether you are replacing an old modem, setting up a self-install kit, or connecting your own approved device. We will cover what to check before installation, how to connect cables, how to activate the modem, how to secure your Wi-Fi, and what to do when the lights blink like they are trying to send Morse code.
Before You Start: What You Need
Before touching any cables, gather everything in one place. This keeps the process smooth and prevents the classic “where did I put the power adapter?” treasure hunt.
Basic equipment checklist
- A modem or modem-router gateway approved by your internet service provider
- Power adapter included with the modem
- Coaxial cable for cable internet, phone/DSL cable for DSL, Ethernet or fiber cable for fiber setups
- Ethernet cable for connecting a router, computer, or gateway
- Your ISP account number, login, app, or activation instructions
- A smartphone, laptop, or desktop computer for activation and testing
If you purchased your own modem, confirm it is compatible with your internet plan. Cable internet customers should check whether the modem supports the required DOCSIS standard and speed tier. Fiber customers usually do not use a traditional cable modem; instead, the provider may install an optical network terminal, then connect it to a router or gateway.
How to Install a Modem: 11 Steps
Step 1: Confirm your internet service is active
Before installing the modem, make sure your service is ready. If your provider gave you an activation date or self-install window, wait until that time. Installing too early can make everything look broken even when the equipment is perfectly fine. The modem is not being dramatic; it simply cannot connect to service that has not been turned on yet.
Also confirm you are using the right outlet. For cable internet, you need an active coax wall outlet. For DSL, you need the correct phone jack. For fiber, you may need a fiber jack, Ethernet port, or provider-installed terminal. If your home has several wall outlets, not all of them may be active.
Step 2: Choose the best modem location
Place the modem in an open, dry, well-ventilated area near the correct wall connection and a power outlet. Avoid hiding it inside a cabinet, behind a stack of books, or under a blanket of mystery cables. Modems generate heat, and poor airflow can cause slowdowns, restarts, or connection drops.
If your modem is also your Wi-Fi router, location matters even more. A central spot in the home usually gives better wireless coverage. Keep it away from thick walls, large metal objects, microwaves, baby monitors, and other electronics that can interfere with Wi-Fi signals.
Step 3: Disconnect your old modem
If you are replacing an old modem, turn it off and unplug the power cord first. Then disconnect the coax, DSL, Ethernet, or fiber cable depending on your setup. Take a quick photo before removing anything. That simple photo can save you from staring at cables later like they are ancient hieroglyphics.
If you are returning rented equipment, keep the old modem, power adapter, and any accessories together. Many providers expect the original power adapter back too, and losing it can lead to fees.
Step 4: Connect the internet signal cable
Now connect the incoming service cable to the modem. For cable internet, screw the coaxial cable into the modem’s coax port by hand. It should be snug, but do not overtighten it with tools. A damaged coax connector can create connection problems that are surprisingly annoying to diagnose.
For DSL internet, plug the phone cable into the DSL port on the modem and the wall jack. For fiber-based gateways, connect the fiber cable or Ethernet cable exactly as your provider instructs. Fiber connectors can be delicate, so avoid bending or forcing them.
Step 5: Connect the modem to power
Plug the modem’s power adapter into the modem first, then into a wall outlet or surge protector. Use the power adapter that came with the device. A different adapter may fit but still provide the wrong voltage or current, which is a fancy way of saying, “Please do not accidentally bully your modem.”
After plugging it in, wait. Modems often need several minutes to boot, scan for signal, synchronize with the provider network, and download updates. During this time, the lights may blink, change color, or turn on and off. That is normal.
Step 6: Watch the modem lights
Most modems have indicator lights labeled Power, Downstream, Upstream, Online, Internet, Ethernet, or Wi-Fi. The exact labels vary by model. In general, you want the Power light on and the Online or Internet light solid. Cable modems may show downstream and upstream lights while locking onto the provider signal.
If the Online light never becomes solid after 10 to 15 minutes, check the cable connection, try another active wall outlet, and confirm your service is active. If the modem still will not connect, contact your internet provider. The issue may be signal strength, account activation, a wrong modem serial number, or an inactive outlet.
Step 7: Connect a router or computer with Ethernet
If your device is a standalone modem, connect an Ethernet cable from the modem’s Ethernet port to the WAN or Internet port on your router. Then power on the router and wait for it to boot. If you do not have a router yet, you can connect a computer directly to the modem with Ethernet for activation and testing.
If you have a modem-router gateway, the routing function is already built in. You can still connect a computer, game console, smart TV, or mesh system using Ethernet if you want the most stable connection.
Step 8: Activate the modem with your provider
Most internet service providers require modem activation before you can browse normally. This may happen through a mobile app, a web activation page, an account portal, or a support call. You may need the modem’s MAC address, serial number, model number, or account information. These details are usually printed on a label on the bottom or back of the modem.
During activation, keep the modem powered on and connected. Do not unplug it just because the progress screen looks bored. Activation can take several minutes, and the modem may restart automatically.
Step 9: Set up your Wi-Fi network
If your modem includes Wi-Fi, use the provider app or modem settings page to create a network name and password. Choose a network name that is easy for you to recognize but does not reveal personal information. “Apartment 3B Huy’s Router” may be helpful, but it also gives away more than necessary.
Use a strong Wi-Fi password with a mix of words, numbers, and symbols. Avoid obvious passwords like “password123,” your phone number, your pet’s name, or the name of the router brand. A good Wi-Fi password keeps neighbors, strangers, and suspiciously tech-savvy cousins off your network.
Step 10: Secure the modem and router settings
After your internet is working, change the default admin password for the modem or router settings page. This is not always the same as your Wi-Fi password. The admin password controls access to device settings, while the Wi-Fi password controls who can join the network.
Use WPA2 or WPA3 security if available. Turn on automatic firmware updates when your device supports them. Firmware updates fix bugs, improve stability, and patch security problems. Also consider creating a guest network for visitors so they can use the internet without accessing your personal devices.
Step 11: Test your connection
Once installation and activation are complete, test the connection. Open a web browser, stream a video, check email, or run a speed test. For the most accurate speed test, connect a laptop or desktop directly to the router with Ethernet. Wi-Fi speeds can vary based on distance, walls, device age, and interference.
If your speed is much lower than expected, restart the modem and router, check the Ethernet cable, test near the router, and confirm your device supports your plan’s speed. Older laptops, outdated network adapters, or weak Wi-Fi signals can make a fast internet plan look slower than it really is.
Common Modem Installation Problems and Fixes
The modem has power but no internet
Check that the service cable is connected to the correct port and wall outlet. For cable internet, make sure the coax connector is secure and the center pin is straight. If you have multiple coax outlets, try another one. Some homes have outlets that look ready for action but are not connected behind the wall.
The activation page will not load
Try connecting a computer directly to the modem or gateway with Ethernet. Restart the modem and wait for the Online light. Clear your browser cache or try another browser. If activation still fails, contact your provider and ask them to confirm the modem’s MAC address and service status.
The Wi-Fi network does not appear
Make sure Wi-Fi is enabled on the gateway or router. Some devices have a Wi-Fi button, while others require setup through an app or web interface. If your router is separate from the modem, confirm the Ethernet cable runs from the modem to the router’s WAN or Internet port, not a regular LAN port.
The internet works on Ethernet but not Wi-Fi
This usually means the modem is working but the router or wireless settings need attention. Restart the router, check the Wi-Fi name and password, and make sure your device is not trying to connect to an old network. If you recently replaced equipment, delete the old saved network from your phone or laptop and reconnect fresh.
Modem vs. Router vs. Gateway: What Is the Difference?
A modem connects your home to your internet provider. A router shares that connection among your devices. A gateway combines both jobs in one device. If your internet provider gave you one box that connects to the wall and also broadcasts Wi-Fi, you probably have a gateway.
Standalone modems are common for cable internet customers who want to use their own router or mesh Wi-Fi system. Gateways are convenient because they reduce cable clutter and simplify support. The best option depends on your home size, speed plan, budget, and how much control you want over your network.
Should You Rent or Buy a Modem?
Many providers offer rental equipment for a monthly fee. Renting can be convenient because support and replacement are often easier. Buying your own approved modem may save money over time, especially if you keep the same service for several years. However, you must make sure the modem is compatible with your provider and fast enough for your plan.
Before buying, check your provider’s approved modem list. Look for the correct DOCSIS version if you use cable internet, enough Ethernet speed for your plan, and support for any phone service features if you have internet-based home phone service. Do not buy a random used modem without checking whether it is locked to another account. That bargain modem may become a very stylish paperweight.
Safety Tips for Installing a Modem
Installing a modem is usually safe, but a few simple precautions matter. Keep your hands dry when plugging in equipment. Do not use damaged cables or cracked power adapters. Avoid placing the modem near water, direct sunlight, heaters, or cramped spaces. Do not open the modem casing; there are no user-serviceable treasures inside.
If your installation requires drilling, rewiring, climbing, or changing outdoor cable lines, call your provider or a qualified technician. Self-installation is meant for connecting existing service points, not for becoming Spider-Man on a ladder with a coax cable.
Best Practices After Installation
After your modem is online, label your cables. A tiny label saying “modem to router” can save future-you from crawling behind furniture during an outage. Keep your modem’s model number, serial number, and support phone number in a safe place. Save your Wi-Fi name and password in a password manager or another secure location.
Restart your modem occasionally if you experience slowdowns, but avoid unplugging it constantly. If problems happen every day, that is not normal. Track when the issue occurs, whether the modem lights change, and whether Ethernet devices are affected too. This information helps support agents diagnose the problem faster.
Real-World Experience: Lessons From Installing a Modem at Home
The first thing most people learn when installing a modem is that the process is simple, but the small details matter. A loose coax cable, a wrong Ethernet port, or an inactive wall jack can turn a 15-minute setup into an evening of dramatic blinking lights. The modem is not usually the problem. More often, it is waiting for one exact condition to be right before it agrees to cooperate.
One common experience is replacing an old rented gateway with a new personal modem. The physical installation may take only a few minutes: unplug the old device, connect the coax cable to the new modem, plug in power, and connect the router. The surprise often comes during activation. Providers need the correct MAC address, and entering one wrong character can stop the process cold. The label may include several numbers, so it is important to choose the cable modem MAC address, not the Wi-Fi MAC or serial number unless the provider asks for it.
Another lesson is patience. Modems can take longer than expected to boot and synchronize. People often unplug the modem too soon because the lights are blinking and nothing seems to be happening. In reality, the modem may be scanning channels, checking signal levels, downloading firmware, or restarting after activation. Waiting a full 10 to 15 minutes before troubleshooting can prevent unnecessary frustration.
Placement also makes a bigger difference than many beginners expect. A gateway placed on the floor behind a TV stand may technically work, but the Wi-Fi signal can be weak in bedrooms or upstairs rooms. Moving the gateway to a more open, central location often improves performance immediately. If the modem must stay near a cable outlet in a corner, using a separate router or mesh Wi-Fi system can help spread coverage throughout the home.
Speed testing teaches another useful lesson: Wi-Fi is not the same as the internet connection itself. A wired Ethernet test near the router may show the full speed of the plan, while a phone in a back bedroom may show much less. That does not always mean the modem is bad. It may mean the device is too far away, connected to a crowded 2.4 GHz band, blocked by walls, or limited by older hardware.
Security is another area where experience pays off. Many people focus only on getting online, then forget to change default settings. A strong Wi-Fi password, updated firmware, and a changed admin password are not glamorous, but they protect every laptop, phone, camera, smart speaker, and gaming console in the house. A modem installation is not truly finished until the network is secure.
Finally, keeping records helps. Write down the modem model, activation date, provider support number, and Wi-Fi settings. Take a photo of the cable connections after everything works. Months later, when someone moves furniture or unplugs “that extra cable,” you will have a reference. Home internet problems are much easier to solve when you know what the working setup looked like.
The biggest takeaway is this: installing a modem is not about being a tech wizard. It is about following the sequence carefully. Verify service, connect the right cable, power the device, wait for stable lights, activate it, secure it, and test it. Do that, and your modem should quietly do its job in the background, which is exactly where all good networking equipment belongs.
Conclusion
Learning how to install a modem is one of the most useful home tech skills you can have. Whether you are setting up a new internet plan, replacing old equipment, or switching from rented hardware to your own modem, the process follows a clear pattern: prepare, connect, power up, activate, secure, and test.
The most important steps are confirming compatibility, using the right wall outlet, tightening cables by hand, waiting for the modem lights, and completing activation with your internet provider. After that, protect your network with a strong Wi-Fi password, updated firmware, and secure admin settings.
With a little patience and the right checklist, you can install a modem without panic, mystery, or calling your most techy friend in defeat. And once it works, you can enjoy the sweetest sound in modern life: absolutely nothing from your modem, because quiet internet equipment is happy internet equipment.