Important safety note: This guide does not teach you how to make a weapon, darts, sharp projectiles, or anything meant to hit people, animals, windows, screens, or your little brother’s LEGO castle. Instead, this article turns the classic “paper blowgun” idea into a safe paper airflow craft: a lightweight paper tube used for learning about breath control, air movement, and basic craft design with soft paper puffballs only.
Paper crafts have a magical way of making ordinary school supplies feel like engineering equipment. A sheet of paper becomes a bridge, a hat, a tiny rocket, a bookmark, or, in this case, a harmless airflow tube for a simple STEM-style activity. The goal is not power, distance, or accuracy. The goal is to build something neat, understand how air moves through a tube, and avoid turning craft time into an emergency room speedrun.
So yes, the title says How to Make a Paper Blowgun: 12 Steps, because that is what many people search for. But the smarter, safer version is this: make a decorated paper air tube, use only soft paper puffballs, keep it pointed away from faces, and treat it like a science craft rather than a toy weapon. Your eyeballs will thank you. Your parents, teachers, pets, and houseplants probably will too.
What Is a Paper Blowgun?
A paper blowgun is usually imagined as a rolled paper tube that uses a breath of air to move a lightweight object. Historically, the word “blowgun” is associated with actual projectile tools, which is exactly why this guide avoids darts, needles, pins, toothpicks, hard pellets, staples, or any object that could injure someone. For a home or classroom craft, the only responsible version is a paper airflow activity using soft, crumpled tissue or paper bits that cannot poke, cut, or damage anything.
Think of it like a tiny lesson in air pressure. When you blow through a tube, air travels in a stream. If a very light paper puff is placed near the opening, that moving air can push it gently. That is the same general idea behind many kid-friendly science activities involving straws, paper rockets, pinwheels, and floating balls. The science is real; the danger does not need to be.
Materials You Need
Keep the materials simple, clean, and soft. You do not need fancy equipment, and you definitely do not need anything sharp. A safe paper airflow craft should use items that belong on a desk, not in a toolbox of questionable decisions.
- One sheet of printer paper or lightweight craft paper
- Clear tape or masking tape
- Markers, crayons, or stickers for decorating
- Soft tissue paper or lightweight scrap paper for making puffballs
- A clean table or desk
- Optional: child-safe scissors for trimming decoration only
Avoid heavy paper, cardboard tubes, metal parts, wooden sticks, plastic pellets, toothpicks, pins, paper clips, staples, beads, seeds, rocks, or anything with a point. The safest “projectile” is not really a projectile at all; it is just a soft paper puff used for a gentle airflow demonstration.
How to Make a Paper Blowgun: 12 Safe Steps
Step 1: Choose clean, lightweight paper
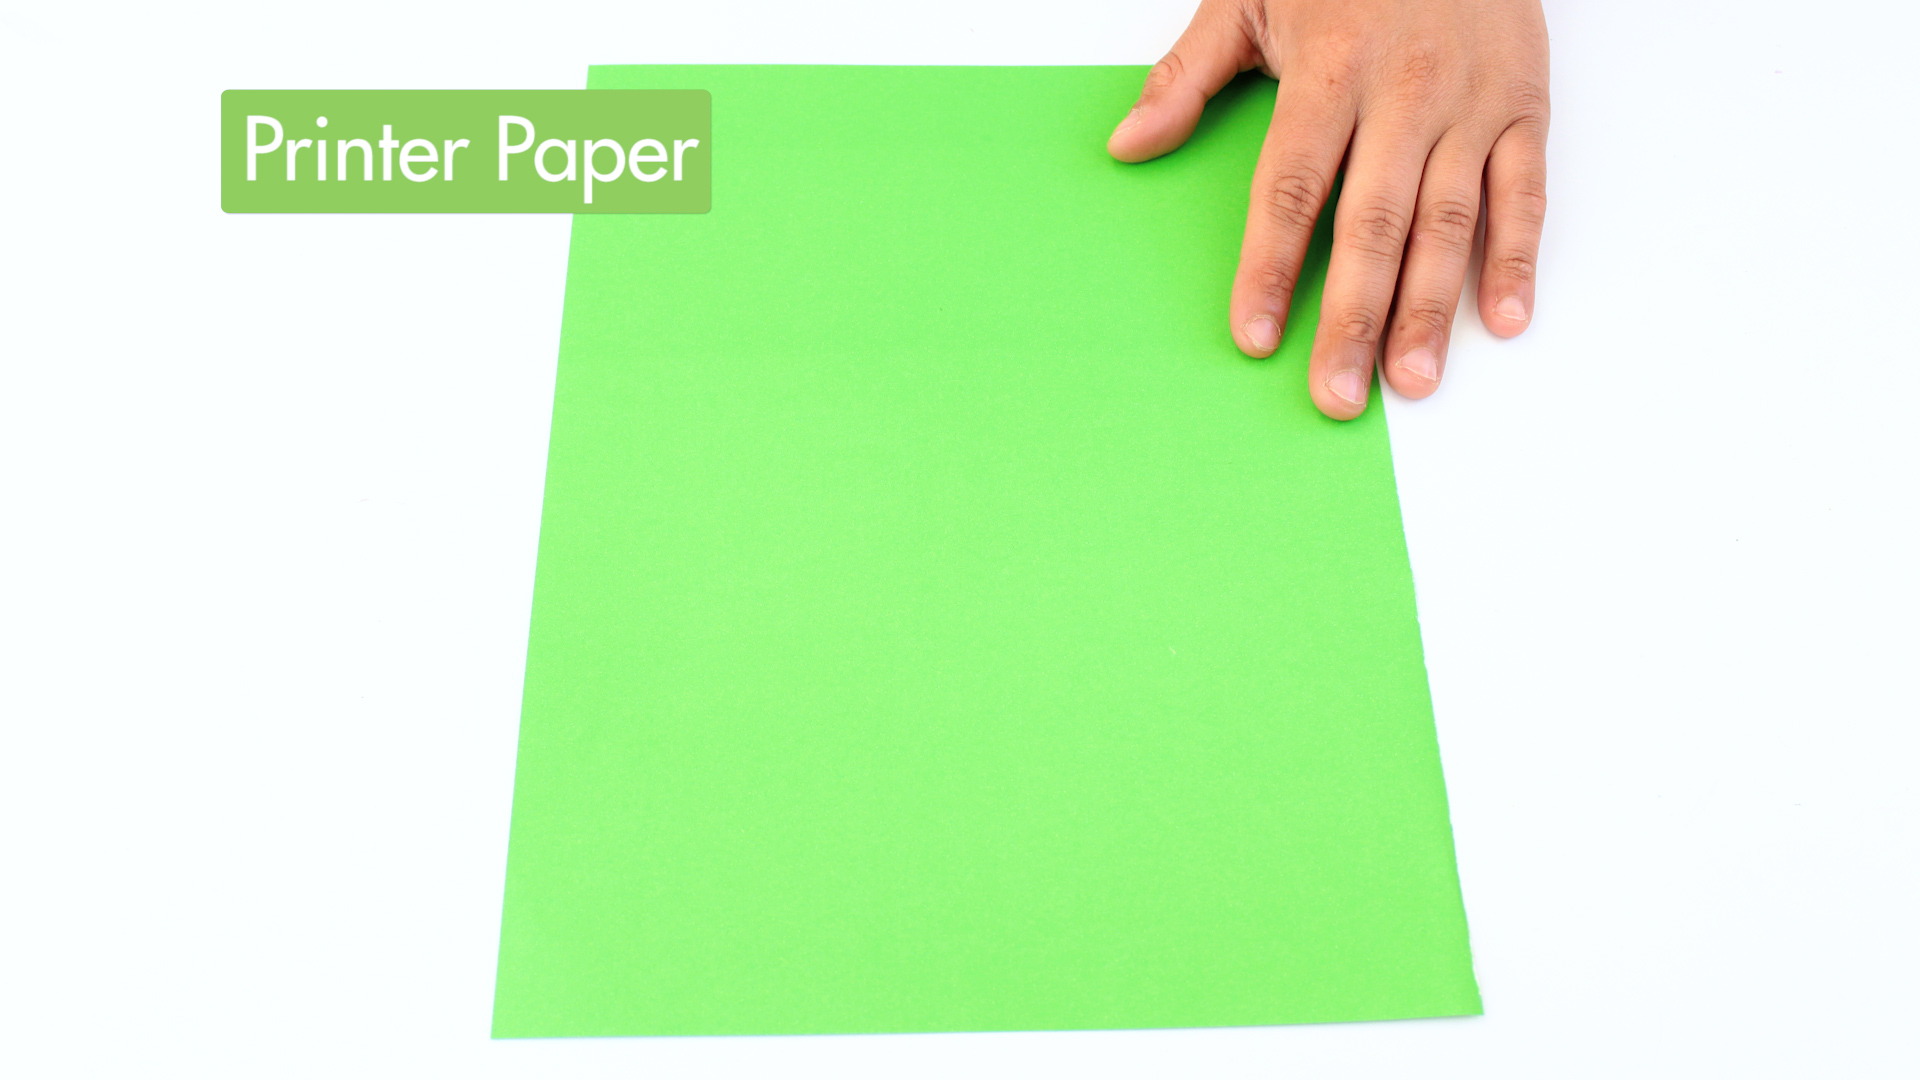
Start with a clean sheet of printer paper or thin craft paper. Lightweight paper is easier to roll and decorate. It also keeps the activity gentle. Do not use thick cardboard or rigid materials, because this craft is meant to be soft, flexible, and low-risk.
Step 2: Wash your hands before crafting
This may sound like the least dramatic step in the history of craft blogging, but it matters. You will be handling paper, tape, and anything that may come near your mouth. Clean hands help keep the activity more hygienic, especially if several people are making crafts together.
Step 3: Roll the paper into a loose tube
Place the paper on a flat surface and gently roll it lengthwise into a tube shape. Keep the roll loose enough that it does not become stiff or narrow. The tube should feel like a craft object, not a precision device. The opening should be wide, comfortable, and easy to decorate.
Step 4: Tape the outside seam
Use a small strip of tape to hold the paper in place. Tape only the outside seam. Do not add hard pieces, clips, staples, or stiff reinforcements. A simple paper tube is enough for this safe version.
Step 5: Check the edges
Look at both ends of the tube. If the paper edge feels rough or pointy, fold it slightly inward or cover the edge with a small piece of tape. The goal is a smooth craft tube that feels comfortable to hold and does not scratch skin.
Step 6: Decorate before testing
Now comes the fun part: personality. Add stripes, stars, comic-book lightning bolts, your initials, or a dramatic label like “The Great Air Noodle 3000.” Decoration turns the activity from “rolled paper on a Tuesday” into a craft worth keeping.
Step 7: Make soft paper puffballs
Take a tiny piece of tissue paper or lightweight scrap paper and gently crumple it into a loose puffball. It should be soft, airy, and easy to crush between two fingers. Do not make tight pellets. Do not use hard objects. Do not add tape around the puffball. The softer it is, the safer and better it is for this activity.
Step 8: Create a safe test area
Use a clear tabletop or a small open floor space. Remove drinks, food, glass objects, electronics, and anything fragile. Make sure nobody is standing in front of the tube. This is not a carnival booth, and your cat is not a target.
Step 9: Practice airflow without launching anything
Before using a paper puffball, practice blowing gently through the empty tube while pointing it downward toward the table. Notice how the air feels at the other end. This helps you understand that the activity is about controlled airflow, not force.
Step 10: Move a puffball gently across the table
Place a soft paper puffball on the table near the tube opening. Point the tube downward and blow gently so the puffball rolls or scoots across the surface. Do not load the puffball tightly into the tube. Do not aim at people, animals, faces, screens, or breakable objects.
Step 11: Turn it into a science observation
Try changing one safe variable at a time. Does a looser puffball move differently than a tighter one? Does tissue paper move more easily than printer paper? Does a shorter tube feel different from a longer tube? Write down what you notice. Congratulations: you have upgraded from craft mode to mini-scientist mode.
Step 12: Clean up and store it safely
Throw away tiny scraps, wipe the table if needed, and store the paper tube somewhere dry. If the tube gets crushed, soggy, or dirty, recycle it and make a new one later. Paper crafts are wonderfully replaceable. Eyeballs, meanwhile, are not.
Safety Rules You Should Not Skip
The safest paper blowgun is the one that never becomes a weapon. That means no darts, no sharp tips, no hard pellets, no aiming at living things, and no contests to see who can blow the hardest. Even lightweight objects can cause problems if they hit someone in the eye or mouth. A craft is only fun when everyone nearby remains uninjured and unannoyed.
Another important rule: do not share mouth-contact items. If more than one person is doing this activity, each person should make and use their own paper tube. Sharing may sound friendly, but germs love that plot twist. For classrooms, parties, or group projects, write names on the tubes and keep them separate.
Small paper pieces can also be a choking risk for younger children, so this activity is not suitable for toddlers or kids who still put small objects in their mouths. If younger siblings are nearby, keep the paper puffballs away from them and clean up scraps immediately.
Why This Craft Works: The Simple Science
When you blow through a tube, your breath creates moving air. That moving air can push lightweight objects, especially objects with lots of surface area and very little weight. A soft tissue puffball is easy to move because it does not need much force. A heavy object, on the other hand, would require more force and would make the activity unsafe.
The tube helps guide the airflow in one direction. It does not create magic, although it may feel suspiciously close when a tiny paper puffball starts scooting across the table like it has somewhere important to be. The narrower and smoother a tube is, the more focused the airflow may feel. For this safe craft, however, there is no need to optimize power. Keep everything gentle.
This is also a basic design lesson. A tube that is too loose may collapse. A tube that is too tight may feel uncomfortable. A paper puffball that is too dense may barely move. A puffball that is loose and fluffy may glide more easily. By testing small changes, you learn how materials, shape, and airflow work together.
Common Mistakes to Avoid
Using sharp or hard objects
This is the biggest mistake and the easiest one to avoid. Never use toothpicks, pins, needles, skewers, staples, beads, small toys, or rolled-up hard paper darts. The safe version uses only soft paper puffballs on a tabletop.
Pointing it at people or pets
Even a harmless-looking paper puff can become a problem if it hits an eye or startles an animal. Always point the tube downward toward a clear surface. Pets do not understand your STEM goals. They just know something weird flew by their whiskers.
Trying to make it more powerful
This activity is not about distance, speed, or force. Do not modify the tube to increase pressure, range, or impact. The best version is gentle, controlled, and boring enough that safety inspectors would nod approvingly.
Sharing the same tube
A paper tube can touch your mouth, which means it should be personal. Make one per person. This also gives everyone a chance to decorate their own design, which is half the fun anyway.
Safe Variations for More Fun
If you want to make the activity more interesting, turn it into a tabletop paper puff maze. Use books, folded paper walls, or strips of painter’s tape to create a path. Then use gentle airflow to move the soft puffball through the course. This keeps the activity focused downward and away from faces.
You can also make a “wind lab” by testing different paper materials. Try tissue paper, notebook paper, and gift wrap scraps. Which one makes the easiest puffball to move? Which one collapses? Which one stubbornly refuses to cooperate like a tiny paper mule?
Another option is a decoration challenge. Give everyone the same basic paper tube and five minutes to design the funniest, fanciest, or most futuristic version. Award imaginary prizes such as “Best Use of Stickers,” “Most Likely to Be Found in a Space Museum,” or “Outstanding Achievement in Looking Like a Burrito.”
How Parents and Teachers Can Use This Activity
For adults, this craft works best when it is framed as a controlled airflow experiment rather than a shooting game. Set the rules first: soft paper only, downward direction only, no aiming at people or animals, and one tube per person. A few clear boundaries at the beginning prevent the activity from turning into chaos with tape.
This project can support lessons about air, force, material design, hygiene, and responsible craft behavior. Students can compare different paper weights, observe how shape affects movement, or write short reflections about what changed during testing. The craft is simple, but the learning can be surprisingly rich.
For younger groups, skip the blowing portion and use the tube as a decoration craft or a pretend telescope. For older kids, focus on written observations and safe engineering design. The key is to keep the activity calm, supervised, and free of anything sharp or hard.
of Real-Life Experience: What This Craft Teaches You
The first thing you learn from making a safe paper airflow tube is that paper has more personality than it gets credit for. Some sheets roll smoothly, like they were born for the job. Others fight back, wrinkle at the corners, and behave as if you have personally offended them. That is part of the charm. Crafting is not about perfection; it is about adjusting, laughing, and occasionally peeling tape off your finger while pretending everything is going exactly as planned.
One useful experience is discovering that gentle design often works better than aggressive design. When people hear the word “blowgun,” they may think about power or distance. But in a safe paper version, the best results come from softness and control. A loosely crumpled tissue puffball moves more easily than a dense paper wad. A smooth, lightweight tube feels better than a stiff one. A calm breath gives better control than a dramatic hurricane blast. In other words, the craft quietly teaches restraint, which is a very underrated life skill.
Another lesson is that safety rules do not have to ruin the fun. In fact, they usually make the fun last longer. When everyone knows not to aim at faces, not to use sharp objects, and not to share tubes, the activity becomes more relaxed. Nobody has to play defense. Nobody has to yell, “Hey, stop!” every six seconds. The room stays calmer, the craft stays enjoyable, and the only casualty is maybe one slightly crumpled paper puffball.
This activity also reveals how small changes can create noticeable results. A slightly wider tube may feel different from a narrower one. A lighter puffball may move with less air. A decorated tube may not work differently, but it definitely feels more official, and sometimes confidence is half the experiment. Kids and adults both enjoy seeing cause and effect happen right in front of them. You change one thing, test again, and learn something. That is the heart of hands-on science.
There is also a social side to the project. In a group, people naturally compare designs, decorations, and results. Someone will make a tube covered in flames. Someone else will draw a sleepy frog. Another person will create a puffball so fluffy it looks like a dust bunny with ambition. These small differences turn a basic paper craft into a shared experience.
Finally, this project teaches that simple materials can still create meaningful learning. You do not need expensive kits, batteries, apps, or a 47-piece instruction manual written in mysterious furniture-store language. One sheet of paper, a bit of tape, a soft paper puff, and a safe workspace are enough to explore airflow, design, hygiene, and responsibility. That is the quiet genius of paper crafts: they are cheap, flexible, and surprisingly good at making people curious.
Conclusion
Learning how to make a paper blowgun can be safe only when the idea is redesigned as a paper airflow craft, not a projectile weapon. The best version uses a simple paper tube, soft paper puffballs, gentle breath, and strict safety rules. No darts. No hard objects. No aiming at people, pets, or fragile things. When handled responsibly, this project becomes a fun way to explore air movement, craft design, observation, and creativity.
The real win is not how far anything moves. The win is understanding how air can push lightweight materials, how small design choices change results, and how to make something entertaining without making it risky. That is a craft worth keeping around.