If your walls are a little too honest about every dent, seam, and questionable patch job from years past, orange peel texture can be your new best friend. This popular wall finish has a subtle, pebbly look that resembles the skin of an orangehence the name, and yes, drywall people are apparently very committed to fruit-based descriptions. The good news is that orange peel texture is one of the most DIY-friendly wall textures you can create. It hides minor imperfections, looks finished without feeling too busy, and works well in hallways, bedrooms, living rooms, rentals, and patch repairs.
Even better, you do not need the patience of a museum conservator to pull it off. With the right prep, a decent spray setup, and a few test passes on scrap cardboard, you can create a professional-looking finish that blends nicely with existing textured drywall. Whether you are texturing a whole room, fixing a patched section, or trying to make one suspiciously smooth square disappear into the rest of the wall, this guide walks you through the process step by step.
What Is Orange Peel Texture?
Orange peel texture is a light spray-applied finish made from watered-down joint compound or a premixed texture product. Unlike knockdown texture, which is flattened after spraying, orange peel is left alone to dry with a fine, dimpled pattern. It is more subtle than popcorn or slap brush texture, which is why so many homeowners and builders like it. It adds visual interest without making your walls look like they belong in a cave-themed restaurant.
This finish is especially useful when:
- You want to hide small drywall flaws, taped seams, and patched areas.
- You need to match existing wall texture in a newer or builder-grade home.
- You want a finish that is easier to paint and maintain than heavier textures.
- You are repairing damage from anchors, doorknobs, plumbing access, or electrical work.
Orange Peel Texture vs. Other Wall Textures
Before you start mixing mud like a drywall wizard, it helps to know why orange peel is such a common choice.
Orange Peel vs. Smooth Walls
Smooth walls look modern, but they are unforgiving. Every patch, seam, and sanding mistake shows up the moment sunlight hits the wall at an angle. Orange peel gives you a little grace. It softens the look of the surface and helps disguise minor imperfections.
Orange Peel vs. Knockdown
Knockdown starts with a sprayed texture too, but then the peaks are flattened with a drywall knife. Orange peel skips that extra step and stays lightly pebbled. If you want something quick and consistent, orange peel is often easier for beginners.
Orange Peel vs. Roller Texture
A roller can create a similar visual effect for very small patches or faux-texture looks, but a true orange peel finish is usually best achieved with a sprayer or aerosol texture can. A roller tends to create a more stippled pattern, which can work in a pinch but is not always a perfect match.
Tools and Materials You’ll Need
The exact tools depend on whether you are texturing an entire wall or just repairing a patch.
For Larger Areas
- Premixed joint compound or spray texture mix
- Water for thinning
- Drywall texture sprayer or hopper gun
- Air compressor
- Mixing bucket
- Heavy-duty drill with mixing paddle
- Painter’s tape and plastic sheeting
- Drop cloths
- Drywall primer
- Interior wall paint
- Safety glasses, dust mask or respirator, and work clothes
For Small Repairs
- Aerosol orange peel texture spray
- Spackle or joint compound for the patch
- Putty knife
- 220-grit sandpaper
- Primer and matching paint
- Scrap cardboard or drywall for practice
Prep Work: The Part Nobody Wants to Do but Everyone Should
If you skip prep, your wall will make sure you regret it. Orange peel texture may hide minor imperfections, but it will not magically correct loose paint, dust, greasy spots, soft patches, or bad repairs.
Step 1: Clean and Repair the Surface
Start with a clean, dry, sound wall. Remove dust, cobwebs, flaking paint, and anything else that might keep the texture from bonding. If the wall has holes, gouges, tape bubbles, or rough repairs, patch them first. Let the repair compound dry completely, then sand it smooth. Feather the patch beyond the damaged area so you do not leave a visible hump under the new texture.
Step 2: Sand and Wipe Down
Once repairs are dry, sand the area lightly. For patch work, many DIYers use 220-grit sandpaper to soften ridges and blend the repair. Wipe away sanding dust with a damp cloth or microfiber rag. Dust is sneaky. It gets everywhere and ruins paint and texture with equal enthusiasm.
Step 3: Mask Everything
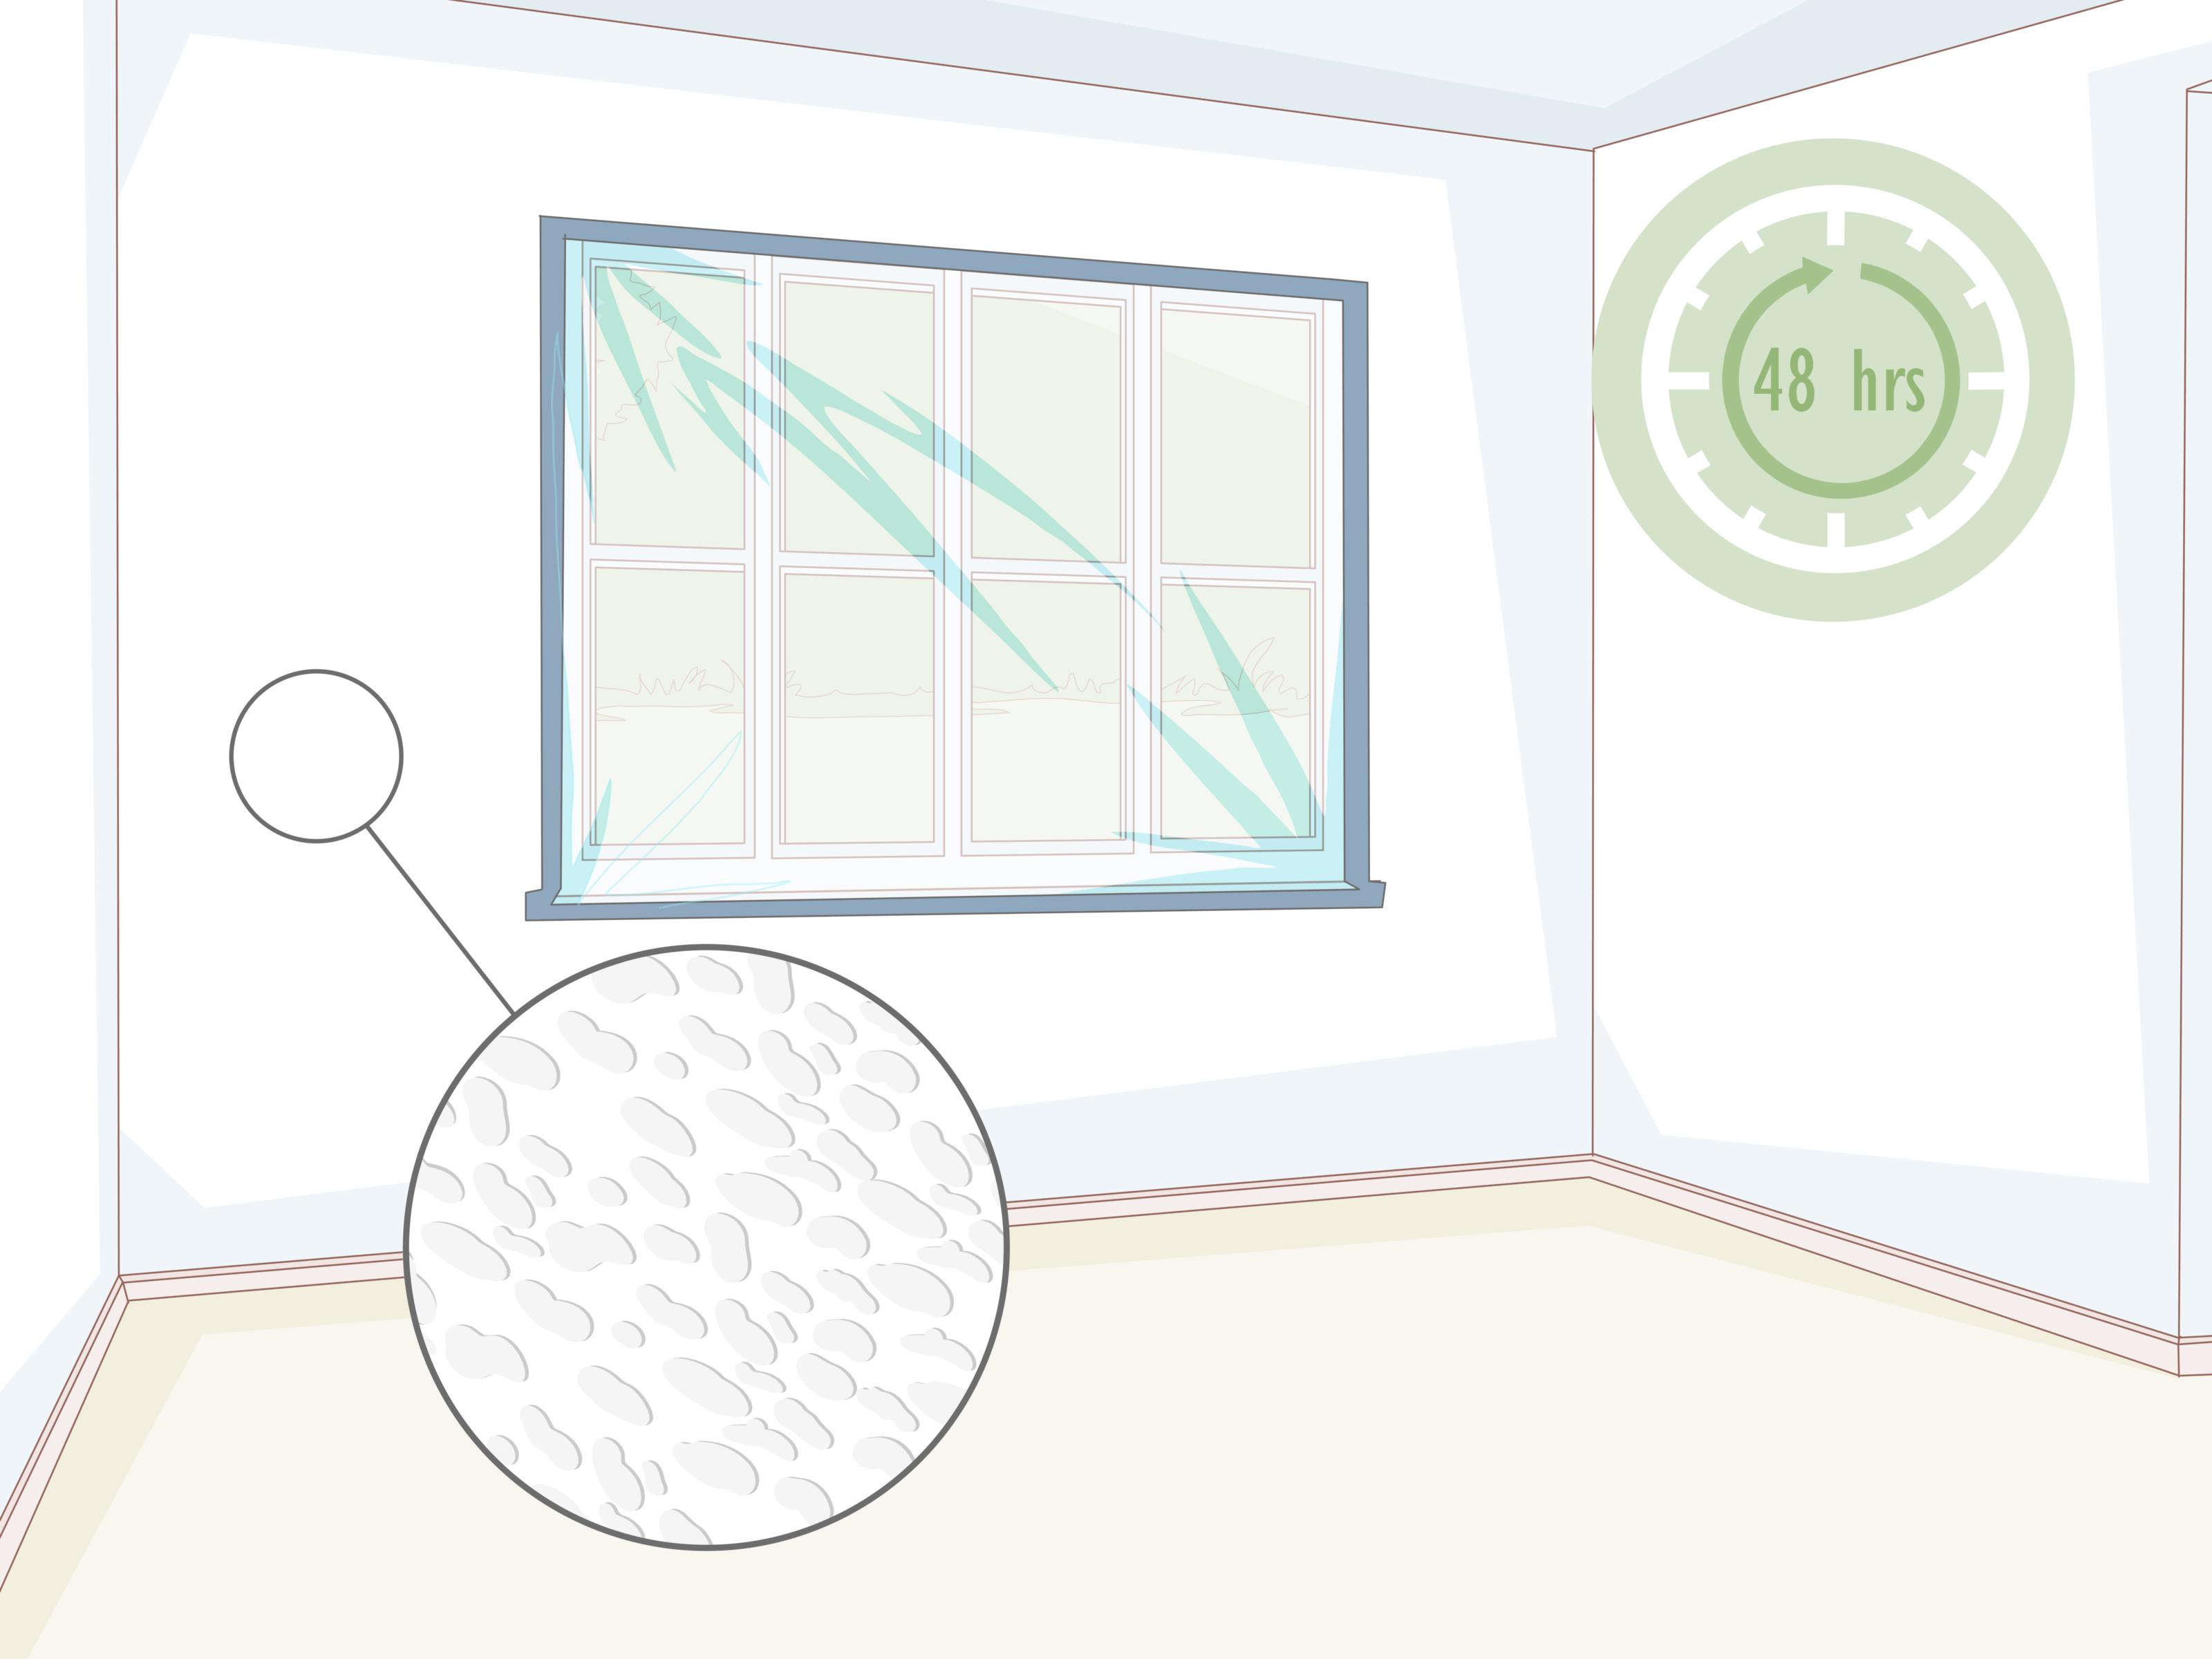
Texture spraying is messy. Cover floors, trim, outlets, windows, doors, furniture, and anything else you do not want freckled with drywall mud. If you are spraying a whole room, mask it like you mean it.
Step 4: Prime if Needed
Primer is especially important on new drywall, patched areas, or mixed surfaces where the drywall paper and joint compound absorb moisture differently. A drywall primer helps equalize porosity so the texture and finish coat look more uniform. If your wall has several repairs or noticeable flashing, a good high-build or drywall primer can make the final result much more consistent.
How to Mix Mud for Orange Peel Texture
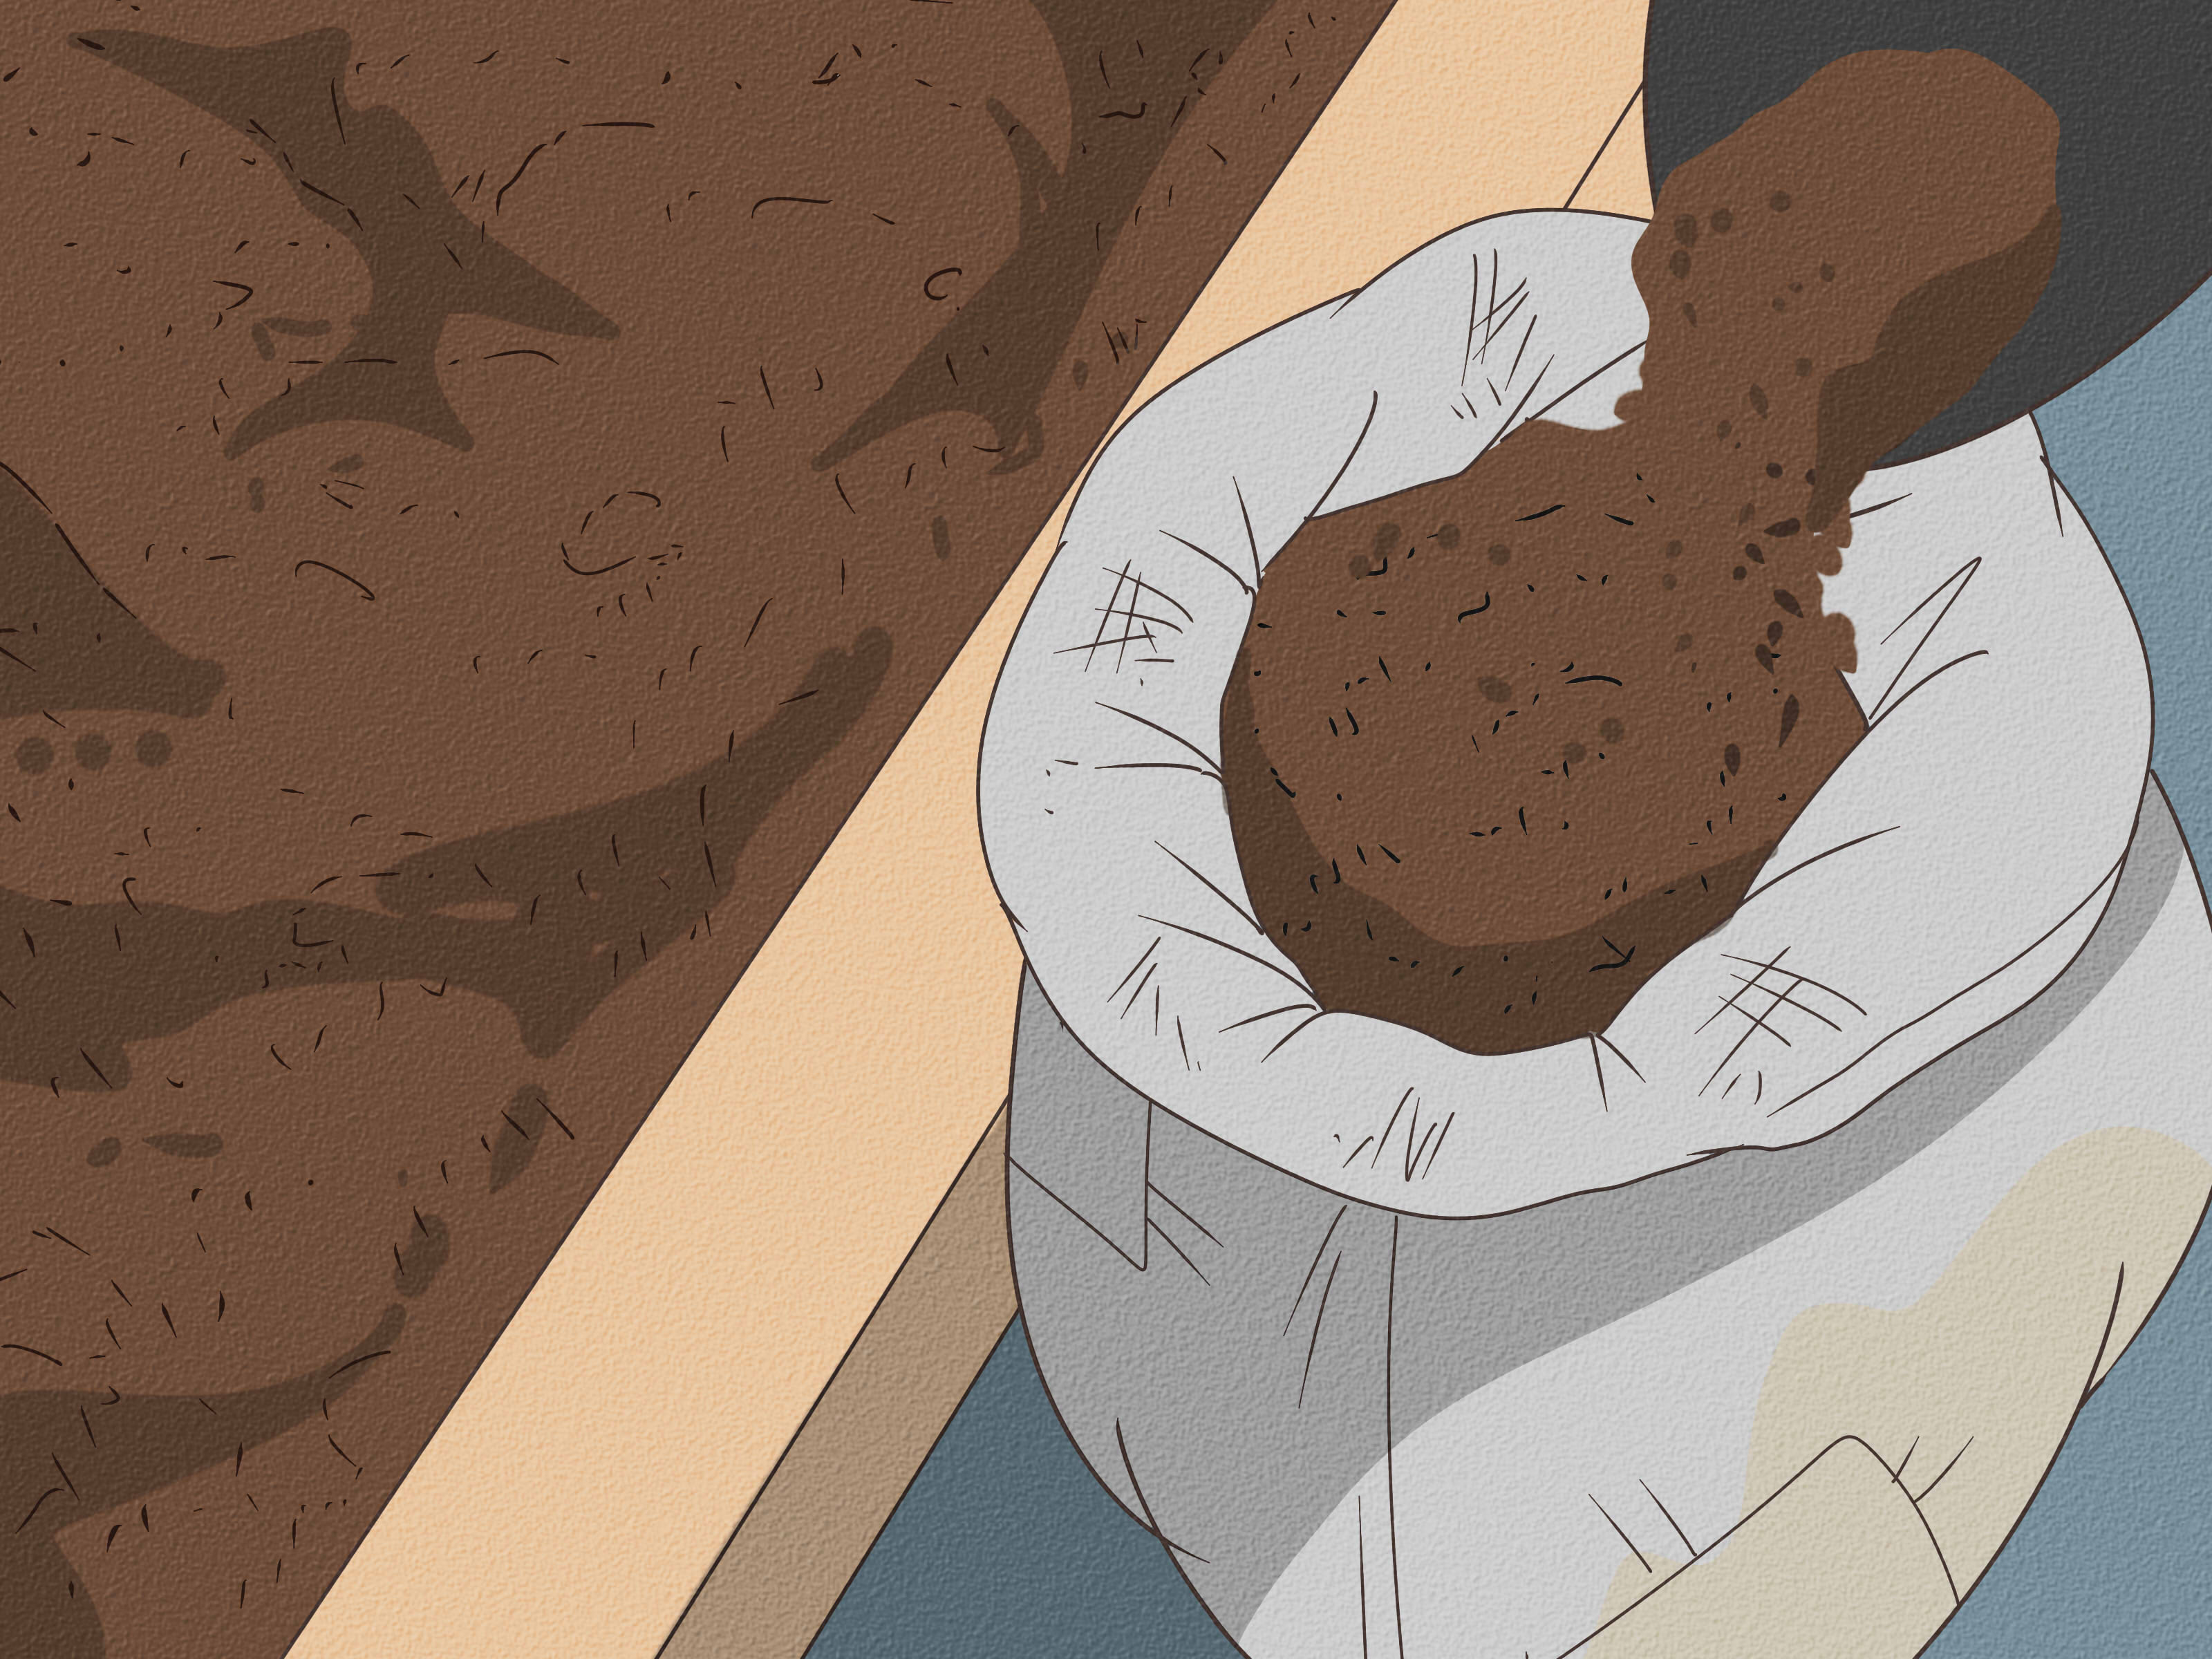
If you are using a hopper sprayer and joint compound, the goal is a smooth, lump-free mix that sprays evenly without running down the wall. Mix the compound thoroughly with a drill and paddle. Add water gradually until you reach a consistency similar to thin pancake batter, light cake batter, or heavy paint. Different products and sprayers vary, so always test first rather than trusting your optimism.
Here is the important part: do not over-thin the mix. Mud that is too watery can create runs, poor bonding, pinholes, cracking, or a sad, weak texture that looks more like accidental overspray than a finish. A slightly thicker mix can usually be adjusted with spray settings, while an over-thinned mix often turns into a wall-shaped regret.
How to Orange Peel Texture Walls With a Hopper Sprayer
This is the best method for entire walls, rooms, additions, or major repairs.
Step 1: Test the Spray Pattern First
Before you point anything at the actual wall, spray onto scrap cardboard, plywood, or extra drywall. This lets you fine-tune the nozzle opening, airflow, and mud consistency. The best test pattern should look evenly dotted and lightly pebbled, not drippy, sharp, or blob-like.
Step 2: Adjust Airflow and Nozzle Settings
More airflow usually means less compound lands on the wall and the texture becomes finer. Less airflow lays down more material and creates a heavier pattern. Small adjustments make a big difference, so do not crank every setting at once like you are launching a rocket.
Step 3: Spray With Smooth, Even Motion
Hold the sprayer at a consistent distance and move your arm in a steady motion across the wall. Overlap each pass slightly so you do not leave thin stripes or bare lanes. Work from top to bottom in sections. Avoid stopping mid-pass unless you are aiming for a texture called “panic patch.”
Step 4: Let It Dry Completely
Do not touch, flatten, or rework the surface once it starts setting unless you are fixing a mistake right away. Orange peel is meant to dry as sprayed. Depending on humidity, temperature, and how heavily you applied it, drying can take from a short repair-window to much longer on larger surfaces. Keep the room ventilated and maintain appropriate temperature conditions.
Step 5: Prime and Paint
Once dry, prime the textured wall if the product requires it or if you used joint compound. Then paint with your finish coat. A roller with the right nap for textured walls helps cover the little valleys without leaving bald spots. For the best color consistency, especially after patches, repaint the entire wall rather than only the repair area.
How to Create Orange Peel Texture With an Aerosol Can
If you are patching a small area, an aerosol texture product is the easiest route. It is fast, beginner-friendly, and ideal for wall dings, anchor holes, repair patches, and those mystery spots left behind by previous homeowners.
Step 1: Shake the Can Thoroughly
Shake it longer than you think you need to. Most products require vigorous shaking after the mixing ball starts rattling, and many also recommend continuing to shake throughout use. If the can is not mixed well, the spray pattern will be inconsistent and your texture will look off.
Step 2: Practice on Scrap Material
This is not optional unless you enjoy gambling with finished walls. Practice on cardboard first so you can learn the nozzle behavior, spray weight, and pattern size. Many cans allow you to adjust from fine to medium or heavy texture.
Step 3: Spray in Light, Overlapping Bursts
Hold the can roughly 12 to 18 inches from the wall and spray in short, controlled bursts. Overlap slightly to avoid empty spots. Build the texture slowly instead of trying to nail it with one heroic blast. Several light passes are easier to control than one thick pass.
Step 4: Blend the Edges
Feather the new texture into the existing wall so there is no obvious border around the repair. If it does not look right, some products let you scrape it off and try again before it fully dries. That is the kind of second chance every DIY project deserves.
Step 5: Clear the Nozzle and Let It Dry
Clean the nozzle according to product instructions, often by inverting the can and spraying a quick burst to clear the tip. Then let the texture dry fully before priming or painting.
How to Match Existing Orange Peel Texture
Matching existing texture is the hardest part, not creating texture from scratch. Old walls have their own pattern, density, and paint buildup, so the goal is usually “blends in from normal human distance,” not “indistinguishable under dramatic flashlight inspection.”
- Study the size of the texture: Is it fine, medium, or coarse?
- Match the density: Some walls are lightly dotted; others are much heavier.
- Spray sample boards first: Hold them next to the wall before committing.
- Use multiple light passes: It is easier to add texture than remove it.
- Prime and paint the full wall if needed: Color and sheen differences often make repairs more obvious than the texture itself.
Common Mistakes to Avoid
Skipping the Test Spray
This is the classic DIY mistake. Always test your pattern first.
Using Mud That’s Too Thin
Too much water can cause runs, cracking, pinholes, and weak texture.
Spraying Too Close
If you crowd the wall, you will get blobs instead of orange peel.
Ignoring Surface Prep
Loose paint, dust, and rough patches will show through or cause adhesion problems.
Only Painting the Patch
Even if the texture is good, a small painted patch can flash differently in light. Repainting the whole wall often gives the cleanest finish.
Best Places to Use Orange Peel Texture
Orange peel texture works well in living rooms, hallways, bedrooms, stairwells, rentals, and ceilings with minor flaws. It is especially practical in busy households because it helps disguise small scuffs and imperfections over time. If you want something subtle but forgiving, it is hard to beat.
Real-World Experience: What DIYers Usually Learn the Hard Way
One of the most common experiences people have with orange peel texture is underestimating how much the final look depends on practice before the real spray. On paper, the process sounds simple: mix mud, load sprayer, spray wall, admire work, enjoy snack. In reality, the first few passes often come out too heavy, too fine, too wet, or too random. That is why experienced DIYers almost always talk about the value of sample boards. Spending 10 minutes practicing on cardboard can save hours of sanding, scraping, and saying things at the wall that would embarrass your ancestors.
Another common lesson is that texture matching is more about restraint than force. Beginners often think the answer is more mud, more pressure, more spray, more everything. But the best matches usually come from lighter passes built up gradually. A small repair nearly always blends better when the texture is sneaked up on, not blasted into existence like a drywall thunderstorm. Many people also discover that the edge of the repair is what gives them away. The center may look perfect, but if the perimeter is too sharp, the patch still stands out. Feathering matters.
There is also the universal surprise that paint changes everything. A repair may look terrible when dry and white, then suddenly blend beautifully once it is primed and painted. The reverse can happen too: a patch that looked fine before paint suddenly flashes under side lighting because the sheen is different. That is why seasoned homeowners often repaint the entire wall, especially in rooms with strong natural light. It feels annoying in the moment, but it usually looks much better in the long run.
Humidity, temperature, and patience show up in almost every real-life orange peel story as well. On a dry day, the texture may set fast and behave beautifully. On a damp day, the same product can stay soft longer, spatter differently, and make you question every life choice that brought you to a ladder holding an aerosol can. People who get the best results tend to work in moderate conditions, keep the room ventilated, and avoid rushing the dry time.
Finally, most people who have done this more than once will tell you orange peel texture is forgiving, but not magical. It can hide minor flaws, not bad repairs. If the patch is lumpy, the tape ridge is visible, or the wall was never sanded smooth, texture will not erase the problem. It will simply decorate it. The happiest DIY outcomes usually come from careful prep, realistic expectations, and a willingness to redo one small section instead of defending a bad result out of pride. In other words, orange peel texture rewards patience, not ego. Frankly, that is solid advice for home improvement in general.
Conclusion
If you want a wall finish that is practical, attractive, and forgiving, orange peel texture is one of the smartest choices you can make. It hides minor imperfections, works well for both whole-wall applications and repair patches, and gives your space a finished look without overwhelming the room. The keys to success are simple: prep the wall well, mix or spray carefully, test your pattern first, build the texture gradually, and do not skip primer and paint. Follow those steps, and your walls can go from suspiciously patchy to confidently polished.