Note: This guide is intended for account owners, parents, guardians, or authorized users managing their own mobile account settings. If Web Guard was enabled by a parent, guardian, school, or account holder, do not try to bypass it. Ask the person who manages the account to review the setting with you.
Introduction: When Web Guard Gets a Little Too Guard-y
Web Guard is one of those mobile account features that usually sits quietly in the backgrounduntil suddenly it blocks a page you actually need. Maybe you are trying to open a work portal, a health website, a travel booking page, or a harmless forum, and instead of the page loading, you see an access message that makes your phone feel like it just put on a tiny security uniform.
In simple terms, Web Guard is a content-filtering feature commonly associated with T-Mobile accounts. It is designed to help restrict access to certain categories of online content, especially adult-oriented or potentially unsafe websites, when a device is using the mobile carrier’s cellular network. It can be useful for families, shared plans, and younger users, but there are times when an authorized account holder may want to turn it off, lower the filtering level, or troubleshoot false blocks.
This guide explains how to turn off Web Guard in a responsible, account-owner-approved way. You will learn what Web Guard does, who can change it, how to find the setting, how to choose “No Filtering,” and what to check if websites are still blocked afterward. No secret tricks, no sketchy workarounds, no digital trench coat requiredjust clear, practical steps.
What Is Web Guard?
Web Guard is a carrier-level content filter. Unlike a browser extension or an app installed directly on your phone, it works through the mobile account and affects web access when the device is connected to the carrier’s cellular network. That means it may behave differently on mobile data than it does on home Wi-Fi.
Depending on the account and service setup, Web Guard may offer different filtering levels such as Low, Medium, High, or No Filtering. Lower settings may block clearly unsafe or adult categories, while stronger settings may also restrict broader categories such as social platforms, file-sharing sites, dating-related pages, gambling information, or other content groups. The exact categories can change, so it is always wise to review the current filter details inside the account dashboard before saving changes.
Before You Turn Off Web Guard: Know These Important Rules
Before jumping into the steps, make sure you are allowed to make this change. Web Guard is usually controlled by the Primary Account Holder or by someone with full account permissions. If you are not the account owner, the correct move is simple: ask the account owner to review the setting.
Also remember that Web Guard is not the same thing as every other parental control. Your phone, tablet, browser, operating system, search engine, router, school network, or workplace network may have separate filters. Turning off Web Guard does not automatically remove Apple Screen Time restrictions, Google Family Link settings, Microsoft Family Safety filters, router-level controls, or school/work internet rules.
How to Turn Off Web Guard: 11 Steps
Step 1: Confirm That Web Guard Is Actually the Issue
Start by checking the message you see when a page is blocked. If the message specifically mentions Web Guard, content filtering, restricted content, SafeSearch locked by a network, or access denied through a carrier feature, Web Guard may be involved. If the message comes from a school, workplace, browser extension, antivirus app, or Wi-Fi router, then Web Guard may not be the problem.
A quick clue: Web Guard usually affects browsing on cellular data. If a website works on trusted home Wi-Fi but not on mobile data, carrier-level filtering becomes more likely.
Step 2: Make Sure You Are Authorized to Change the Setting
Only the Primary Account Holder or a user with the correct account permissions should turn off Web Guard. If you are managing your own account, continue. If someone else manages the plan, ask them to make the change or explain why the filter is needed.
This matters because Web Guard is often used as a family safety tool. Disabling it without permission can create trust issues and may violate household, school, or account rules. Internet freedom is great; sneaking around account controls is not the winning strategy.
Step 3: Open the T-Mobile or T-Life App
On your phone, open the T-Mobile app or the newer T-Life app, depending on which one your account uses. Sign in with the account credentials connected to the mobile plan. If the app asks for two-factor verification, complete the verification using the approved method.
If you cannot sign in, do not guess passwords or try to access someone else’s account. Use the official password recovery process or contact the account owner.
Step 4: Go to Manage or Account Settings
Once inside the app, look for a section such as Manage, Account, Profile, or All Account Settings. App menus change over time, so do not panic if your screen does not match an older tutorial exactly. Mobile apps love moving buttons around like furniture before guests arrive.
The goal is to reach the area where family controls or line-level permissions are managed.
Step 5: Select the Correct Line
If the account has more than one phone line, choose the line you want to review. This is important because Web Guard may be enabled on one line and not another. A parent’s line, a teen’s line, a tablet line, and a business line may all have different settings.
Double-check the phone number or nickname before changing anything. Accidentally changing the wrong line is the tech-support version of putting salt in your coffee.
Step 6: Open Family Controls
Inside the selected line’s settings, look for Family Controls, Parental and Family Controls, or a similar menu. This is where carrier-level restrictions are usually managed.
If you do not see Web Guard in this area, your account may not have permission to edit it, the account may use a different family-control product, or the feature may not be available on that plan or line.
Step 7: Choose Web Guard
Tap or click Web Guard. You should see available filtering levels. These may include options such as High, Medium, Low, or No Filtering. Review the details before making a change so you understand what each level blocks.
If you are adjusting settings for a family member, this is a good time to talk through expectations. Filters work best when they support a clear agreement, not when they become a mystery switch nobody understands.
Step 8: Select “No Filtering” to Turn Web Guard Off
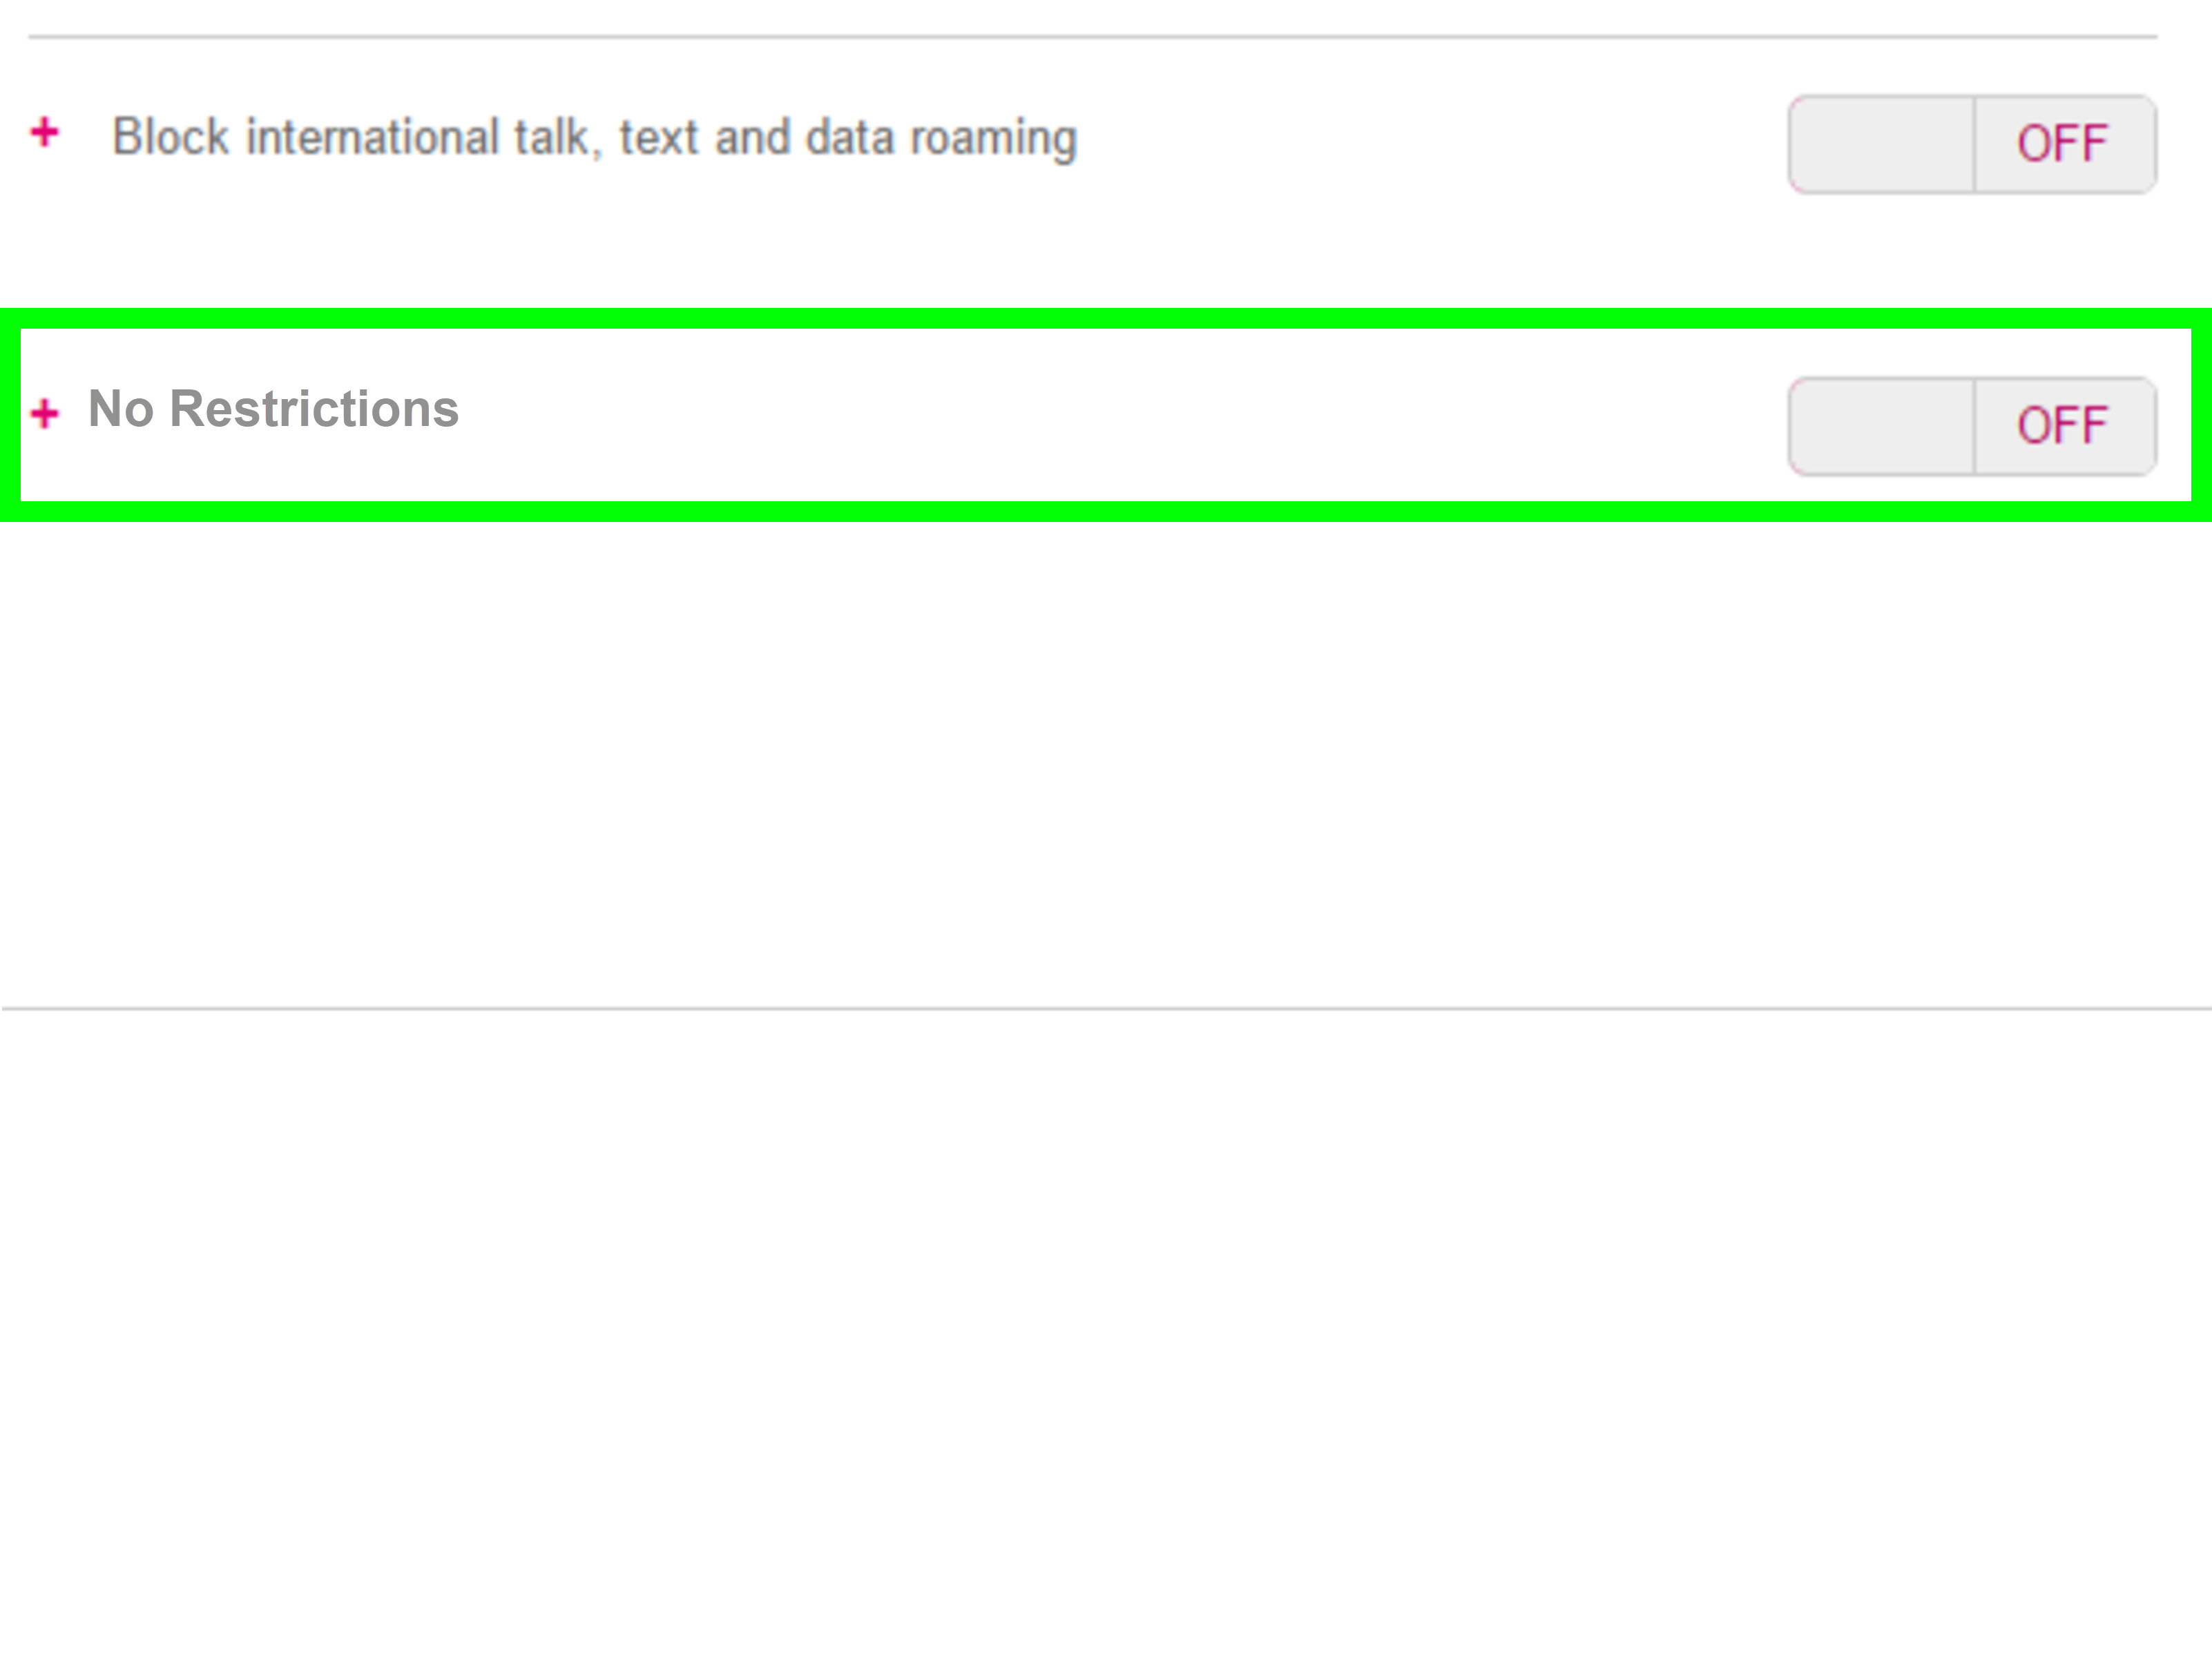
To turn off Web Guard, select No Filtering. This tells the account system that Web Guard should no longer filter web content for that line through the carrier network.
For some households, turning Web Guard completely off may not be the best choice. A lower filter level may solve false blocks while still protecting against clearly unsafe content. If the problem is one wrongly blocked website, consider whether changing from High to Medium or Low is enough.
Step 9: Save the Change
After selecting No Filtering, tap or click Save, Save Changes, or the equivalent button. Do not close the app before saving. Unsaved settings are like gym memberships you never use: technically present, but not doing anything.
You may receive a confirmation message. Some changes happen quickly, while others may take a short time to apply across the network.
Step 10: Restart the Browser or Device
After saving the change, close and reopen your browser. If the site is still blocked, restart the phone. You can also toggle Airplane Mode on and off to refresh the cellular connection.
Clear the browser cache if a blocked page message keeps appearing even after the setting has changed. Sometimes the browser remembers an old blocked page like it is holding a tiny grudge.
Step 11: Test on Cellular Data and Review Other Filters
Turn Wi-Fi off temporarily and test the website using cellular data. If the website now loads, Web Guard was probably the cause. If it still does not load, another filter may be involved.
Check whether Apple Screen Time, Google Family Link, Microsoft Family Safety, antivirus tools, browser safe browsing settings, DNS filters, router controls, school profiles, or workplace management software are active. Web Guard is only one layer in the content-filtering sandwich.
How to Turn Off Web Guard on T-Mobile.com
If you prefer using a computer, you may be able to manage Web Guard through the account website instead of the mobile app. Sign in to the official account portal, open your profile or account settings, choose the correct line, find Family Controls, select Web Guard, choose No Filtering, and save the change.
The website route can be easier if you manage multiple lines because a larger screen makes it simpler to review each number. It is also helpful if the mobile app is not loading properly or if you want to compare settings across several lines.
Why Web Guard Might Still Block Websites After You Turn It Off
If you selected No Filtering and saved the change but websites still appear blocked, do not immediately assume the internet has personally betrayed you. Several normal issues can explain it.
The Change Has Not Fully Updated Yet
Account changes may take a little time to apply. Restarting the phone, refreshing the cellular connection, or waiting briefly before testing again can help.
You Are on Wi-Fi With a Separate Filter
Web Guard is tied to the mobile carrier network. If you are using school Wi-Fi, workplace Wi-Fi, public Wi-Fi, or a home router with content filtering, that network can still block websites even after Web Guard is off.
FamilyMode or Another Family-Control Service Is Active
Some accounts use broader family-control tools that can manage screen time, app access, websites, and device limits. If another service is active, Web Guard may not be the only setting involved.
SafeSearch or Restricted Mode Is Locked Somewhere Else
Search engines, YouTube, browsers, school accounts, and family safety tools can lock SafeSearch or restricted modes separately. Turning off Web Guard does not always unlock those settings.
Should You Turn Off Web Guard or Just Lower the Filter Level?
Turning off Web Guard is not always the best answer. If the filter is blocking too much, a lower level may be more practical than removing it completely. For example, a High filter may block social platforms, video-sharing sites, or broader categories that are not necessarily unsafe in every context. A Low or Medium setting may reduce false positives while still offering basic protection.
Think of it like sunscreen. You might not need the strongest SPF indoors, but going without any protection at noon on a beach is a bold life choice. The right setting depends on the user, the device, the purpose, and the household rules.
Safety Tips for Families and Account Owners
If you are a parent or guardian managing Web Guard, use it as part of a larger conversation about online safety. Filters can help, but they are not perfect. They may miss some content and block some harmless pages. The strongest setup usually combines clear rules, age-appropriate settings, device-level controls, and open communication.
For shared family plans, review each line separately. A younger child, older teen, parent, and business user may need different restrictions. Also check device-level settings such as Screen Time on iPhone, Family Link on Android, and Family Safety on Windows devices.
For account owners managing their own line, document what you changed. If a website stops working later, you will know whether Web Guard is off, lowered, or still active.
Common Mistakes to Avoid
Mistake 1: Changing the Wrong Line
Always verify the phone number before saving changes. Multi-line accounts can be confusing, especially when lines are labeled with nicknames like “Dad,” “Tablet,” or “Mystery iPhone from 2019.”
Mistake 2: Forgetting to Save
Selecting No Filtering is not enough if you leave the page without saving. Look for a confirmation message before closing the app or browser.
Mistake 3: Blaming Web Guard for Every Blocked Website
Not every blocked website is caused by Web Guard. Browser settings, Wi-Fi networks, DNS filters, school profiles, workplace tools, and website outages can all look similar from the user’s side.
Mistake 4: Using Workarounds Instead of Account Settings
Do not use unauthorized workarounds to dodge family, school, workplace, or account restrictions. The safest and cleanest solution is to review the official settings with the person who manages the account.
500-Word Experience Section: What It’s Really Like to Deal With Web Guard
Anyone who has dealt with Web Guard knows the experience can feel confusing at first. One minute your phone is browsing normally, and the next minute a website refuses to load with a message that sounds like it was written by a very serious robot. The tricky part is that the block does not always explain the whole story. It may say content is restricted, but it may not clearly tell you whether the issue is Web Guard, SafeSearch, Wi-Fi filtering, device restrictions, or a separate parental-control app.
In real-world use, the most common frustration is false blocking. A completely ordinary website may get placed in a category that triggers the filter. For example, a discussion forum might be blocked because it contains user-generated content. A health article might be restricted because it discusses sensitive topics. A shopping page might be filtered because it sits inside a broader category. This is why account owners should review filter levels carefully before assuming the only solution is to turn everything off.
Another common experience is menu confusion. Carrier apps and account dashboards change frequently. A guide written last year may say to tap “Profile,” while the current app says “Manage.” The feature may be under Family Controls on one screen and Parental and Family Controls on another. This does not mean you are doing anything wrong. It simply means app designers enjoy hide-and-seek more than most people would prefer.
The smoothest experiences usually happen when the account owner starts with a simple checklist. First, confirm the blocked page appears on cellular data. Second, check whether the account has Web Guard enabled on that specific line. Third, decide whether No Filtering is appropriate or whether a lower level is safer. Fourth, save the change and restart the browser or phone. Finally, test again without Wi-Fi. This calm, step-by-step approach prevents random button tapping, which is how many tech problems accidentally become bigger tech problems.
Families often find that the best long-term solution is not just a setting change but a conversation. If Web Guard is too strict for an older teen, the account owner might agree to lower the filter while keeping device-level protections in place. If a younger child is using the line, stronger settings may still make sense. For adults using their own account, turning Web Guard off can be reasonable when it interferes with legitimate browsing, work tools, privacy features, or research.
The biggest lesson is this: Web Guard is a tool, not a magic shield. It can help reduce exposure to unwanted content, but it cannot replace good judgment, account security, or family rules. When managed properly, it can be useful. When misunderstood, it can feel like your phone suddenly developed a strict personality. The goal is to choose the setting that fits the user, the account, and the situationwithout sneaking around controls or ignoring why they were enabled in the first place.
Conclusion
Turning off Web Guard is usually straightforward when you are the Primary Account Holder or an authorized user: sign in, choose the correct line, open Family Controls, select Web Guard, choose No Filtering, and save. The important part is doing it responsibly. Web Guard may exist for a reason, especially on family accounts, so any change should respect account permissions and household rules.
If websites are still blocked after Web Guard is off, check for other filters such as Wi-Fi restrictions, Apple Screen Time, Google Family Link, Microsoft Family Safety, browser settings, SafeSearch, or school and workplace controls. A smart troubleshooting process saves time, prevents frustration, and keeps your internet settings from turning into a digital guessing game.