A backyard firepit is one of those upgrades that feels suspiciously fancy for something that mostly involves sitting outside and staring at flames like a happy raccoon. Done right, it becomes the center of your outdoor living space: part gathering zone, part design feature, part excuse to own more Adirondack chairs than any one household should reasonably need.
But a good firepit is not just a pile of blocks with ambitions. It needs smart placement, proper drainage, heat-resistant materials, and a design that fits your yard, your budget, and your patience level. Some homeowners want a rustic wood-burning ring. Others want a polished paver patio centerpiece. Others want the “push a button and look impressive” convenience of gas. All are valid. All can look great. And all can go sideways if you skip the planning stage and build first, think later.
This guide breaks down four practical ways to build a backyard firepit, along with the pros, cons, materials, and real-life lessons that make the difference between a cozy backyard destination and an expensive circle of regret.
Before You Build: The 5 Things That Matter Most
1. Location beats decoration
The prettiest firepit in the world still fails if it sits too close to your house, under low branches, next to a fence, or in a spot where smoke blows straight through the kitchen window. Choose a flat, open area with room for seating and safe movement around the fire. Think about wind direction, nearby structures, overhead clearance, and how people will walk to the pit at night.
2. Drainage is not optional
Water loves low spots, and firepits are often built in low spots because they look cozy there. Then it rains, the pit fills like a birdbath, and suddenly your “backyard retreat” looks like a failed archaeology project. A stable base with gravel, paver base, and, if needed, a drainage trench or drain line will help keep the pit usable and longer-lasting.
3. Use heat-friendly materials
Not every stone or block is happy around high heat. Use products rated for firepit or heat exposure, especially for the inner liner or interior walls. Fire brick, steel inserts, lava rock, and properly selected retaining-wall blocks are common choices. Random rocks from the yard may look charming, but they are not a personality test worth taking.
4. Think about fuel now, not later
Wood-burning firepits deliver the classic crackle, smell, and campfire ritual. Gas firepits trade some of that drama for convenience, cleaner combustion, and easier start-up. If you hate ash, smoke, and tending a fire, build for propane or natural gas from the beginning instead of pretending you will “learn to enjoy” splitting logs.
5. Check local rules first
Before buying blocks, check municipal fire rules, HOA restrictions, seasonal burn bans, and any permit requirements. Rules vary widely by location, and a firepit that is perfectly acceptable in one area may be restricted in another. This is not the glamorous part of backyard design, but it is much cheaper than rebuilding after the fact.
Way 1: Build a Classic Above-Ground Block Firepit
This is the most popular DIY route for a reason. A round or square firepit made from retaining-wall blocks is affordable, customizable, and beginner-friendly. It looks substantial without requiring a mason’s résumé, and it works well in both casual and polished backyards.
Best for
Homeowners who want a permanent firepit with a traditional look and a reasonable budget.
How it works
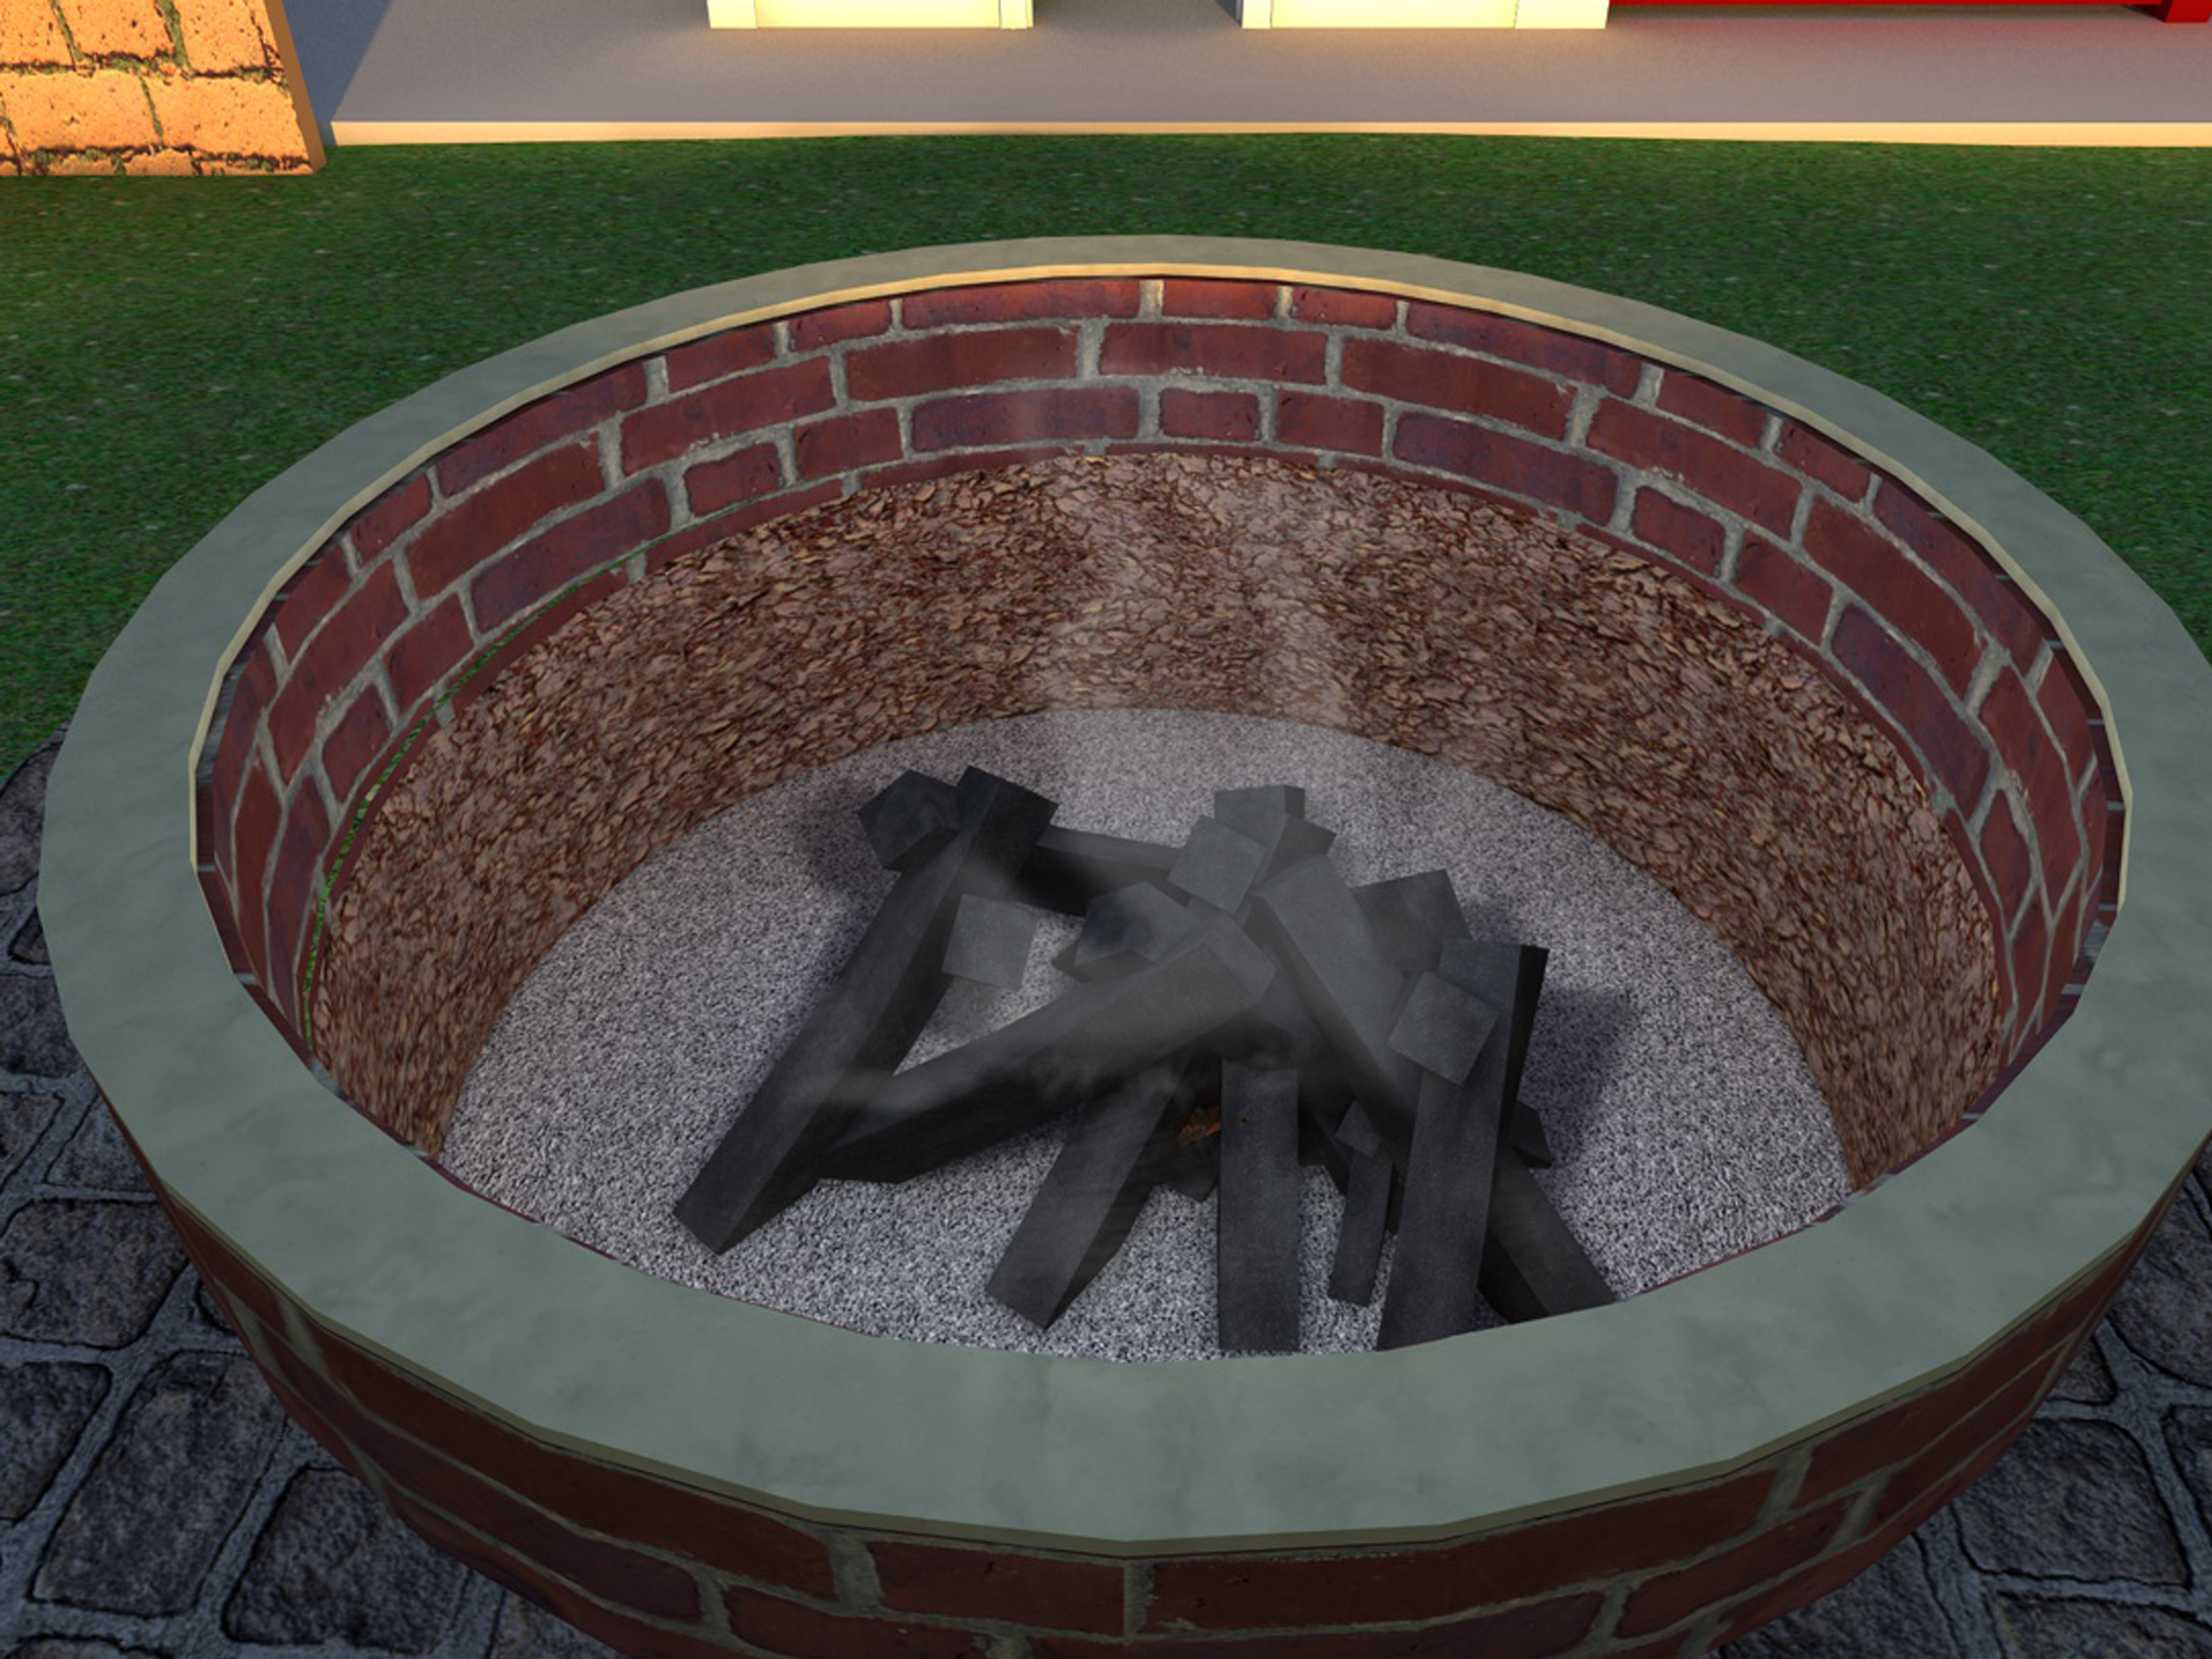
You mark the footprint, excavate the area, add a compacted base, and stack retaining-wall blocks in courses. Many builders use construction adhesive between rows, then line the interior with fire brick or a steel ring to protect the outer blocks from direct heat. Lava rock or gravel can help stabilize the interior and improve drainage.
Why it works so well
This design is forgiving. The blocks are easy to find, easy to arrange, and available in colors and shapes that can mimic stone or create a cleaner contemporary look. You can keep it simple with two or three rows, or dress it up with capstones and a matching patio. It also makes it easy to size the firepit to your space instead of settling for whatever a store happens to stock.
Smart design tips
- Keep the interior large enough for a usable fire but not so large that people need marshmallow catapults.
- Stagger the joints between rows for strength and a cleaner look.
- Add a steel ring or fire-brick liner so the structure lasts longer.
- Pair the pit with gravel or pavers around it to reduce mud and improve circulation.
Pros
Custom look, durable structure, beginner-friendly process, easy to match with patios and seating walls.
Cons
Heavier labor than a portable option, more prep work, and poor leveling will haunt the final result forever.
Way 2: Build an In-Ground Firepit With a Paver Surround
If you want a firepit that feels integrated into the landscape, an in-ground design is a strong choice. It sits lower, looks more built-in, and often feels more intentional than a simple ring sitting on top of the lawn. It also gives you a cleaner transition into a surrounding patio area.
Best for
Backyards with a dedicated outdoor living area, especially if you already have or want a paver patio.
How it works
You excavate a deeper center area and prepare a perimeter for blocks or stone. The build typically includes compacted paver base, gravel for drainage, leveling sand for the patio surface, and pavers around the firepit itself. If the site tends to hold water, a drain or trench becomes especially important.
Why homeowners love it
An in-ground firepit feels less bulky and more architectural. It can blend beautifully with a patio, seating zone, or landscaped edge. Since the flames sit lower, some homeowners also like the cozier visual effect. In a thoughtfully designed yard, this version looks less like an add-on and more like part of the original plan.
Where people get it wrong
The main danger is forgetting that a hole in the ground plus rain equals a surprise pond. Another common mistake is rushing the patio prep. If the base is uneven, the pavers shift, the pit looks crooked, and every guest will notice even if they politely pretend not to.
Pros
Built-in appearance, lower visual profile, excellent with patios, easy to create a finished entertaining zone.
Cons
More excavation, more drainage planning, and usually a bit more cost than a basic above-ground ring.
Way 3: Build a Budget Firepit With a Metal Ring and Gravel Pad
This is the fast, practical, “I want a firepit this weekend, not next month” option. A metal fire ring set into pea gravel or crushed stone can look rustic, modern, or camp-inspired depending on the seating and landscaping around it. It is simple, affordable, and surprisingly attractive when the area is finished thoughtfully.
Best for
Smaller budgets, casual outdoor spaces, first-time DIYers, or homeowners who want a low-commitment upgrade.
How it works
You clear and level the area, create a noncombustible base using gravel or stone, and install a metal fire ring or bowl. You can leave it as a straightforward gravel-circle design or dress it up with edging stone, stepping paths, and simple chairs. This option often goes from idea to reality in a single afternoon.
Why it earns a spot on this list
Not every yard needs a fortress of stacked blocks. A gravel-based metal-ring firepit keeps costs down, improves drainage, and gives you flexibility. It is especially useful in rustic backyards, vacation properties, or homes where you want the gathering experience more than a full hardscape project.
How to make it look intentional
- Use edging to define the gravel area.
- Add a short path from the house so the space feels connected.
- Choose matching chairs instead of a random assortment that looks like a yard sale with sparks.
- Use a spark screen if your setup is open and breezy.
Pros
Low cost, fast installation, excellent drainage, easy to maintain, and easy to update later.
Cons
Less permanent look, less heat mass, and it can appear temporary if the surrounding area is not styled well.
Way 4: Build a Gas Firepit for a Cleaner, Easier Burn
If your dream firepit involves less smoke, less cleanup, and more “turn knob, become ambiance legend,” a gas firepit deserves serious consideration. You can build one as a fire table, a masonry surround with a burner pan, or a custom insert in a backyard seating area.
Best for
Homeowners who prioritize convenience, cleaner burning, lower smoke output, and a polished outdoor-living look.
How it works
A gas firepit uses a propane tank or natural gas line connected to a burner system, usually with fire glass or lava rock on top for a finished appearance. The surrounding structure can be concrete, block, stone veneer, metal, or a prefabricated table. Natural gas setups are especially useful for permanent installations, while propane gives more flexibility.
Why this option keeps getting more popular
Gas avoids many of the common annoyances of wood: ash, heavy smoke, storing firewood, and relighting a stubborn fire. It is also easier for entertaining because the flame is consistent and immediate. If you live in a dense neighborhood or have family members who are sensitive to smoke, gas can be the peacekeeping option.
The important catch
Gas is not the place to improvise with mystery fittings and confidence. Permanent natural gas connections, code compliance, and burner installation are better handled by a qualified professional. You can absolutely DIY the decorative surround, but the fuel connection itself is where smart homeowners stop pretending YouTube is a license.
Pros
Cleaner combustion, no ash, easy ignition, great for entertaining, sleek appearance.
Cons
Higher cost, less traditional campfire feel, and professional help is often needed for the gas connection.
Which Backyard Firepit Style Is Right for You?
If you want the best balance of cost, durability, and classic charm, choose the above-ground block firepit. If you are building a whole backyard hangout and want a polished result, choose the in-ground firepit with a paver surround. If your priority is affordability and speed, the metal ring on gravel is your best friend. And if you want modern convenience with less smoke and cleanup, the gas firepit is the premium move.
The right answer is not the fanciest answer. It is the one that matches how you actually live. A beautiful wood-burning firepit is not a win if you hate tending fires. A gas fire table is not ideal if what you really want is the smell of oak smoke and the sound of crackling logs. Build for your habits, not your fantasy self.
Common Firepit Mistakes to Avoid
- Skipping the local code check and assuming “everyone has one” is a legal strategy.
- Building on grass without a proper base.
- Ignoring drainage until the first storm proves a point.
- Using materials not rated for heat exposure.
- Placing the pit too close to structures, fences, or branches.
- Burning wet wood, trash, or treated wood.
- Forgetting the seating zone and only planning the fire itself.
Real-World Experiences: What People Often Learn After Building a Backyard Firepit
The most interesting thing about a backyard firepit is that the build is only half the story. The real education begins after the first few evenings outside. Homeowners often imagine the firepit as a simple feature, but it quickly turns into a lifestyle test. Do you actually enjoy managing a wood fire? Do your guests naturally gather there, or do they hover awkwardly because the chairs are too far away and the heat is too uneven? Does the smoke drift toward the seating area every single time, as if personally offended by your design choices?
One of the most common experiences is realizing that the surrounding zone matters as much as the pit itself. A firepit with no path, no gravel, and no intentional seating can feel unfinished, even if the firepit structure looks great. People remember whether they had a place to set a drink, whether their shoes got muddy, and whether they could move around safely in the dark. In other words, the “experience” of the firepit is built from the edges inward, not just from the flames outward.
Another lesson people often learn is that smoke tolerance varies wildly. The person who romanticizes woodsmoke in theory may be the same person who retreats indoors after ten minutes because their hoodie now smells like a cabin that lost a bet. This is why seasoned dry wood, smart placement, and wind awareness matter so much. It is also why many homeowners eventually admit that a gas firepit, while less dramatic, gets used more often simply because it is easy.
Maintenance becomes part of the experience too. Ash has to go somewhere. Gravel needs occasional raking. Covers matter more than expected. After a few rainstorms, most people become passionate believers in drainage. The firepit that looked amazing on installation day is far less magical when it is full of wet debris, muddy ash, and one very confused leaf pile. A cover, a small storage bench, and a plan for cleanup usually make the difference between a feature you use and one you admire from the window.
There is also the social side. A good backyard firepit changes how people gather. Conversations stretch longer. Teenagers appear without being asked. Neighbors suddenly become friendlier when there is light, warmth, and a chair waiting. The firepit often becomes less about fire and more about permission to slow down. It creates a place where phones get ignored for a minute, where dinner turns into dessert, and where someone always says, “We should do this more often,” which, for once, might actually be true.
And then there is the emotional experience of getting the scale right. Too small, and the pit feels decorative rather than useful. Too large, and it can dominate the yard like an ancient ceremonial site. The sweet spot is usually a firepit that feels generous without shouting. When homeowners get that balance right, the backyard starts to feel finished in a way few other projects can match. The firepit is warm in every sense: visually, socially, and practically. It gives the yard a center of gravity.
That is why the best backyard firepit projects are not just well-built. They are well-lived with. They anticipate the muddy shoes, the windy nights, the s’mores crumbs, the chair rearranging, and the random Tuesday evening when you light a small fire just because the weather feels right. Build with those experiences in mind, and your firepit becomes more than a project. It becomes one of the few home upgrades that people genuinely use, remember, and talk about long after the tools are put away.
Conclusion
The best backyard firepit is not determined by price or size. It is determined by fit. A block firepit offers classic charm and durability. An in-ground pit creates a built-in look. A metal ring on gravel is the quick and budget-friendly hero. A gas firepit delivers convenience and cleaner burning. Choose the method that matches your space, your habits, and your willingness to maintain it.
Most of all, build for real life. Plan the location carefully, prepare the base properly, use heat-resistant materials, and think beyond the fire itself to the full outdoor experience. Do that, and your backyard firepit will not just look good in photos. It will become the place where people actually want to be.