A DIY kitchen island with butcher block and beadboard is one of those rare home projects that checks all the boxes: it looks custom, adds real function, and makes your kitchen feel like it finally got its act together. You get warm wood on top, charming cottage-style texture on the base, and a hardworking surface for prep, serving, storage, and the occasional dramatic “Where did I put the garlic?” moment.
The beauty of this project is flexibility. You can build an island from stock cabinets, a simple wood frame, a repurposed table, or even a dresser hack if you’re feeling crafty and mildly unstoppable. Then you wrap the base in beadboard, add trim so it looks intentional rather than accidental, and top it with butcher block for that classic farmhouse-meets-workhorse finish.
If you want a kitchen upgrade that feels high-end without demanding a contractor, a second mortgage, and a spiritual retreat, this is a strong contender. Here’s how to plan it, build it, finish it, and make it look like it belongs in your kitchen instead of your garage.
Why Butcher Block and Beadboard Make Such a Good Pair
Some materials just get along. Butcher block brings warmth, natural grain, and a surface that feels inviting instead of cold. Beadboard adds vertical texture, old-house charm, and enough detail to make a plain box base look like furniture. Together, they hit a sweet spot between practical and pretty.
This combo works especially well in farmhouse, cottage, coastal, vintage, transitional, and classic American kitchens. It can also soften a modern kitchen that feels a little too serious. Think of beadboard as the friendly handshake and butcher block as the reliable coworker who always shows up on time.
Another reason this design is so popular: it’s approachable for DIYers. Stock cabinets create the structure. Beadboard panels go on relatively quickly. Trim hides sins. Sanding makes everything look smarter. By the end, people may assume you hired a pro. You may choose not to correct them.
Plan the Island Before You Start Cutting Anything
Before you buy materials, make sure the island actually fits your kitchen and your daily routine. An island that looks amazing but blocks the dishwasher is not a success story. It is a lesson.
Get the Size Right
For many kitchens, at least 36 inches of clearance around the island is a useful baseline. In active cooking zones, wider aisles feel better, especially if more than one person cooks. If you’re adding seating, allow enough knee space under the top and enough room behind stools so people can sit without causing a traffic jam that looks like airport boarding.
A standard work-surface height is usually around counter height, which makes sense for prep work and most DIY builds. If you want seating, an overhang on one side can create a breakfast-bar effect. Just make sure the overhang looks proportional and is properly supported if it extends far enough to need brackets, corbels, or hidden support.
Think Through Function
Ask yourself what the island needs to do. More prep space? Hidden storage? Open shelves for cookbooks? Seating for two? A microwave garage? A charging station for the phone that somehow always dies at 4 p.m.? Your answer shapes the footprint, cabinet choice, and countertop size.
If storage is the main goal, a stock-cabinet base is usually the easiest route. If style matters most, a furniture-style base with beadboard panels, legs, and decorative trim can look custom. If flexibility matters, add locking casters. A rolling island is great in a small kitchen, though it should still feel sturdy and not like it’s about to escape.
Materials and Tools You’ll Likely Need
Core Materials
- Base cabinets or a framed plywood/2x lumber base
- Butcher block countertop slab
- Beadboard paneling or tongue-and-groove beadboard
- Plywood for back or end panels if needed
- Trim: baseboard, corner molding, cap trim, shoe molding
- Screws, brad nails, wood glue, construction adhesive
- Primer and paint for the island base
- Wood filler and caulk
- Butcher block finish: mineral oil, hardwax oil, or polyurethane depending on use
Basic Tools
- Tape measure
- Level
- Circular saw or track saw
- Miter saw
- Drill/driver
- Brad nailer or hammer and finish nails
- Sander and sandpaper
- Clamps
- Stud finder if anchoring
How to Build a DIY Kitchen Island With Butcher Block and Beadboard
1. Build or Assemble the Base
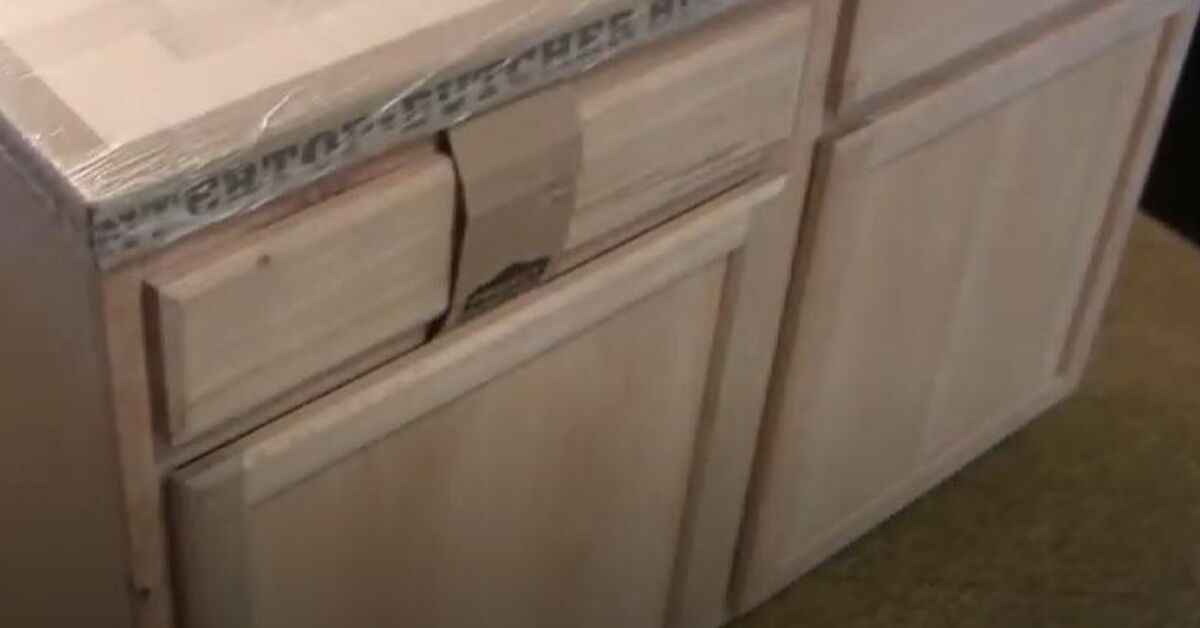
The easiest method is using stock base cabinets. Set them in place, fasten them together, shim until level, and secure them to a platform or internal frame if needed. This gives you drawers, shelves, and instant structure without building cabinet boxes from scratch.
If you’re making a simple custom base, build a rectangular frame from plywood and dimensional lumber, then skin it later with finished panels and beadboard. Either way, the goal is a square, sturdy structure that won’t rack or wobble when someone leans on it while discussing pasta.
2. Add End Panels and Backing
Most stock cabinets don’t look furniture-ready from all sides. That’s where panel skins come in. Add plywood or MDF panels to exposed sides and the back to create a smooth surface for beadboard or trim. This step makes the piece look like a complete island rather than cabinets that accidentally wandered into the middle of the room.
3. Install the Beadboard
Beadboard can be installed as full sheets or individual tongue-and-groove boards. For most DIY kitchen islands, sheet goods are faster and easier. Measure carefully, cut panels to fit, then apply them with construction adhesive and finish nails or brads. Keep the grooves plumb, because crooked bead lines have a magical ability to make an entire project look off.
Beadboard works especially well on the back and sides of the island. On the cabinet fronts, it’s usually better to let the doors and drawer fronts be their own thing unless you are intentionally going for a more decorative, custom look.
4. Trim It Out
Trim is where the project graduates from “nice try” to “wow, that looks built-in.” Add base molding at the bottom, corner trim on exposed edges, and a top rail or cap trim where the beadboard meets the countertop line. These little pieces hide edges, cover gaps, and make the island feel like a finished furniture piece.
If you want a more elevated look, add legs, bun feet, corbels, or decorative brackets at the seating overhang. Just don’t pile on every decorative piece you’ve ever loved. This is a kitchen island, not a parade float.
5. Cut and Fit the Butcher Block
Dry-fit the butcher block before attaching it. Check overhangs on all sides, make sure drawers and doors can still open, and confirm the seating side has enough projection to be comfortable. If you need to trim the slab, use a straightedge and make clean cuts with a sharp blade.
Once fitted, attach the butcher block according to the manufacturer’s guidance, typically from below using screws in brackets, elongated holes, or mounting hardware that allows a bit of seasonal wood movement. Wood expands and contracts, and it does not care whether your project schedule is convenient.
6. Sand, Prep, and Finish
Fill nail holes, caulk seams, sand everything smooth, and prime the base before painting. For the beadboard island base, a satin or semi-gloss paint is a smart choice because kitchens are messy and tomato sauce has no respect for artistry.
For the butcher block top, your finish decision depends on how you’ll use it. If the top will function as a true prep surface, food-safe mineral oil or a similar food-safe treatment is a common choice. If it’s more of a serving, dining, or decorative top and you want stronger stain resistance with less frequent maintenance, a cured film finish such as polyurethane may make more sense. Pick the finish based on real life, not fantasy life.
Best Finish Choices for Butcher Block
Mineral Oil
Great for food-prep surfaces. It’s easy to apply, non-toxic, and simple to refresh. The trade-off is maintenance: you’ll need to reapply it periodically, especially early on.
Hardwax Oil
A nice middle-ground choice for people who want a natural look with somewhat better durability. It still requires upkeep, but it’s often easier to spot-repair than a full film finish.
Polyurethane
Good for furniture-style island tops that take spills, glasses, homework, and everyday family wear but are not used as cutting boards. It offers stronger water and stain resistance, though refinishing later can be more work.
The easiest rule: if you plan to chop directly on the top, lean food-safe and renewable. If the island is more of a beautiful workhorse than a chopping block, lean durable and low-maintenance.
Style Tips That Make the Island Look Custom
Paint the beadboard base in a contrasting island color if you want the piece to stand out. Soft white, dusty blue, sage green, charcoal, and warm greige all pair beautifully with natural wood tops. For a seamless look, match the island paint to your kitchen cabinetry and let the butcher block be the warm accent.
Hardware matters too. Bin pulls, cup pulls, simple black knobs, or classic brass can push the island more farmhouse, cottage, or traditional. Open shelving on one end can add display space, but keep it edited. One stack of cookbooks says “curated.” Seven random appliances say “help.”
If you’re after charm, beadboard shines when it’s framed with crisp trim and topped by a warm wood slab. If you’re after a more updated look, keep the beadboard subtle, paint it the same color as the base, and use clean hardware so the texture whispers instead of shouting.
Common Mistakes to Avoid
- Making it too big: A giant island in a modest kitchen is not luxurious. It’s an obstacle course.
- Ignoring walkway clearance: Make sure appliances, drawers, and stools can coexist peacefully.
- Skipping support: Deep overhangs may need brackets or corbels.
- Using the wrong finish: Pick a finish based on use, not wishful thinking.
- Forgetting wood movement: Butcher block needs room to expand and contract.
- Rushing trim and caulk: These “small” details are what make the island look professionally finished.
Maintenance and Everyday Care
Wipe spills quickly, especially around seams and edges. Use cutting boards even if the countertop can handle prep work. Don’t let water pool around sink areas or plant pots. For an oiled top, refresh the finish when the wood starts to look dry or thirsty. For a sealed top, clean gently and avoid harsh abrasives that can dull the finish.
The good news is that butcher block ages with personality. A few tiny marks can make it feel lived-in and real. The bad news is that neglect also shows. So treat it like a favorite leather jacket: durable, handsome, and definitely improved by basic respect.
Real-World Experiences With a DIY Kitchen Island With Butcher Block and Beadboard
One of the most common experiences DIYers share after building a kitchen island like this is that the project solves more than one problem at once. At first, most people start because they want extra prep space. Then the island ends up becoming the breakfast station, the baking zone, the homework desk, the buffet table for holidays, and the place where everyone mysteriously gathers even when there are perfectly good chairs elsewhere.
Another frequent takeaway is that beadboard changes the visual weight of the island in a big way. A plain cabinet box can feel bulky, especially in the center of a kitchen. But once beadboard and trim go on, the piece starts to read more like furniture and less like a storage cube. Homeowners often say that this is the moment the island stops looking homemade in the suspicious sense and starts looking handmade in the flattering sense.
Butcher block also tends to win people over fast. Many expect it to feel precious, but in real kitchens it often becomes the most welcoming surface in the room. It’s warm to the touch, forgiving in appearance, and less visually cold than stone. Families say it makes the kitchen feel more relaxed. Bakers love it because dough work feels pleasant on wood. Hosts love it because charcuterie boards, snack trays, and pitchers of lemonade somehow look better on butcher block. Science may be working on this, but the aesthetic evidence is strong.
Of course, real-world experience also includes a few lessons learned the fun way. One is that color matters more than people expect. A white or soft-painted beadboard base with a natural wood top usually feels timeless. Go too dark in a small kitchen, and the island can suddenly feel heavier than your cast-iron collection. Another lesson: trim is not optional if you want a polished result. Countless DIYers discover that the island only truly comes together after the corners are wrapped, seams are caulked, and the base molding is installed.
There’s also the maintenance reality. People who choose oil finishes often say the upkeep is easier than they feared, especially once it becomes part of the routine. A quick refresh every so often is not exactly a tragic hardship. On the other hand, families with young kids sometimes prefer a more protective finish because the island gets used for crafts, cereal, science projects, and occasional acts of jelly-based chaos. Neither choice is wrong. It just depends on whether your kitchen is more “artisan bread and olive wood utensils” or “someone glued a sticker to the fruit bowl again.”
Perhaps the most satisfying experience is the long-term one: a DIY island often becomes the most complimented feature in the kitchen. Guests assume it was custom-built. The owners remember every step, every paint sample debate, and every crooked beadboard cut that got fixed before anyone noticed. That mix of beauty, usefulness, and personal effort is hard to beat. It’s not just an island. It’s a hardworking centerpiece with a backstory.
Final Thoughts
A DIY kitchen island with butcher block and beadboard is a smart upgrade because it blends storage, style, and daily practicality in one project. It can look farmhouse, cottage, classic, or slightly modern depending on paint, trim, and hardware. Best of all, it doesn’t require a fully custom millwork budget to get a custom-looking result.
If you plan carefully, respect clearance, choose the right finish, and take your time with trim details, this project can transform the feel of your kitchen. It adds prep space, creates a social hub, and gives the room a focal point with real personality. In short: more function, more charm, and fewer excuses to keep balancing your cutting board over the sink like a circus act.