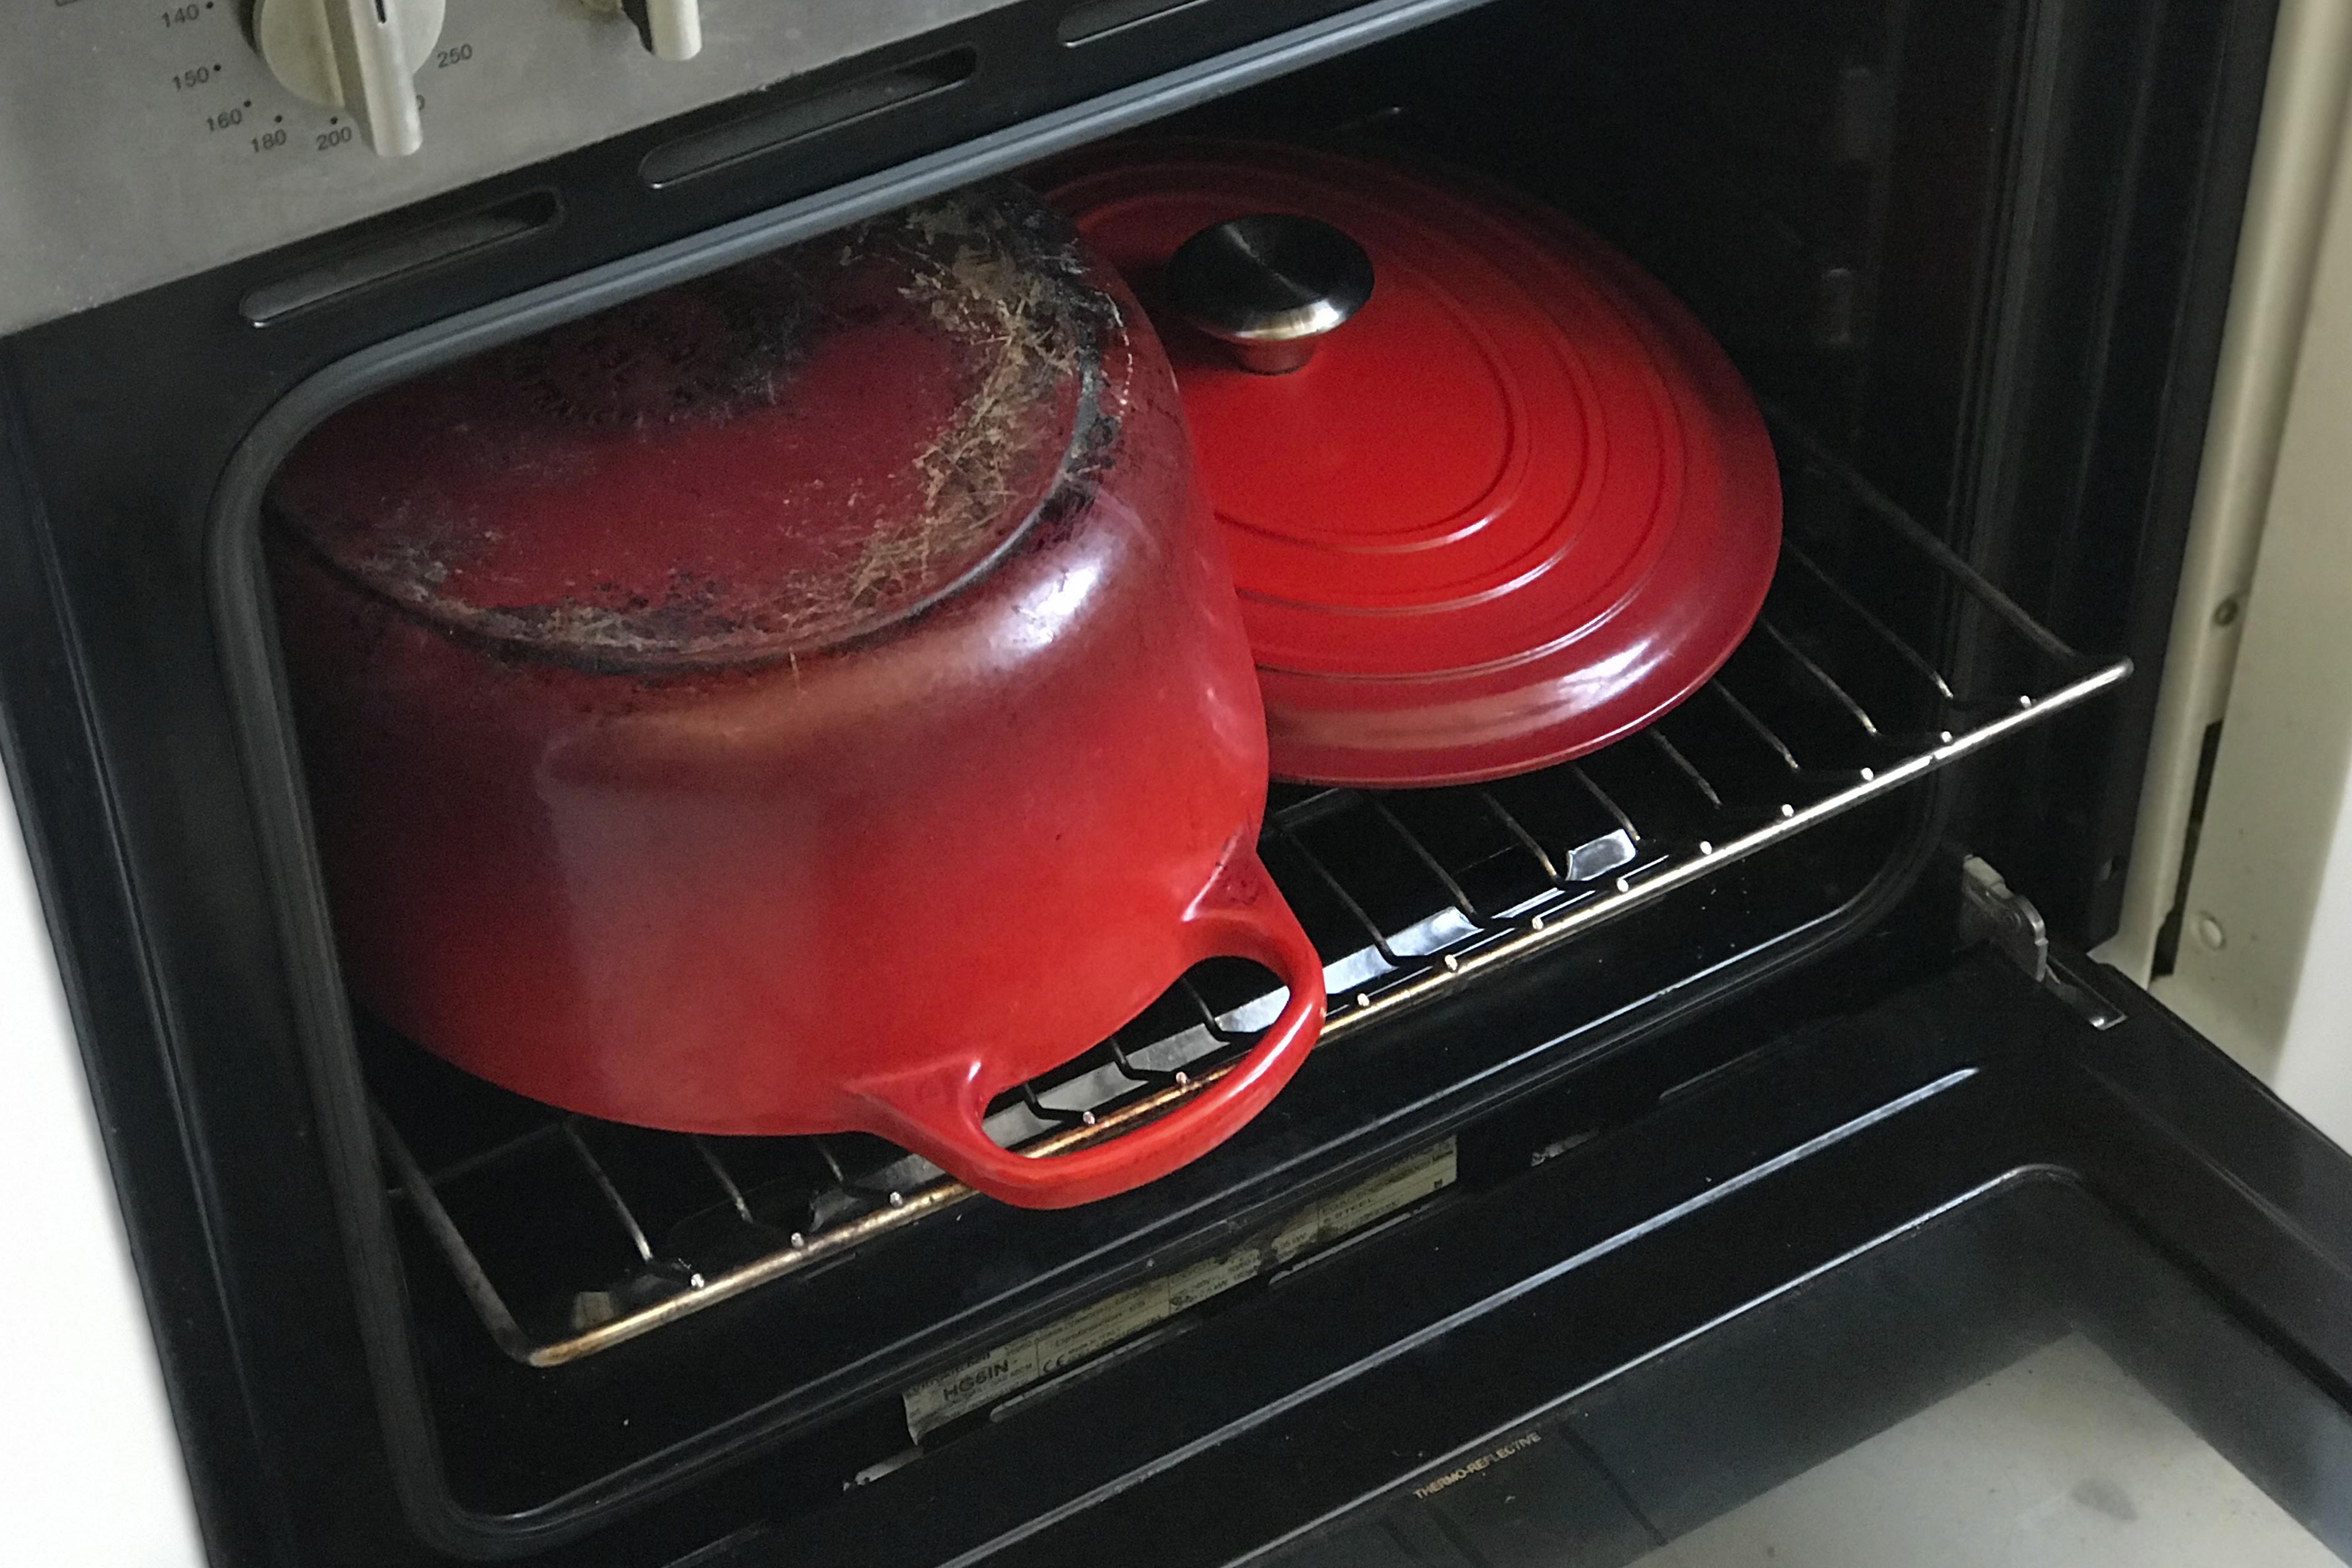
A ceramic Dutch oven is one of those kitchen tools that makes you feel instantly more responsible. One minute you are reheating leftovers in a questionable plastic container, and the next you are braising short ribs like a person who owns linen napkins. But then comes the confusing question: Do you actually need to season a ceramic Dutch oven?
The honest answer is: usually, nonot in the same way you season bare cast iron. Most ceramic Dutch ovens are either fully ceramic, ceramic-coated, or enameled cast iron. These surfaces are designed to be smooth, non-reactive, and easier to clean, so they do not need a baked-on oil layer to prevent rust. However, “seasoning” a ceramic Dutch oven can still mean preparing it for first use, conditioning the cooking surface, learning how to cook with a thin layer of fat, and protecting the finish so it performs beautifully for years.
Think of it less like giving your pot a tattoo and more like teaching it table manners. This guide walks you through how to season a ceramic Dutch oven in 11 practical steps, with a focus on safe first-use preparation, proper oiling, gentle heating, cleaning, and long-term care.
What “Seasoning” Means for a Ceramic Dutch Oven
Before we grab the oil bottle like a dramatic cooking-show contestant, let’s define the term. Traditional seasoning is a process used on bare cast iron or carbon steel. Oil is heated until it bonds to the metal, creating a protective, semi-nonstick layer. A ceramic Dutch oven is different. Ceramic, glazed ceramic, and enameled surfaces do not absorb oil the way raw iron does. They also do not rust across the cooking surface.
So when people ask how to season a ceramic Dutch oven, they usually mean one of three things:
- How to prepare a new ceramic Dutch oven before cooking.
- How to reduce sticking during everyday use.
- How to protect the ceramic or enamel surface from stains, scratches, and dullness.
This article uses “seasoning” in that practical kitchen sense: cleaning, lightly oiling, heating gently, and maintaining the surface correctly.
Step 1: Identify What Type of Dutch Oven You Have
Start by checking the material. This matters because not every pot that looks “ceramic” is made the same way. Some Dutch ovens are enameled cast iron, meaning a cast iron core is coated with a glass-like enamel finish. Some are fully ceramic, made from fired clay or ceramic material. Others are ceramic-coated metal, which usually has a nonstick-style ceramic coating over aluminum or another metal base.
Look at the product manual, box, brand website, or bottom stamp. If the pot is heavy like a tiny gym membership, it may be enameled cast iron. If it is lighter and often microwave-safe, it may be ceramic. If it has a very slick interior and a lightweight body, it may be ceramic-coated cookware.
This step prevents the biggest mistake: treating enamel or ceramic like raw cast iron. A ceramic Dutch oven does not need aggressive oil baking, steel wool, or repeated high-heat seasoning sessions. In fact, that can leave sticky residue, stains, or unnecessary smoke.
Step 2: Read the Manufacturer’s Care Instructions
Yes, reading instructions sounds about as thrilling as organizing a drawer full of mystery cables. But it matters. Some ceramic Dutch ovens are oven-safe to very high temperatures, while others have limits because of knobs, handles, lids, or coatings. Some can go on the stovetop; others are oven-only. Some can handle broilers; others should stay far away from direct flame.
Before seasoning or cooking, check for these details:
- Maximum oven-safe temperature
- Whether stovetop use is allowed
- Whether the pot can be used under a broiler
- Whether it is dishwasher-safe
- Whether metal utensils are discouraged
- Whether the lid knob has a different heat limit than the pot
If your Dutch oven is fully ceramic and not labeled for stovetop use, do not “season” it on a burner. Ceramic can crack from direct or uneven heat if it is not designed for that purpose. When in doubt, choose gentle oven warming instead of stovetop heating.
Step 3: Wash It Before the First Use
A new Dutch oven may look clean, but it has been through manufacturing, packaging, shipping, and probably a warehouse journey that deserves its own passport. Wash it before cooking.
Use warm water, mild dish soap, and a soft sponge or cloth. Clean the inside, outside, lid, rim, and handles. Avoid harsh scouring pads, metal scrubbers, powdered abrasive cleaners, or anything that feels like it was designed to remove barnacles from a ship.
For a ceramic or enameled surface, gentle cleaning is enough. You are removing dust, packaging residue, and any factory filmnot trying to sand the pot into submission.
Step 4: Dry the Dutch Oven Completely
After washing, dry the Dutch oven thoroughly with a soft towel. Pay special attention to the rim, lid edge, and any exposed cast iron edges if the pot is enameled cast iron. Even though the cooking surface itself may not rust, some rims or small uncoated areas can discolor if they stay wet for too long.
Let the pot air-dry for a few extra minutes before storing or adding oil. Moisture trapped under the lid can create musty smells, water spots, or mineral marks. A dry Dutch oven is a happy Dutch oven, and frankly, it has earned that after carrying your future soups.
Step 5: Apply a Very Thin Layer of Cooking Oil
This is where ceramic Dutch oven “seasoning” differs from cast iron seasoning. You are not trying to create a permanent polymerized coating. You are simply conditioning the surface and preparing it for cooking.
Add a few drops of neutral cooking oil to the interior. Good options include canola oil, avocado oil, grapeseed oil, vegetable oil, or light olive oil. Use a paper towel or soft cloth to spread the oil into a whisper-thin layer. If the pot looks greasy, you used too much. The goal is a light sheen, not a skincare routine.
This step helps reduce sticking during the first cook and teaches you how little fat is actually needed. Ceramic and enamel surfaces perform best when food is cooked with a modest amount of oil, butter, or liquid rather than on a dry, blazing-hot surface.
Step 6: Warm the Dutch Oven Gently
Place the Dutch oven over low heat if it is stovetop-safe. If it is oven-safe only, place it in a cool oven and warm it gradually at a low temperature. Sudden temperature changes are one of the main enemies of ceramic and enamel cookware. A hot pot should not meet cold water. A cold pot should not be shocked with roaring heat. They are cookware, not action-movie stunt performers.
Warm the pot for a few minutes, just enough to help the thin oil layer spread evenly. Do not heat an empty ceramic Dutch oven on high. Do not leave it unattended. Do not try to bake oil onto the surface for an hour like you would with bare cast iron.
The goal is gentle conditioning, not smoke signals.
Step 7: Wipe Away Excess Oil
After warming, turn off the heat and let the pot cool until it is safe to touch. Then wipe away any visible oil. This is important because extra oil can become sticky, patchy, or brown during later cooking.
If your Dutch oven has a matte or slightly textured interior, a little oil may cling to the surface. That is fine. Just remove anything that pools or feels slick. A properly conditioned ceramic Dutch oven should feel clean, smooth, and ready for foodnot like the bottom of a movie-theater popcorn bucket.
Step 8: Cook Something Forgiving First
For the first real cooking session, choose a recipe with moisture and moderate heat. A soup, stew, chili, braise, rice dish, or saucy pasta is better than dry-searing a steak at the temperature of a small volcano.
Good first-use recipes include:
- Chicken and vegetable soup
- Tomato-free beef stew
- White bean chili
- Slow-braised chicken thighs
- Vegetable curry
- No-knead bread, if your Dutch oven is rated for the required oven temperature
Using a moisture-rich recipe helps the surface settle into regular use without stubborn stuck-on bits. After several cooks, you will learn how your specific pot behaves: how fast it heats, how long it holds warmth, and where your stove’s hot spots are.
Step 9: Use Low to Medium Heat for Most Cooking
Ceramic and enameled Dutch ovens are excellent at holding heat. That means you rarely need high heat once the pot is warm. In fact, high heat can cause food to stick, oil to smoke, and enamel to discolor over time.
Start on low or medium-low heat, then increase gradually if needed. For browning meat, preheat slowly, add oil, and give the food enough time to release naturally. If you try to move meat too soon, it may stick. That is not the Dutch oven being dramatic; that is browning chemistry doing its job.
For soups, sauces, and braises, medium or lower heat usually works beautifully. Once a simmer begins, reduce the heat. Dutch ovens are heat-retention champions. They do not need to be yelled at with a high flame.
Step 10: Clean It Without Damaging the Surface
After cooking, let the Dutch oven cool before washing. Never pour cold water into a hot ceramic or enameled pot. That sudden change can damage the surface or, in extreme cases, cause cracking.
For everyday cleaning, use warm water, mild dish soap, and a soft sponge. If food is stuck, fill the pot with warm water and let it soak. For stubborn stains, make a paste of baking soda and water, apply it gently, and let it sit before wiping. You can also simmer water with a little baking soda in many enameled Dutch ovens, as long as the manufacturer allows stovetop use.
Avoid metal scouring pads, harsh abrasives, bleach-based cleaners, and sharp tools. If you need to scrape, use a wooden spoon, silicone spatula, or plastic scraper. Your Dutch oven is tough, but the finish still deserves manners.
Step 11: Store It the Right Way
Once clean and dry, store the Dutch oven with care. If you stack cookware inside it, place a soft towel, pan protector, or cloth between pieces. This helps prevent scratches and chips. Store the lid slightly ajar if moisture is a concern, or place a paper towel between the lid and pot to allow airflow.
Do not store food in the Dutch oven for long periods unless the manufacturer says it is safe. Acidic foods, salty foods, and leftovers can sometimes stain or affect surfaces over time. Transfer leftovers to food-storage containers, wash the pot, dry it, and let it rest like the hardworking kitchen hero it is.
Common Mistakes to Avoid
Mistake 1: Seasoning It Like Bare Cast Iron
Baking thick layers of oil onto a ceramic or enameled Dutch oven can create sticky residue instead of a useful seasoning layer. Save that process for unfinished cast iron.
Mistake 2: Heating It Empty on High
High heat can stress ceramic, discolor enamel, and burn oil. Warm gradually and cook with oil, butter, broth, or other ingredients in the pot.
Mistake 3: Using Metal Scrubbers
Steel wool and aggressive scouring pads can scratch or dull the surface. Use baking soda, soaking, and patience instead. Patience is cheaper than a new Dutch oven.
Mistake 4: Thermal Shock
Thermal shock happens when cookware experiences a sudden temperature change. Avoid moving a hot pot to a cold counter, rinsing it with cold water, or adding frozen food directly to a very hot ceramic surface.
Mistake 5: Assuming All Ceramic Dutch Ovens Are Stovetop-Safe
Some ceramic Dutch ovens are designed for ovens only. Others can handle gas, electric, or induction with the right base or disk. Always check the product instructions before using direct heat.
How Often Should You Condition a Ceramic Dutch Oven?
You do not need to season a ceramic Dutch oven after every wash. Instead, think in terms of regular care. Use a little cooking fat when cooking, clean it gently, dry it fully, and store it safely. If the interior starts looking dull or food sticks more than usual, wipe it with a tiny amount of oil before the next use.
For ceramic-coated cookware, be especially gentle. Ceramic coatings can wear over time, especially when exposed to high heat, metal utensils, abrasive cleaning, or repeated dishwasher cycles. For enameled cast iron, the enamel is more durable, but it can still chip if dropped or knocked against other cookware.
The best “seasoning” routine is not dramatic. It is boring in the best possible way: wash, dry, oil lightly when cooking, avoid shock, and store carefully.
Best Oils to Use for Ceramic Dutch Oven Care
For everyday cooking and light conditioning, neutral oils work best. Avocado oil is good for higher-heat cooking. Canola, vegetable, and grapeseed oils are affordable and easy to spread. Olive oil works well for low and medium-heat cooking, though extra-virgin olive oil can smoke if overheated.
Avoid aerosol cooking sprays unless your manufacturer specifically allows them. Some sprays contain additives that can build up and leave a sticky film on nonstick or ceramic-coated surfaces. A small amount of regular oil applied with a paper towel gives you more control.
How to Remove Stains from a Ceramic Dutch Oven
Light staining is normal, especially if you cook tomato sauce, turmeric, chili, red wine braises, or deeply browned foods. A stained Dutch oven is not necessarily dirty; sometimes it is just showing off its résumé.
Try this gentle cleaning method:
- Let the pot cool completely.
- Wash with warm, soapy water.
- Sprinkle baking soda over stained areas.
- Add a little water to form a paste.
- Let it sit for 15 to 30 minutes.
- Scrub gently with a soft sponge.
- Rinse and dry completely.
For persistent marks, repeat the process. Do not attack the stain like it owes you money. Gentle repetition is safer than one aggressive cleaning session.
Can You Fix a Chipped Ceramic Dutch Oven?
A small chip on the outside may be mostly cosmetic, but a chip inside the cooking surface is more serious. If the interior ceramic or enamel is chipped, cracked, or flaking, stop using it for cooking until you check the manufacturer’s guidance. Loose fragments can get into food, and exposed material may not be intended for direct food contact.
Do not try to repair the cooking surface with random sealants, paints, or internet wizardry. Cookware surfaces must be food-safe and heat-safe. Contact the brand for warranty options or replacement advice.
Experience Notes: What Real Kitchen Use Teaches You
After using ceramic and enameled Dutch ovens for soups, braises, bread, beans, and weeknight “what can I make from this onion and three tired carrots?” dinners, one lesson becomes clear: the pot rewards calm cooking. It does not like panic. It does not like sudden heat. It does not like being scrubbed with tools that belong in a garage. Treat it gently, and it becomes one of the most dependable pieces in the kitchen.
The first experience many cooks have is sticking. They heat the pot too quickly, add meat too soon, and then panic when the chicken refuses to move. The fix is simple: preheat slowly, add enough oil, and wait. Browning takes time. When the food has formed a crust, it usually releases more easily. If it still sticks, add a splash of broth, wine, or water and turn those browned bits into flavor. Congratulations, you have accidentally discovered deglazing, which sounds fancy but is basically rescuing dinner with liquid.
Another real-world lesson is that ceramic Dutch ovens hold heat longer than expected. A stew can keep bubbling even after the burner is lowered. Rice can continue steaming after the heat is off. Soup stays hot at the table long enough for everyone to say, “Careful, it’s hot,” and then immediately burn their tongue anyway. Because the pot retains heat so well, you can often cook at lower temperatures than you think.
Cleaning also becomes easier once you stop treating stains as emergencies. A cream-colored interior may darken slightly over time. That does not mean the Dutch oven is ruined. It means it has cooked actual food. Baking soda paste, warm water, and a soft sponge solve most problems. For stuck-on sauces, soaking is not laziness; it is strategy. Let water do the work while you enjoy not scrubbing angrily over the sink.
One of the best habits is drying the pot right away. This feels small, but it prevents water spots, rim discoloration, and that closed-lid smell that says, “Someone stored me damp, and now we all suffer.” Place a towel or pan protector between the pot and lid if storing for a long time. If stacking other cookware, protect the surface. Chips usually happen not during cooking but during rushed storage, when someone plays cookware Jenga with confidence they have not earned.
Finally, the best seasoning experience is not a single 11-step ritual. It is the routine you build. Use moderate heat. Add a little fat. Avoid thermal shock. Clean gently. Dry fully. Store carefully. Do that, and your ceramic Dutch oven will not just look pretty on the shelf; it will become the pot you reach for when dinner needs to feel comforting, practical, and slightly more impressive than the effort you actually spent.
Conclusion
Learning how to season a ceramic Dutch oven is really about learning how to prepare, condition, and protect it. Unlike bare cast iron, ceramic and enameled Dutch ovens do not need a permanent baked-on seasoning layer. They need gentle first-use cleaning, light oil during cooking, gradual heating, careful washing, and smart storage.
If you remember only one rule, make it this: treat ceramic cookware with patience. Avoid sudden temperature changes, skip abrasive tools, and let low-to-medium heat do the heavy lifting. Your reward is a Dutch oven that can handle soups, stews, braises, bread, sauces, and cozy one-pot meals without becoming a high-maintenance kitchen diva.
A well-cared-for ceramic Dutch oven is more than cookware. It is a soup machine, bread cave, stew therapist, and countertop decoration all in one. Season it the right waynot with excessive oil and smoke, but with good habitsand it will serve you beautifully for years.