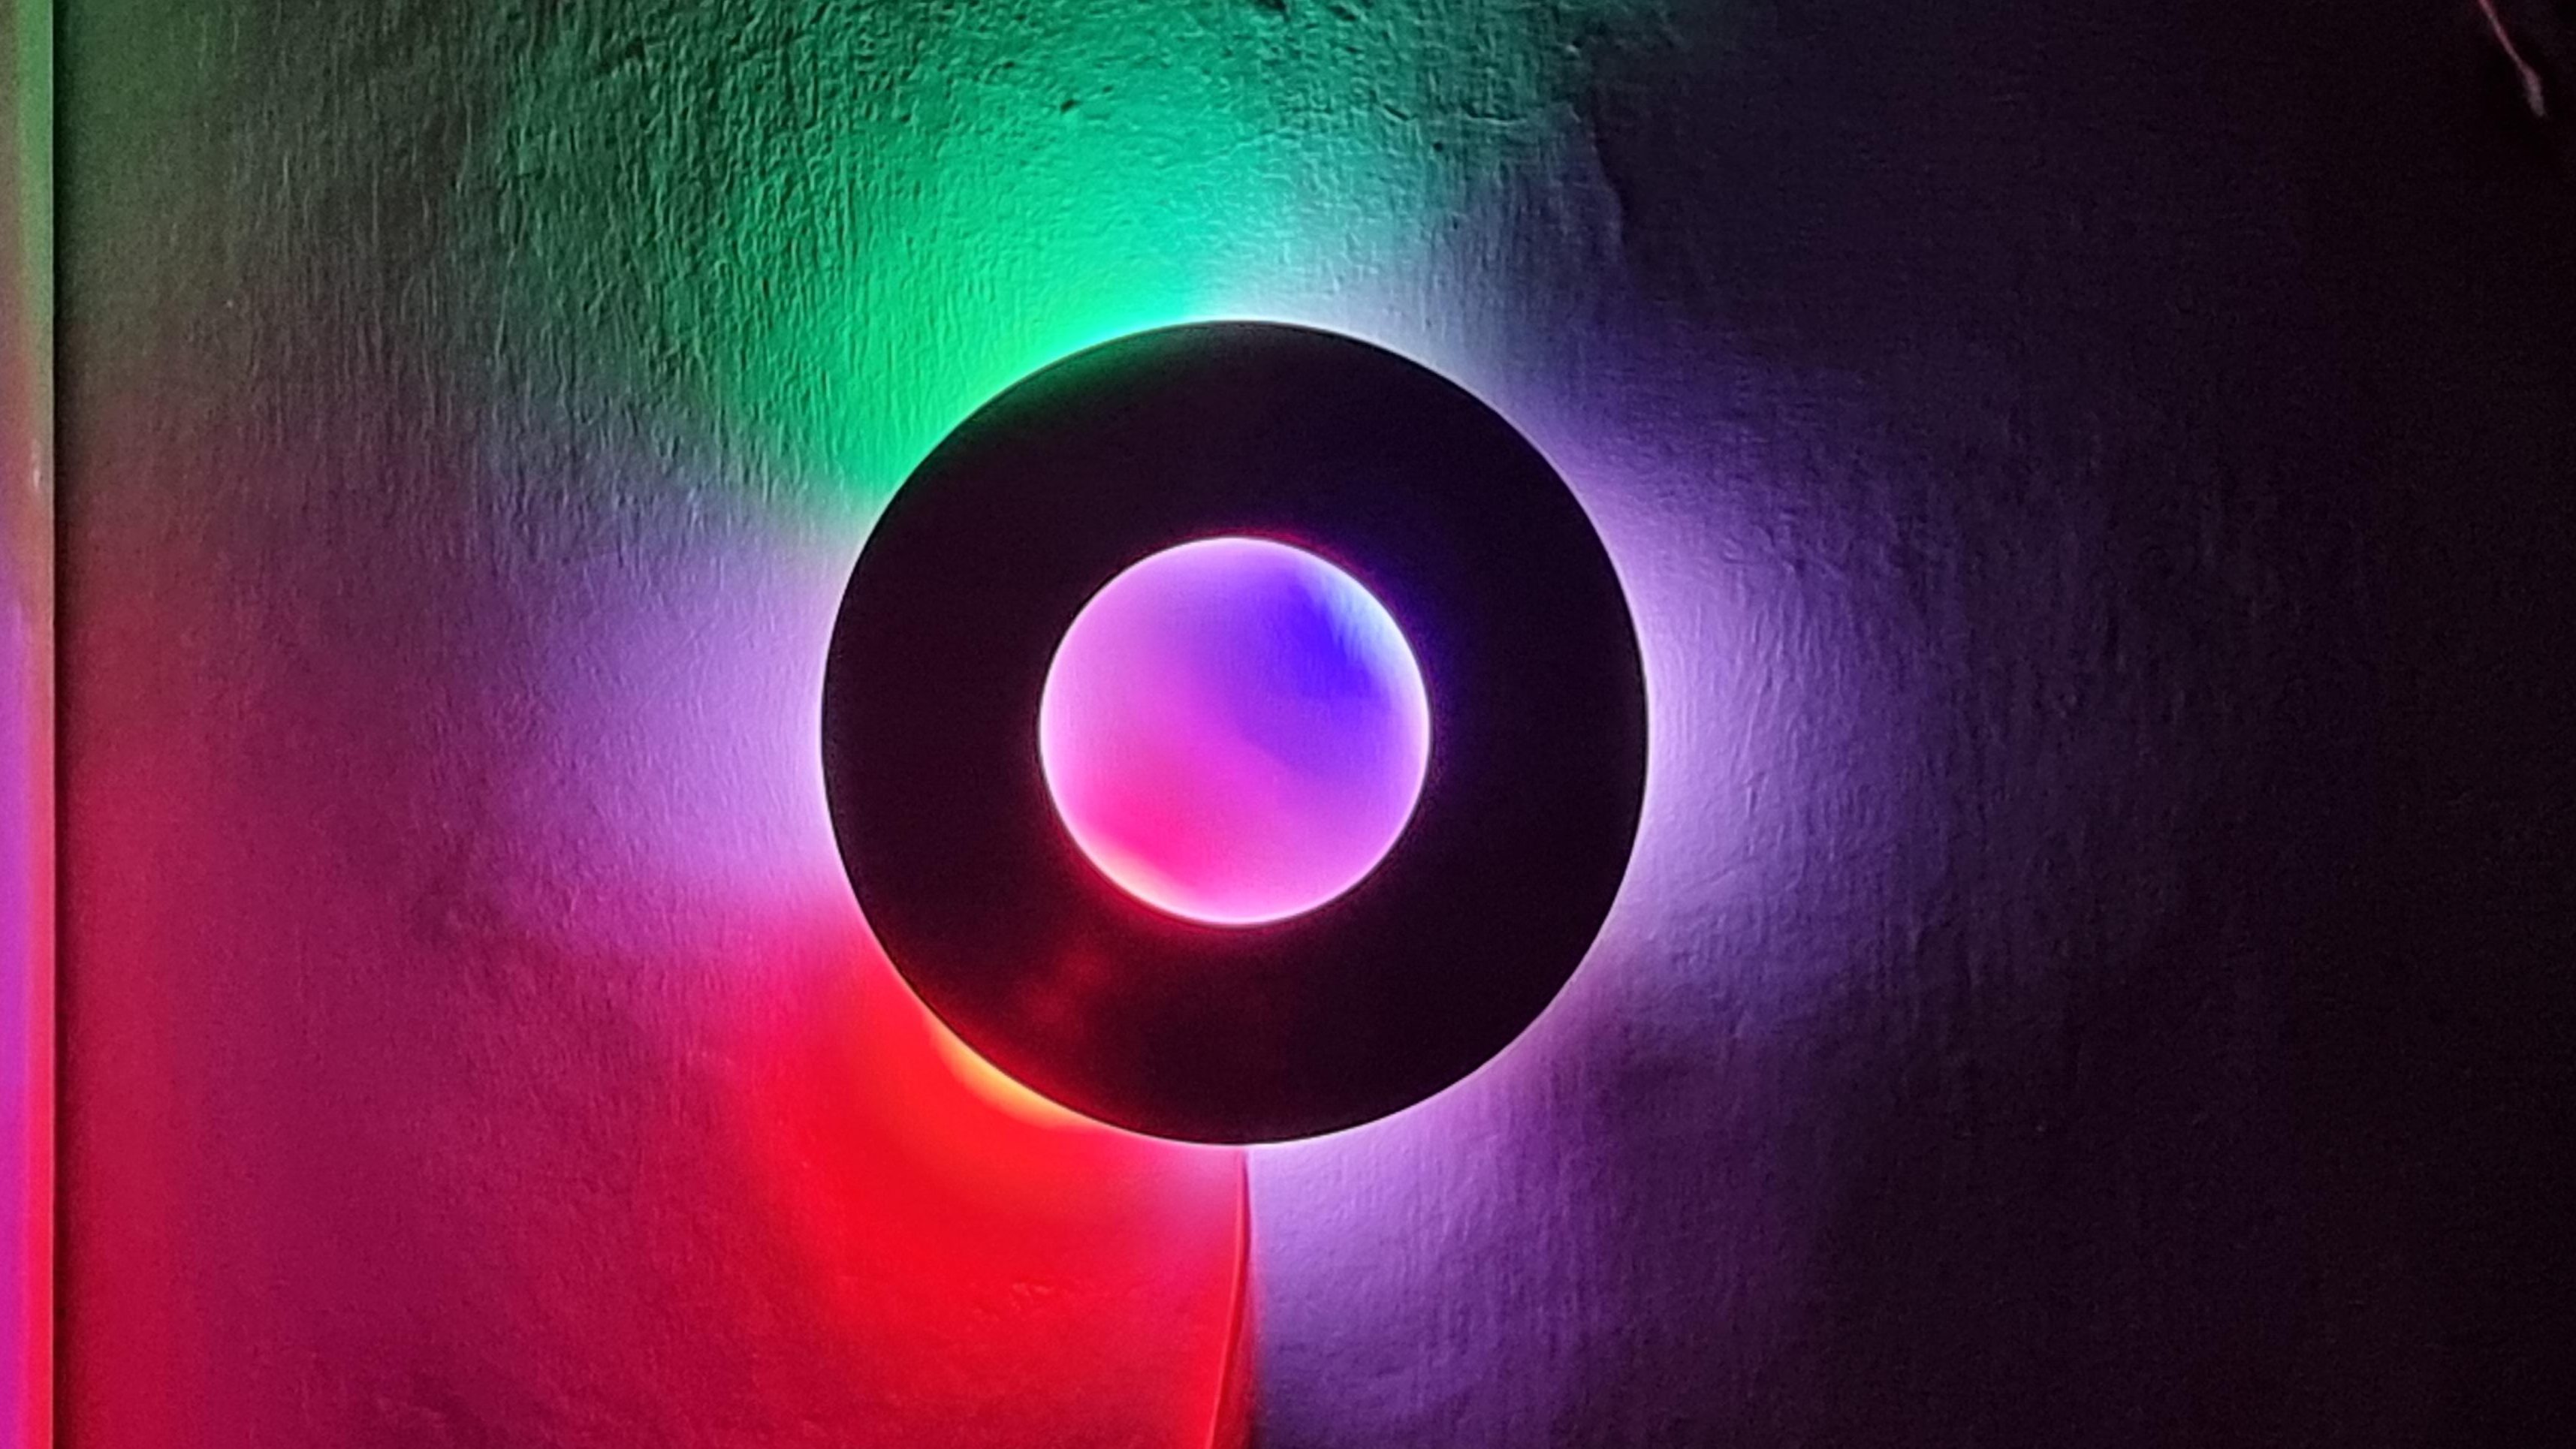
A clock used to be a simple household object: two hands, a circle of numbers, maybe a polite little tick-tock that reminded you time was passing whether you had finished the laundry or not. But the modern decorative clock has escaped the wallflower category. With LED strips, microcontrollers, clever diffusion, and a little design confidence, a clock can become part timekeeper, part wall art, and part conversation starter.
The idea behind a decorative clock that uses LED strips to beautiful effect is wonderfully practical: instead of relying only on hands or digits, light itself becomes the language of time. Minutes can glow around a ring. Hours can shift in color. A soft halo can brighten a room without shouting, “Look at me, I am technology!” Done well, the result feels less like a gadget and more like a living piece of décor.
This article explores how LED strip clocks work, why they look so impressive, what design choices matter most, and how makers can build or choose one that feels polished rather than “I zip-tied lights to a board at midnight.” Spoiler: the secret is not just bright LEDs. It is layout, diffusion, power planning, timing accuracy, and restraint.
What Makes an LED Strip Clock So Visually Appealing?
LED strips are flexible, compact, and available in many styles, from simple single-color strips to addressable RGB strips where each LED can be controlled individually. That individual control is what makes decorative clock designs so exciting. Instead of displaying time through one fixed face, the clock can use color, animation, brightness, and movement.
Imagine a circular wall clock where the hour glows in warm amber, the minutes appear as a cool blue arc, and the seconds move as a tiny spark of white light. Now imagine that same clock gently dimming at night, switching to sunrise colors in the morning, and adding a soft ambient glow during dinner. That is the magic: an LED clock can be functional, decorative, and mood-setting at the same time.
Light Turns Time Into an Experience
Traditional clocks are read. LED strip clocks are experienced. A well-designed light clock can show time at a glance while also changing the atmosphere of a room. The best designs avoid the harsh “gaming keyboard on the wall” look and lean into layered lighting, soft edges, and carefully chosen color palettes.
This is why diffusion matters so much. Bare LEDs can look dotted and intense. A diffuser, frosted acrylic panel, translucent resin, fabric shade, or routed wooden channel can turn individual points of light into smooth glowing bands. That one detail often separates a beautiful decorative clock from something that looks like a science fair project that drank too much caffeine.
How LED Strip Clocks Usually Work
Most LED strip clocks combine four basic parts: an LED strip, a controller, a power supply, and a time source. The LED strip creates the visual display. The controller tells each LED what to do. The power supply provides the current needed to run the lights. The time source keeps the clock accurate.
Addressable LED strips such as WS2812B, SK6812, or APA102 are popular because each LED can be controlled separately. This makes them ideal for ring clocks, word clocks, binary clocks, linear clocks, and abstract wall pieces. A microcontroller such as an Arduino, ESP32, Raspberry Pi Pico, or similar board can run the code that maps time to light.
The Controller Is the Brain
The controller is where the personality lives. It decides whether the hour marker fades gently, whether the minute hand appears as a moving segment, whether the clock uses seasonal colors, or whether midnight triggers a dramatic rainbow sweep. That last one is optional, but let us be honest: someone will enable it.
Many makers prefer Wi-Fi-capable controllers because they can sync time from the internet. Others use a real-time clock module, often called an RTC, which keeps time even when the main controller loses power. For a decorative clock that should behave like an actual clock rather than a glowing wall ornament with commitment issues, reliable timekeeping is essential.
The LED Strip Is the Display
LED density affects both appearance and cost. A strip with 30 LEDs per meter may be enough for a large ambient wall clock, while 60 or 144 LEDs per meter can create smoother curves and more detailed effects. Higher density can look more refined, but it also requires more power and better heat management.
For circular clocks, flexible strips can be mounted around a frame, behind a ring, or inside a routed channel. For geometric clocks, strips can be arranged in hexagons, squares, lines, or layered patterns. For minimalist interiors, a hidden backlit clock face can create a floating halo effect that looks expensive even when the parts are surprisingly affordable.
Design Styles That Work Beautifully
The phrase “decorative LED clock” can mean many things. Some designs look futuristic, some look rustic, and some look like they belong in a boutique hotel lobby where everyone speaks in calm voices and knows what “curated” means. Here are some of the most effective styles.
1. The Halo Wall Clock
A halo clock hides the LED strip behind the clock body so light spills onto the wall. This style is elegant because the viewer sees the glow, not the hardware. A wooden, acrylic, or metal face can float slightly away from the wall, creating a soft ring of light around it.
The halo style works especially well in bedrooms, hallways, studios, and living rooms. Use warm white or muted color transitions for a mature look. Bright rainbow effects can be fun, but in a calm home interior they can quickly turn the room into a tiny nightclub that forgot to charge admission.
2. The LED Ring Clock
The LED ring clock uses a circular strip or ring of pixels to represent the clock face. Each LED corresponds to a time position. For example, a 60-LED ring can map neatly to minutes and seconds, while hours can be shown by color or brightness.
This layout is intuitive because it echoes the shape of a traditional analog clock. Viewers can understand it quickly, especially if the hour, minute, and second indicators are visually distinct. A common approach is to use one color for hours, another for minutes, and a small moving dot for seconds.
3. The Word Clock With LED Backlighting
A word clock tells time using phrases like “It is half past seven.” LED strips sit behind a letter grid and illuminate only the words needed. This type of decorative clock is charming because it feels human. It does not simply report time; it says time, almost like a very punctual friend.
The challenge with word clocks is precision in the faceplate. Letters must align well with light zones, and light bleed must be controlled. Black dividers, 3D-printed grids, laser-cut panels, or foam separators can help keep each word crisp.
4. The Linear Light Clock
A linear clock displays time along a straight LED strip. Hours, minutes, and seconds may appear as separate segments or moving points. This style looks modern and works beautifully above a desk, shelf, media console, or bed frame.
The linear design is less traditional, so it may require a short learning curve. Once understood, however, it becomes a sleek and subtle design feature. It is especially effective in small spaces where a large round clock would feel visually heavy.
5. The Sculptural Clock
Some of the most impressive LED strip clocks are not clock-shaped at all. They may use spirals, waves, layered wood, mirrored acrylic, or geometric patterns. Time becomes part of the artwork. These builds are perfect for makers who want a custom piece that nobody else has.
The risk is readability. A decorative clock still needs to function as a clock. If your guests need a doctoral degree, a flashlight, and emotional support to tell whether it is 8:15 or 11:40, the design may need simplifying.
Choosing the Right LED Strip
The LED strip you choose will shape the entire project. Addressable RGB strips are best for animated and color-coded time displays. RGBW strips add a dedicated white LED, which can produce cleaner whites than RGB alone. Single-color strips are simpler and can be beautiful for halo clocks or minimalist designs.
Voltage is another important decision. Many addressable LED strips operate at 5 volts, while longer decorative runs often use 12 volts or 24 volts. Lower-voltage strips can be convenient for small projects, but longer strips may suffer from voltage drop if power is not injected along the run. Higher-voltage strips can be easier for larger installations, though compatibility with controllers and pixel types must be checked carefully.
Brightness Should Be Adjustable
A clock that looks amazing at noon may feel like a tiny lighthouse at 2 a.m. Dimming is not a luxury; it is part of good design. A decorative LED clock should have brightness control, and ideally it should adjust automatically by time of day or ambient light.
In a bedroom, nighttime brightness should be very low. In a living room, the clock can be brighter during daylight and warmer in the evening. In an office, sharper contrast may be helpful. The best LED clock is not the brightest one. It is the one that knows when to calm down.
Power Planning: The Part That Keeps the Magic From Smoking
LED projects are fun, but power planning deserves respect. Each LED uses current, and a long strip at full brightness can draw much more power than beginners expect. Addressable RGB LEDs can draw significant current when red, green, and blue are all on at full intensity. In real decorative use, brightness is often lower, but the power supply should still be sized with a safe margin.
A common mistake is trying to power too many LEDs directly from a microcontroller board. That may work for a few pixels, but it is not suitable for larger clock faces. The safer approach is to power the LED strip from an appropriate DC power supply while sharing a common ground with the controller.
Use the Right Supply, Wires, and Protection
Good builds use a power supply matched to the strip voltage and rated for enough current. Wiring should be thick enough for the load, connections should be secure, and the project should include sensible protection such as fuses when appropriate. For wall-powered decorative clocks, use certified power adapters and avoid mystery chargers from the drawer of forgotten electronics.
Heat also matters. LEDs are efficient, but they still create heat, especially at high brightness or high density. Mounting strips to aluminum channels can help with heat spreading and gives the project a cleaner finish. It also makes the final piece look intentional instead of temporary, which is always a win.
Diffusion: The Secret Ingredient
Diffusion is what makes LED strip projects look professional. Without it, individual LEDs can appear as harsh dots. With it, the light becomes smooth, soft, and decorative. Diffusion can be achieved with frosted acrylic, silicone covers, paper, fabric, resin, 3D-printed translucent plastic, or commercial LED channels.
The distance between the LEDs and the diffuser is important. If the diffuser sits too close, dots may still show. Increasing the distance allows the light to blend more evenly. The best result often comes from experimenting with a scrap piece before committing to the final design.
Color Temperature Changes the Mood
Warm whites feel cozy and home-friendly. Cool whites feel modern and crisp. Saturated colors feel playful and futuristic. For decorative clocks, a limited palette usually looks more sophisticated than constant rainbow animation. Use color with purpose: one color for hours, one for minutes, one accent for seconds, and perhaps a warm ambient background.
A restrained palette also improves readability. If every LED is constantly changing color, the clock may be fun to watch but hard to read. Time should not require detective work.
Making the Clock Easy to Read
Decorative clocks walk a fine line between beauty and usability. To keep the design practical, the visual language should be consistent. If blue means minutes today, it should not mean seconds tomorrow unless the clock includes a clear mode change.
Contrast matters too. A minute marker should be visually different from the ambient glow. A second marker should not overpower the hour marker. Use brightness, color, position, or animation to create hierarchy. The viewer should understand the time quickly after learning the design.
Examples of Readable LED Time Displays
A 60-pixel circular clock can use one bright pixel for the minute, a warmer thicker segment for the hour, and a dim moving point for seconds. A linear clock can use three colored bands: one for hours, one for minutes, and one for seconds. A word clock can illuminate phrases in five-minute increments while adding small corner dots for exact minutes.
These systems work because each has a simple rule. Good design is not about adding more effects. It is about making the effect understandable.
Smart Features That Actually Matter
LED strip clocks can include Wi-Fi sync, smartphone control, motion sensors, light sensors, alarms, weather colors, calendar reminders, or home automation integration. Those features can be useful, but they should support the clock’s main purpose rather than overwhelm it.
Automatic dimming is one of the most useful upgrades. A light sensor can reduce brightness when the room is dark. Wi-Fi time sync can keep the clock accurate. A physical button or touch control can switch modes without requiring an app every time someone wants a calmer display.
When Smart Becomes Too Smart
A clock does not need to require a firmware update before breakfast. If the setup process becomes too complicated, the charm disappears. The best decorative LED clocks feel magical on the surface and simple in daily use. They should turn on, show time, look good, and not demand a meeting.
Where an LED Strip Clock Fits Best
A decorative LED clock can work in many spaces, but placement affects the design. In a living room, it can become a focal point above a sofa or media console. In a bedroom, it should be dimmable and warm. In a home office, it can add personality without taking desk space. In a workshop or maker studio, it can be both useful and proudly experimental.
Wall color matters. A halo clock looks different on matte white paint than on dark wood paneling. Glossy walls may reflect individual light points. Textured walls can make the glow more organic. Before mounting the clock permanently, test it in the actual room at different times of day.
Common Mistakes to Avoid
The first mistake is over-brightness. Many LED strips are powerful enough to be uncomfortable indoors at full output. The second mistake is poor diffusion. The third is underestimating power requirements. The fourth is building a gorgeous clock that nobody can read.
Another common issue is messy cable management. A beautiful glowing clock loses some of its magic when a cable dangles down the wall like a sad electronic vine. Plan cable routing early. Use channels, hidden outlets, recessed mounting, or careful wall placement to keep the finished project clean.
Do Not Ignore Safety
Any wall-powered lighting project should be treated responsibly. Use the correct voltage, avoid overloading supplies, keep wiring secure, and choose components suited for indoor use. If the project involves mains wiring, bring in a qualified professional. Low-voltage LED projects are approachable, but household AC power is not a playground.
Why This Type of Clock Feels So Modern
The decorative LED strip clock fits perfectly into today’s design culture because it combines personalization, technology, and atmosphere. People want objects that do more than perform one task. A clock can now be a mood light, a sculpture, a smart device, and a maker project.
It also reflects a larger shift in home lighting. LEDs have made it easier to use light creatively without consuming as much energy as older lighting technologies. Instead of one bright ceiling fixture, modern rooms often use layered lighting: task lights, accent lights, ambient glow, and decorative features. An LED clock belongs naturally in that layered approach.
DIY or Buy: Which Is Better?
Building your own LED strip clock is rewarding if you enjoy electronics, coding, woodworking, 3D printing, or design. You can customize the size, colors, materials, and display style. The downside is that DIY projects take time, testing, and troubleshooting. Sometimes the clock works perfectly; sometimes it decides that 3:00 means “purple chaos.” That is part of the journey.
Buying a finished decorative LED clock is better if you want polished results without debugging code or soldering at the kitchen table. Look for adjustable brightness, quality diffusion, reliable timekeeping, safe power components, and a design that matches your room. Whether DIY or store-bought, the goal is the same: a clock that looks beautiful and tells time clearly.
Experience Notes: What It Is Really Like Living With a Decorative LED Strip Clock
The first thing you notice after installing a decorative LED strip clock is that it changes the room even when you are not actively looking at it. A normal clock sits on the wall and waits to be checked. An LED clock participates. It gives the wall depth, adds a gentle glow, and makes the space feel designed rather than simply furnished.
In my experience, the most successful LED clock setup is not the flashiest one. At first, it is tempting to test every animation: rainbow chase, comet trail, sparkle mode, color wipe, breathing pulse, dramatic sunrise, and the inevitable “party mode” that makes the room look like a robot birthday. Those effects are fun for about ten minutes. After that, the modes people actually keep are usually simple: warm halo, soft minute marker, low-brightness night mode, and maybe one tasteful color transition.
Readability becomes more important over time. A decorative clock can be artistic, but if you cannot read it quickly, you eventually stop using it as a clock. The best layout I have seen uses a clear hierarchy: the hour is always warm and slightly brighter, the minute is cooler and more precise, and the second hand is subtle enough not to feel nervous. Seconds are useful in a workshop or kitchen, but in a bedroom they can become visual caffeine.
Placement also matters more than expected. A halo clock mounted on a plain wall looks clean and premium. The same clock near a glossy picture frame or mirror can create distracting reflections. In a bedroom, placing the clock directly opposite the bed may be too bright even at low settings. A side wall often works better because the glow becomes ambient rather than direct.
Cable management is another real-world lesson. During planning, everyone imagines a perfect floating light object. During installation, the power cable enters the chat. If possible, place the clock near an outlet, route the cable behind furniture, or use a wall channel painted to match the wall. A tidy cable makes the whole project feel more intentional.
The biggest surprise is how much guests notice it. People may ignore a regular clock, but a softly glowing LED clock usually gets a reaction. They ask how it works, whether it changes colors, and whether it is homemade. That makes it a great project for makers because it demonstrates electronics in a friendly way. It is not a mysterious circuit hidden in a box; it is useful, visible, and beautiful.
Maintenance is usually simple. Dust the diffuser, check that the power supply does not run hot, and occasionally adjust brightness as the room changes. If the clock uses Wi-Fi time sync, it should stay accurate with little effort. If it uses an RTC module, a backup battery may need replacement after a long period.
The most satisfying part is that an LED strip clock can match your personality. Minimalist? Use warm white and a thin wooden ring. Gamer? Add bold colors and animated seconds. Designer? Hide everything behind frosted acrylic and let the light do the talking. Maker? Add sensors, modes, and custom code until the clock practically has a résumé.
A decorative clock that uses LED strips to beautiful effect succeeds because it makes time visible in a fresh way. It is practical, but it also creates atmosphere. It can be calm, playful, futuristic, rustic, or elegant depending on the materials and programming. And unlike many smart home gadgets, it does not need to solve a fake problem. It simply makes an everyday object more delightful.
Conclusion
A decorative LED strip clock is one of those rare projects where function and beauty genuinely support each other. The LEDs are not just decoration; they become the display. The clock is not just a gadget; it becomes part of the room. With the right strip, careful power planning, smooth diffusion, readable design, and thoughtful brightness control, an LED clock can turn a basic wall into a glowing centerpiece.
The best designs are not necessarily the most complicated. They are the ones that balance clarity and atmosphere. Whether you build a circular LED ring clock, a soft halo clock, a word clock, or a sculptural light piece, the principle is the same: use light with intention. When the glow is controlled, the colors are tasteful, and the time is easy to read, the result is beautiful in the way good design should beuseful, memorable, and just a little bit magical.
Note: This article was written for web publishing and synthesized from real-world DIY electronics, LED lighting, energy-efficiency, and consumer safety knowledge. Source links are intentionally not inserted in the body text.