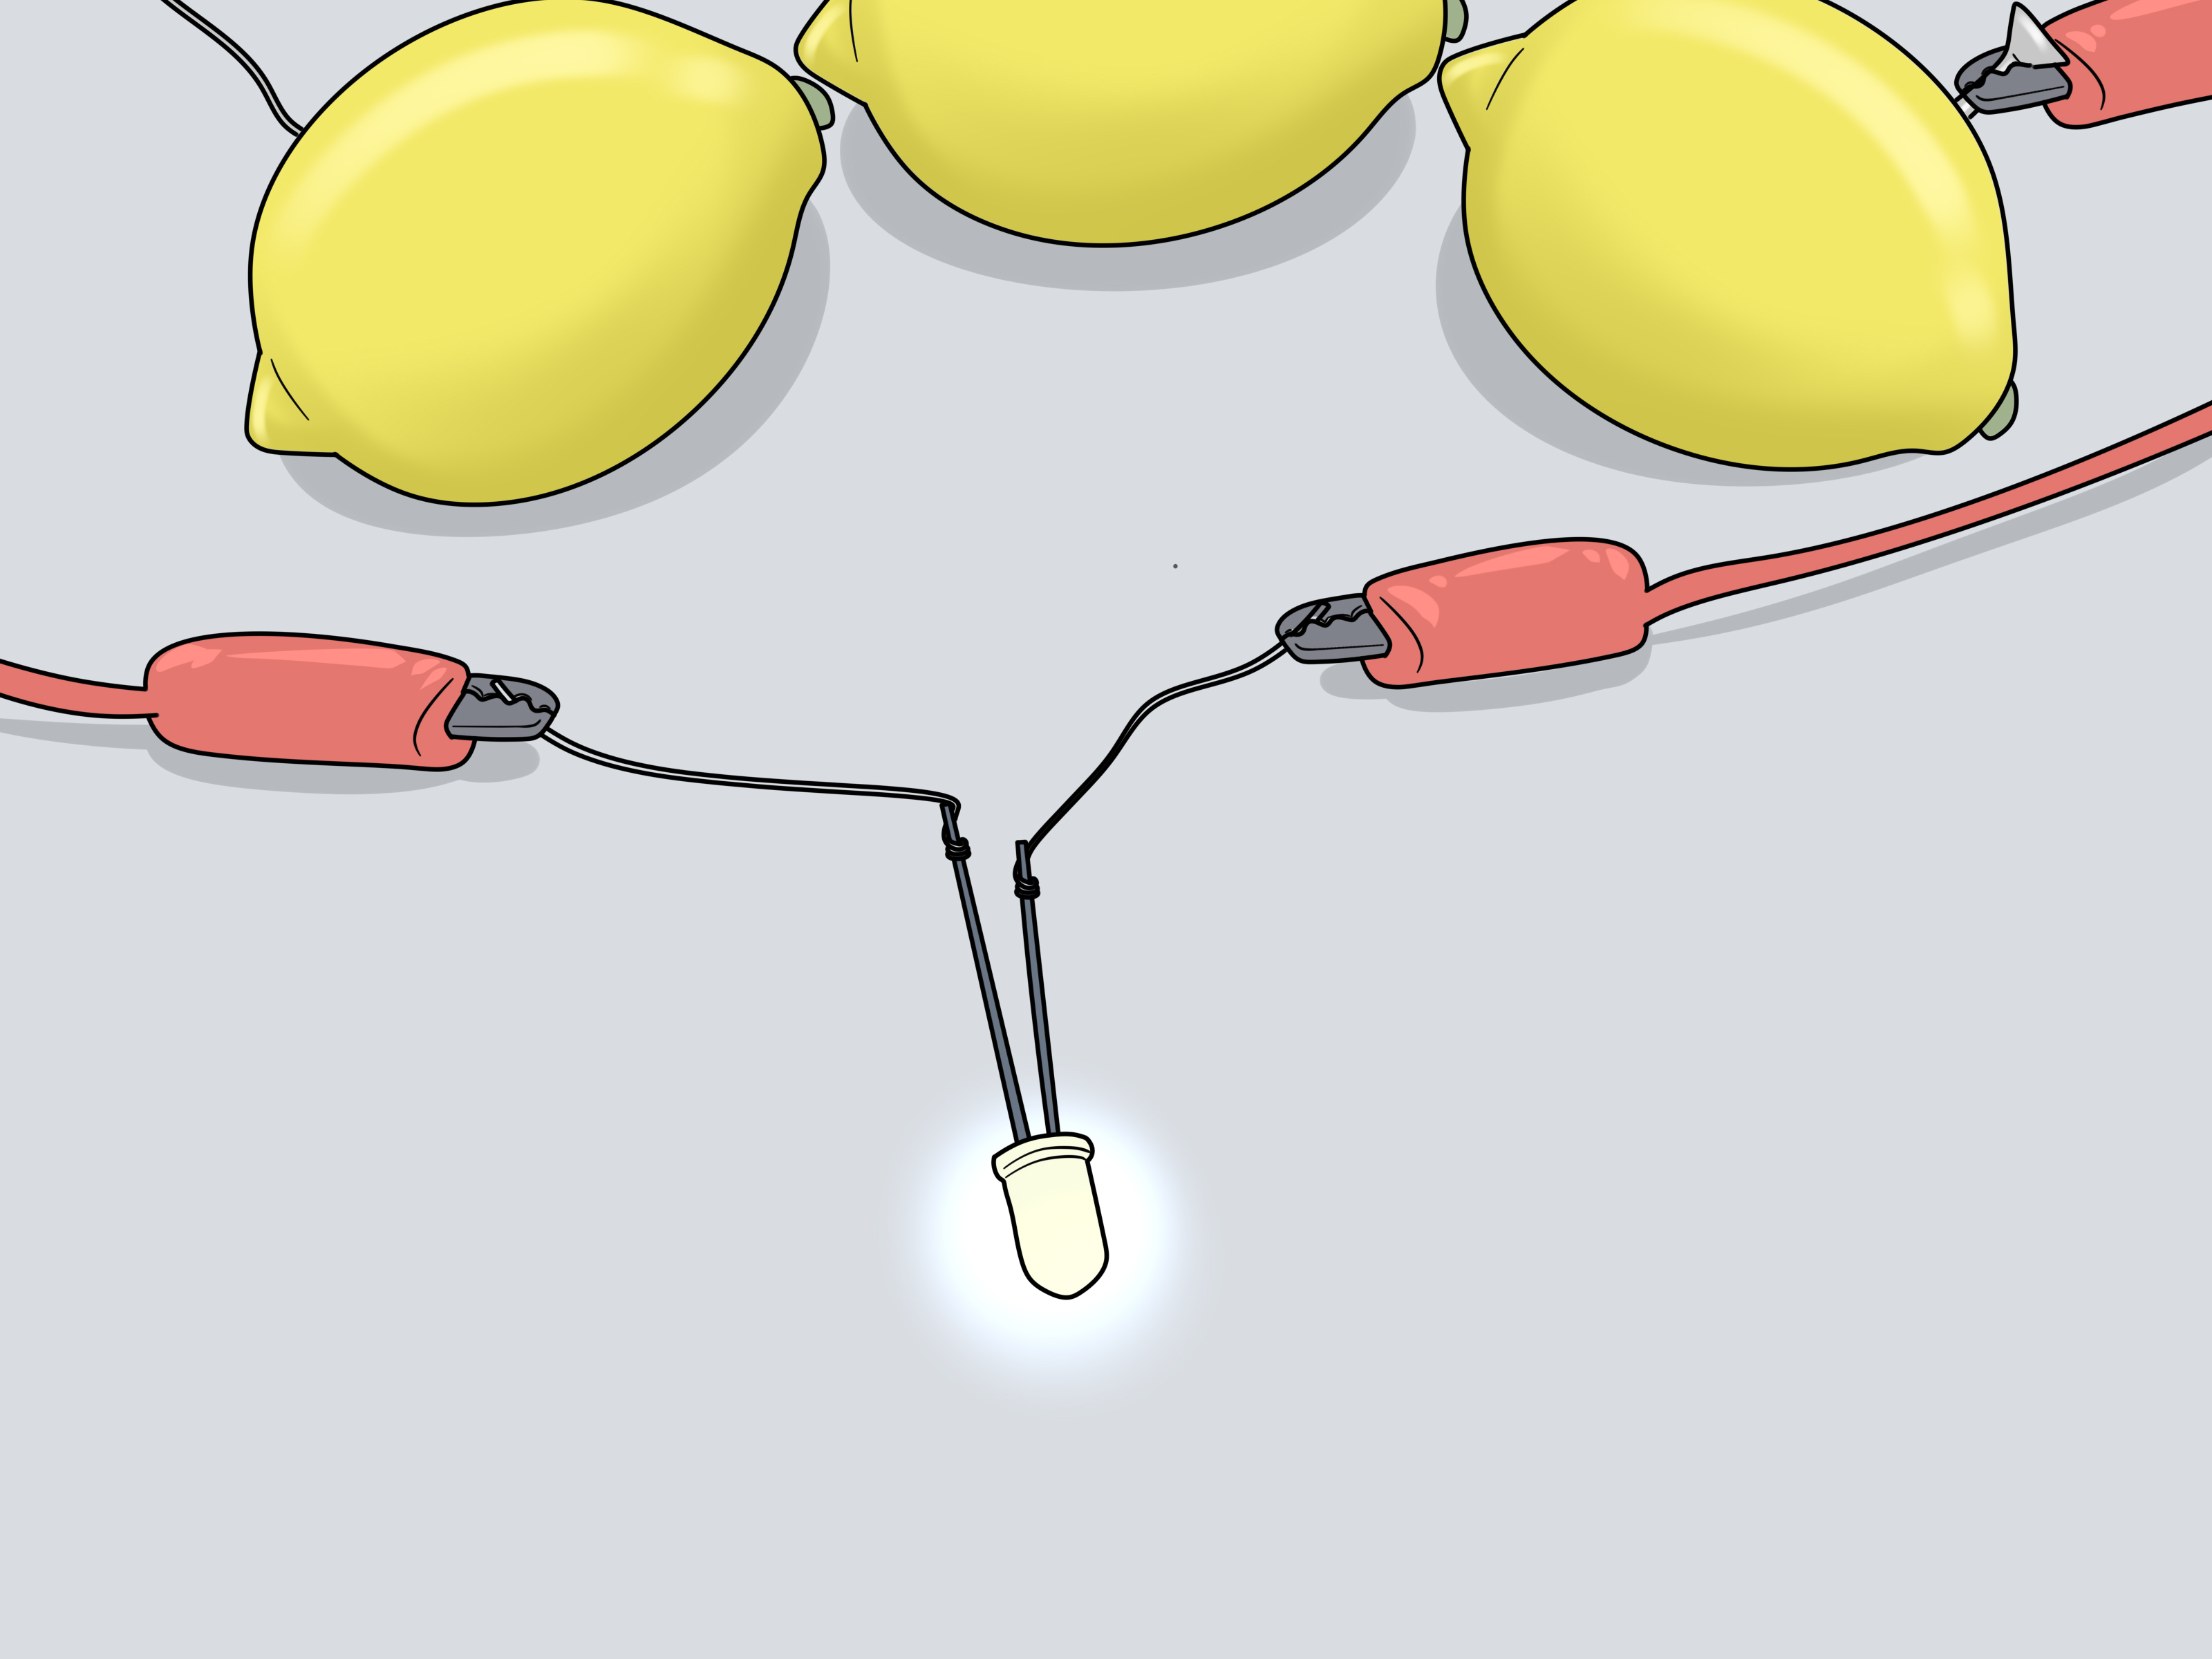
Lighting an LED with a battery is one of those wonderfully satist produces an immediate result. Connect the right components, andprestoyou have light. Connect them incorrectly, and you have either a stubbornly dark LED or a very brief electronic shooting star.
This beginner-friendly guide explains three simple ways to light a small LED bulb with a battery: using a coin cell, an AA or AAA battery pack, and a 9-volt battery with a breadboard. Along the way, you will learn how to identify LED polarity, choose a current-limiting resistor, troubleshoot common problems, and avoid turning your first electronics experiment into a tiny countertop heater.
Important note: In this article, “LED bulb” means a small, low-voltage LED component, such as a 3 mm or 5 mm indicator LED. A household screw-in LED bulb designed for a 120-volt outlet cannot be connected directly to a small battery. Household LED lamps contain electronic driver circuitry and require an appropriately designed power source or inverter. side>
How an LED and Battery Circuit Works
LED stands for light-emitting diode. Unlike an old-fashioned incandescent bulb, an LED is polarized, meaning electricity must flow through it in the correct direction. The positive LED lead is called the anode , while the negative lead is called the cathode .
On most new through-hole LEDs, the longer leg is the anode. The shorter leg is the cathode. You can also look at the plastic body: a flat edge usually marks the cathode. If you connect the LED backward, it normally will not illuminate. Turn it around before assuming it has joined the great electronics store in the sky. 3>Voltage and Forward Voltage
Every LED has a forward voltage, often written as Vf . This is the approximate voltage across the LED while it is operating. The value depends on the LED’s color and construction.
Red LEDs commonly have a forward voltage near 1.8 to 2.2 volts.
Yellow and orange LEDs are often around 2 to 2.4 volts.
Green LEDs may range from roughly 2 to more than 3 volts.
Blue and white LEDs are commonly near 3 to 3.4 volts.
These figures are general examples rather than guarantees. Check the LED’s datasheet when available. LED forward voltage varies with color, current, temperature, and manufacturing differences. 3>Why You Usually Need a Resistor
An LED does not naturally limit its current. Once it begins conducting, a small voltage increase can cause a large current increase. Excessive current can overheat and permanently damage it. A resistor wired in series limits that current and makes the circuit more predictable.
The standard calculation is:
Resistance = (Battery voltage − LED forward voltage) ÷ Desired LED current
For calculations, current must be expressed in amperes. For example, 10 milliamps equals 0.010 amps. Many modern indicator LEDs are clearly visible at 5 to 10 milliamps, so beginners do not always need to aim for the maximum rating. A slightly larger resistor usually means less brightness, longer battery life, and a happier LED. 2>Tools and Materials
You will not need a laboratory full of equipment. Gather the following items according to the method you plan to use:
One standard 3 mm or 5 mm LED
A CR2032 coin cell, AA or AAA battery holder, or 9-volt battery
Resistors, preferably values between 100 ohms and 1,000 ohms
Insulated jumper wires or alligator clip leads
Electrical tape or removable adhesive tape
A solderless breadboard for Method 3
An optional pushbutton or slide switch
An optional digital multimeter
Do not use a high-power lighting LED, LED strip, automotive lamp, or household light bulb for these basic circuits. Those products may require regulated constant-current drivers, heat sinks, or higher-current power supplies.
Method 1: Light an LED with a Coin Cell Battery
The fastest method uses a 3-volt coin cell, such as a CR2032, and one small LED. It is popular for greeting cards, paper crafts, wearable projects, and quick LED testing.
What You Need
One CR2032 coin cell
One low-current 3 mm or 5 mm LED
A small piece of tape
Step-by-Step Instructions
Find the positive side of the coin cell. It is usually the broad, flat surface marked with a plus sign.
Identify the LED’s longer positive leg and shorter negative leg.
Slide the battery between the LED leads.
Place the long lead against the battery’s positive side.
Place the short lead against the negative side.
Pinch the leads gently against the battery. The LED should illuminate.
Secure the connection with tape if you need it to remain on temporarily.
If the LED stays dark, reverse it. A white or blue LED may appear dim when the coin cell is partially discharged because its forward voltage is close to the battery voltage.
Why This Method Can Work Without an External Resistor
A coin cell has limited current-delivery capability and internal resistance, which can restrict the current through a small LED. This makes the battery-and-LED “sandwich” useful for quick demonstrations. However, it is not a universal design rule. Different coin cells and LEDs behave differently, and a resistor remains the more controlled choice for durable projects. Adafruit presents the coin-cell method as a simple approach while recommending current limiting when larger battery packs are used. >Remove the battery when the project is not being used. Do not leave bare coin cells where children can reach them. Swallowed button or coin batteries can cause severe internal burns in a very short time and require immediate emergency attention. 2>Method 2: Use an AA or AAA Battery Pack and Resistor
This method provides a more reliable circuit and teaches the most important beginner lesson: how to protect an LED with a series resistor. A holder containing two or three AA or AAA batteries is easier to connect than trying to balance loose cells in a wobbly tower.
Recommended Setup
For a red LED, a two-cell battery holder provides about 3 volts when fitted with fresh alkaline batteries. For a white or blue LED, a three-cell holder providing about 4.5 volts gives more useful voltage headroom.
Example Resistor Calculation for a Red LED
Assume the battery pack supplies 3 volts, the red LED has a 2-volt forward voltage, and the target current is 10 milliamps:
(3 V − 2 V) ÷ 0.010 A = 100 ohms
A 100-ohm resistor is the calculated value. You could also use 150, 220, or 330 ohms. The LED will become progressively dimmer as resistance increases, but many modern LEDs remain surprisingly bright at low current.
Example for a White LED
Assume three AA batteries supply 4.5 volts and the white LED has a forward voltage of 3.2 volts:
(4.5 V − 3.2 V) ÷ 0.010 A = 130 ohms
Because 130 ohms is not always included in basic resistor kits, select the next common value above it, such as 150 or 180 ohms. Choosing the next higher standard value is normally the conservative option.
Assembly Instructions
Remove one battery from the holder or switch the holder off while building the circuit.
Connect the holder’s red positive wire to one end of the resistor.
Connect the resistor’s other end to the LED’s long anode leg.
Connect the LED’s short cathode leg to the holder’s black negative wire.
Insulate exposed connections with electrical tape or heat-shrink tubing.
Install the batteries or switch on the holder.
The resistor can be placed before or after the LED. As long as the resistor and LED are in the same series path, the same current flows through both components.
This setup is useful for miniature signs, cardboard models, dollhouse lighting, school demonstrations, and small decorative projects. For a finished project, add a switch between the positive battery wire and the resistor so the batteries do not need to be removed every time.
Method 3: Light an LED with a 9-Volt Battery and Breadboard
A breadboard lets you build and revise a circuit without soldering. It is ideal for learning because every component can be removed and reused after the experiment. Engineers commonly use solderless breadboards to test circuits before making permanent connections or printed circuit boards. 3>Choose a Safe Resistor
A 9-volt battery is far above the forward voltage of a single indicator LED, so a resistor is essential. For a red LED with a 2-volt forward voltage at 10 milliamps:
(9 V − 2 V) ÷ 0.010 A = 700 ohms
A common 680-ohm resistor is close to the calculated value, while 750, 820, or 1,000 ohms provides a more conservative current. A 1,000-ohm resistor is an excellent starting point for testing an unknown indicator LED with a 9-volt battery. If the light is too dim, reduce the resistance after checking the LED’s specifications.
Breadboard Assembly
Connect a 9-volt battery clip to the battery, but keep the circuit switched off or leave one lead disconnected.
Connect the red battery lead to the breadboard’s positive power rail.
Connect the black battery lead to the negative rail.
Insert one end of a 680-ohm or 1,000-ohm resistor into the positive rail.
Insert the resistor’s other end into an unused numbered row.
Place the LED’s long anode leg into that same connected row.
Place the short cathode leg into a different row.
Use a jumper wire to connect the cathode’s row to the negative rail.
Connect or switch on the battery.
To add a switch, insert it in series between the positive rail and the resistor. When the switch opens, the electrical path is broken and the LED turns off. When it closes, current flows through the resistor and LED.
A breadboard circuit also makes experimentation easy. Try replacing a 1,000-ohm resistor with an 820-ohm or 680-ohm resistor and observe the brightness change. Do not replace the resistor with a plain jumper wire; that experiment may produce a quick flash followed by a permanently retired LED.
Common Problems and Quick Fixes
The LED Does Not Light
Reverse the LED first. Incorrect polarity is the most common problem. Next, confirm that both LED legs are not inserted into electrically connected holes on the same breadboard strip. Check the battery orientation and verify that all clips are touching clean metal.
The LED Is Very Dim
The battery may be weak, the resistor may be larger than necessary, or the supply voltage may be barely above the LED’s forward voltage. A white LED connected to two rechargeable AA cells may be dim because two nickel-metal hydride cells provide only about 2.4 volts nominally.
The LED Flashes and Goes Dark
This often indicates excessive current. Disconnect the battery and verify that a resistor is present in series. Replace the LED and restart with a larger resistor, such as 1,000 ohms.
The Circuit Works Only When You Press It
You probably have a loose mechanical connection. Alligator clips may grip insulation instead of exposed metal, and breadboard jumpers may be inserted into the wrong row. Permanent projects should use soldered joints, suitable connectors, or firmly twisted and insulated connections rather than hopeful pieces of tape performing structural engineering.
How to Test the Battery
A digital multimeter can measure the battery’s DC voltage. Select DC volts, place the red probe on the positive terminal, and place the black probe on the negative terminal. A negative symbol usually means the probes are reversed rather than the battery containing anti-electricity. 2>Battery and LED Safety Tips
Disconnect the battery immediately if it, the resistor, or the LED becomes hot.
Never short a battery by directly connecting its positive and negative terminals.
Do not solder directly to ordinary batteries unless they have factory-installed solder tabs.
Keep metal tools, jewelry, and loose wires away from exposed battery terminals.
Use the LED and resistor ratings listed in their datasheets whenever possible.
Keep coin cells locked away from children and pets.
Do not recharge a battery unless it is specifically labeled rechargeable.
Do not use swollen, leaking, corroded, or physically damaged batteries.
Battery disposal rules vary by battery chemistry and location. The U.S. Environmental Protection Agency advises consumers not to place lithium-ion batteries in household trash or ordinary recycling bins. Button, coin, and lithium single-use batteries should be taken to an appropriate collection or recycling location. Taping exposed terminals can reduce short-circuit and fire risks during storage and transportation. 2>Experience-Based Lessons from Building Battery-Powered LED Circuits
The first practical lesson most beginners encounter is that a dark LED is not necessarily a dead LED. Polarity causes a surprisingly large percentage of failed first attempts. The long-leg rule is useful, but it becomes less reliable after the leads have been trimmed. At that point, the flat edge on the LED body or a multimeter’s diode-test function becomes more helpful. Reversing the LED is a better first troubleshooting step than immediately dismantling the entire project.
Another common experience is discovering that “brighter” is not automatically “better.” An LED connected through a 1,000-ohm resistor may look dim under bright workshop lighting, yet appear perfectly bright in a dark room, model house, or display box. Reducing the resistance increases current and brightness, but it also drains the battery faster. For decorative lighting that runs for hours, a moderate glow is usually more useful than maximum brightness. The LED does not need to impersonate a lighthouse.
Battery choice also creates unexpected results. A white LED may work well with three AA cells but barely glow with two. Meanwhile, a red LED may operate comfortably from two cells because its forward voltage is lower. Beginners sometimes assume all LEDs behave identically because the plastic packages look similar. In reality, color and semiconductor construction matter. Labeling parts when they arrive saves a great deal of later guesswork.
Loose connections are another recurring source of frustration. A circuit may work while being held and fail as soon as it is placed on a table. This usually points to weak contact rather than mysterious electrical behavior. Coin-cell projects benefit from a proper holder instead of tape. AA projects are easier with battery holders and switches. Breadboard projects become more dependable when jumper wires are fully inserted and component legs are not badly bent.
Resistor selection becomes much easier after building several examples. A 330-ohm resistor is a popular general starting point for many low-voltage LED experiments, but it is not a magical universal value. The battery voltage, forward voltage, and intended current still determine the correct resistance. When information is missing, starting with a larger value such as 1,000 ohms is a sensible testing strategy. You can gradually reduce resistance while checking brightness and component temperature.
One especially useful habit is touching nothing conductive while diagnosing a circuit and instead disconnecting the battery before moving components. Small batteries may seem harmless, but short circuits can heat wires and battery terminals quickly. If a battery becomes warm, disconnect it and inspect the circuit. Heat is not an encouraging sign that the electrons are “working extra hard.” It is a warning.
Finally, the best beginner LED projects are designed for maintenance. Batteries eventually discharge, tape loosens, and wires get bumped. A battery holder, replaceable resistor, accessible switch, and insulated connections turn a temporary experiment into a dependable miniature light. Once a single LED circuit makes sense, the same fundamentals provide a foundation for switches, sensors, transistors, microcontrollers, flashing circuits, and larger lighting projects.
Conclusion
There are several easy ways to light an LED bulb with a battery, but the best method depends on your goal. A coin cell is perfect for a quick demonstration or lightweight craft. An AA or AAA battery pack with a resistor offers longer runtime and dependable operation. A 9-volt battery and breadboard provide the most flexible setup for learning, testing resistor values, and adding a switch.
Whichever method you choose, remember the three essentials: connect the LED with the correct polarity, limit current whenever the power source can deliver too much, and disconnect everything if a component becomes hot. Follow those rules, and your first LED circuit should produce a pleasant glow rather than smoke, sparks, or an awkward conversation with the person who owns the table.
Research note: This article synthesizes educational and safety guidance from the U.S. Department of Energy, SparkFun, Adafruit, DigiKey, All About Circuits, Science Buddies, Fluke, Texas Instruments, Arduino, Mouser Electronics, Battery University, the U.S. Consumer Product Safety Commission, and the U.S. Environmental Protection Agency. side>