Vermicomposting is one of those gardening projects that sounds slightly odd until you realize the “tiny worms in a bin” are quietly turning kitchen scraps into a dark, crumbly soil amendment your plants will adore. It is composting with a workforce that never asks for weekends off, never complains about the break room, and is remarkably enthusiastic about melon rinds.
Also called worm composting, vermicomposting uses composting worms and helpful microorganisms to break down fruit and vegetable scraps, coffee grounds, paper bedding, and other suitable organic materials. The finished material, often called worm castings or vermicompost, can improve soil structure and add organic matter to garden beds, containers, seedlings, and houseplants.
The secret is not complicated: give the worms the right species, a breathable home, damp bedding, modest meals, and a place away from extreme temperatures. Follow these 14 steps to prepare vermicompost successfully without turning your laundry room, garage, or kitchen corner into a tiny horror movie.
Why Prepare Vermicompost at Home?
A worm bin gives food scraps another job before they head to the trash. Instead of tossing vegetable peels, coffee grounds, tea leaves, and wilted lettuce, you can send them to a small composting system that works indoors or outdoors in a protected location. Vermicomposting is especially useful for apartment dwellers, small-space gardeners, classrooms, and anyone who wants compost without building a full backyard pile.
Unlike hot composting, a worm bin does not need to become a steaming mountain of leaves and grass. It works at moderate temperatures and stays relatively compact. The reward is a fine, dark material that can be mixed into potting soil, sprinkled around established plants, or added to garden beds as a soil conditioner.
How to Prepare Vermicompost in 14 Steps
Step 1: Understand What Vermicompost Is
Vermicompost is not simply a box full of worms and yesterday’s salad. It is a living system made up of worms, microorganisms, bedding, food scraps, moisture, and air. The worms consume decomposing material and microbes, while their castings become part of the finished compost. Think of the bin as a miniature ecosystem, not a garbage can with tenants.
Step 2: Choose the Right Worms
Use red wigglers, commonly sold as compost worms, red worms, manure worms, or tiger worms. Red wigglers are surface-dwelling worms that thrive in decaying organic matter and crowded conditions. Avoid collecting large night crawlers from your yard. Garden earthworms may be excellent neighbors outdoors, but most do not adapt well to life in a shallow worm bin.
Step 3: Pick a Wide, Shallow Bin
A plastic storage tote is one of the easiest containers for beginner vermicomposting. Choose an opaque bin that is wider than it is deep, ideally around 8 to 15 inches deep. Worms spend most of their time near the surface where food and oxygen are available, so a deep bucket is more penthouse than they need. A bin holding roughly 10 to 18 gallons works well for many households.
Step 4: Add Ventilation and Drainage
Worms breathe through their skin, so air circulation matters. Drill small ventilation holes near the upper sides or in the lid. If you drill drainage holes in the bottom, place the bin on blocks or small supports inside a tray. The goal is to prevent soggy bedding, not to create a worm-bin swimming pool. Cover large holes with fine mesh if you are concerned about wandering worms.
Step 5: Choose a Comfortable Location
Place the worm bin in a shaded, protected area such as a basement, utility room, garage, covered porch, or sheltered kitchen corner. Red wigglers generally perform best in moderate conditions, around 55°F to 77°F. Keep the bin out of direct sun, away from heaters, and protected from freezing temperatures. Worms appreciate climate control almost as much as humans do.
Step 6: Make the Bedding
Prepare bedding from shredded newspaper, torn cardboard, brown paper bags, untreated coir, or a mixture of these materials. Moisten the bedding until it feels like a wrung-out sponge: damp throughout but not dripping when squeezed. Fluff it before adding it to the bin so air can move through the material. Fill the container about halfway to three-quarters full with loose bedding.
Step 7: Add Grit and a Small Amount of Soil
Worms do not have teeth, so they use tiny gritty particles in their digestive system to help process food. Mix in a small handful of clean soil, sand, rock dust, or finely crushed eggshells. Do not overdo it; this is a helpful seasoning, not a gravel driveway. A little grit can also help balance the bedding and introduce beneficial microorganisms.
Step 8: Introduce the Worms and Let Them Settle In
Place the red wigglers on top of the damp bedding and leave the lid slightly open or place a sheet of damp newspaper over the surface. Because worms avoid light, they will quickly move down into the bedding. Give them a day or two to adjust before adding a large amount of food. Their first priority is finding the good real estate; dinner can wait.
Step 9: Prepare Worm-Friendly Food Scraps
Feed your worms fruit and vegetable scraps, coffee grounds, tea leaves, crushed eggshells, small amounts of bread or grains, and soft plant material. Chop or freeze-and-thaw larger scraps first to speed decomposition. Smaller pieces break down faster, which means your worms do not have to stare at a whole squash rind like it is a parked bus.
Step 10: Avoid Foods That Cause Trouble
Do not add meat, fish, dairy products, oils, greasy leftovers, bones, pet waste, cat litter, heavily salted foods, or chemically treated materials. These items can smell, attract pests, create unhealthy conditions, or raise food-safety concerns. Limit onions, garlic, spicy foods, and citrus peel because large quantities can make the bin too acidic or unpleasant for the worms.
Step 11: Start Feeding Slowly
Begin with a small handful or two of food scraps, especially during the first week. Bury the scraps beneath the bedding in one corner instead of leaving them exposed on top. Wait until most of the previous meal has been processed before adding more. New worm keepers often overfeed because the worms look hardworking. They are hardworking, but they are not a restaurant waste-disposal unit.
Step 12: Cover Every Meal with Bedding
After each feeding, cover the scraps with moist bedding or finished vermicompost. This simple habit helps discourage fruit flies, reduces odors, and keeps the bin balanced. Add a dry sheet of newspaper or cardboard on top as an additional moisture buffer. Replace it when it becomes very wet, torn apart, or suspiciously popular with tiny flies.
Step 13: Monitor Moisture, Smell, and Worm Behavior
Check the bin once or twice a week. Healthy bedding should be moist, fluffy, and earthy smelling. If it is dry, mist it lightly with water. If it is wet, compacted, or smelly, add dry shredded paper, fluff the bedding gently, and pause feeding until conditions improve. Worms crawling up the sides or trying to escape can signal excess moisture, overheating, sour food, poor airflow, or a bin that has been overfed.
Fruit flies usually mean exposed food or too much food. Bury scraps deeper, freeze scraps before feeding, replace the top bedding layer, and remove anything that is rotting faster than the worms can handle it. A worm bin should smell like a forest floor, not like a forgotten refrigerator science experiment.
Step 14: Harvest the Vermicompost and Restart the Cycle
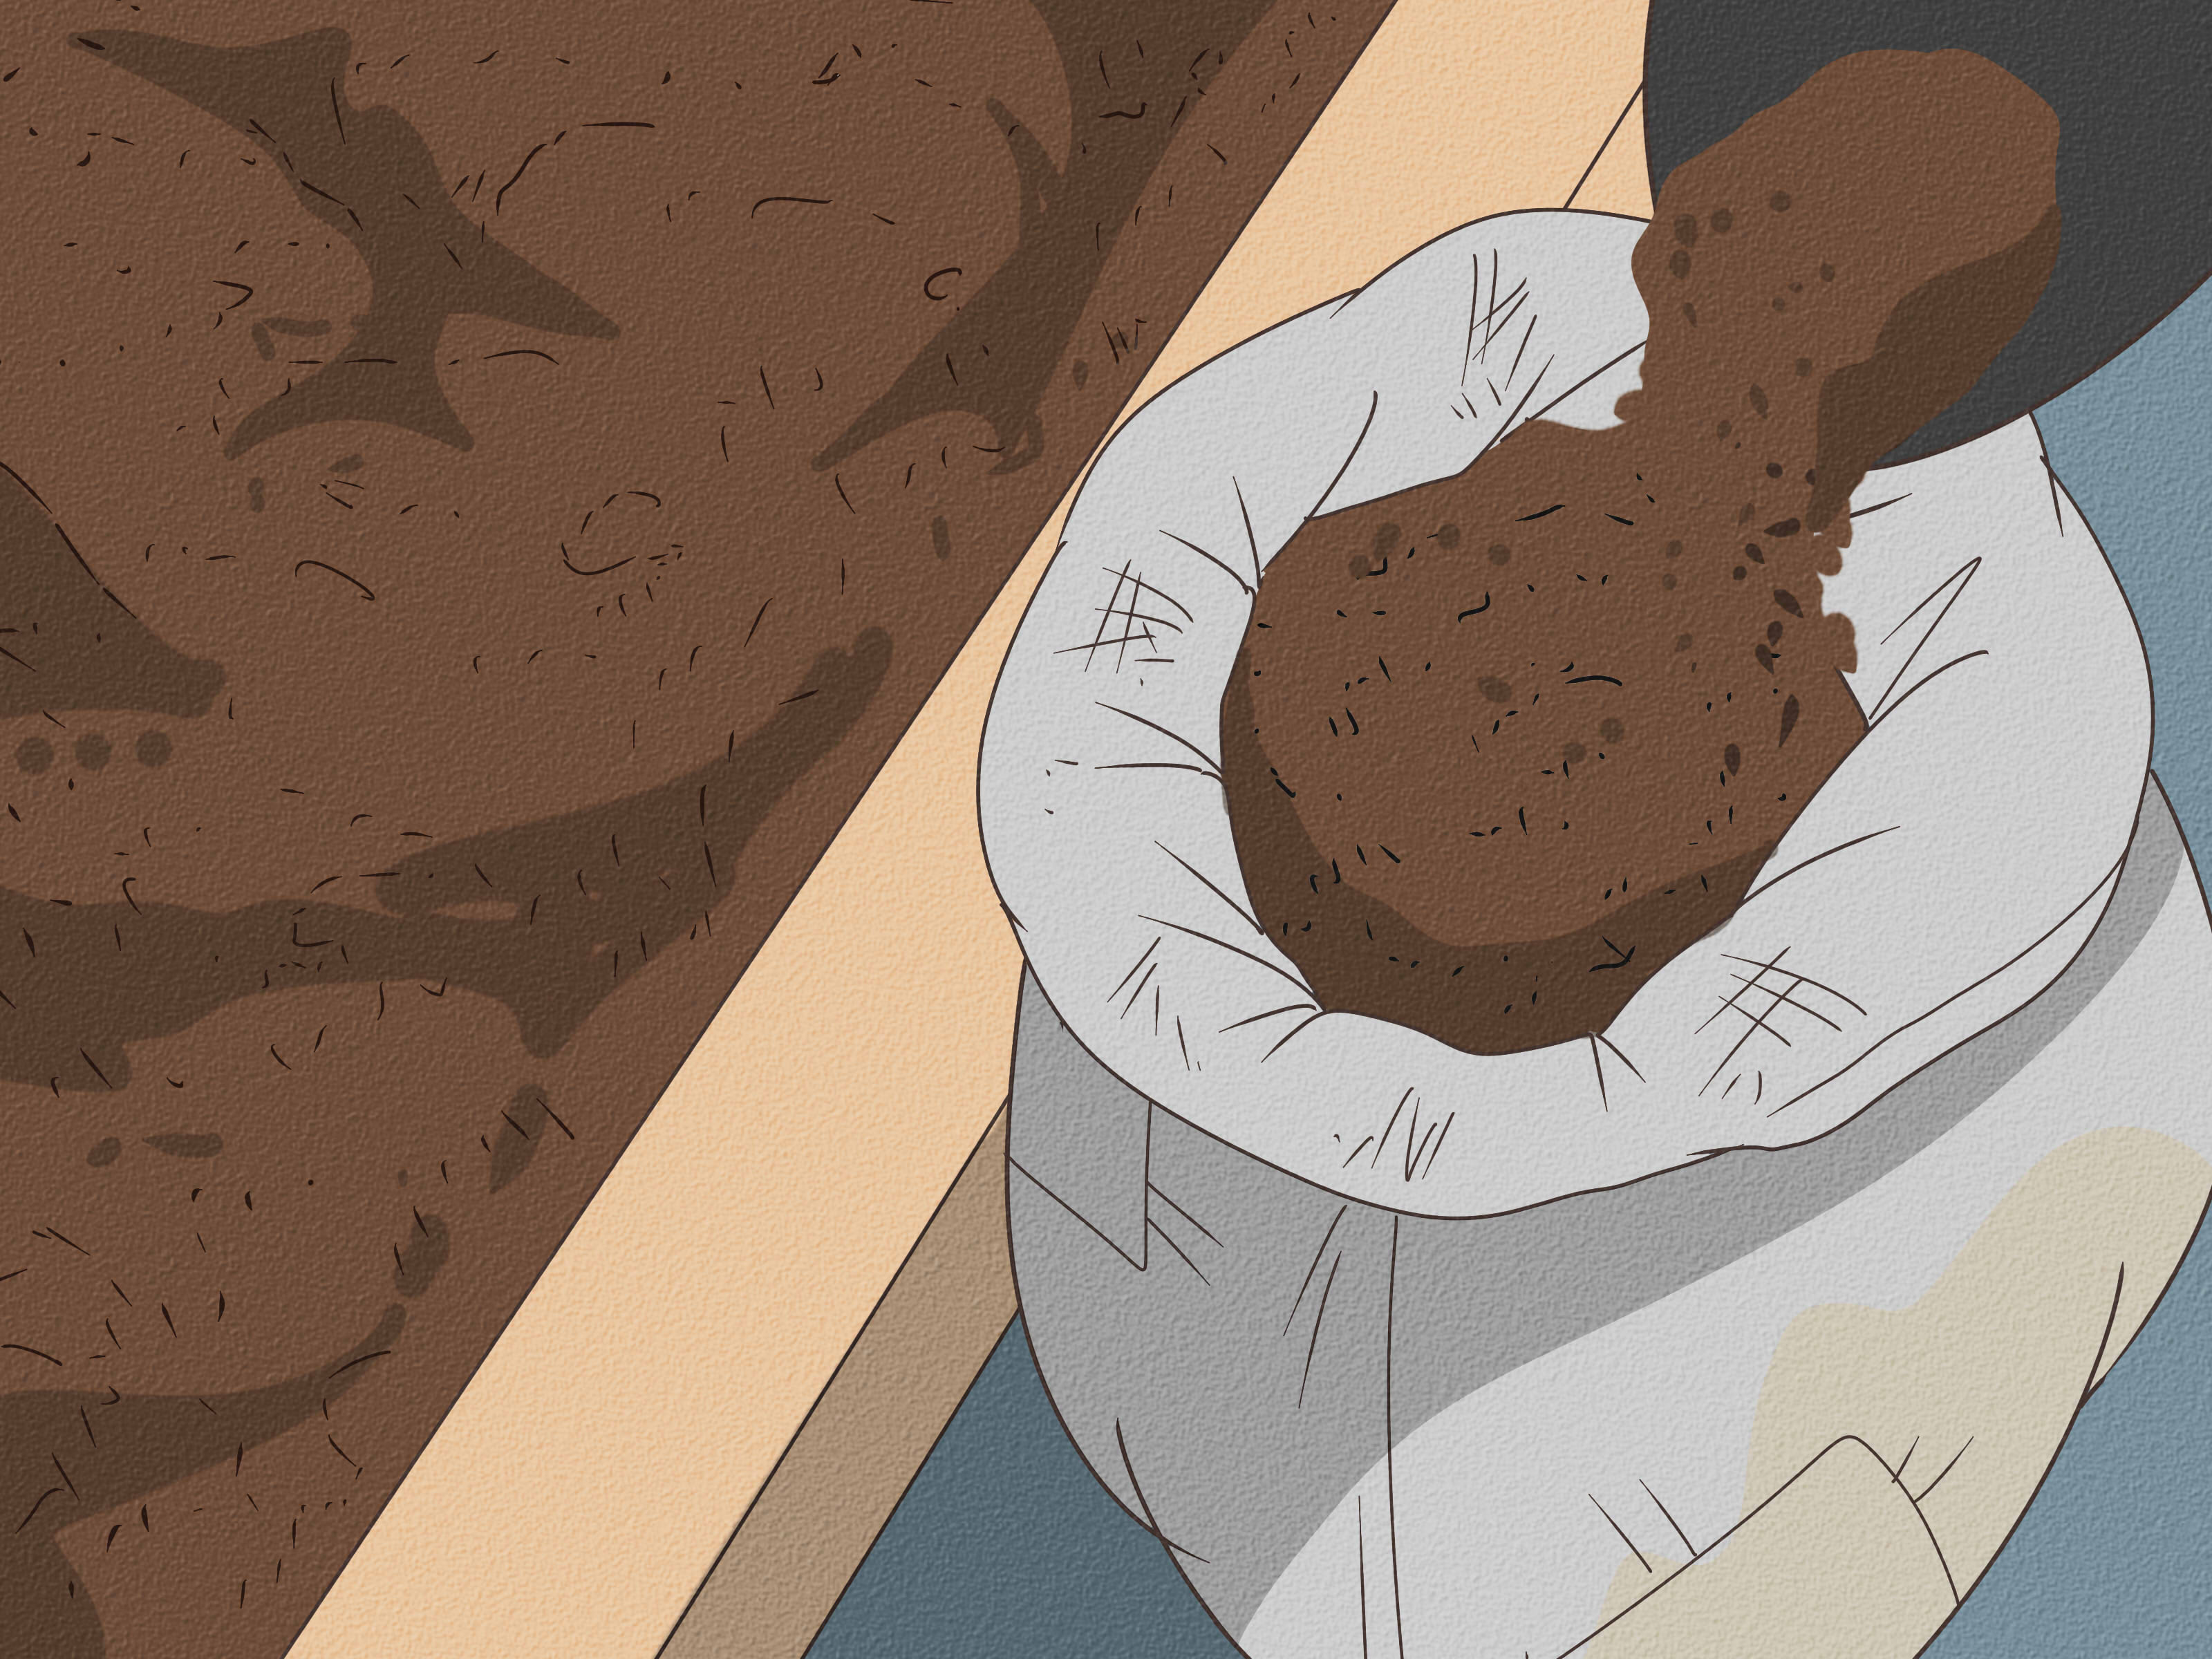
After roughly two to four months, depending on feeding rates and bin conditions, you should see dark, fine material resembling moist coffee grounds. One easy harvesting method is to feed only one side of the bin for several weeks. Add fresh bedding and food on that side, allowing the worms to migrate toward the new buffet. Then remove the finished vermicompost from the other side.
Use the harvested material as a top dressing around houseplants, mix a modest amount into potting mixes, or work it into garden soil. Leave enough bedding and worms behind to restart the system. Add fresh damp bedding, resume gradual feeding, and congratulate your worms on another successful quarter.
How to Use Finished Worm Castings
Vermicompost is best used as a soil amendment rather than as the only growing medium. Mix a small portion into potting soil for houseplants, add a thin layer around vegetable seedlings, or blend it into garden beds before planting. For containers, a modest amount mixed into regular potting soil is usually more practical than filling a pot entirely with castings.
Use it where plants need steady support: herbs, leafy greens, tomatoes, flowers, seedlings, and houseplants can all benefit from improved organic matter in the root zone. Because every bin receives different foods and bedding, the final compost varies. Treat it as a valuable soil booster, not a magic powder that will persuade a neglected plant to forgive three months without water.
Common Vermicomposting Mistakes to Avoid
- Overfeeding: Food rots before the worms can process it, causing odor and flies.
- Using the wrong worm species: Night crawlers and garden worms usually do not thrive in enclosed bins.
- Keeping bedding too wet: Excess moisture reduces airflow and can create foul odors.
- Skipping bedding: Bedding provides carbon, moisture control, air pockets, and habitat.
- Adding meat, dairy, or grease: These materials invite pests and create odors.
- Ignoring temperature: Direct sun, freezing weather, and high heat can harm or kill worms.
- Expecting instant compost: Vermicomposting is efficient, but it is still a biological process, not a microwave.
Real-World Vermicomposting Experiences: What Beginners Learn Fast
The first lesson most people learn from vermicomposting is that worms are more forgiving than gardeners expect, but less forgiving than gardeners hope. A beginner may set up a beautiful bin with perfect shredded cardboard, carefully chopped apple peels, and a worm population that looks ready to open a tiny organic grocery store. Then, in an enthusiastic burst of eco-friendly ambition, they add three pounds of leftovers on day one. The result is not faster compost. It is usually a damp, sour layer of food that the worms avoid like a bad restaurant review.
The most successful home worm bins tend to become boring in the best possible way. They do not smell bad. They do not swarm with flies. They do not require daily management. Their owners feed a small amount, cover it with bedding, check moisture once a week, and let the system do its quiet work. The less you poke around, the more relaxed the worms tend to be. Worms are not especially dramatic, but a bin can become dramatic when humans keep redecorating it every afternoon.
Many people discover that moisture is the main balancing act. At first, the bin may look dry because the top paper layer feels crisp. Underneath, however, the bedding may be wet enough to make a sponge jealous. The best habit is to grab a small handful from the middle and squeeze it gently. If water pours out, add dry shredded paper and improve airflow. If the material feels dusty and falls apart, add a light misting of water. The target is consistently damp bedding, not mud and not a desert.
Another common experience is learning that worms have preferences. Banana peels, melon rinds, squash scraps, coffee grounds, and soft vegetable leftovers often disappear quickly. Tough stems, huge chunks of potato peel, and dry bread may linger longer. Freezing scraps before feeding can make them softer and easier to process after thawing. Some worm keepers keep a small container in the freezer, then feed one portion each week. It sounds a little strange, but it reduces odors in the kitchen and gives the worms a softer meal.
Fruit flies can test a beginner’s patience, but they are usually a management clue rather than a disaster. Burying food scraps deeply, reducing feed amounts, replacing the top bedding, and keeping the bin covered solve most fly problems. The same goes for odors. A healthy worm bin should smell earthy. When it smells rotten, the answer is usually not perfume, air freshener, or panic. The answer is less food, more dry bedding, and more air.
Finally, most people are surprised by how satisfying the harvest feels. Finished vermicompost is not flashy. It is dark, crumbly, and looks a little like old coffee grounds mixed with soil. Yet spreading it around a basil plant, tomato seedling, or favorite houseplant feels like closing a small loop: kitchen scraps become worm food, worm food becomes compost, and compost helps grow something new. It is a practical system, a low-key science project, and one of the few household routines where being slightly obsessed with worm poop is considered productive.
Conclusion
Preparing vermicompost is less about perfection and more about creating steady, comfortable conditions for red wigglers. Start with the right worms, use a breathable bin, provide damp bedding, feed small amounts, and adjust conditions before problems become major. With a little patience, your worm bin can turn routine food scraps into a useful soil amendment while giving your plants a healthier foundation and your trash can a lighter workload.
Note: This guide is for general home-gardening education. Avoid placing pet waste, meat, dairy, oils, diseased plant material, or chemically treated materials in a home worm bin. Wash hands after handling compost, worms, or food scraps.