Moving photos to a USB flash drive is one of those computer tasks that sounds slightly mysterious until you do it once. Then it becomes as ordinary as putting leftovers in the refrigeratorexcept your vacation photos are less likely to smell suspicious three days later.
A flash drive gives you a quick, portable way to copy pictures, free up device storage, share an album, prepare files for printing, or create an extra backup. The process is simple on Windows, macOS, Chromebooks, iPhones, iPads, and Android devices, although the buttons and folder names vary.
This step-by-step guide explains how to put pictures on a flash drive safely, how to organize them, how to confirm the transfer worked, and what to do when the USB drive refuses to cooperate.
What You Need Before Transferring Pictures
Gather the following items before you begin:
- A USB flash drive with enough available storage
- A computer, Chromebook, phone, or tablet containing the pictures
- An available USB-A or USB-C port
- A compatible adapter if the device and flash drive use different connectors
Ordinary JPEG photos are usually only a few megabytes, while RAW files, TIFFs, burst collections, and 4K videos use space quickly. Choose a drive with more capacity than the folder you plan to copy.
Check the Connector and Available Space
Traditional drives use rectangular USB-A; newer devices often use reversible USB-C. A dual-interface drive is handy for phone-to-computer transfers. Do not force a plugUSB-A already has a hobby of being upside down on the first try.
In Windows, check free space under File Explorer > This PC. On a Mac, select the drive and choose File > Get Info. On a Chromebook, select it in Files. If the photo folder is too large, copy smaller batches or use a larger drive.
How to Put Pictures on a Flash Drive in Windows
Step 1: Insert the Flash Drive
Plug the drive into an open USB port. Windows should recognize it automatically. A notification may appear, but you do not need to click it.
Step 2: Open File Explorer
Click the folder icon on the taskbar or press Windows key + E. In the left sidebar, select This PC. Your flash drive should appear under Devices and drives, usually with a letter such as D:, E:, or F:.
Step 3: Find Your Pictures
Look in Pictures, Downloads, Desktop, or DCIM. For example, open Pictures > Family Vacation > Yellowstone 2026 and use large icons if thumbnails help.
Step 4: Select the Photos
Click one photo to select it. Hold Ctrl while clicking to select several nonadjacent files. To select a continuous group, click the first file, hold Shift, and click the last. Press Ctrl + A to select everything in the folder.
Step 5: Copy the Pictures
Right-click and choose Copy, or press Ctrl + C. Copying leaves the originals in place until you verify the transfer.
Step 6: Paste Them onto the Flash Drive
Open the flash drive, create a folder such as Yellowstone Vacation – July 2026, and press Ctrl + V. Do not remove the drive while the progress window is active.
Step 7: Verify the Transfer
Open several pictures from the flash drive. For an important archive, compare the file count or folder size with the source.
Step 8: Eject the Drive
Close files that are open from the flash drive. In File Explorer, right-click the drive and select Eject. You can also use the Safely Remove Hardware icon near the Windows clock. Unplug the drive only after Windows indicates that it is safe.
How to Put Pictures on a Flash Drive on a Mac
Step 1: Connect and Locate the Drive
Insert the flash drive into the Mac or connect it through a compatible USB-C adapter. Open Finder. The drive should appear beneath Locations in the sidebar.
Step 2: Find the Photos
Look in Pictures, Downloads, or Desktop. For images managed by Apple Photos, select them and use File > Export.
Step 3: Copy the Selected Pictures
Select the files, press Command + C, open the flash drive in Finder, and press Command + V. You can also drag selected files onto the drive listed under Locations. Dragging from the Mac to an external drive normally creates a copy.
Step 4: Confirm and Eject
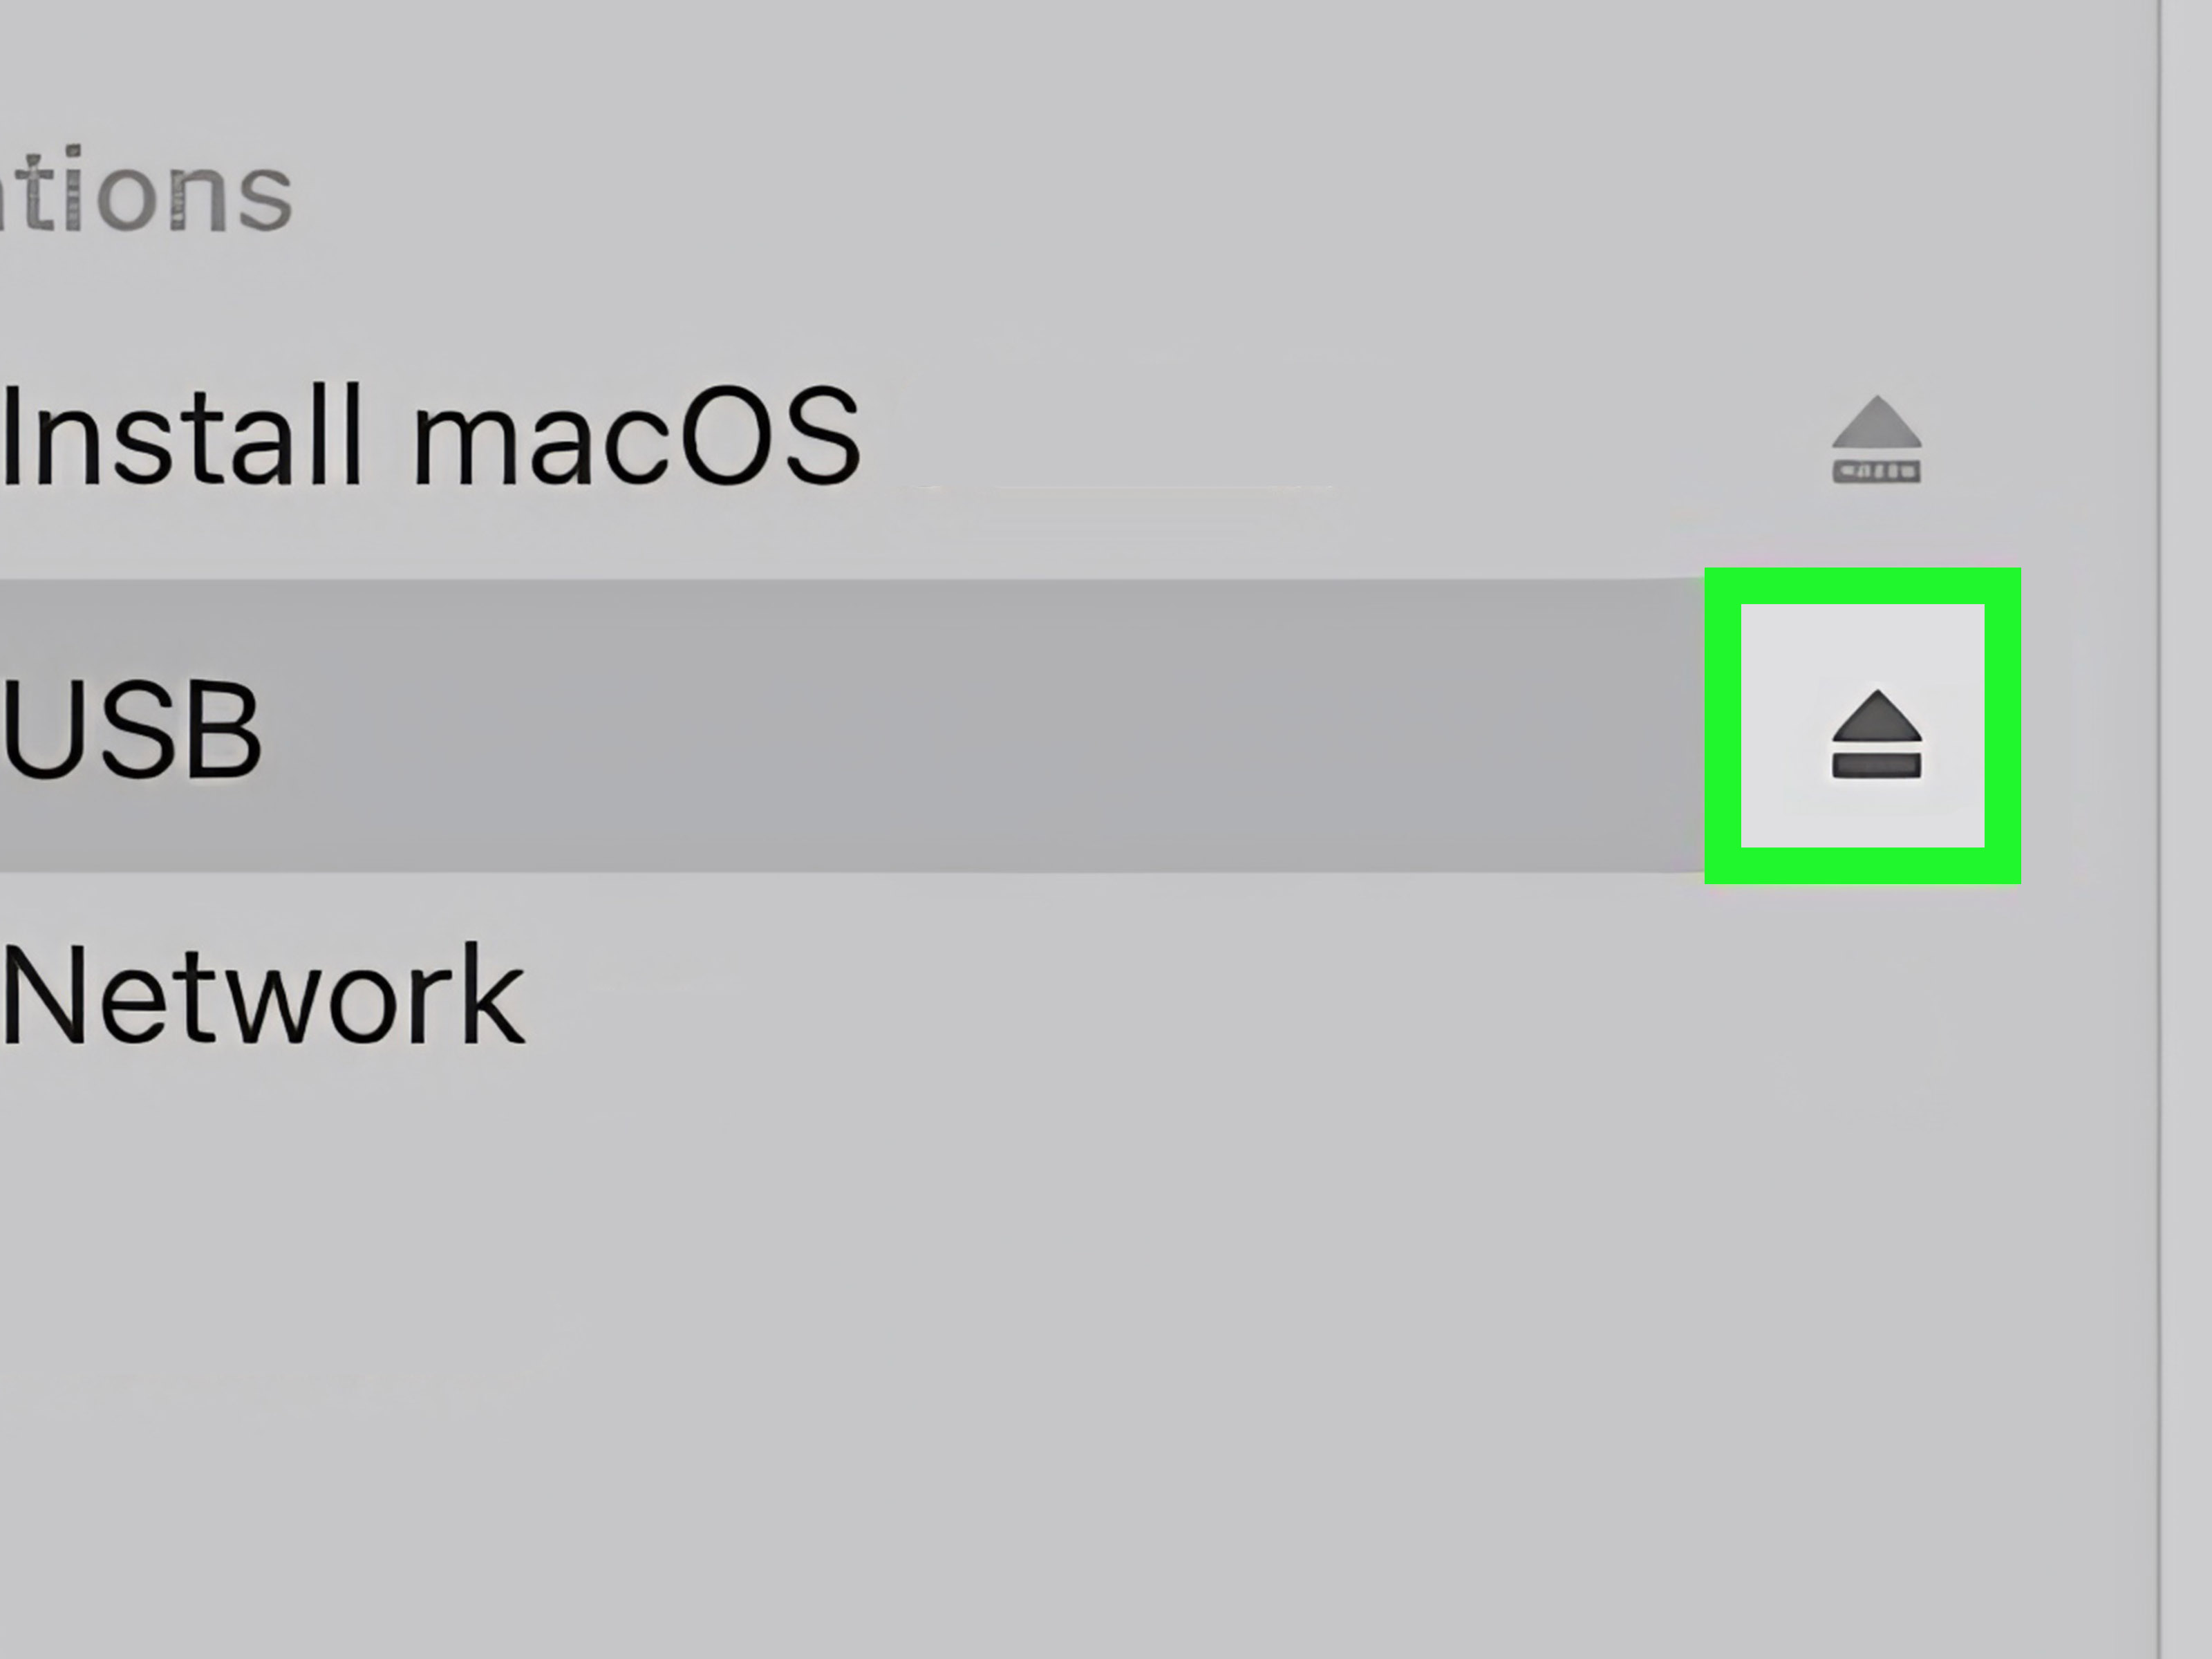
Open a few files from the drive to verify them. Then click the eject icon beside the drive in Finder. Wait until the drive disappears from the sidebar before unplugging it.
If the Mac can read the drive but cannot save to it, the drive may use a Windows-oriented format or have a permissions problem. Check its format with Get Info before making changes.
How to Transfer Pictures on a Chromebook
- Insert the flash drive into the Chromebook.
- Open the Files app from the Launcher.
- Find the images in Downloads, My files, or Google Drive.
- Select the pictures and press Ctrl + C.
- Select the USB drive in the left panel, open or create a destination folder, and press Ctrl + V.
- Open a few copied images to confirm the transfer.
- Click the eject icon beside the drive before removing it.
Cloud-only files must be downloaded before they can be copied. If a picture is visible in Google Photos but not in the Files app, download it first or use Google Takeout for a large library.
How to Put Phone Pictures on a Flash Drive
Option 1: Transfer Through a Computer
Connect the phone to a computer, import the pictures, and copy them to the drive. On Android, unlock the phone, choose File Transfer, and look in Internal storage > DCIM > Camera. On iPhone, import through the Photos app or the supported Windows photo-import process.
Option 2: Connect the Drive Directly to an iPhone or iPad
Connect a compatible USB-C drive or adapter. In Photos, select the images, tap Share, choose the available export or Save to Files option, and select the drive under Locations.
Option 3: Connect the Drive Directly to Android
Connect a USB-C flash drive or use a USB On-The-Go adapter. Open Files by Google or the phone manufacturer’s file manager, browse to the photo folder, select the files, choose Copy to, and select the USB storage device.
Direct phone transfers are convenient while traveling, but a large batch may drain the phone battery. Keep the device charged and wait for the copy operation to finish before disconnecting anything.
Copying, Moving, and Exporting: What Is the Difference?
Copying leaves the original untouched. Moving removes it from the source. Exporting creates a new file from an app, sometimes with format or quality choices. For valuable pictures, copy first and delete originals only after verification and a second backup. Portable drives are talented at disappearing into backpacks and alternate dimensions.
Choosing the Right File System
Most new drives arrive ready to use, so formatting is usually unnecessary.
- FAT32: Highly compatible, but one file cannot exceed 4 GB.
- exFAT: A practical choice for sharing large files between modern Windows and Mac computers.
- NTFS: Common on Windows; a Mac can generally read it but may not write to it without additional software.
- APFS or Mac OS Extended: Best suited to Mac-centered use and less convenient for Windows compatibility.
JPEG photos rarely approach 4 GB, but long videos can. If a file is “too large” despite ample free space, FAT32 is a likely cause. Formatting erases the drive, so back it up first. For modern Windows-and-Mac sharing, exFAT is often simplest.
How to Organize Pictures on a Flash Drive
A little organization now prevents digital archaeology later. Create a simple hierarchy based on year, event, person, or project. For example:
Use names such as 2026-07-18_Yellowstone_Old-Faithful_001.jpg; year-month-day order sorts chronologically. Avoid “New Folder (17),” which is less a label than a cry for help. Use batch-renaming tools for large collections.
Common Problems and How to Fix Them
The Flash Drive Does Not Appear
Try another USB port, avoid an unpowered hub, restart the device, and test the drive on another computer. If it works elsewhere, the original port or system configuration may be responsible.
The Drive Is Full
Delete unneeded files only after checking their contents, empty any trash folder associated with the drive, copy fewer photos, or use a larger drive. Remember that advertised capacity and usable capacity are not exactly the same.
A File Is “Too Large for the Destination”
This message often points to FAT32’s single-file size limit rather than a lack of total space. Back up the drive and reformat it as exFAT if compatibility requirements permit.
The Drive Is Read-Only
Check for a physical lock switch, although most USB flash drives do not have one. On a Mac, inspect the file system and permissions. On Windows, test the drive on another device and check whether security software or disk errors are interfering.
The Transfer Freezes or Takes Too Long
Many small files can copy slowly. Close apps using the drive, connect directly, and transfer smaller batches. Older USB 2.0 hardware is also slower than USB 3.x.
The Pictures Are in the Cloud, Not on the Device
Photos optimized by iCloud Photos or stored only in Google Photos may not exist as full local files. Download the originals first. Confirm that the downloaded copies open without an internet connection before transferring them.
Protecting Your Photo Collection
A flash drive should not be the only home for irreplaceable pictures; it can be lost, damaged, corrupted, or reformatted. Keep another copy on a separate device or reputable cloud service. For sensitive images, encrypt the drive and store the recovery key securely.
Never connect a mysterious flash drive found in a parking lot to your main computer. Curiosity is admirable; unknown removable media is not the best place to practice it.
Practical Experience: Lessons That Make Photo Transfers Easier
The biggest lesson from real-world photo transfers is that the copying itself is rarely the difficult part. The trouble usually begins before or after the progress bar: choosing the wrong folder, assuming cloud photos are already downloaded, pulling the drive too early, or discovering that “Vacation Photos” contains seven vacations and three screenshots of grocery coupons.
A reliable routine starts with preparation. Before inserting the drive, gather the pictures into one temporary folder. Give that folder a specific name and check its total size. This small step reduces accidental omissions and makes it obvious whether the USB drive has enough room. It also helps when a family member says, “Did you include the photo where everyone is looking at the camera?” You can inspect one source folder instead of conducting a search worthy of a federal investigation.
Another practical lesson is to transfer in sensible batches. Copying 20,000 files at once can work, but a failure near the end is annoying to diagnose. Dividing a large collection by year or event creates natural checkpoints. After each batch, open a few files from the beginning, middle, and end. This sampling method does not mathematically prove that every byte is perfect, but it catches many obvious problems quickly.
File names matter more with time. A folder labeled Mom Birthday may seem perfectly clear today. Five years later, nobody remembers which birthday, which year, or why there are 43 nearly identical cake photos. A date plus a short descriptionsuch as 2026-05-12_Mom-60th-Birthdayturns a pile of images into a usable archive.
Compatibility is another recurring surprise. A drive that works beautifully on one computer may be read-only or invisible on another because of its format, adapter, port, or power requirements. For routine movement between modern Windows and Mac systems, exFAT usually minimizes friction. Still, reformatting should never be the first impulsive response to an error because it erases the existing contents. First test another port, another computer, and another adapter.
Verification deserves its own habit. Do not assume that seeing filenames on the drive means the transfer is complete. Open actual pictures from the USB drive. Compare file counts when the collection matters. Then eject the drive properly. These extra steps take less time than recreating a missing graduation album.
Finally, treat the flash drive as one copy, not the archive of last resort. A good workflow might keep the originals on a computer, a second copy on a flash drive or external drive, and another copy in cloud storage or at a different location. The goal is not to surround every photograph with ceremonial layers of technology. It is simply to make sure one lost bag, failed drive, or mistaken click cannot erase years of memories.
Once this routine becomes familiarorganize, copy, verify, eject, and back upputting pictures on a flash drive becomes fast and nearly foolproof. The flash drive stops feeling like mysterious computer hardware and becomes what it should be: a tiny, useful box for carrying a very large number of memories.
Conclusion
To put pictures on a flash drive, connect the drive, locate the images, copy them into a clearly labeled folder, verify the results, and eject the device safely. The same basic method works across Windows, Mac, Chromebook, iPhone, iPad, and Android, even though each platform uses different menus.
Copy before deleting, format only after backing up, and never depend on one flash drive as the sole copy of important photos. Follow those rules and your images will be portable, organized, and ready to share without unnecessary drama.