Editor’s note: This guide is written for small business owners, freelancers, contractors, consultants, and anyone who wants a clean, professional invoice without wrestling with complicated accounting software before coffee.
Introduction: Excel Is Still a Surprisingly Good Invoice Tool
Making an invoice in Excel may sound like something your accountant’s accountant did in 2007, but don’t underestimate the humble spreadsheet. Microsoft Excel remains one of the most practical tools for creating invoices because it is flexible, familiar, printable, and easy to customize. Whether you run a lawn care business, design websites, sell handmade candles, consult for clients, or freelance from a kitchen table that has seen too many snacks, Excel can help you create a professional invoice quickly.
An invoice is more than a polite way of saying, “Please pay me.” It is a business record, a payment request, a customer communication tool, and sometimes the tiny paper trail that saves your sanity during tax season. A good Excel invoice should include your business details, client information, invoice number, invoice date, due date, itemized products or services, quantities, rates, subtotal, taxes or discounts if applicable, total amount due, payment terms, and payment instructions.
The good news? You do not need to be an Excel wizard wearing a cape made of formulas. There are several ways to make an invoice on Excel, from using ready-made templates to building a custom automated invoice system. Below are four practical methods, each suited to a different type of user and business need.
What Should an Excel Invoice Include?
Before choosing a method, it helps to know what belongs on the page. A professional Excel invoice usually includes the following:
- Your business name and contact information: Include your company name, address, phone number, email address, and website if you have one.
- Client details: Add the customer’s name, company, billing address, and email address.
- Invoice number: Use a unique number for tracking, such as INV-001, INV-2026-015, or a client-based format.
- Invoice date and due date: These make payment expectations clear.
- Itemized list: Describe each product or service, quantity, rate, and line total.
- Subtotal, taxes, discounts, and total: Make the math transparent so the client does not need a detective board with red string.
- Payment terms: Common examples include “Due upon receipt,” “Net 15,” or “Net 30.”
- Payment instructions: Mention accepted payment methods, bank details, payment links, checks, or other instructions.
- Notes: Add a thank-you message, late fee policy, project reference, or warranty information when needed.
Once those basics are covered, Excel gives you several ways to turn the information into a clean billing document.
1. Use a Built-In Excel Invoice Template
The easiest way to make an invoice on Excel is to start with a built-in template. This is the “I need this done before lunch” method, and honestly, it works beautifully for many small businesses.
How to Create an Invoice Using an Excel Template
- Open Microsoft Excel.
- Click New.
- Search for invoice in the template search bar.
- Choose a template that fits your business style.
- Replace the sample text with your business and client information.
- Enter your products, services, rates, quantities, and payment terms.
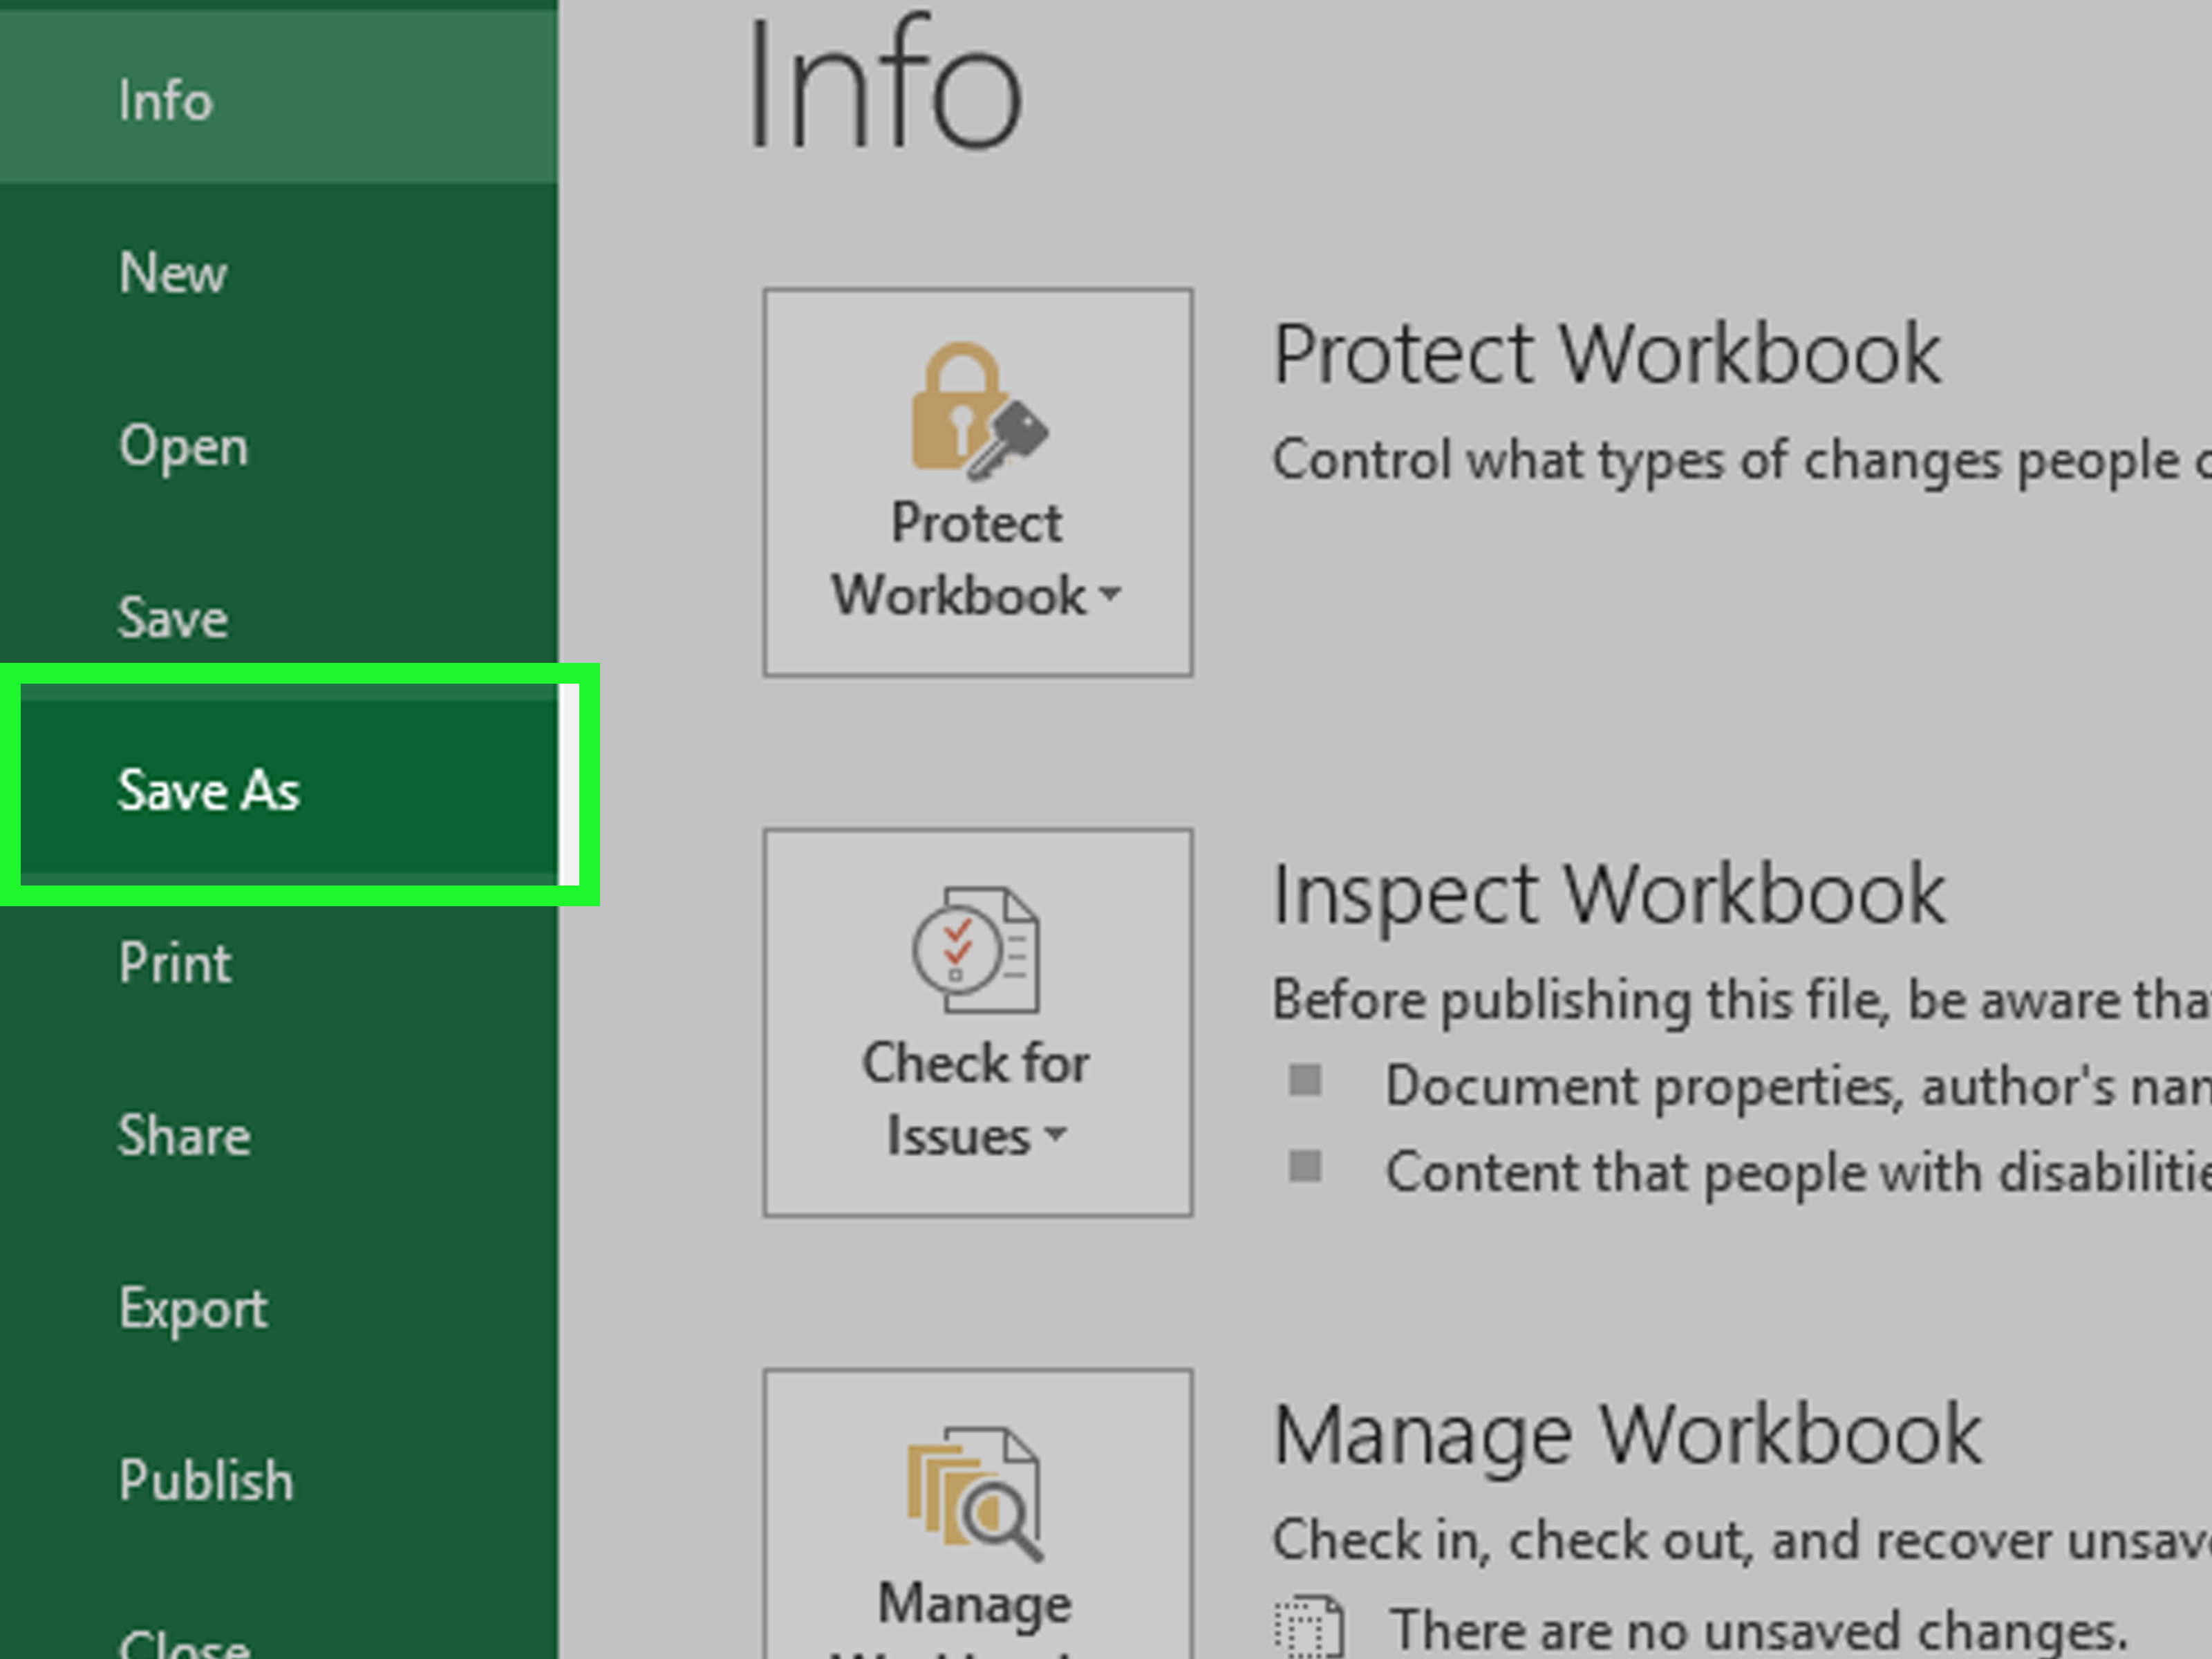
- Save the file as an Excel workbook for your records.
- Export or save a copy as a PDF before sending it to the client.
Templates are great because the structure is already there. Many include prebuilt sections for invoice number, due date, item description, quantity, unit price, subtotal, tax, and total. You can usually adjust colors, fonts, logos, and layout without touching complicated formulas.
Best For
This method is ideal for freelancers, service providers, new businesses, and anyone who sends occasional invoices. If you only need a professional-looking invoice a few times a month, a template may be all you need.
Pro Tips for Template Invoices
Do not send the Excel file itself unless the client specifically asks for it. Send a PDF instead. A PDF preserves the layout, looks more professional, and prevents accidental edits. Also, save a blank master copy of your customized template. That way, you are not constantly deleting old client information and hoping you did not miss a line item from last Tuesday’s chaos.
2. Download and Customize a Free Excel Invoice Template
If Excel’s built-in options feel too plain, another excellent method is downloading a free Excel invoice template from a trusted template provider or business software company. Many reputable platforms offer invoice templates for contractors, consultants, agencies, retail sellers, hourly workers, and small businesses.
Why Use a Downloadable Template?
Downloadable templates often come in more specialized designs than the default Excel gallery. You may find templates for service invoices, commercial invoices, billing statements, sales invoices, pro forma invoices, contractor invoices, and time-based invoices. This can save time if your industry has specific billing needs.
For example, a handyman may need fields for labor, materials, mileage, and job location. A graphic designer may want sections for concept work, revisions, licensing, and final file delivery. A consultant may need hourly billing, project milestones, retainer deductions, and expense reimbursement. A good template gives you the bones; you add the business personality.
How to Customize a Downloaded Invoice Template
- Choose a template designed for Excel, usually in .xlsx format.
- Open it in Excel and review all formulas before using it.
- Add your business logo, name, and contact details.
- Adjust brand colors and fonts to match your website or business cards.
- Update column names to fit your work, such as “Service,” “Hours,” “Rate,” and “Amount.”
- Check formulas for subtotal, tax, discount, and total due.
- Save it as your master invoice template.
What to Watch Out For
Free templates are convenient, but they are not all created equal. Always inspect the math. Click on total cells and review the formulas. Make sure the subtotal includes every invoice line and that taxes or discounts are calculated correctly. A beautiful invoice with broken math is like a sports car with no steering wheel: impressive for three seconds, then terrifying.
Also, keep the design clean. Clients should be able to see what they owe, when it is due, and how to pay within a few seconds. Decorative borders are fine. A rainbow explosion of fonts is not.
Best For
This method works well for small business owners who want a polished invoice but do not want to design one from scratch. It is also a smart choice if you need a specific invoice format for your industry.
3. Build an Invoice from Scratch in Excel
If you want total control, build your invoice from a blank workbook. This sounds more intimidating than it is. You are basically creating a clean one-page form with a few formulas. Excel handles the arithmetic; you handle the professional polish.
Step-by-Step: Create a Manual Invoice Layout
- Open a blank Excel workbook.
- Set your page orientation to Portrait or Landscape, depending on your design.
- Use the top section for your logo, business name, and contact information.
- Add a large heading that says Invoice.
- Create fields for invoice number, invoice date, payment due date, and payment terms.
- Add a client information section below your business details.
- Create a table with columns such as Description, Quantity, Rate, and Amount.
- Use formulas to calculate line totals and the final amount due.
- Add payment instructions and a thank-you note at the bottom.
Useful Excel Formulas for an Invoice
You do not need many formulas to make a functional Excel invoice. Here are the basics:
- Line total: Use
=Quantity*Rate. For example, if quantity is in cell B15 and rate is in C15, use=B15*C15. - Subtotal: Use
=SUM(D15:D25)to add line totals. - Tax: Use
=Subtotal*TaxRate. For example,=D27*0.08for 8% tax. - Discount: Use a fixed amount or percentage, depending on your pricing.
- Total due: Use
=Subtotal+Tax-Discount.
Design Tips for a Professional Excel Invoice
Use bold headings, consistent spacing, and clear labels. Keep the most important numberthe total amount dueeasy to find. Format currency cells as dollars, set dates in a standard U.S. format, and use borders sparingly to separate sections.
You can also use Excel’s Print Area feature so only the invoice section prints or exports. Before sending, use Print Preview to make sure nothing awkward happens, like your payment instructions floating alone on page two like a lost balloon.
Best For
Building from scratch is best for business owners who want a custom invoice format, unique branding, or a layout that fits their exact workflow. It is also great for learning how your invoice calculations actually work.
4. Create an Automated Invoice Workbook in Excel
The fourth way to make an invoice on Excel is to build an automated invoice workbook. This is the most powerful option and the best choice if you send invoices regularly. Instead of manually typing the same information again and again, you can use tables, formulas, dropdown lists, and saved customer data to speed things up.
What Makes an Excel Invoice “Automated”?
An automated invoice workbook uses Excel features to reduce repetitive work. For example, you can create a customer list on one sheet, a product or service list on another sheet, and an invoice form on the main sheet. Then you can use dropdown menus and formulas to pull information into the invoice automatically.
Helpful Features to Use
- Excel Tables: Turn customer lists and service lists into tables so formulas expand as you add new data.
- Dropdown lists: Use data validation to select clients, services, tax rates, or payment terms.
- VLOOKUP, XLOOKUP, or INDEX/MATCH: Pull customer addresses, service prices, or product descriptions into the invoice.
- SUM formulas: Automatically total line items.
- Conditional formatting: Highlight overdue invoices, unpaid balances, or missing required fields.
- Invoice log: Track invoice numbers, dates, clients, totals, payment status, and notes.
Example Automated Workflow
Imagine you run a small web design business. You create one sheet called Clients with client names, billing addresses, email addresses, and payment terms. Another sheet called Services lists website audit, landing page design, monthly maintenance, SEO setup, and hourly consulting rates. Your main sheet is the invoice itself.
When you select a client from a dropdown, Excel fills in the billing address. When you select a service, Excel fills in the rate. You enter the quantity or hours, and Excel calculates the line total. The invoice log records the invoice number, date, amount, and payment status. Suddenly, your spreadsheet is doing office admin like it deserves an employee badge.
Invoice Numbering Tips
Keep invoice numbers unique and chronological. You might use a simple sequence like INV-001, INV-002, and INV-003. For better organization, use a date-based format such as INV-2026-001. If you work with several recurring clients, you can add client initials, such as ACME-2026-014.
Avoid reusing invoice numbers. Duplicate invoice numbers can create confusion during payment follow-up, bookkeeping, and tax recordkeeping. Future you will appreciate the order. Future you may even send present you a thank-you card.
Best For
An automated Excel invoice workbook is best for growing small businesses, freelancers with repeat clients, contractors with multiple jobs, and anyone who wants invoice tracking without jumping into full accounting software yet.
How to Save and Send an Excel Invoice
After creating your invoice, save two versions: one editable Excel workbook for your records and one PDF for the client. The Excel version lets you update or duplicate the invoice later. The PDF version keeps formatting stable and looks more professional in email attachments.
Recommended File Naming Format
Use a consistent file name so you can find invoices quickly. Good examples include:
INV-2026-001-Johnson-Consulting.pdfInvoice-ACME-Web-Design-April-2026.pdfINV-014-Smith-Lawn-Care.pdf
Simple Email Message for Sending an Invoice
You can send your invoice with a short, professional message:
Hello [Client Name],
I hope you are doing well. Attached is invoice [Invoice Number] for [Project or Service]. Payment is due by [Due Date]. Please let me know if you have any questions. Thank you!
Short, friendly, clear. No need to write a novel unless the invoice is for novel-writing services.
Common Mistakes to Avoid When Making an Invoice in Excel
Forgetting the Due Date
A missing due date invites delayed payment. Always include one. “Whenever you get around to it” is not a payment term; it is a recipe for checking your bank account with dramatic music playing in the background.
Sending Editable Excel Files
Unless your client needs the workbook, send a PDF. Editable files can be changed accidentally, and formatting may shift on another device.
Using Weak Invoice Numbers
Do not use random names like “final invoice,” “final final invoice,” or “new final invoice really this time.” Use a clear numbering system.
Not Checking Formulas
One broken formula can undercharge or overcharge a client. Before sending, check the subtotal, tax, discount, and total due.
Leaving Out Payment Instructions
Tell clients exactly how to pay. Include bank transfer details, check instructions, online payment links, or accepted payment methods.
Not Keeping Records
Invoices are business records. Save copies in organized folders by year, client, or invoice status. Keep related documents such as receipts, contracts, purchase orders, and payment confirmations where you can find them.
Which Excel Invoice Method Should You Choose?
The best method depends on how often you invoice and how much customization you need.
- Use a built-in Excel template if you need a fast, simple invoice today.
- Download a free Excel invoice template if you want a more polished or industry-specific layout.
- Build from scratch if you want complete control over branding and structure.
- Create an automated workbook if you send invoices often and want to save time.
For many beginners, the smartest path is to start with a template, customize it, and gradually add automation as the business grows. You do not need a perfect invoicing system on day one. You need a clear, accurate, professional invoice that helps you get paid.
Practical Experiences: What Actually Works When Making Invoices in Excel
After working with Excel invoices in real small-business situations, one lesson becomes clear quickly: the best invoice is not always the fanciest one. It is the one that gets understood, approved, filed, and paid without a long email chain titled “Question about the invoice.” Simplicity wins more often than people expect.
One practical experience is that templates save time, but only if you customize them once and protect the master copy. Many people download a new invoice template every time they bill a client. That creates inconsistent formatting, different payment wording, and scattered file names. A better habit is to spend one focused hour creating a branded master invoice. Add your logo, business details, standard payment terms, preferred colors, and tax settings. Then duplicate that file for each new invoice. It feels boring at first, but boring systems are often the ones that quietly make money behave.
Another useful experience is to make invoice numbers boringly predictable. A numbering system like INV-2026-001 may not look exciting, but it is easy to track. When a client says, “Can you resend that invoice from March?” you can find it in seconds. If you name files randomly, you may end up searching your computer like a raccoon in a filing cabinet. Consistent invoice numbers and file names are small habits with big benefits.
For service businesses, clear descriptions matter more than decorative design. Instead of writing “Consulting,” write “Marketing strategy consultation, 3 hours, April 2026.” Instead of “Website work,” write “Homepage redesign, mobile layout updates, and contact form testing.” Specific descriptions reduce client confusion and make the invoice feel more professional. They also help you remember what the invoice covered months later.
One of the most underrated Excel invoice tricks is adding a payment status tracker. This does not need to be complicated. Create a separate sheet with columns for invoice number, client, invoice date, due date, amount, status, payment date, and notes. Use status options like Draft, Sent, Paid, Overdue, and Canceled. This simple invoice log can prevent awkward moments, such as following up on an invoice the client already paid. Nobody enjoys sending a “friendly reminder” and then discovering the money arrived last week.
Another experience worth noting is that PDF invoices reduce friction. Clients may open an Excel file and see strange formatting if they use different software or screen settings. A PDF keeps the invoice looking the way you intended. It also feels more final and official. Keep the editable Excel version for yourself, but send the PDF to the client.
Finally, review every invoice before sending it. Check the client name, invoice number, due date, math, tax rate, payment details, and attached file. This takes two minutes and can prevent embarrassing mistakes. A clean invoice tells the client you are organized. It says, “I take the work seriously, and I also know where the total goes.” That may not sound glamorous, but in business, being easy to pay is a superpower.
Conclusion
Learning how to make an invoice on Excel is a valuable skill for freelancers, small business owners, and anyone who needs a reliable billing system without immediately paying for accounting software. Excel gives you four strong options: use a built-in template, download a free invoice template, build your own invoice from scratch, or create an automated invoice workbook with formulas and tracking features.
The best Excel invoice is clear, accurate, branded, and easy to pay. Include the right details, double-check the math, save a PDF copy, and keep organized records. Your invoice does not need to look like it belongs in a design museum. It needs to help your client understand the charge and pay you on time. If it can do that while looking sharp, even better.
Start simple, improve as you go, and let Excel handle the arithmetic. After all, you already did the work. Your invoice should work just as hard to get you paid.