A shed has one job: protect your stuff from the outdoors. And yet, plenty of sheds seem to have signed a secret treaty with rain, wind, humidity, and the occasional ambitious bug. One week it is a tidy home for rakes and potting soil; the next week it smells like a damp sock and your cardboard boxes are curling like potato chips.
The good news is that weatherproofing a shed does not require a second mortgage, a construction crew, or a mystical talent for wielding a caulk gun. In most cases, you can make a major difference by focusing on three big areas: the roof and upper shell, the gaps and openings, and the moisture coming from the ground and trapped inside.
This guide breaks down three ways to weatherproof a shed so it stays drier, lasts longer, and does a better job protecting tools, seasonal décor, garden supplies, bikes, and whatever else you have bravely shoved in there over the years. Whether you have a wood shed, metal shed, or resin model, the principles are the same: keep water out, let trapped moisture escape, and stop small problems before they become expensive ones.
Why Weatherproofing a Shed Matters
If your shed is exposed to rain, sun, wind, and temperature swings, it is under constant stress. Water sneaks in through roof seams, nail holes, loose trim, door gaps, and poorly sealed windows. Moisture also rises from the ground and can collect inside when warm air meets cooler surfaces. Over time, that combination can lead to warped wood, rusted hardware, peeling finishes, moldy smells, swollen doors, and rotting trim.
In plain English: the weather is patient, and your shed is not immortal.
Weatherproofing helps extend the life of the structure and protects whatever is stored inside. It also improves comfort if you use the shed as a workspace, hobby zone, or backyard escape pod where you pretend you are “just organizing” while actually hiding from chores.
Way #1: Protect the Roof and Upper Shell First
If water is getting into your shed, the roof is the first suspect. Gravity is loyal to no one, and once rain gets past the top layer, it will keep moving downward until it finds a place to drip, stain, swell, or ruin your weekend.
Inspect the Roofing Material, Seams, and Flashing
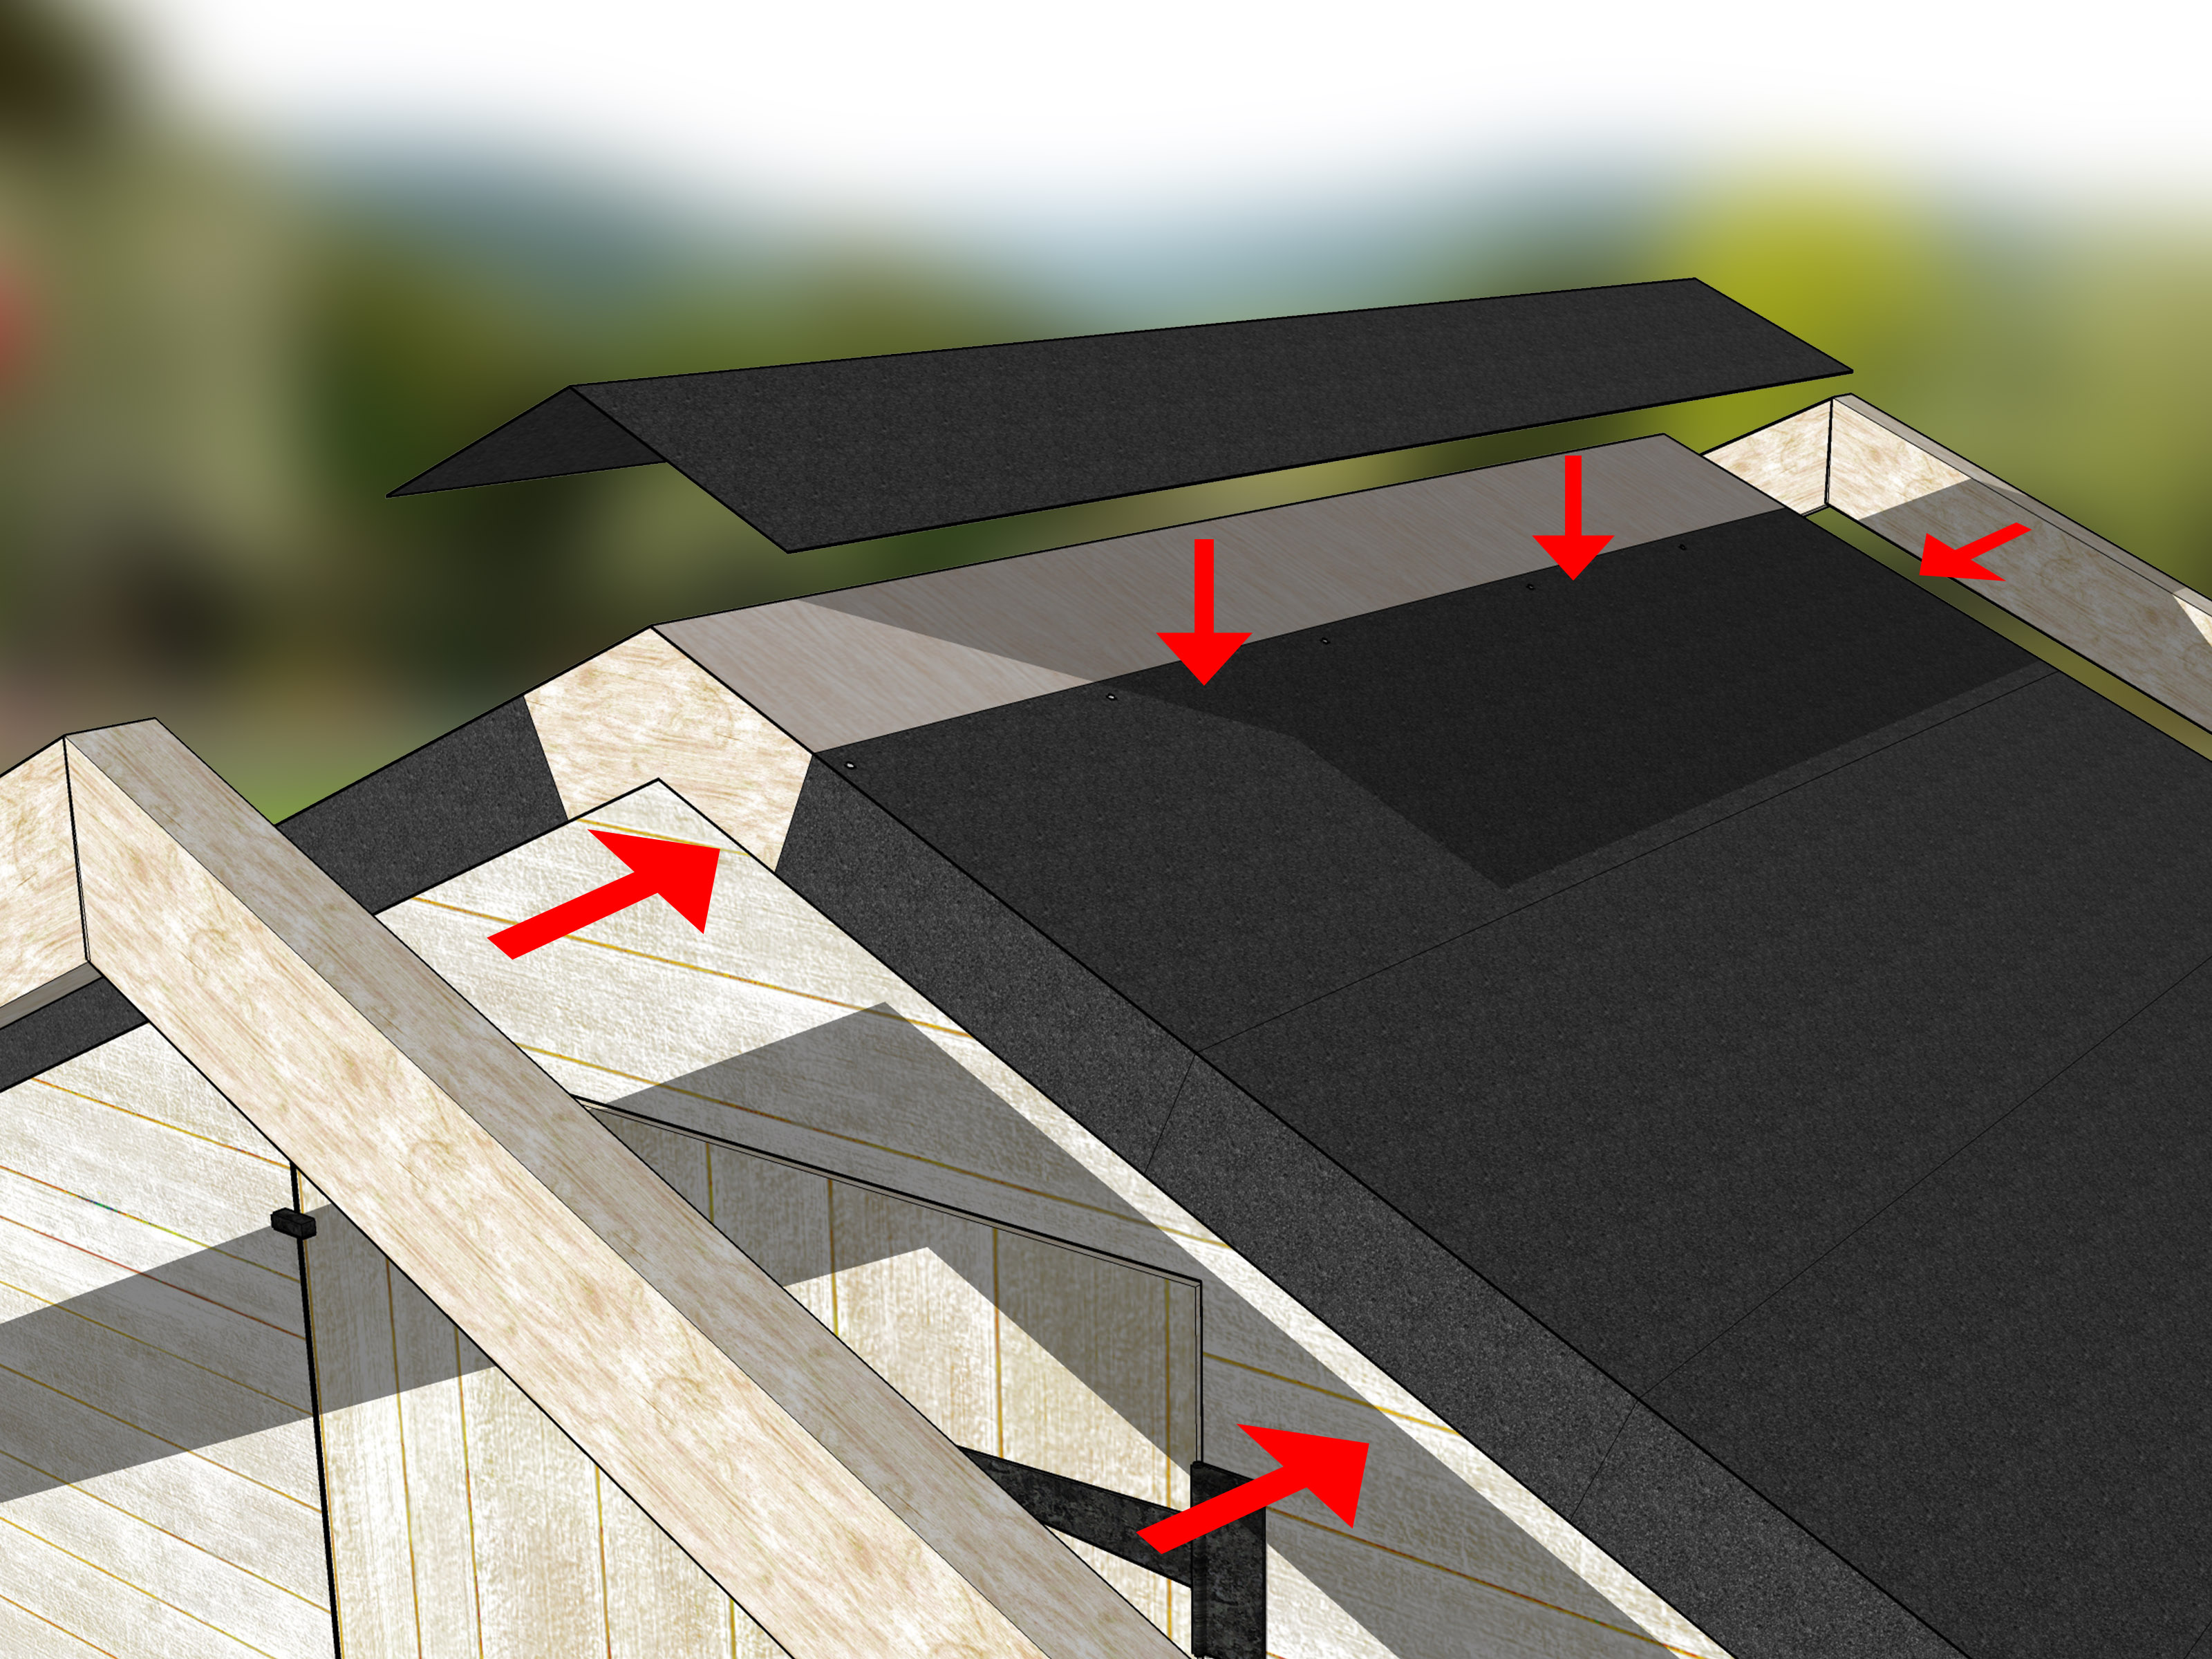
Start with a visual inspection. Look for cracked shingles, lifted edges, rusted panels, loose fasteners, worn roofing felt, damaged ridge caps, and gaps around vents or roof transitions. If your shed roof meets siding, trim, or another vertical surface, pay special attention to flashing. Those transition points are common leak zones because water likes corners almost as much as dust does.
On a metal shed, check for loose screws, deteriorated washers, and seams that no longer sit tight. On a wood shed with shingles or roll roofing, look for curling edges, exposed nail heads, and worn patches. Small damage near the roofline rarely stays small for long.
A smart approach is to repair mechanical issues first and use sealants as backup, not magic. Sealants are helpful, but they should not be expected to compensate for missing flashing, rotten roof decking, or roofing material that is already failing. That is like putting a Band-Aid on a canoe hole and then acting surprised when your shoes get wet.
Seal Vulnerable Areas the Right Way
Once the roof is sound, seal the weak spots. Around fixed joints, exposed fasteners, and minor cracks, use an exterior-grade product designed for the material and the location. Roof-specific sealants and elastomeric coatings can help protect seams and patch small trouble spots, especially on metal or low-slope shed roofs. For fixed cracks around trim or siding, exterior caulk is often a better choice.
Be selective. Not every gap needs the same product. Some areas move with heat and cold, so flexibility matters. Some materials, such as metal, wood, and masonry, behave differently and need compatible sealants. The best repair is the one that matches the surface instead of trying to bully every problem with the same tube from the discount bin.
Add Drip Control and Water Direction
Weatherproofing is not only about sealing; it is also about directing water away. If your shed has no drip edge, poor eaves, or no guttering in a wet climate, rainwater may run down walls, splash at the base, and soak the lower siding. Even a basic gutter and downspout extension can reduce repeated soaking around the foundation. If a full gutter system feels excessive for a small shed, focus on making sure roof runoff does not dump straight onto the doorway or pool along the back wall.
Think of the roof as your shed’s raincoat. If the coat leaks at the shoulders and sleeves, the rest of the outfit does not stand a chance.
Way #2: Seal Gaps Around Doors, Windows, and Wall Joints
Once the roof is handled, move to the openings. Most sheds do not fail because of one dramatic hole you could spot from the moon. They fail because of many tiny entry points that let in drafts, wind-driven rain, insects, and damp air. These are annoying individually and destructive as a team.
Use Caulk for Fixed Gaps and Weatherstripping for Moving Parts
This is the golden rule: caulk fixed gaps, weatherstrip moving parts.
If you have cracks where trim meets siding, siding meets a corner board, or a window frame meets the wall, those fixed joints are usually good candidates for exterior caulk. If you are dealing with a door or operable window that opens and closes, weatherstripping is the better solution because it compresses and flexes with movement.
Check around:
- Door frames
- Window frames
- Thresholds
- Corner trim
- Siding joints
- Utility penetrations
- Fastener holes or old hardware locations
For doors, add a quality door sweep at the bottom if daylight is visible underneath. Daylight under a shed door is charming only if you are writing poetry about neglect. In real life, it means water, grit, bugs, and cold air can get in.
Fix the Door Before You Seal It
Many people slap weatherstripping on a warped or sagging shed door and hope for the best. That usually ends with torn foam, a door that sticks, and language not suitable for a family gardening blog.
If the door is out of square, swollen, dragging, or badly misaligned, fix that first. Tighten hinges, adjust the latch, plane swollen edges if necessary, and make sure the frame is secure. Once the door closes properly, weatherstripping actually has a chance to do its job.
Do Not Forget Windows, Vents, and Small Openings
Shed windows often get less attention than doors, but they can be major leak points, especially if trim joints are open or flashing was skipped during installation. Re-caulk failing joints, replace cracked panes or damaged plastic glazing, and make sure exterior trim is still tight.
Vents are another tricky area. Your shed needs ventilation, but it also needs to keep out wind-driven rain and pests. Use vent covers, louvers, or screened openings that allow airflow without creating a welcome mat for weather or wildlife. The goal is controlled airflow, not a free-range indoor climate.
Way #3: Control Ground Moisture and Interior Humidity
This is the part many homeowners miss. You can seal every gap above waist level and still end up with a damp shed if the moisture problem is coming from below or getting trapped inside. A weatherproof shed is not just watertight; it is also moisture-smart.
Keep the Shed Elevated and Improve Drainage
A shed that sits too low or too close to wet soil is basically asking the ground to participate in its destruction. Moisture can wick upward, splash back onto siding, or collect beneath the floor. Over time, that leads to rot, rust, mildew, and floor damage.
Make sure the shed sits on a stable, well-draining base. Gravel pads, concrete blocks, pavers, and properly built foundations help keep the structure level and reduce direct contact with damp soil. The surrounding ground should slope away from the shed so runoff drains outward instead of pooling around the perimeter.
If water collects nearby after rain, address that before it addresses your shed. Add gravel, adjust the grade, use a shallow drainage path, or extend runoff away from the area. Even a beautifully sealed shed will struggle if it is parked in a permanent puddle.
Add a Vapor Barrier or Floor Protection
If your shed has a wood floor over open ground or a crawlspace-like area, moisture from the soil can rise into the structure. A vapor barrier on the ground below the shed or moisture protection beneath the floor can help reduce that problem. This is especially helpful in humid climates or locations where the soil stays damp for long stretches.
Inside the shed, avoid storing items directly on the floor if moisture is a recurring issue. Use shelves, pallets, or plastic bins. Cardboard boxes placed on a cool shed floor are basically volunteering for retirement.
Ventilate to Reduce Condensation
A sealed shed still needs airflow. Otherwise, humidity can build up inside and condense on cool walls or roofing, especially in spring, fall, or climates with large temperature swings. That moisture may not look dramatic, but it can quietly damage finishes, tools, and framing over time.
Good ventilation can include ridge vents, gable vents, soffit vents, or screened wall vents, depending on the shed’s design. The key is balance. You want enough airflow to let moisture escape, but not so much that rain easily blows in.
If your shed stores paint, fertilizers, fabric items, or tools that rust easily, ventilation matters even more. In very humid areas, a small moisture absorber or periodic dehumidifier use can help, but passive ventilation and drainage should still do the heavy lifting.
Protect Exterior Wood With Paint or Stain
If your shed is made of wood, a quality exterior paint or stain is part of weatherproofing, not just decoration. Sunlight and moisture are brutal on unfinished or neglected wood. Over time, the surface can crack, fade, absorb water, and become more vulnerable to decay.
Paint generally offers strong surface protection, while stains can be a great option if you want the wood grain to show and easier maintenance over time. Either way, the finish should be designed for exterior exposure and reapplied when it starts to wear. Peeling paint, bare patches, and thirsty-looking wood are not cosmetic issues alone; they are early warning signs.
Also inspect trim ends, bottom edges, and exposed cut surfaces. Those areas tend to absorb water faster than broad flat faces. Touching up small spots early is much easier than replacing trim later.
Common Shed Weatherproofing Mistakes to Avoid
- Using indoor materials outdoors: interior caulk, cheap foam, and non-exterior paint do not age well in weather.
- Sealing everything without ventilation: a shed that cannot breathe may trap condensation and create a different moisture problem.
- Ignoring the foundation: poor drainage defeats a lot of good sealing work.
- Patching rotten wood instead of replacing it: soft, decayed wood is not a sound base for new sealant or paint.
- Assuming one product solves every issue: flashing, roofing repair, caulk, weatherstripping, paint, and drainage all do different jobs.
A Simple Seasonal Maintenance Routine
If you want your shed to stay weatherproof, inspect it at least twice a year: once before the wet or cold season and once after it. Check the roof, trim, door sweep, weatherstripping, drainage, and finish condition. Remove leaves from the roof and around the base. Look for signs of insects, rust, softness in wood, mildew odor, and any new daylight peeking through places where daylight has no business being.
Five minutes of inspection can save you from discovering, six months later, that your holiday decorations have been marinating in dampness since November.
Real-World Experiences With Weatherproofing a Shed
One of the most useful lessons homeowners learn is that shed problems rarely announce themselves with a cinematic roof collapse. More often, the clues are subtle. A shovel handle feels damp. A bag of potting mix turns hard as concrete. Metal pruners develop orange freckles. The door suddenly sticks after a week of rain. At first, it seems minor. Then you realize the shed has been quietly losing its battle with the weather for months.
A common experience with older wood sheds is discovering that the leak is not directly above the wet spot. Water can enter near the ridge, travel along a framing member, and drip several feet away. That is why many people waste time sealing the “drip location” instead of the actual entry point. Once they inspect the roof more carefully and repair the seam, flashing, or fastener issue above, the mystery finally ends.
Another real-world surprise is how much damage ground moisture can do even when the walls and roof seem fine. Many homeowners place a shed on bare soil because it feels quick and convenient. At first, nothing looks wrong. But after a season of storms or a humid summer, the lower walls start absorbing splashback, the floor feels clammy, and anything stored low begins to smell musty. Raising the shed on a proper base and improving drainage often makes a dramatic difference, sometimes more than a fancy coating ever could.
People also learn quickly that weatherstripping is only as good as the door it is attached to. If a shed door is twisted, sagging, or rubbing the frame, adhesive foam strips become temporary victims rather than permanent solutions. Once the door is adjusted and a proper sweep is installed, the shed feels tighter, cleaner, and much less inviting to wind, dust, and insects.
In hot, humid areas, condensation can be especially confusing because it mimics a leak. Homeowners see moisture on the underside of the roof or on metal surfaces and assume rain is getting in. Sometimes it is not. Sometimes the shed is simply holding humid air with too little ventilation. Adding better airflow, reducing clutter against the walls, and keeping items off the floor can improve conditions far more than endless resealing.
There is also a practical emotional side to weatherproofing a shed. Once a shed becomes dry and dependable, people actually use it better. They stop treating it like an outdoor junk drawer and start organizing it like real storage. Tools last longer. Cushions and seed packets survive the season. Holiday decorations avoid the annual mildew surprise. The space becomes useful instead of suspicious.
Many DIYers say the biggest mindset shift is realizing that weatherproofing is a system, not a single product. A roof patch helps, but not if runoff pours at the base. Fresh paint helps, but not if door gaps are wide open. A gravel pad helps, but not if the roof seam is cracked. The most successful shed projects come from combining simple steps: repair the roof, seal the joints, improve drainage, add ventilation, and maintain the finish.
In the end, the best experience is wonderfully boring: opening the shed after a storm and finding everything exactly as you left it. No damp corners. No weird smell. No mystery puddle. Just a dry, hardworking structure doing its job without drama. For a shed, that is basically a standing ovation.
Conclusion
If you want to weatherproof a shed effectively, focus on the three areas that matter most: stop water at the roof, seal gaps around openings, and control moisture from the ground and interior air. That combination protects the structure from top to bottom and helps prevent the usual parade of rot, rust, mildew, warped doors, and soggy storage bins.
The smartest approach is not flashy. It is systematic. Repair what is damaged, seal what is vulnerable, direct water away from the structure, and keep the shed ventilated enough to avoid trapped humidity. Do that consistently, and your shed can stay drier, sturdier, and far more useful in every season.